How to Use HW-080 Soil Sensor: Examples, Pinouts, and Specs
Introduction
The HW-080 Soil Sensor is a device designed to measure the moisture level in soil, making it an essential tool for agricultural, gardening, and environmental monitoring applications. By providing real-time data, it helps users optimize irrigation schedules, prevent overwatering, and maintain healthy soil conditions. The sensor typically features both analog and digital outputs, enabling seamless integration with microcontrollers like Arduino, Raspberry Pi, and other electronic systems.
Explore Projects Built with HW-080 Soil Sensor
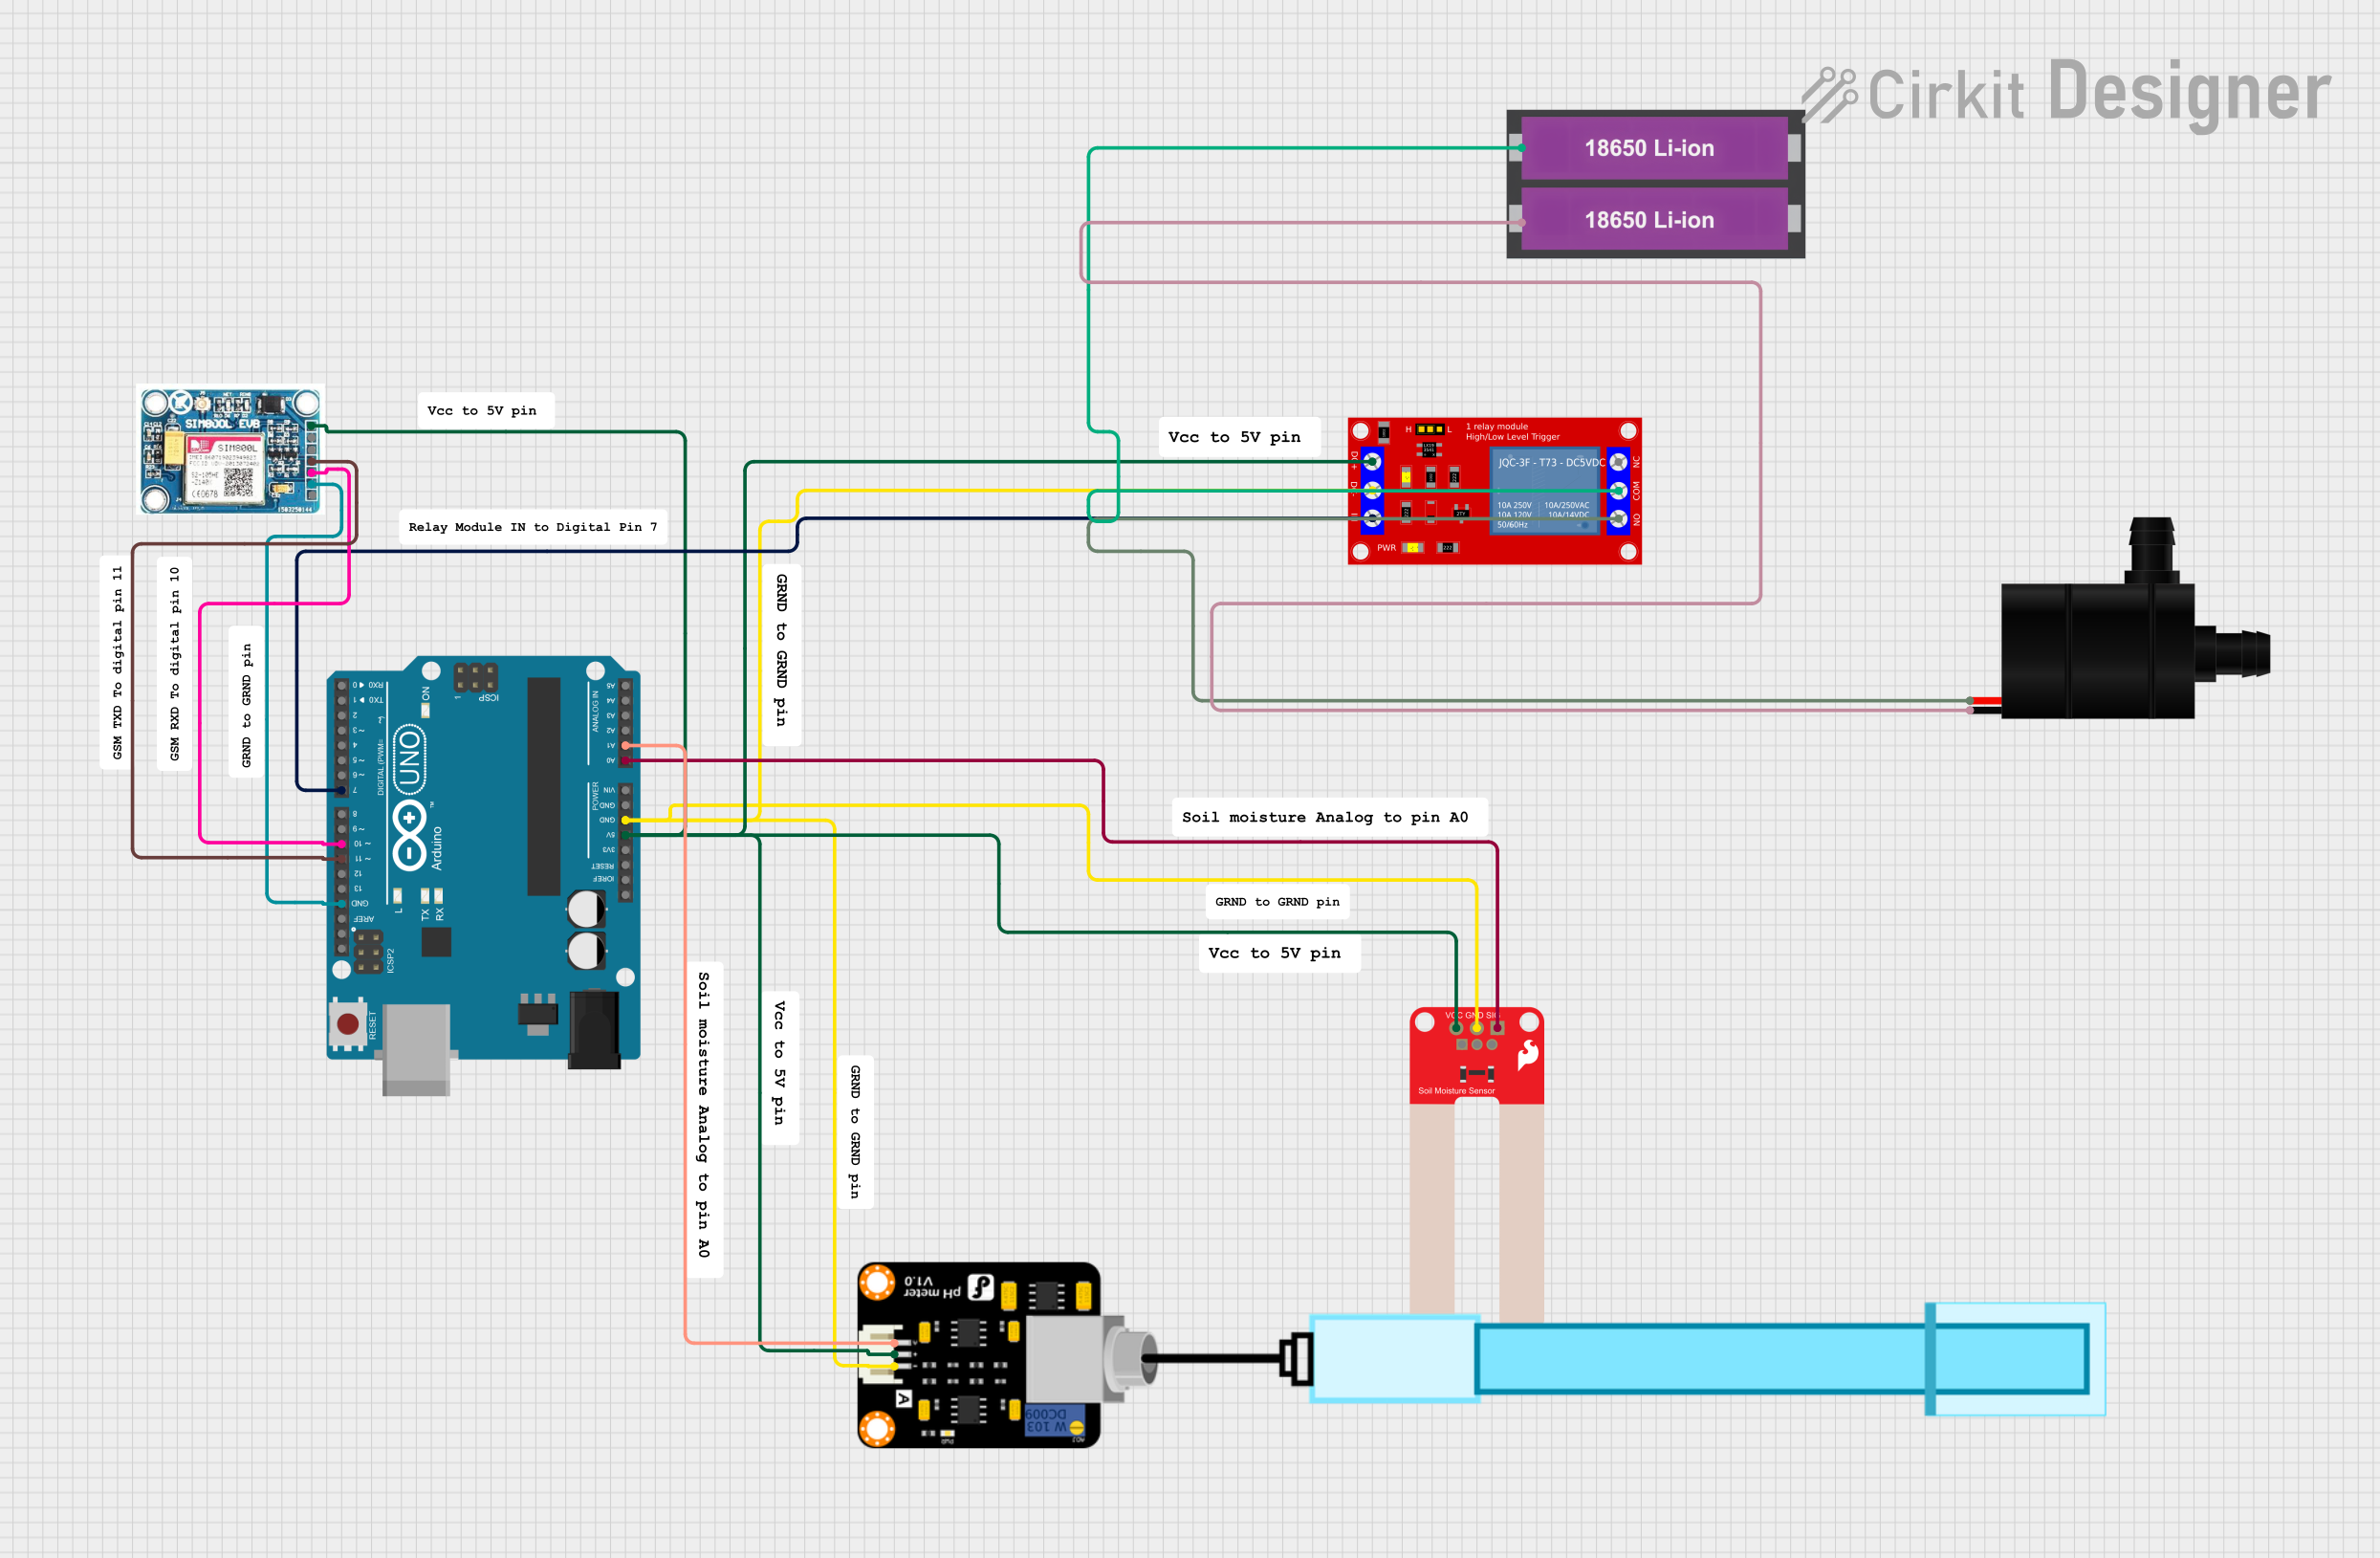
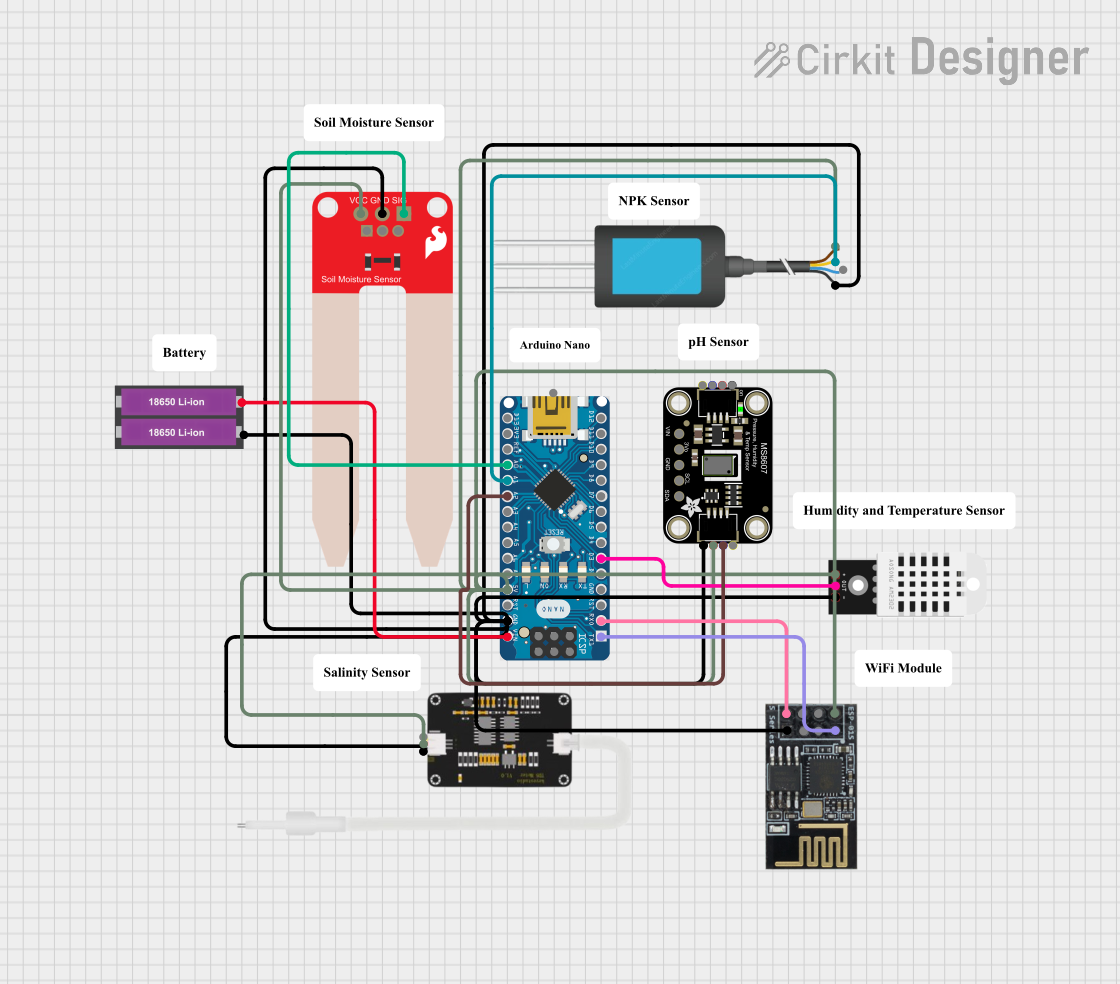
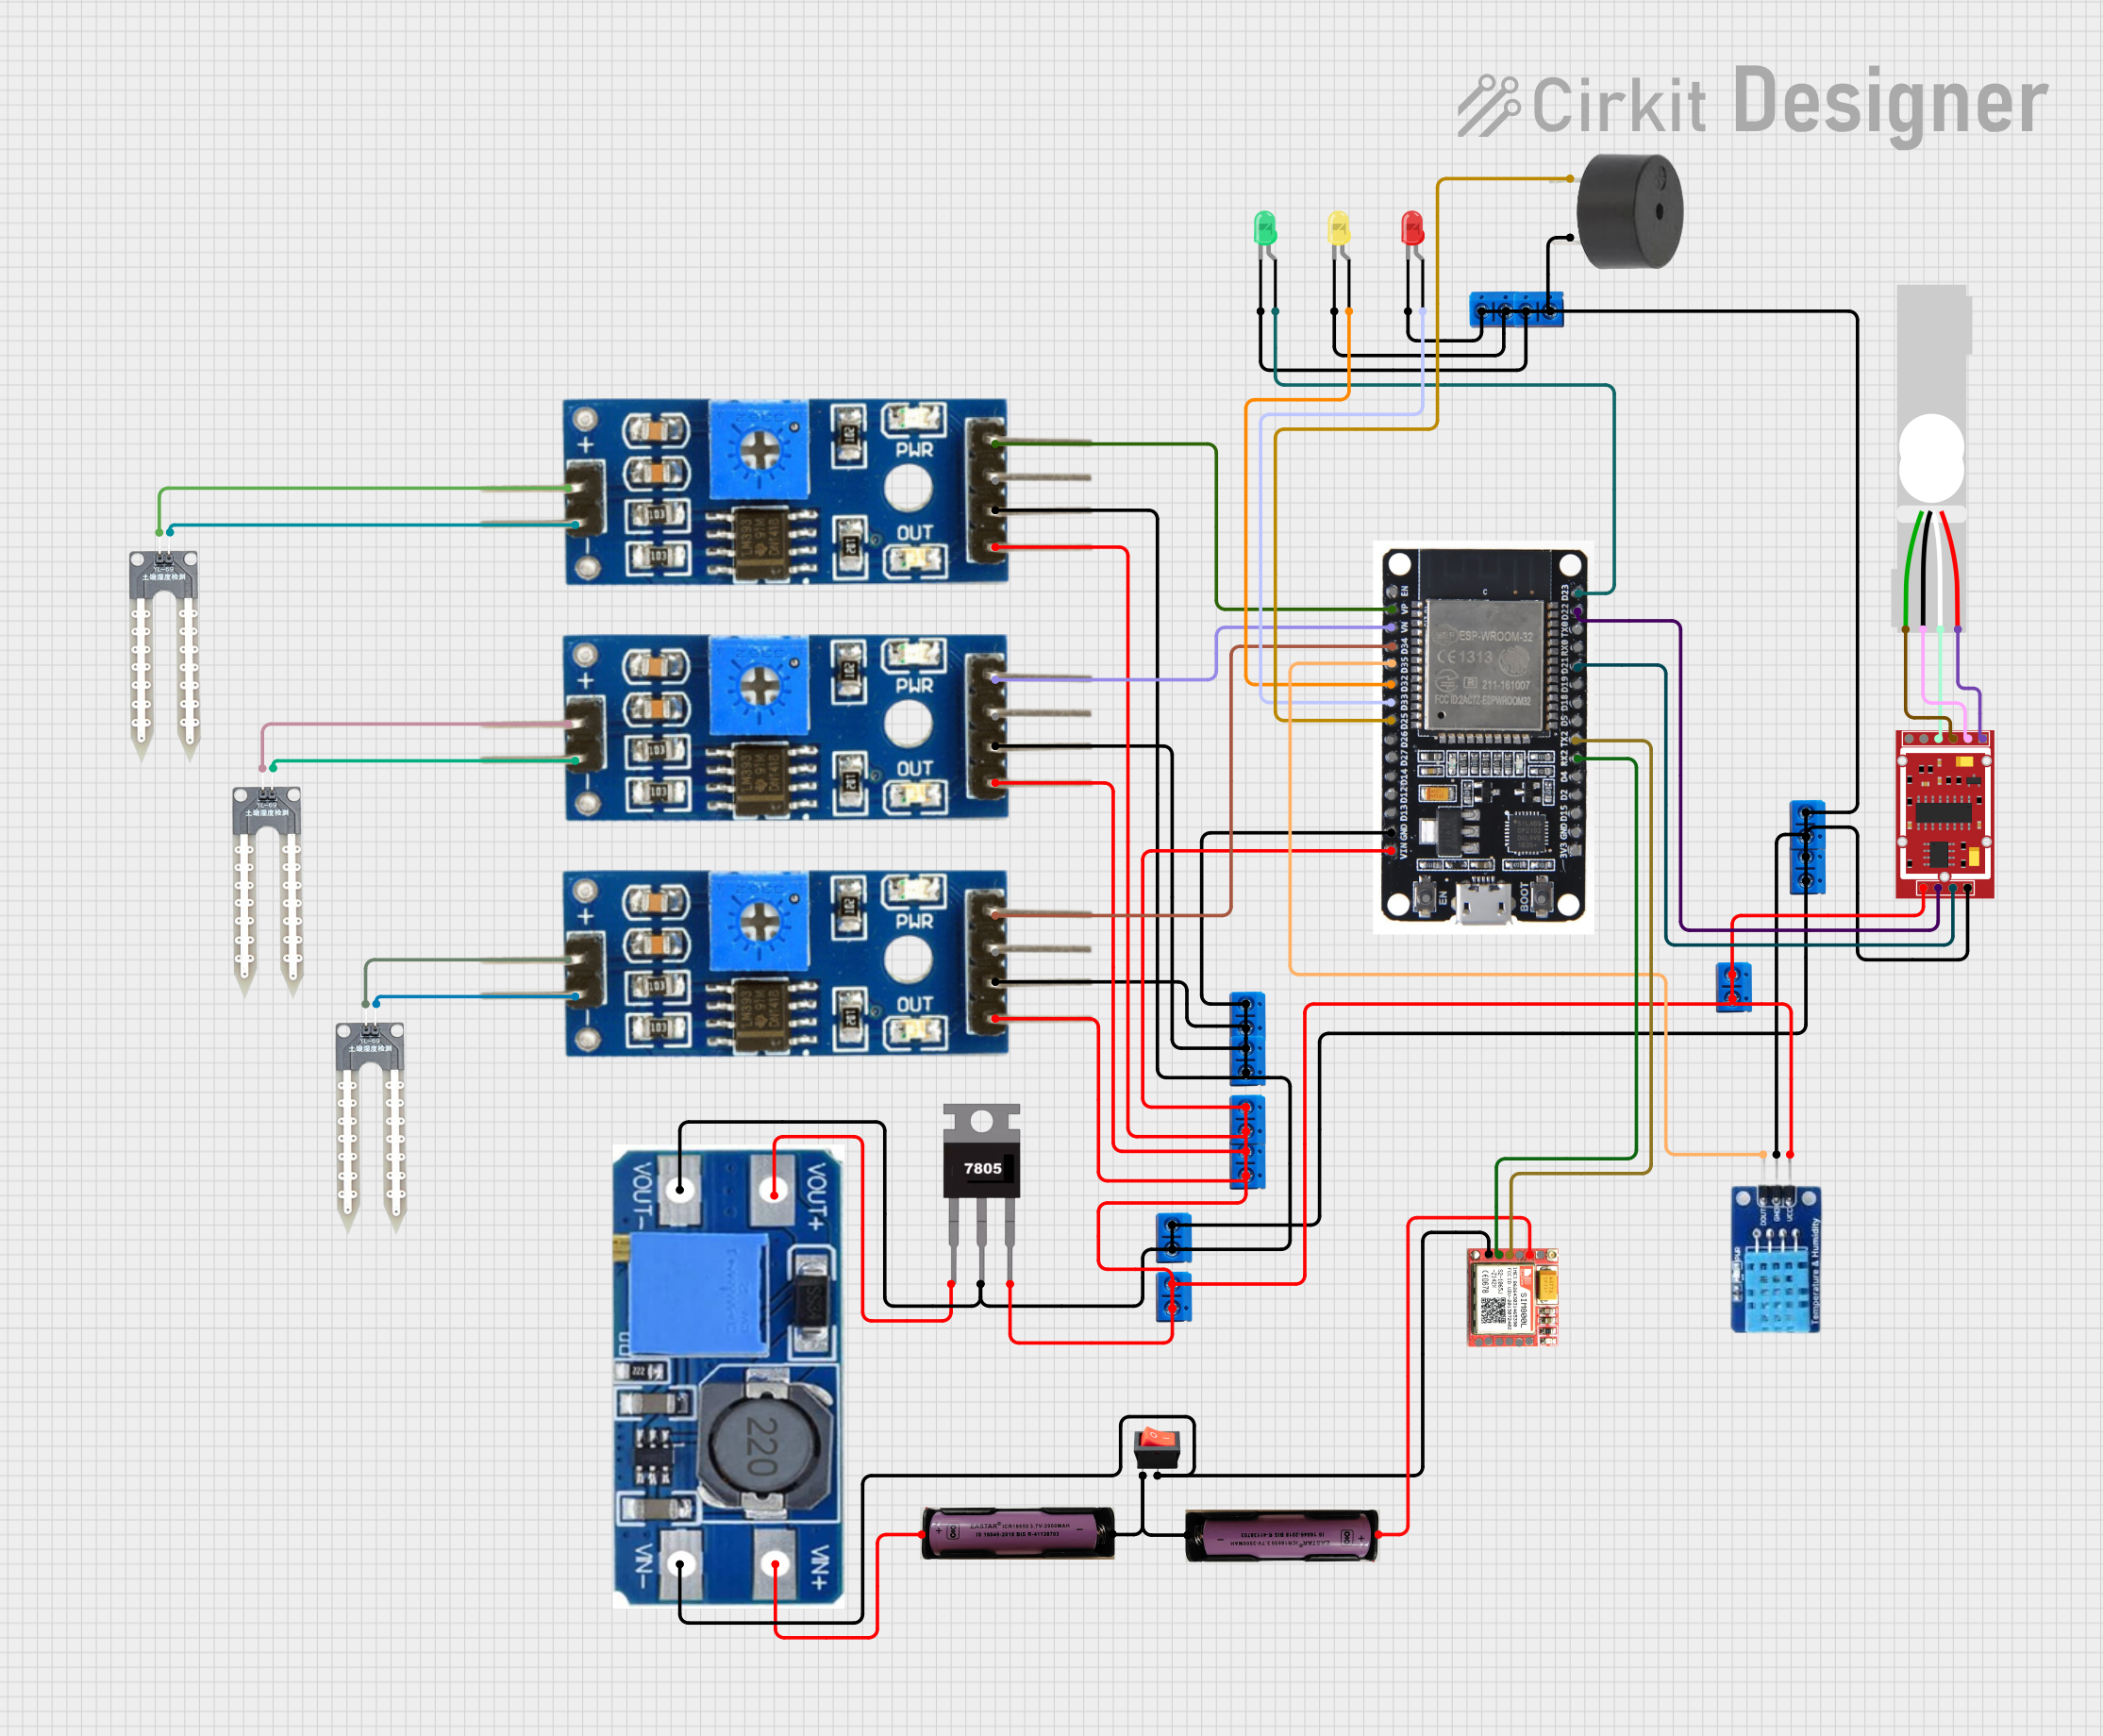
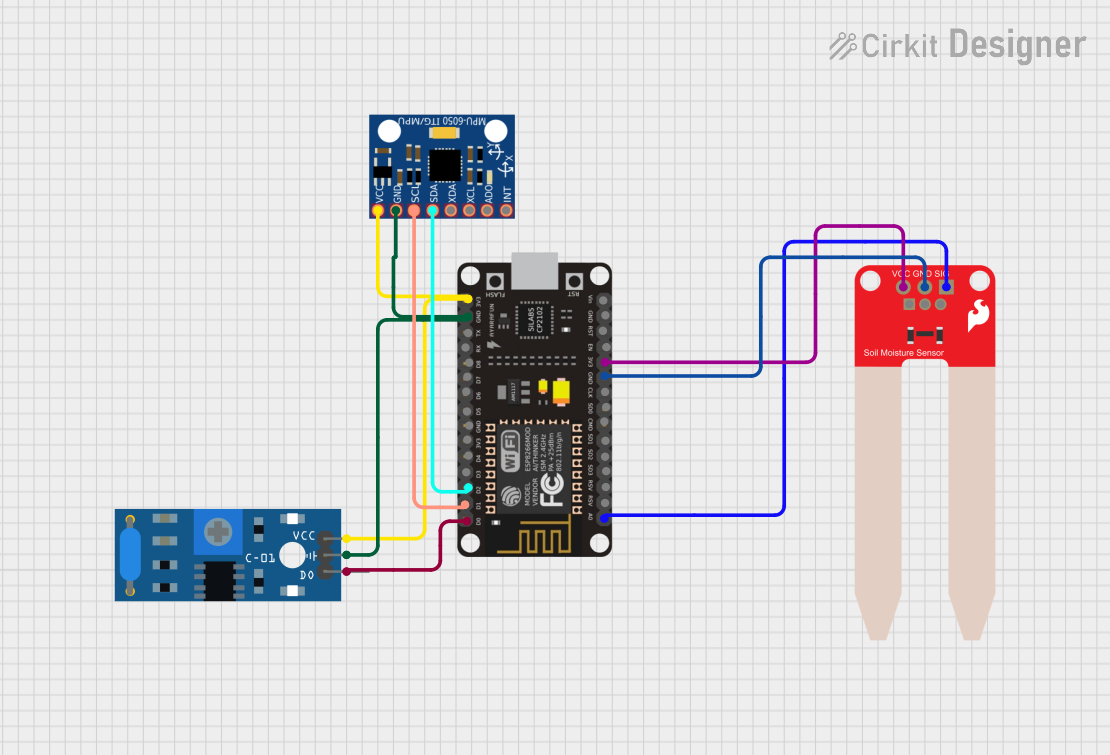
Explore Projects Built with HW-080 Soil Sensor
Common Applications:
- Automated irrigation systems
- Smart gardening projects
- Soil moisture monitoring for agriculture
- Environmental research and experiments
- DIY electronics and IoT projects
Technical Specifications
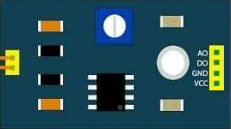
The HW-080 Soil Sensor consists of two main parts: the probe and the control board. The probe detects soil moisture, while the control board processes the signal and provides output.
Key Technical Details:
- Operating Voltage: 3.3V to 5V
- Output Types: Analog (voltage level) and Digital (high/low signal)
- Current Consumption: < 20mA
- Output Voltage Range (Analog): 0V to 4.2V (approx.)
- Digital Output Threshold: Adjustable via onboard potentiometer
- Dimensions:
- Probe: ~60mm x 20mm
- Control Board: ~30mm x 15mm
- Connector Type: 4-pin header (VCC, GND, A0, D0)
Pin Configuration and Descriptions:
| Pin Name | Description |
|---|---|
| VCC | Power supply input (3.3V to 5V). Connect to the positive terminal of the power. |
| GND | Ground connection. Connect to the negative terminal of the power. |
| A0 | Analog output. Provides a voltage proportional to soil moisture level. |
| D0 | Digital output. Outputs HIGH or LOW based on the moisture threshold set. |
Usage Instructions
How to Use the HW-080 Soil Sensor in a Circuit:
Connect the Sensor:
- Connect the VCC pin to a 3.3V or 5V power source.
- Connect the GND pin to the ground of your circuit.
- Connect the A0 pin to an analog input pin on your microcontroller (e.g., Arduino).
- Optionally, connect the D0 pin to a digital input pin if you want to use the digital output.
Insert the Probe:
- Insert the probe into the soil you want to measure. Ensure the probe is fully inserted for accurate readings.
Adjust the Potentiometer (if using D0):
- Use a screwdriver to adjust the onboard potentiometer to set the moisture threshold for the digital output. When the soil moisture exceeds this threshold, the D0 pin will output LOW; otherwise, it will output HIGH.
Read the Output:
- For analog readings, read the voltage from the A0 pin using an analog-to-digital converter (ADC) on your microcontroller.
- For digital readings, monitor the HIGH/LOW state of the D0 pin.
Important Considerations and Best Practices:
- Avoid exposing the sensor to water for prolonged periods, as it may corrode the probe.
- Use the sensor in non-corrosive environments for longer lifespan.
- Calibrate the sensor for your specific soil type to improve accuracy.
- Disconnect the sensor from power when not in use to prevent wear and tear.
Example Code for Arduino UNO:
// HW-080 Soil Sensor Example Code for Arduino UNO
// This code reads both analog and digital outputs from the sensor
// and displays the results in the Serial Monitor.

const int analogPin = A0; // Analog output pin connected to A0
const int digitalPin = 2; // Digital output pin connected to D2

void setup() {
  Serial.begin(9600); // Initialize serial communication at 9600 baud
  pinMode(digitalPin, INPUT); // Set digital pin as input
}

void loop() {
  // Read the analog value from the sensor
  int analogValue = analogRead(analogPin);

  // Read the digital value from the sensor
  int digitalValue = digitalRead(digitalPin);

  // Print the analog value (moisture level)
  Serial.print("Analog Value (Moisture Level): ");
  Serial.println(analogValue);

  // Print the digital value (threshold status)
  Serial.print("Digital Value (Threshold Status): ");
  if (digitalValue == HIGH) {
    Serial.println("Dry");
  } else {
    Serial.println("Wet");
  }

  delay(1000); // Wait for 1 second before the next reading
}
Troubleshooting and FAQs
Common Issues and Solutions:
No Output from the Sensor:
- Ensure the sensor is properly powered (3.3V to 5V).
- Check all connections for loose wires or incorrect pin assignments.
Inaccurate Readings:
- Calibrate the sensor for your specific soil type.
- Ensure the probe is fully inserted into the soil.
- Avoid using the sensor in highly saline or corrosive soils.
Corrosion on the Probe:
- Limit the duration of exposure to wet soil.
- Clean the probe with a dry cloth after use.
Digital Output Always HIGH or LOW:
- Adjust the potentiometer to set an appropriate moisture threshold.
- Verify that the D0 pin is connected to the correct digital input pin.
FAQs:
Q: Can the HW-080 Soil Sensor be used outdoors?
A: While the sensor can be used outdoors, it is not waterproof. Protect the control board from water and limit the probe's exposure to wet soil to prevent corrosion.
Q: How do I interpret the analog output?
A: The analog output voltage decreases as the soil moisture increases. You can map the voltage range to a percentage for easier interpretation.
Q: Can I use the sensor with a 3.3V microcontroller?
A: Yes, the HW-080 Soil Sensor is compatible with both 3.3V and 5V systems.
Q: How long does the sensor last?
A: The lifespan depends on usage and environmental conditions. Proper care, such as cleaning the probe and avoiding prolonged exposure to water, can extend its life.