
How to Use ICSP PINS: Examples, Pinouts, and Specs
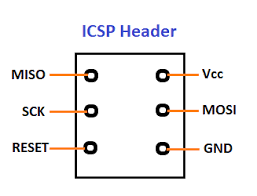
 Design with ICSP PINS in Cirkit Designer
Introduction
In-Circuit Serial Programming (ICSP) pins are an integral part of the Arduino Mega 2560, a microcontroller board based on the ATmega2560. These pins allow users to program the microcontroller directly through a physical connection, bypassing the need for a pre-loaded bootloader. ICSP is also useful for debugging and reprogramming devices that are already soldered into a system. Common applications include firmware updates, bootloader flashing, and direct chip programming.
Explore Projects Built with ICSP PINS
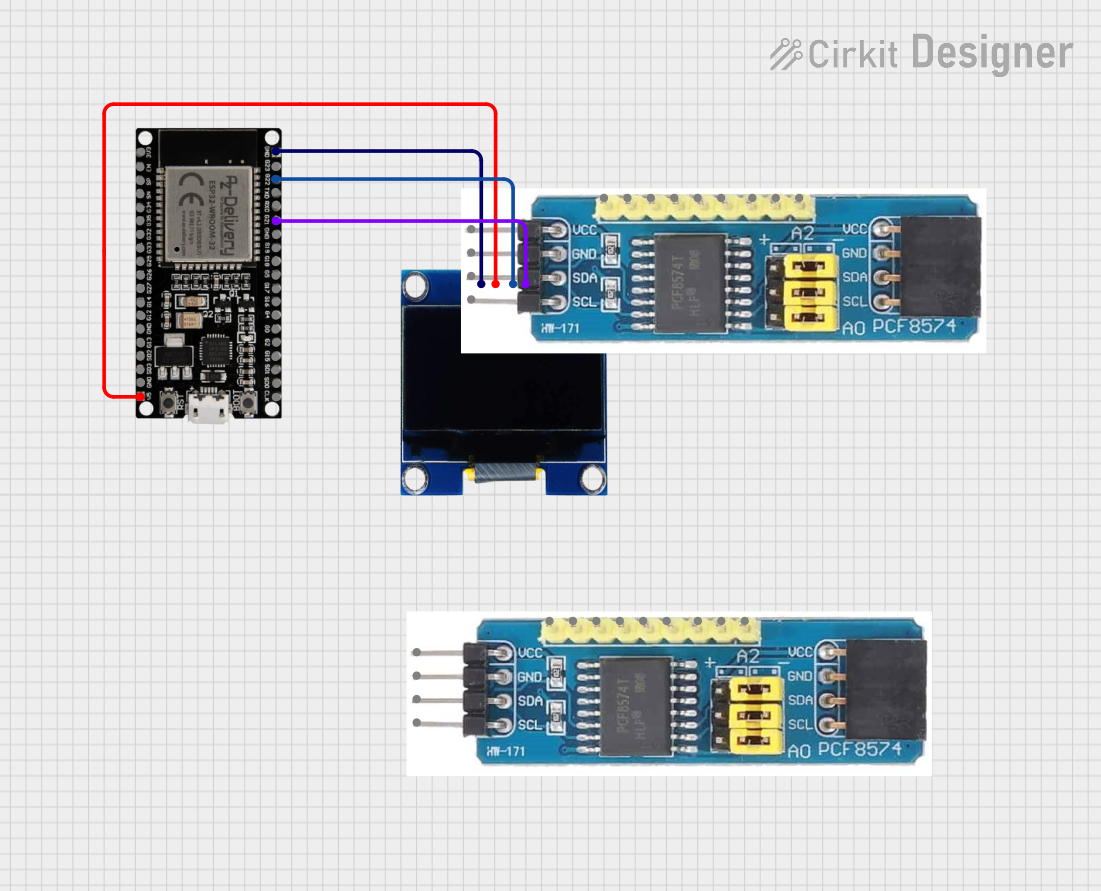
 Open Project in Cirkit Designer
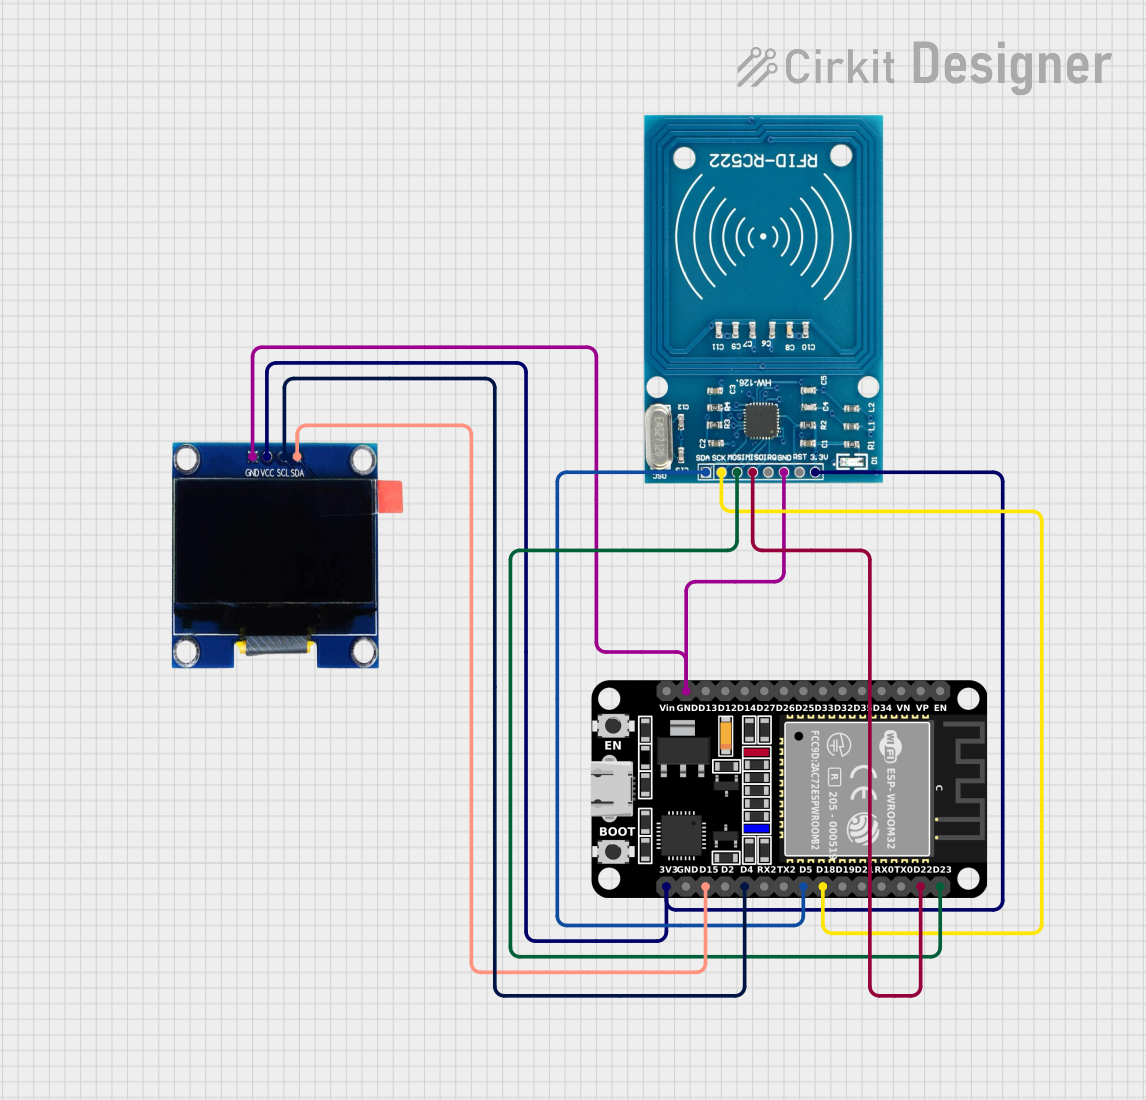
 Open Project in Cirkit Designer
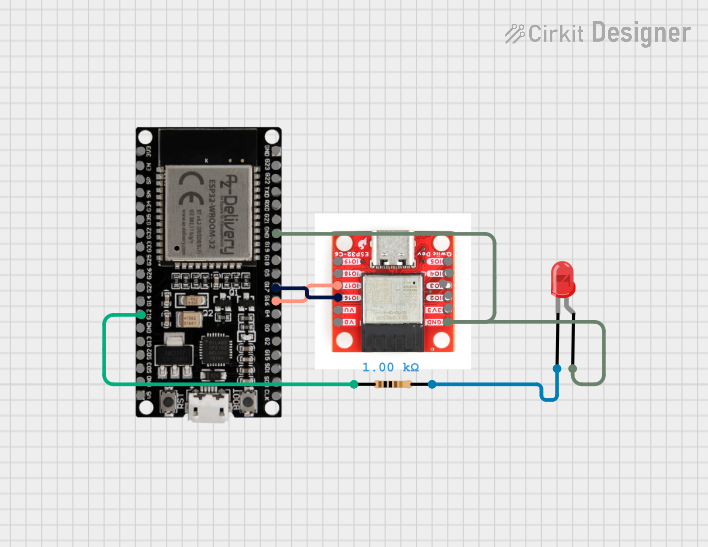
 Open Project in Cirkit Designer
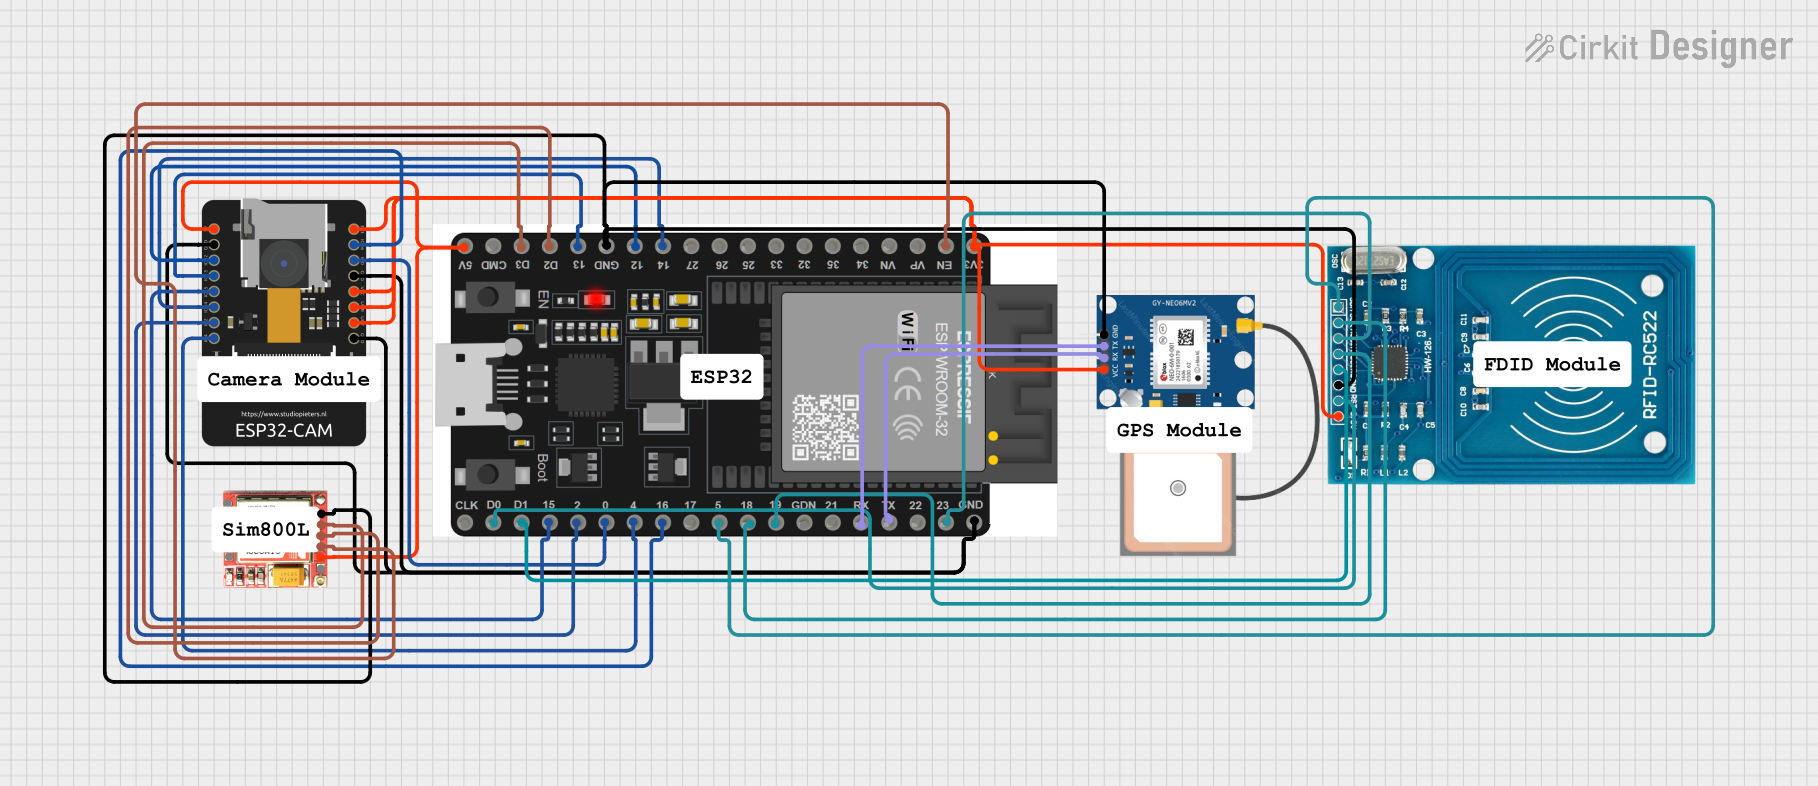
 Open Project in Cirkit Designer
Explore Projects Built with ICSP PINS

 Open Project in Cirkit Designer
 Open Project in Cirkit Designer
 Open Project in Cirkit Designer
 Open Project in Cirkit Designer
Technical Specifications
The ICSP header on the Arduino Mega 2560 consists of a 2x3 pin configuration. The key technical details and pin descriptions are as follows:
| Pin Number | Name | Description |
|---|---|---|
| 1 | MISO | Master In Slave Out - SPI data line |
| 2 | VCC | Positive supply voltage (typically +5V) |
| 3 | SCK | Serial Clock - SPI clock line |
| 4 | MOSI | Master Out Slave In - SPI data line |
| 5 | RESET | Used to reset the microcontroller |
| 6 | GND | Ground |
Note: The ICSP pins on the Arduino Mega 2560 are specifically mapped for SPI communication, which is used for programming the ATmega2560 microcontroller.
Usage Instructions
Connecting to the ICSP Header
- Power Off: Ensure that the Arduino Mega 2560 is powered off before connecting any programming device to the ICSP header.
- Correct Orientation: Align the programmer connector with the ICSP header on the board. Pin 1 is typically marked with a small dot or triangle.
- Secure Connection: Connect the programmer to the ICSP header, ensuring a snug fit to avoid poor contact.
Programming via ICSP
To program the Arduino Mega 2560 using the ICSP pins:
- Connect an ICSP-compatible programmer to the ICSP header.
- Use the Arduino IDE or another compatible software to upload the program.
- Select the correct board and processor from the Tools menu.
- Choose the programmer from the Tools > Programmer menu.
- Upload the sketch using the "Upload Using Programmer" option.
Best Practices
- Always verify connections before powering up to prevent damage.
- Use a programmer that is compatible with the Arduino Mega 2560.
- Ensure that the programming software is up to date.
Troubleshooting and FAQs
Q: What if the Arduino is not recognized by the programmer? A: Check all connections, ensure proper orientation, and verify that the correct drivers are installed.
Q: Can I use the ICSP header to program other devices? A: Yes, as long as the target device is compatible with the programmer and voltage levels.
Q: What should I do if programming fails? A: Double-check connections, ensure the correct board and processor are selected, and try lowering the programming speed.
Common Issues and Solutions:
- Incorrect Wiring: Double-check the ICSP pinout and ensure correct connections.
- Power Issues: Verify that the Arduino Mega 2560 and the programmer are powered correctly.
- Software Errors: Update the Arduino IDE and drivers, and check for correct board and programmer settings.
For further assistance, consult the Arduino community forums or the official Arduino troubleshooting guide.
Example Code for Arduino UNO
While the ICSP pins are primarily used for programming, they can also be used for SPI communication. Below is an example of how to initialize SPI communication using the ICSP header on an Arduino UNO, which shares the same SPI pin mapping as the Mega 2560.
#include <SPI.h>

void setup() {
  // Set the SPI settings
  SPI.begin(); // Initializes the SPI bus
  SPI.setClockDivider(SPI_CLOCK_DIV16); // Sets the SPI clock speed
  // SPI.setBitOrder(MSBFIRST); // Optional: Set bit order (default is MSB first)
  // SPI.setDataMode(SPI_MODE0); // Optional: Set data mode (default is Mode 0)
}

void loop() {
  // Example SPI communication process
  digitalWrite(SS, LOW); // Pull SS low to signal the start of an SPI packet
  SPI.transfer(0x00); // Transfer a byte
  digitalWrite(SS, HIGH); // Pull SS high to signal the end of an SPI packet
  // Add delay if necessary
  delay(1000);
}
Note: In this example, SS (Slave Select) must be defined according to your specific circuit setup. The SPI.transfer() function is used to send and receive data over the SPI bus.
Remember to consult the datasheet of the device you are communicating with to understand its specific SPI protocol requirements.