How to Use JST SM 2 Male: Examples, Pinouts, and Specs
Introduction
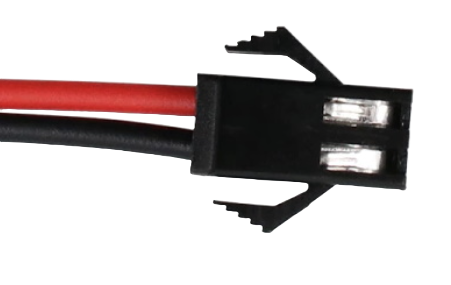
The JST SM 2 Male connector is a two-pin electrical connector designed for secure and reliable wire connections in electronic applications. Its compact design and locking mechanism make it ideal for ensuring stable connections in environments where vibration or movement might otherwise cause disconnections. This connector is widely used for power and signal connections in LED lighting systems, RC vehicles, drones, and other low-voltage electronic devices.
Explore Projects Built with JST SM 2 Male


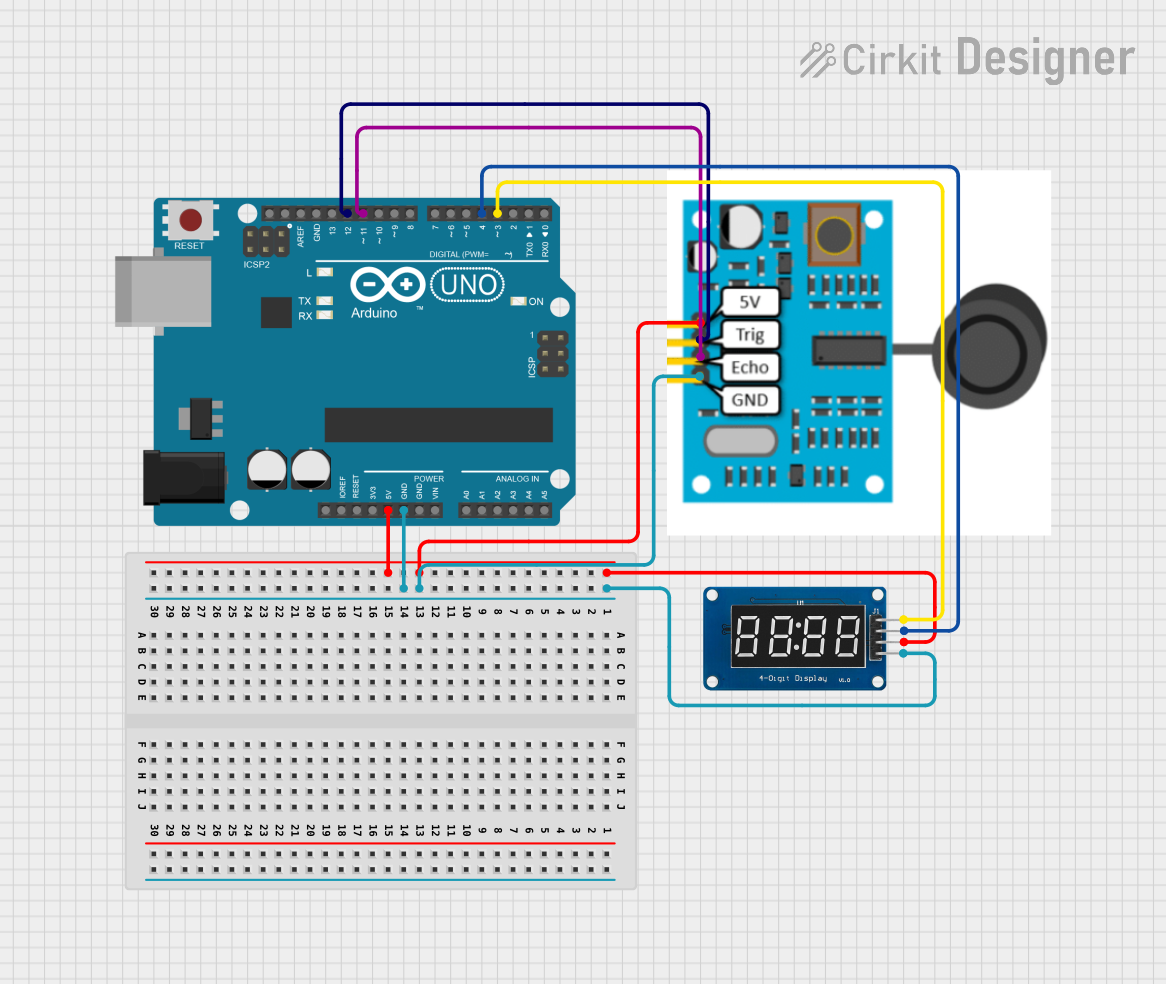
Explore Projects Built with JST SM 2 Male
Common Applications:
- LED strip lighting systems
- RC vehicles and drones
- Small electronic devices
- Signal and power connections in DIY projects
- Robotics and automation systems
Technical Specifications
Key Technical Details:
- Number of Pins: 2
- Rated Voltage: 250V AC/DC
- Rated Current: 3A
- Contact Resistance: ≤ 20 mΩ
- Insulation Resistance: ≥ 1000 mΩ
- Wire Gauge Compatibility: 22-28 AWG
- Operating Temperature Range: -25°C to +85°C
- Material: Nylon housing with tin-plated copper contacts
- Locking Mechanism: Snap-lock for secure connections
Pin Configuration and Descriptions:
The JST SM 2 Male connector has two pins, typically used for power and ground connections. Below is the pin configuration:
| Pin Number | Designation | Description |
|---|---|---|
| 1 | V+ | Positive voltage or signal line |
| 2 | GND | Ground or negative line |
Usage Instructions
How to Use the JST SM 2 Male Connector:
Wire Preparation:
- Strip approximately 5-7 mm of insulation from the wires you intend to connect.
- Ensure the wires are clean and free of damage.
Crimping the Contacts:
- Use a crimping tool compatible with JST SM connectors to attach the metal contacts to the stripped wires.
- Ensure the crimp is secure and that the wire strands are properly enclosed.
Inserting the Contacts:
- Insert the crimped contacts into the connector housing until they click into place.
- Verify that the contacts are fully seated and cannot be pulled out easily.
Connecting to the Female Connector:
- Align the JST SM 2 Male connector with the corresponding JST SM 2 Female connector.
- Push the connectors together until the locking mechanism clicks, ensuring a secure connection.
Disconnecting:
- To disconnect, press the locking tab on the male connector and gently pull the connectors apart.
Important Considerations:
- Polarity: Always verify the polarity of the wires before connecting to avoid damage to your circuit.
- Wire Gauge: Use wires within the specified gauge range (22-28 AWG) for optimal performance.
- Secure Connections: Ensure the locking mechanism is engaged to prevent accidental disconnections.
- Environmental Conditions: Avoid exposing the connector to extreme temperatures or moisture beyond its rated specifications.
Example: Using JST SM 2 Male with an Arduino UNO
The JST SM 2 Male connector can be used to power an Arduino UNO or connect peripherals like LED strips. Below is an example of connecting an LED strip to an Arduino using the JST SM 2 Male connector.
Circuit Diagram:
- Pin 1 (V+): Connect to the 5V pin on the Arduino.
- Pin 2 (GND): Connect to the GND pin on the Arduino.
Sample Code:
// Example code to control an LED strip connected via JST SM 2 Male connector
// Ensure the LED strip is compatible with the Arduino's voltage and current limits.

#define LED_PIN 9  // Pin connected to the LED strip's signal line

void setup() {
  pinMode(LED_PIN, OUTPUT);  // Set the LED pin as an output
}

void loop() {
  digitalWrite(LED_PIN, HIGH);  // Turn the LED strip on
  delay(1000);                  // Wait for 1 second
  digitalWrite(LED_PIN, LOW);   // Turn the LED strip off
  delay(1000);                  // Wait for 1 second
}
Troubleshooting and FAQs
Common Issues:
Loose Connections:
- Problem: The connector feels loose or disconnects easily.
- Solution: Ensure the contacts are fully inserted into the housing and the locking mechanism is engaged.
Polarity Reversal:
- Problem: The device does not function or is damaged after connection.
- Solution: Double-check the polarity of the wires before connecting. Use a multimeter if necessary.
Overheating:
- Problem: The connector becomes warm during operation.
- Solution: Verify that the current does not exceed the rated 3A. Use thicker wires if needed.
Difficulty in Disconnecting:
- Problem: The connectors are hard to separate.
- Solution: Press the locking tab firmly while pulling the connectors apart. Avoid using excessive force.
FAQs:
Q: Can the JST SM 2 Male connector handle high-current applications?
A: No, the connector is rated for a maximum current of 3A. For higher currents, consider using connectors with higher ratings.Q: Is the JST SM 2 Male connector waterproof?
A: No, the standard JST SM 2 Male connector is not waterproof. For outdoor or moisture-prone environments, use additional waterproofing measures.Q: Can I reuse the connector after crimping?
A: While it is possible to remove and reuse the housing, the crimped contacts are typically not reusable. It is recommended to use new contacts for reliable connections.Q: What tools are required for crimping?
A: A dedicated JST crimping tool is recommended for precise and secure crimps. Generic crimping tools may not provide optimal results.
By following this documentation, you can effectively use the JST SM 2 Male connector in your electronic projects, ensuring reliable and secure connections.