How to Use 9V Battery: Examples, Pinouts, and Specs
Introduction
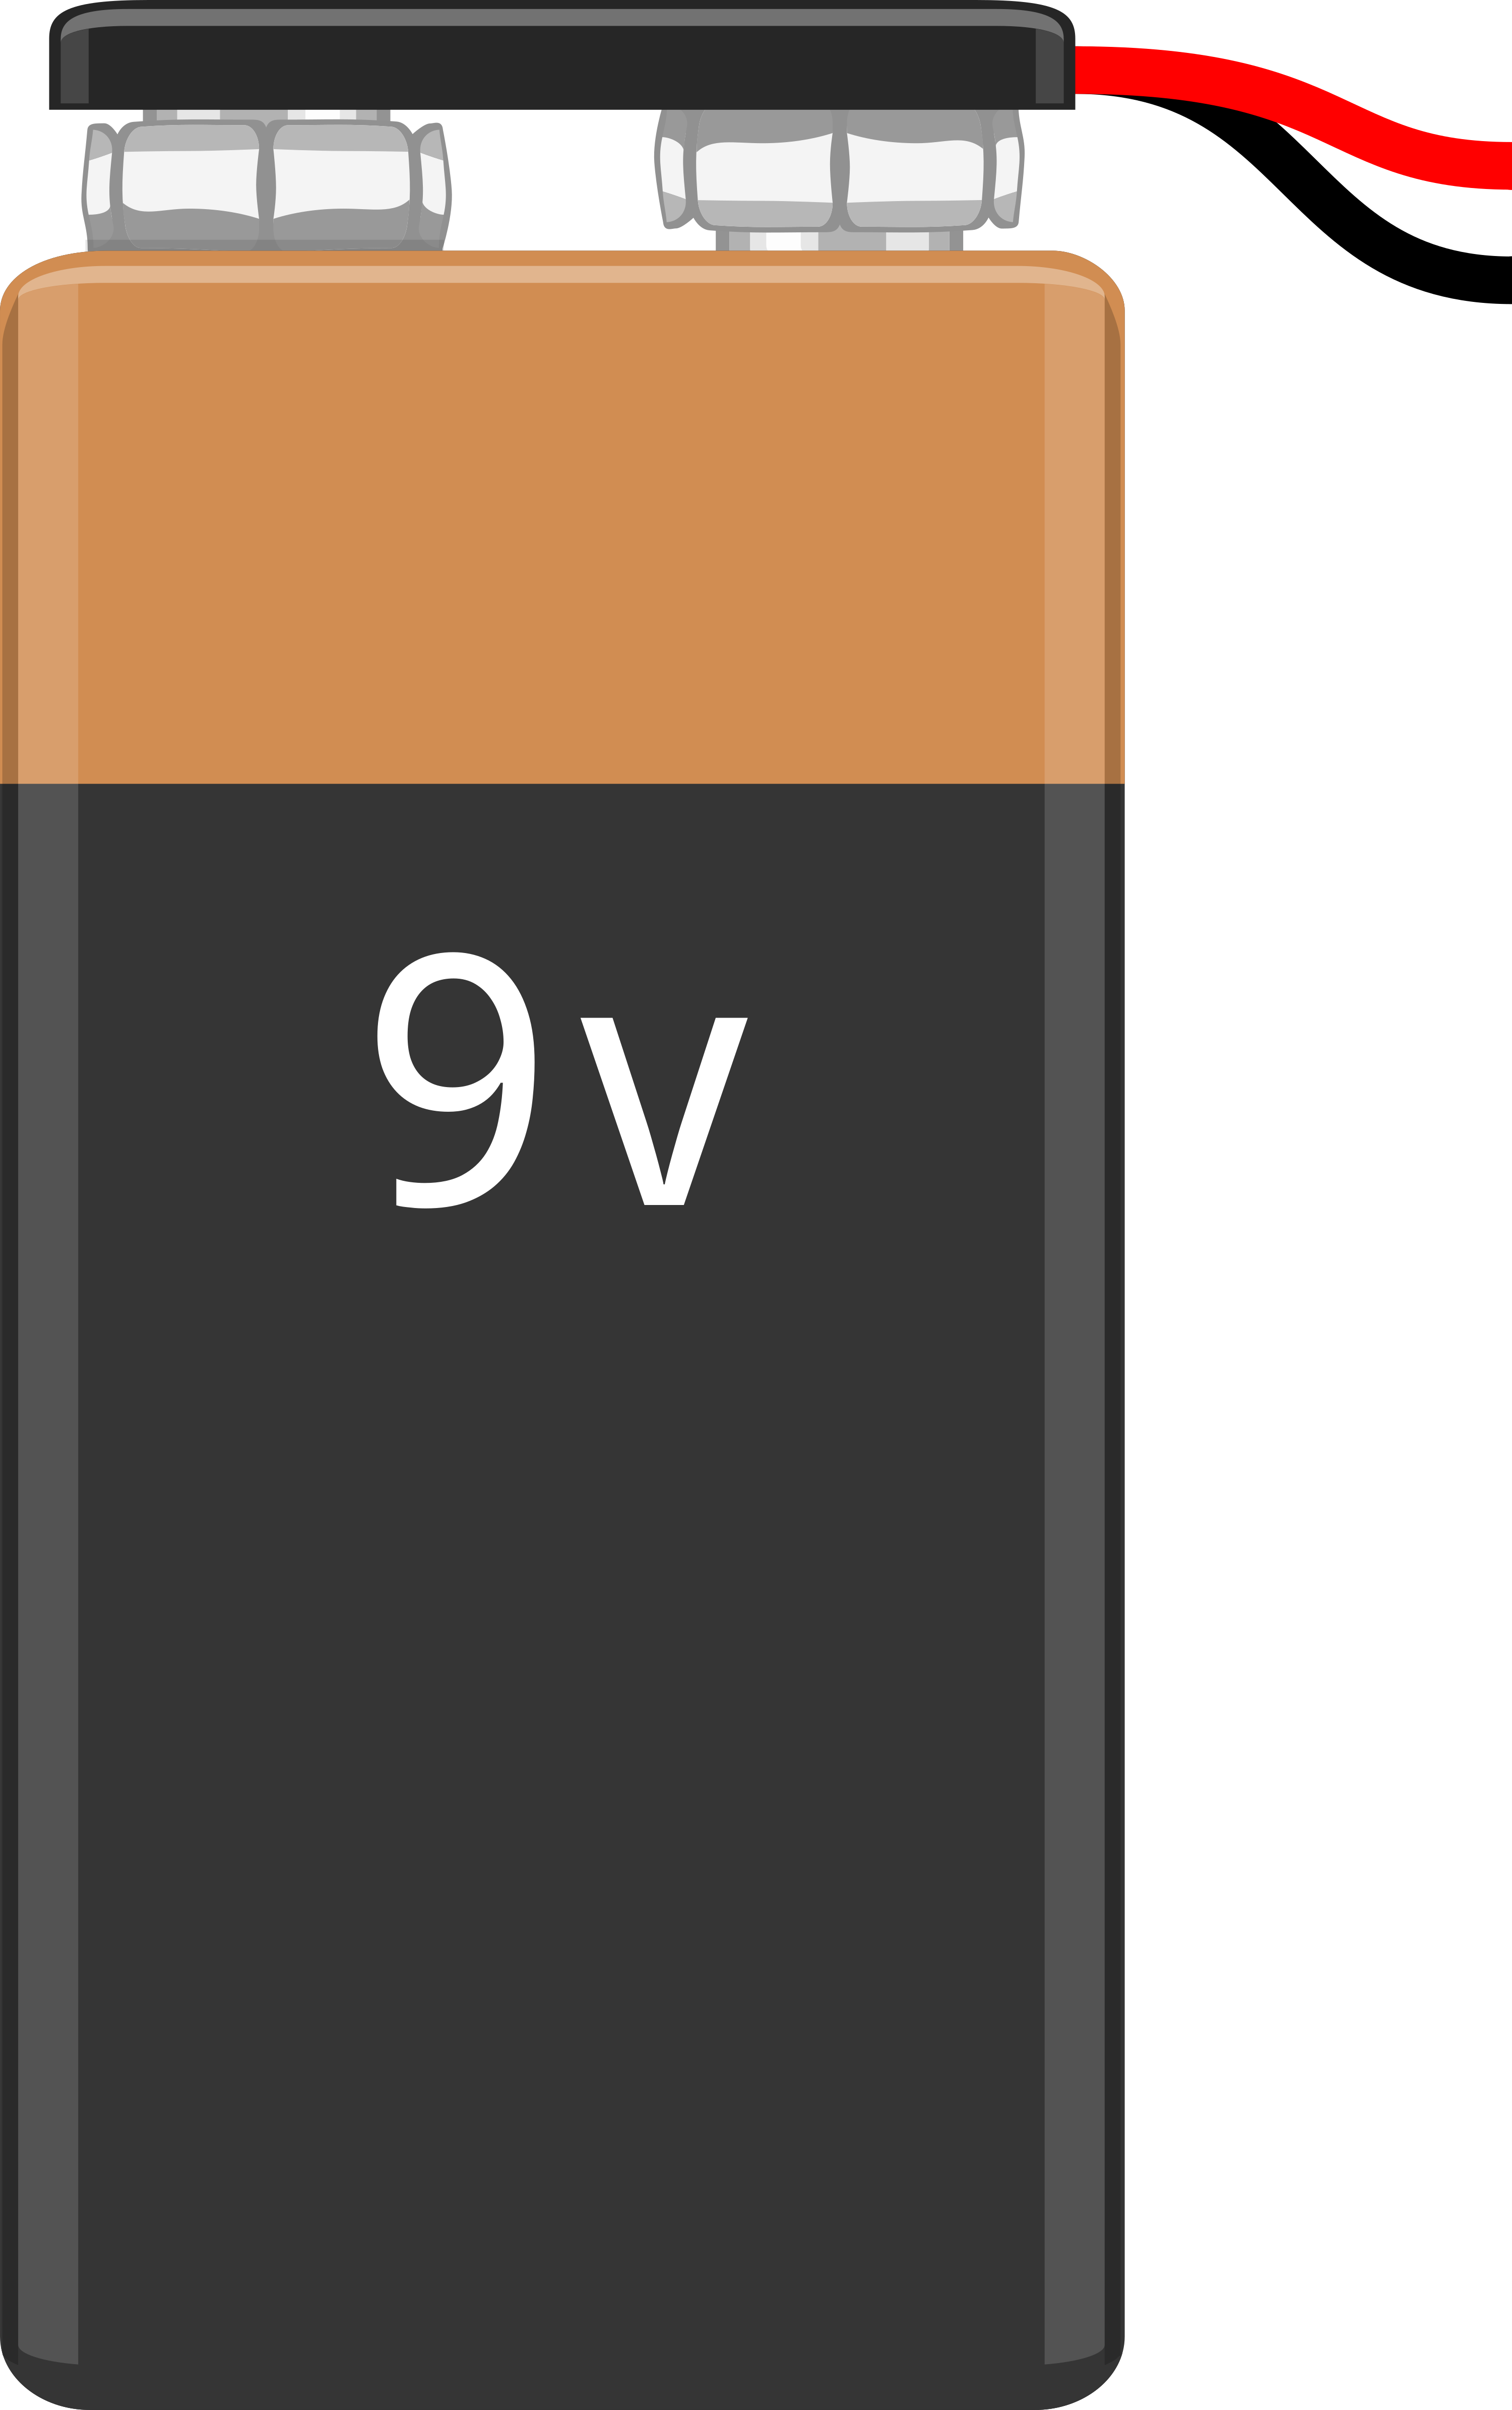
The 9V Battery is a versatile and commonly used power source for a variety of electronic devices and projects. It is particularly favored in the realm of hobby electronics and prototyping, especially when a portable and compact power source is required. This type of battery is often used in applications such as smoke alarms, walkie-talkies, and as a convenient power source for Arduino-based projects.
Explore Projects Built with 9V Battery

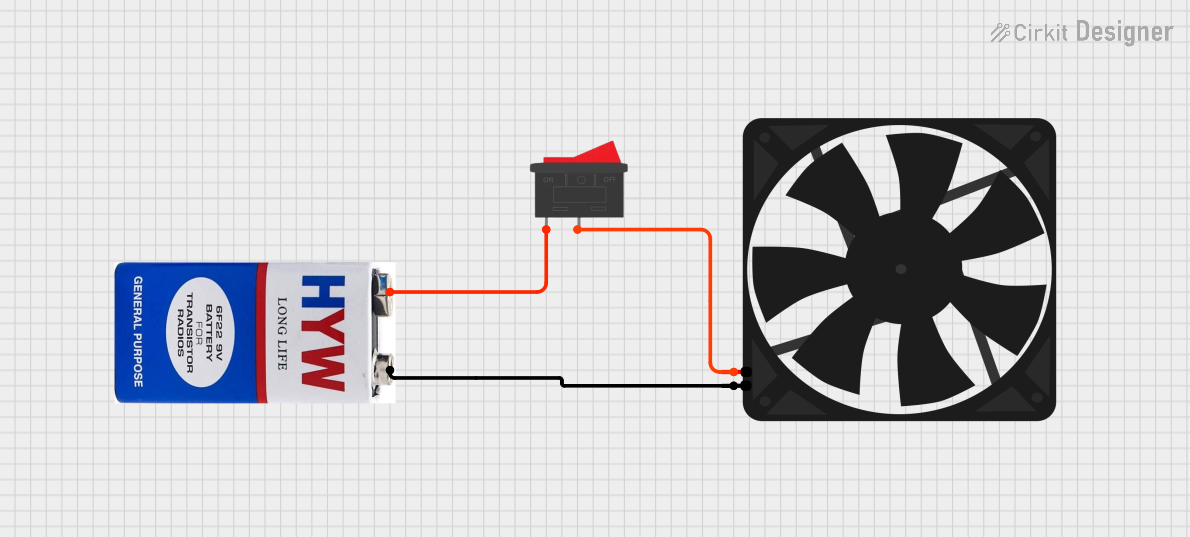
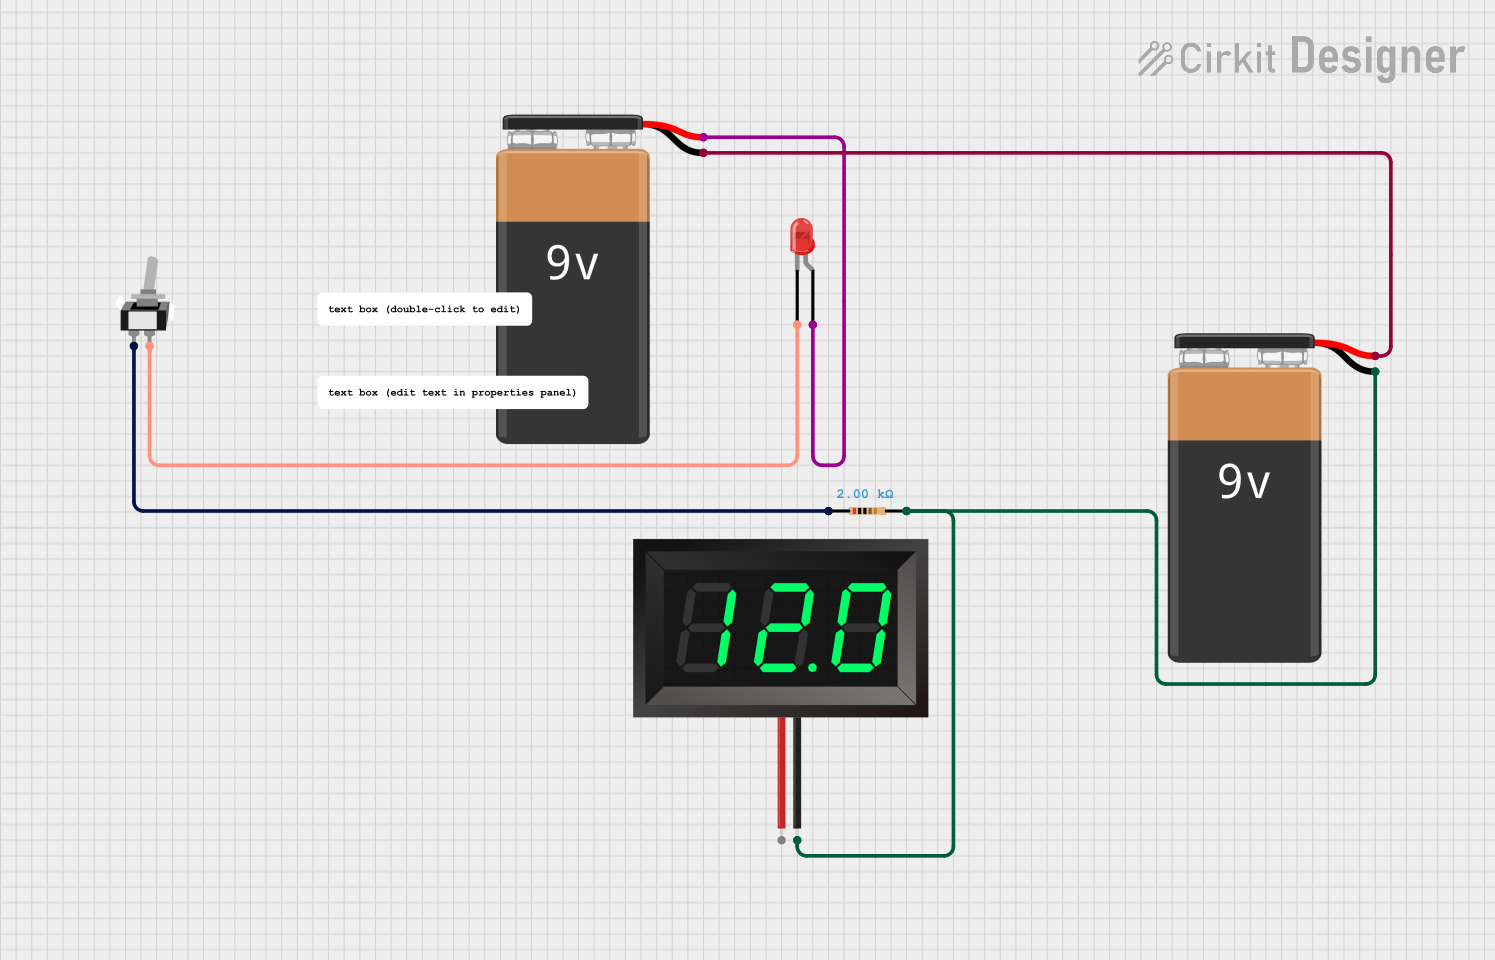
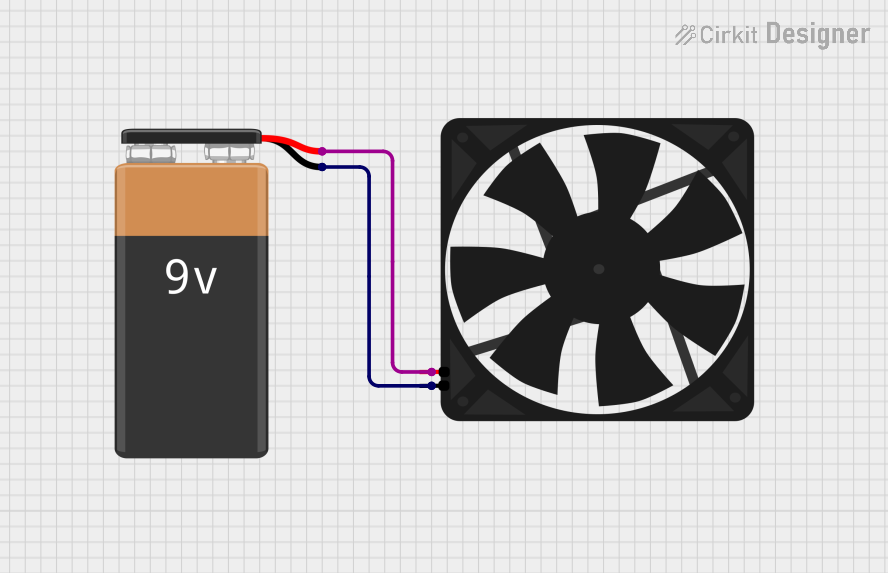
Explore Projects Built with 9V Battery
Common Applications and Use Cases
- Powering Arduino and other microcontroller boards
- Small electronic projects
- Portable devices requiring higher voltage
- Backup power for memory or real-time clock modules
Technical Specifications
Key Technical Details
- Nominal Voltage: 9V
- Chemistry: Alkaline or Carbon Zinc (common types)
- Capacity: Varies by manufacturer and chemistry, typically around 400 to 600 mAh for alkaline
- Shelf Life: Typically 5 years for alkaline batteries
Pin Configuration and Descriptions
The 9V battery has a simple two-terminal design:
| Pin | Description |
|---|---|
| + | Positive terminal (smaller, typically marked with a "+" sign) |
| - | Negative terminal (larger, snap-on connector) |
Usage Instructions
How to Use the Component in a Circuit
Connecting to a Breadboard:
- Use a 9V battery clip with a barrel jack or standard connectors to interface with a breadboard.
- Ensure the polarity is correct; the red wire is positive (+), and the black wire is negative (-).
Connecting to an Arduino:
- Use a 9V battery snap connector with a barrel jack to plug into the Arduino's power jack.
- Alternatively, connect the positive terminal to the VIN pin and the negative terminal to the GND pin on the Arduino.
Important Considerations and Best Practices
- Voltage Regulation: Ensure that the device you are powering can handle the full 9V. Some components may require a voltage regulator to step down the voltage.
- Battery Life: Be mindful of the battery life; 9V batteries have limited capacity and can drain quickly with high-current applications.
- Safety: Do not attempt to recharge a non-rechargeable 9V battery. Do not expose to high temperature or dispose of in fire.
Troubleshooting and FAQs
Common Issues Users Might Face
- Battery Drains Quickly: This can occur if the circuit draws more current than the battery can supply over time. Consider using a battery with a higher capacity or a different power source.
- Device Not Powering On: Check the battery's charge and ensure the connections are secure and correctly polarized.
Solutions and Tips for Troubleshooting
- Check Polarity: Ensure the positive and negative terminals are connected correctly to the circuit.
- Battery Test: Use a multimeter to check the battery voltage. If it is below 8.4V, the battery may need to be replaced.
- Connection Check: Inspect the battery snap and any connectors for damage or loose wires.
Example Code for Arduino UNO
// This example demonstrates how to power an Arduino UNO with a 9V battery.

void setup() {
  // Initialize the built-in LED pin as an output.
  pinMode(LED_BUILTIN, OUTPUT);
}

void loop() {
  // Turn the LED on (HIGH is the voltage level)
  digitalWrite(LED_BUILTIN, HIGH);
  // Wait for a second
  delay(1000);
  // Turn the LED off by making the voltage LOW
  digitalWrite(LED_BUILTIN, LOW);
  // Wait for a second
  delay(1000);
}

// Note: This code does not directly interact with the 9V battery.
// It assumes the Arduino is powered by the 9V battery through the power jack.
Note: The above code is a simple blink program that assumes the Arduino UNO is powered by the 9V battery. It does not include battery monitoring or power management features. Always ensure that the Arduino's power requirements are compatible with the 9V battery's output.