How to Use Water Pump: Examples, Pinouts, and Specs
Introduction
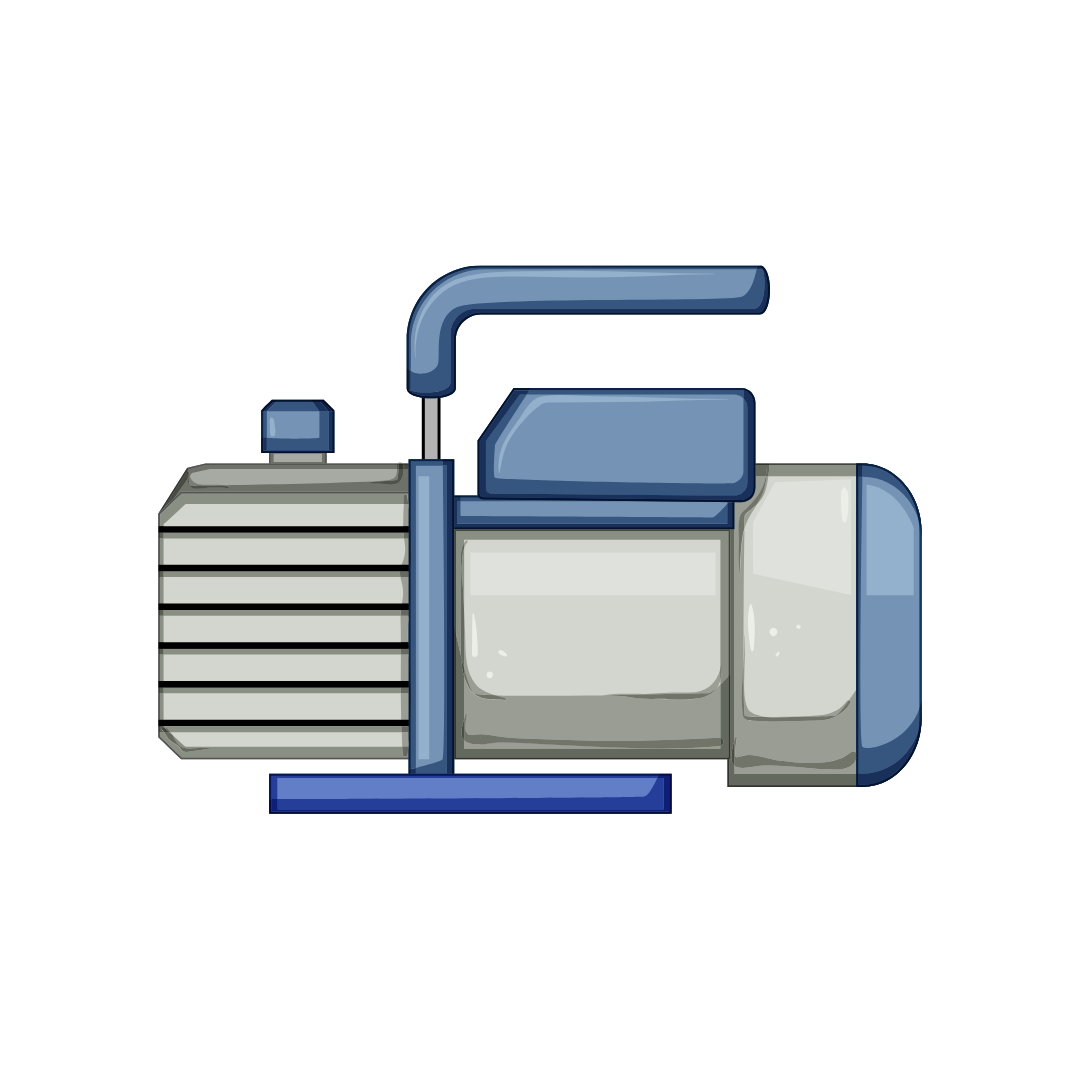
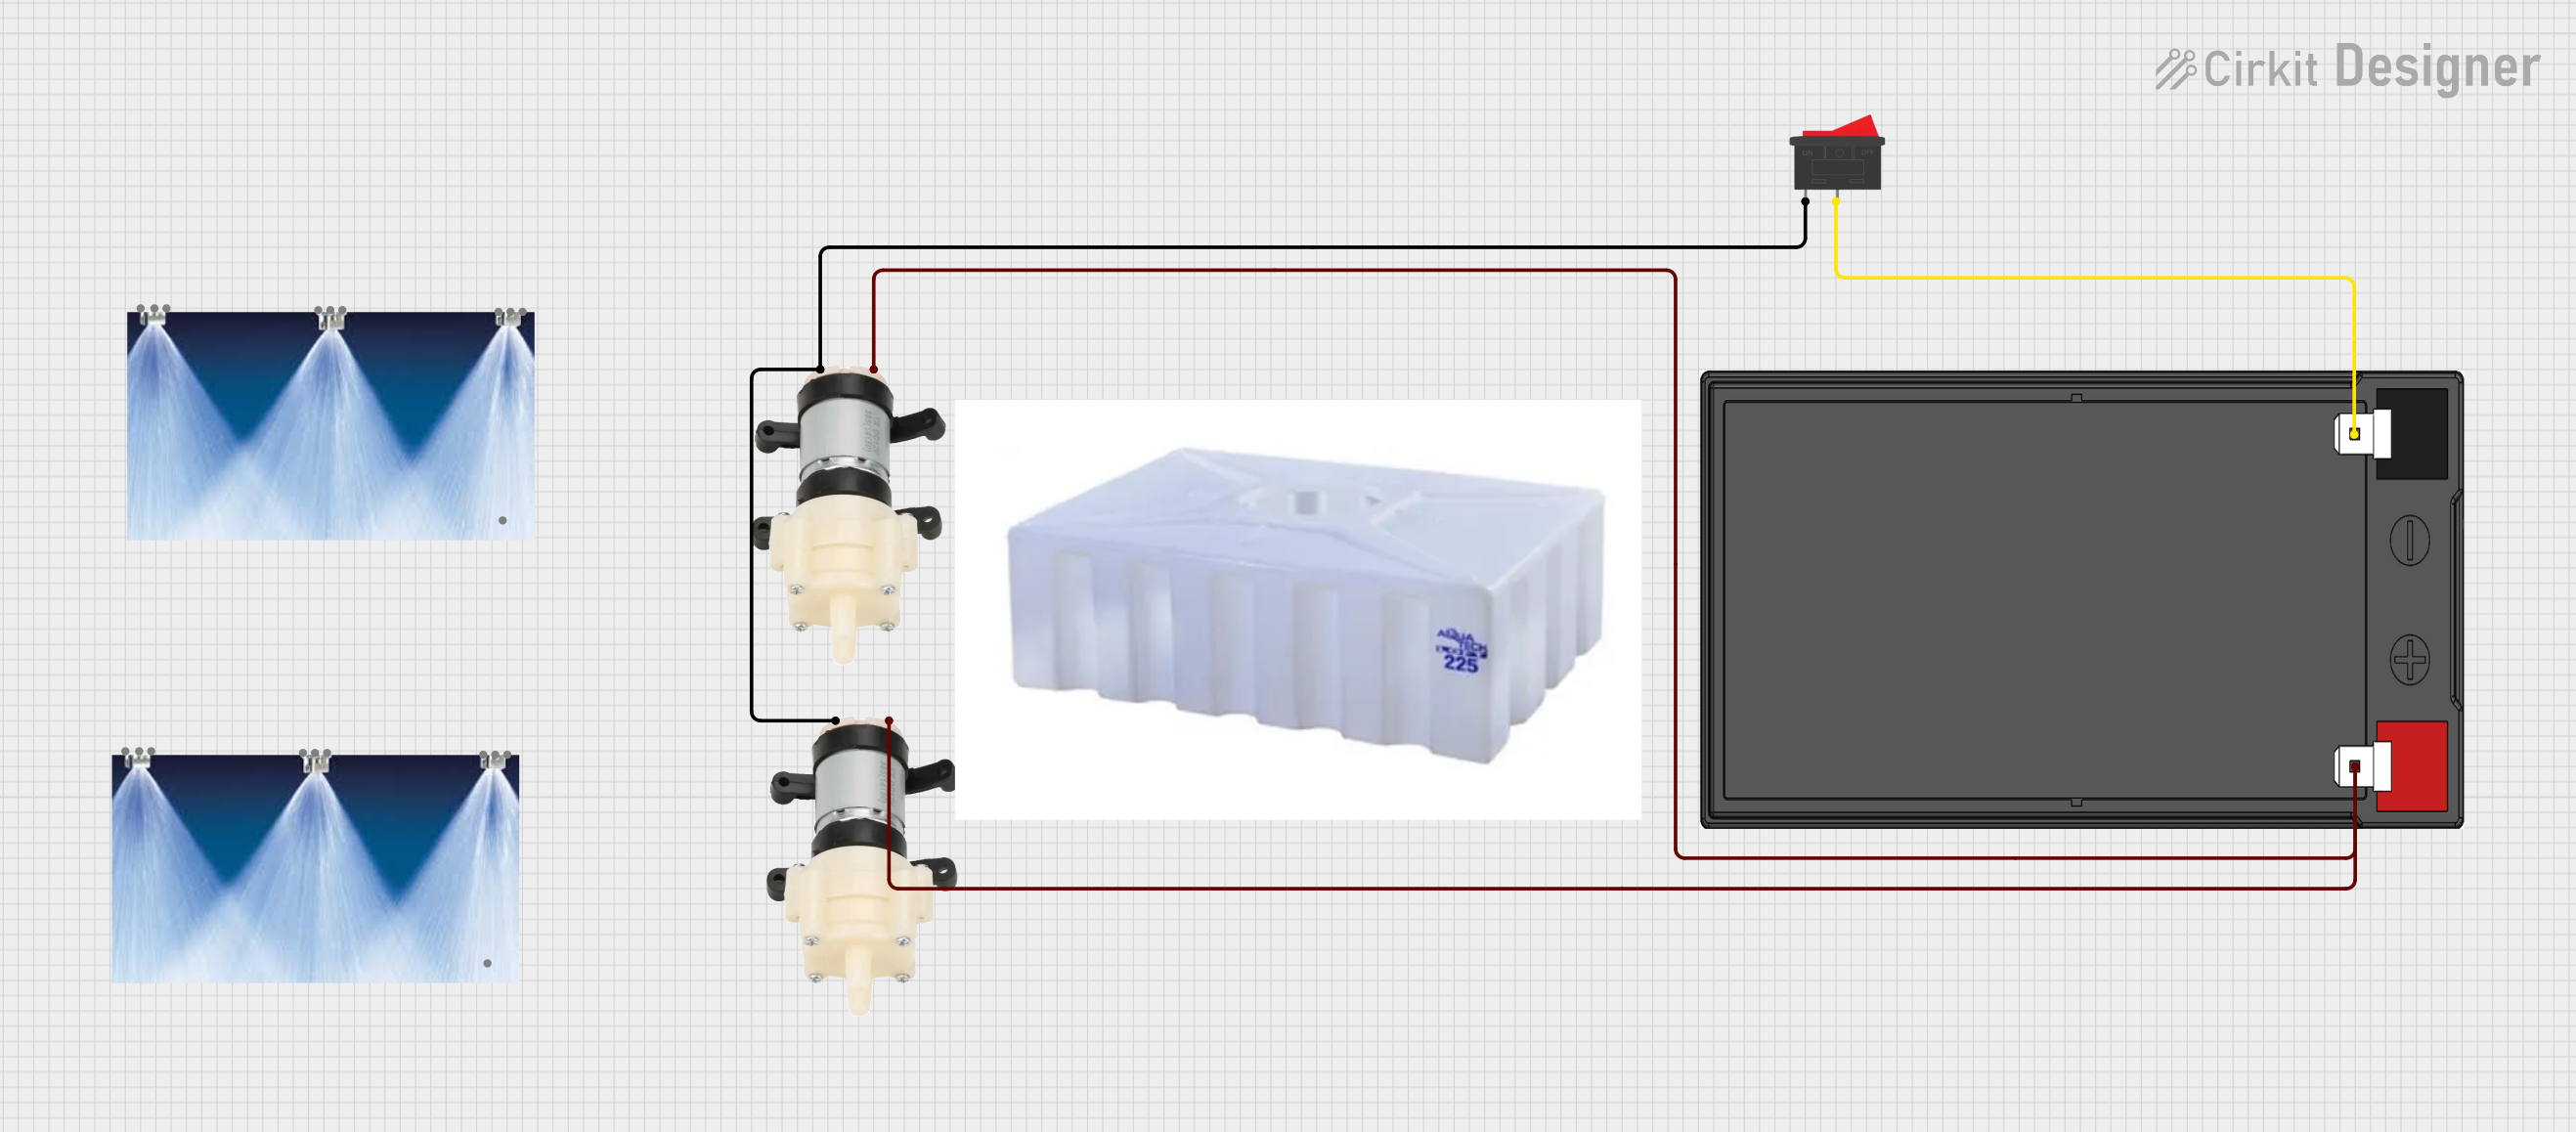
The water pump is an essential electronic component used to move water from one location to another. It is commonly employed in various applications such as irrigation systems, water supply networks, and cooling systems. This documentation provides a comprehensive guide to understanding, using, and troubleshooting a water pump in electronic circuits.
Explore Projects Built with Water Pump
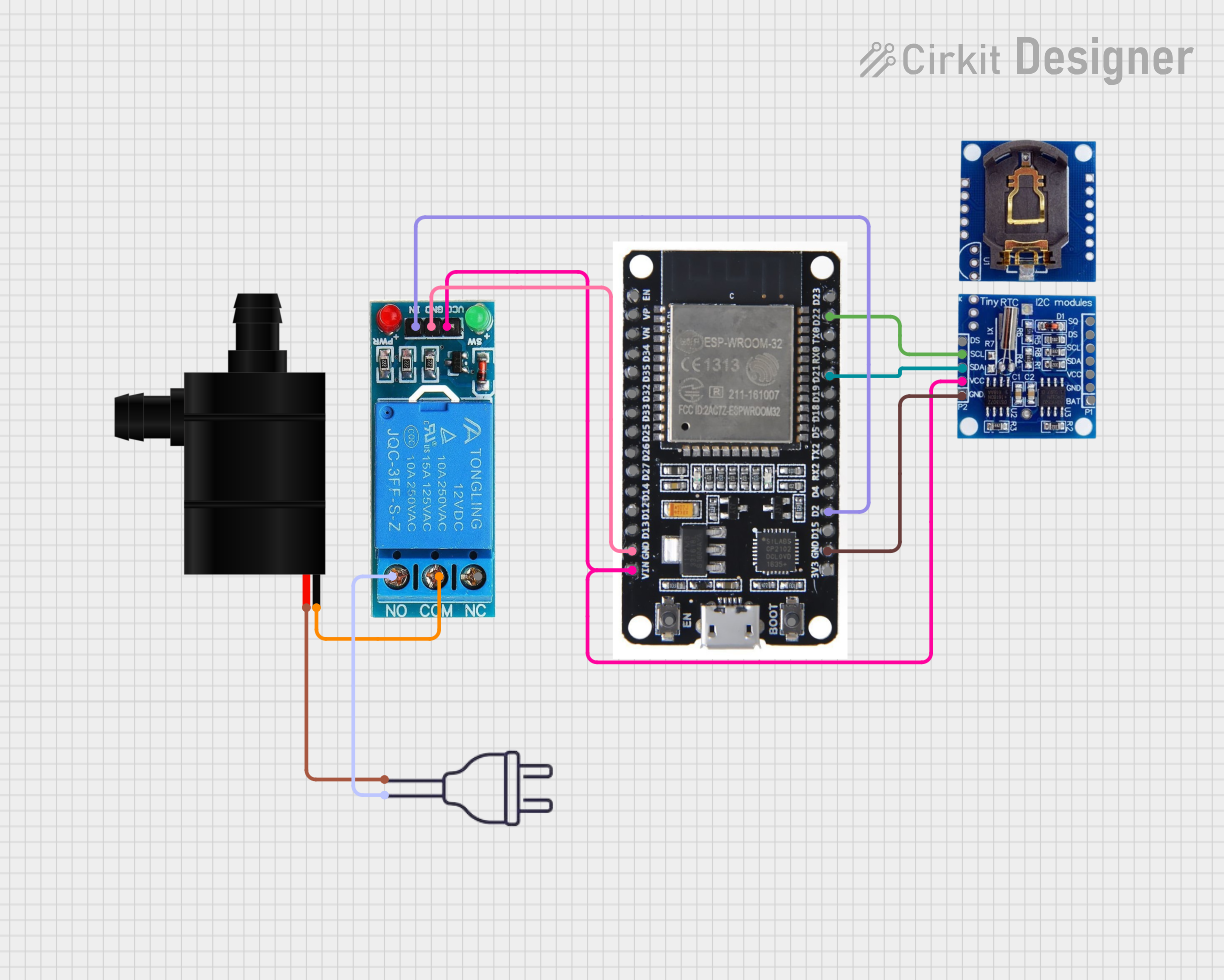
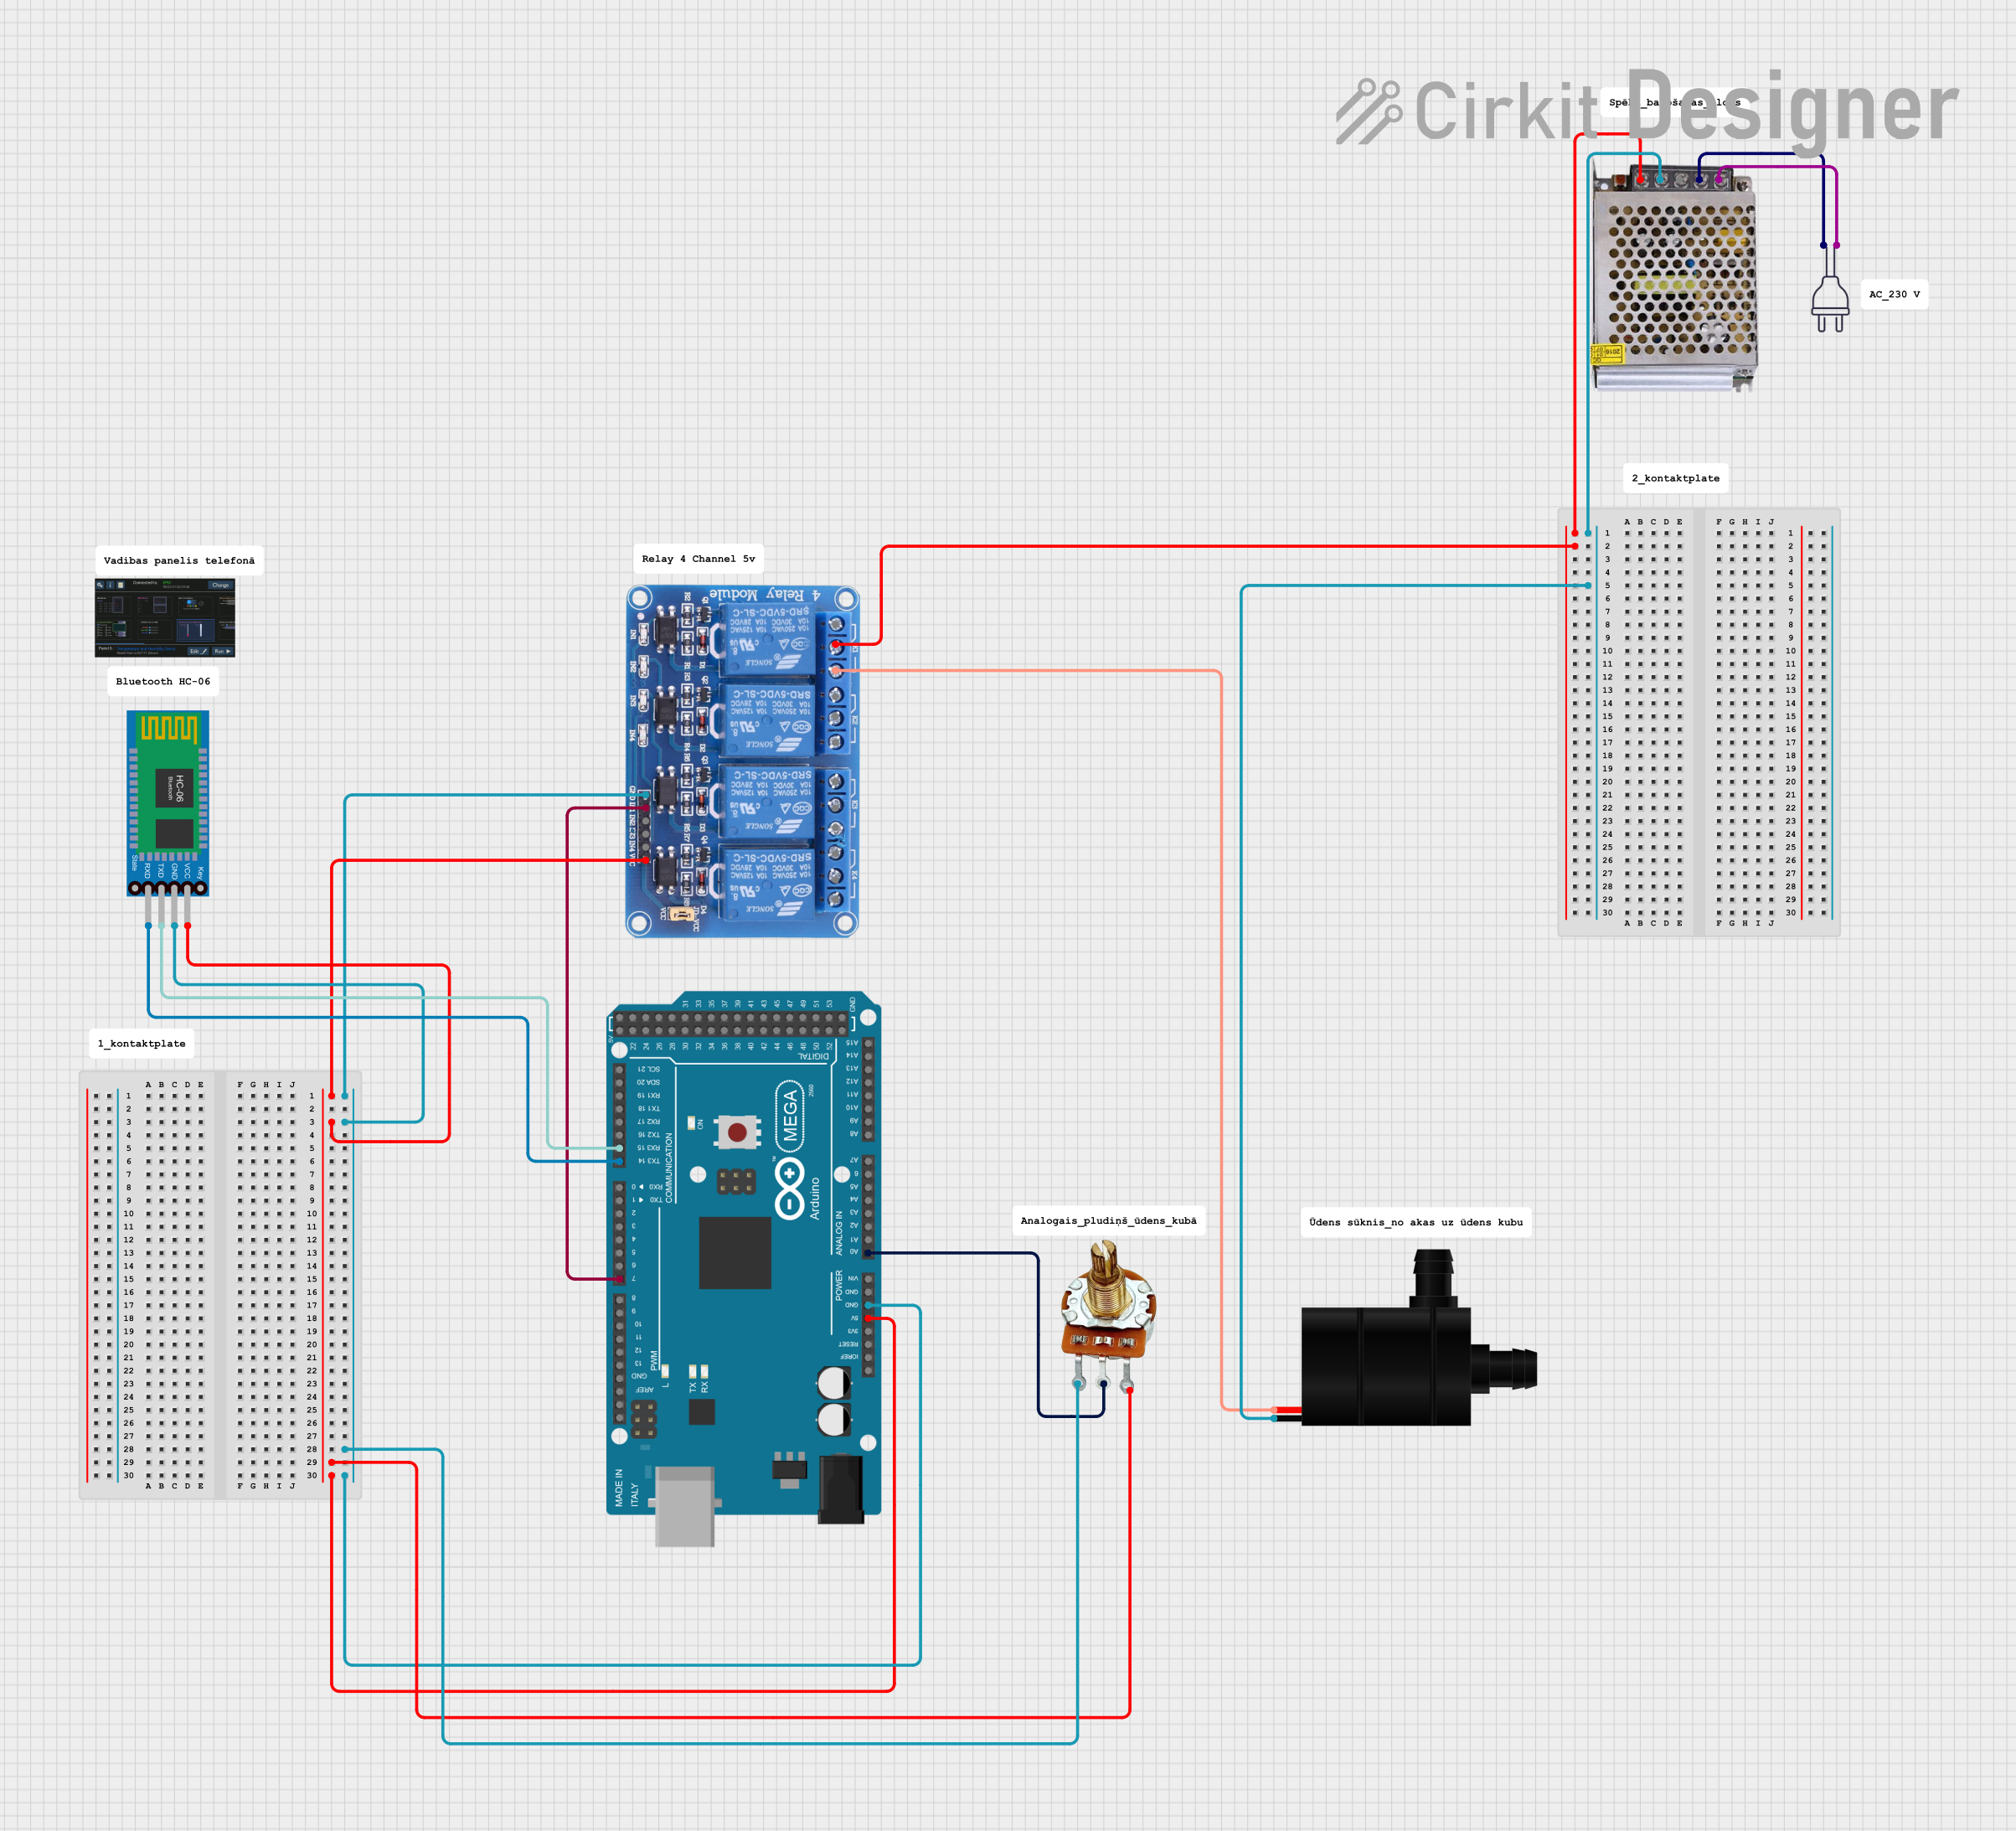
Explore Projects Built with Water Pump
Technical Specifications
Key Technical Details
| Parameter | Value |
|---|---|
| Operating Voltage | 6V - 12V DC |
| Current Rating | 0.5A - 1.5A |
| Power Rating | 3W - 18W |
| Flow Rate | 80 - 120 L/H |
| Maximum Lift | 1.5 - 3 meters |
| Inlet/Outlet Diameter | 5mm - 8mm |
Pin Configuration and Descriptions
| Pin Number | Pin Name | Description |
|---|---|---|
| 1 | VCC | Positive power supply (6V - 12V DC) |
| 2 | GND | Ground |
| 3 | IN | Control signal input (PWM or digital) |
Usage Instructions
How to Use the Component in a Circuit
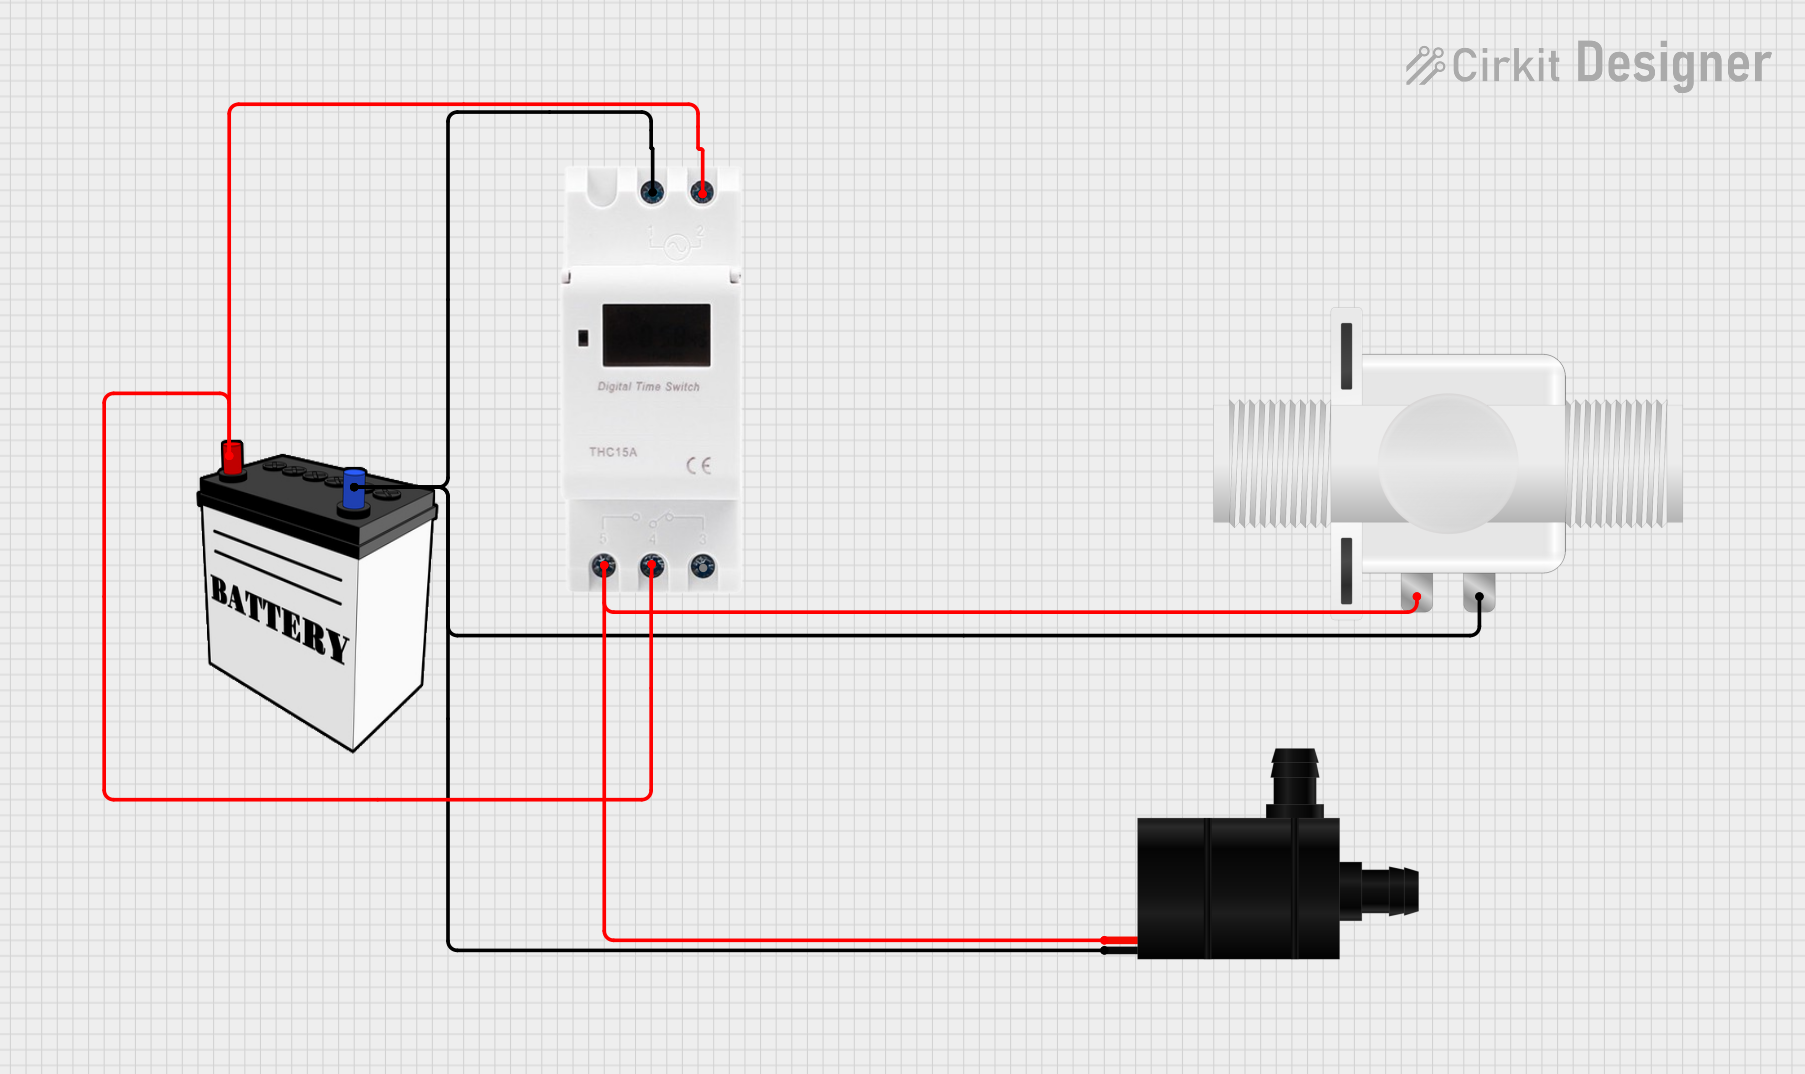
- Power Supply: Connect the VCC pin to a DC power supply (6V - 12V) and the GND pin to the ground.
- Control Signal: Use a microcontroller (e.g., Arduino UNO) to send a control signal to the IN pin. This can be a PWM signal to control the speed of the pump or a digital signal to turn it on/off.
- Water Connections: Attach the inlet and outlet hoses to the respective ports on the pump. Ensure they are securely fastened to prevent leaks.
Important Considerations and Best Practices
- Power Supply: Ensure the power supply matches the voltage and current requirements of the pump.
- Heat Dissipation: The pump may generate heat during operation. Ensure proper ventilation or cooling to prevent overheating.
- Water Quality: Use clean water to prevent clogging and damage to the pump.
- Mounting: Securely mount the pump to avoid vibrations and noise.
Example Circuit with Arduino UNO
// Example code to control a water pump using Arduino UNO

const int pumpPin = 9; // Pin connected to the IN pin of the pump

void setup() {
  pinMode(pumpPin, OUTPUT); // Set the pump pin as an output
}

void loop() {
  digitalWrite(pumpPin, HIGH); // Turn the pump on
  delay(5000); // Run the pump for 5 seconds
  digitalWrite(pumpPin, LOW); // Turn the pump off
  delay(5000); // Wait for 5 seconds before turning it on again
}
Troubleshooting and FAQs
Common Issues Users Might Face
- Pump Not Working: Ensure the power supply is connected correctly and providing the required voltage and current.
- Low Water Flow: Check for blockages in the inlet/outlet hoses and ensure the water source is adequate.
- Overheating: Ensure proper ventilation and avoid running the pump continuously for extended periods.
Solutions and Tips for Troubleshooting
- Check Connections: Verify all electrical and water connections are secure and correct.
- Measure Voltage and Current: Use a multimeter to check the voltage and current supplied to the pump.
- Inspect for Damage: Look for any physical damage to the pump or hoses that might affect performance.
FAQs
Q: Can I use the water pump with a battery? A: Yes, you can use a battery that provides the required voltage and current. Ensure the battery capacity is sufficient for your application.
Q: How do I control the pump speed? A: You can use a PWM signal from a microcontroller like Arduino to control the speed of the pump.
Q: Is the pump waterproof? A: The pump is designed to handle water internally, but the external components should be protected from water exposure to prevent damage.
This documentation aims to provide a thorough understanding of the water pump, its usage, and troubleshooting tips. Whether you are a beginner or an experienced user, this guide will help you effectively integrate the water pump into your projects.