How to Use Adafruit CC3000 WiFi Shield: Examples, Pinouts, and Specs
Introduction
The Adafruit CC3000 WiFi Shield is an electronic component designed to provide Wi-Fi connectivity to Arduino-based projects. It leverages the capabilities of the CC3000 Wi-Fi module from Texas Instruments, allowing users to connect their Arduino boards to wireless networks. This shield is ideal for Internet of Things (IoT) applications, remote monitoring systems, and any project requiring internet access.
Explore Projects Built with Adafruit CC3000 WiFi Shield


Explore Projects Built with Adafruit CC3000 WiFi Shield
Common Applications and Use Cases
- IoT devices
- Home automation systems
- Wireless data logging
- Remote sensor monitoring
- Web client and server applications
Technical Specifications
Key Technical Details
- Wi-Fi Standards: IEEE 802.11b/g
- Security: WEP, WPA2 (personal)
- Frequency Band: 2.4 GHz
- Antenna: Integrated PCB antenna and u.FL connector for external antenna
- Interface: SPI
- Input Voltage: 5V (from Arduino board)
- Logic Level: 3.3V (5V tolerant)
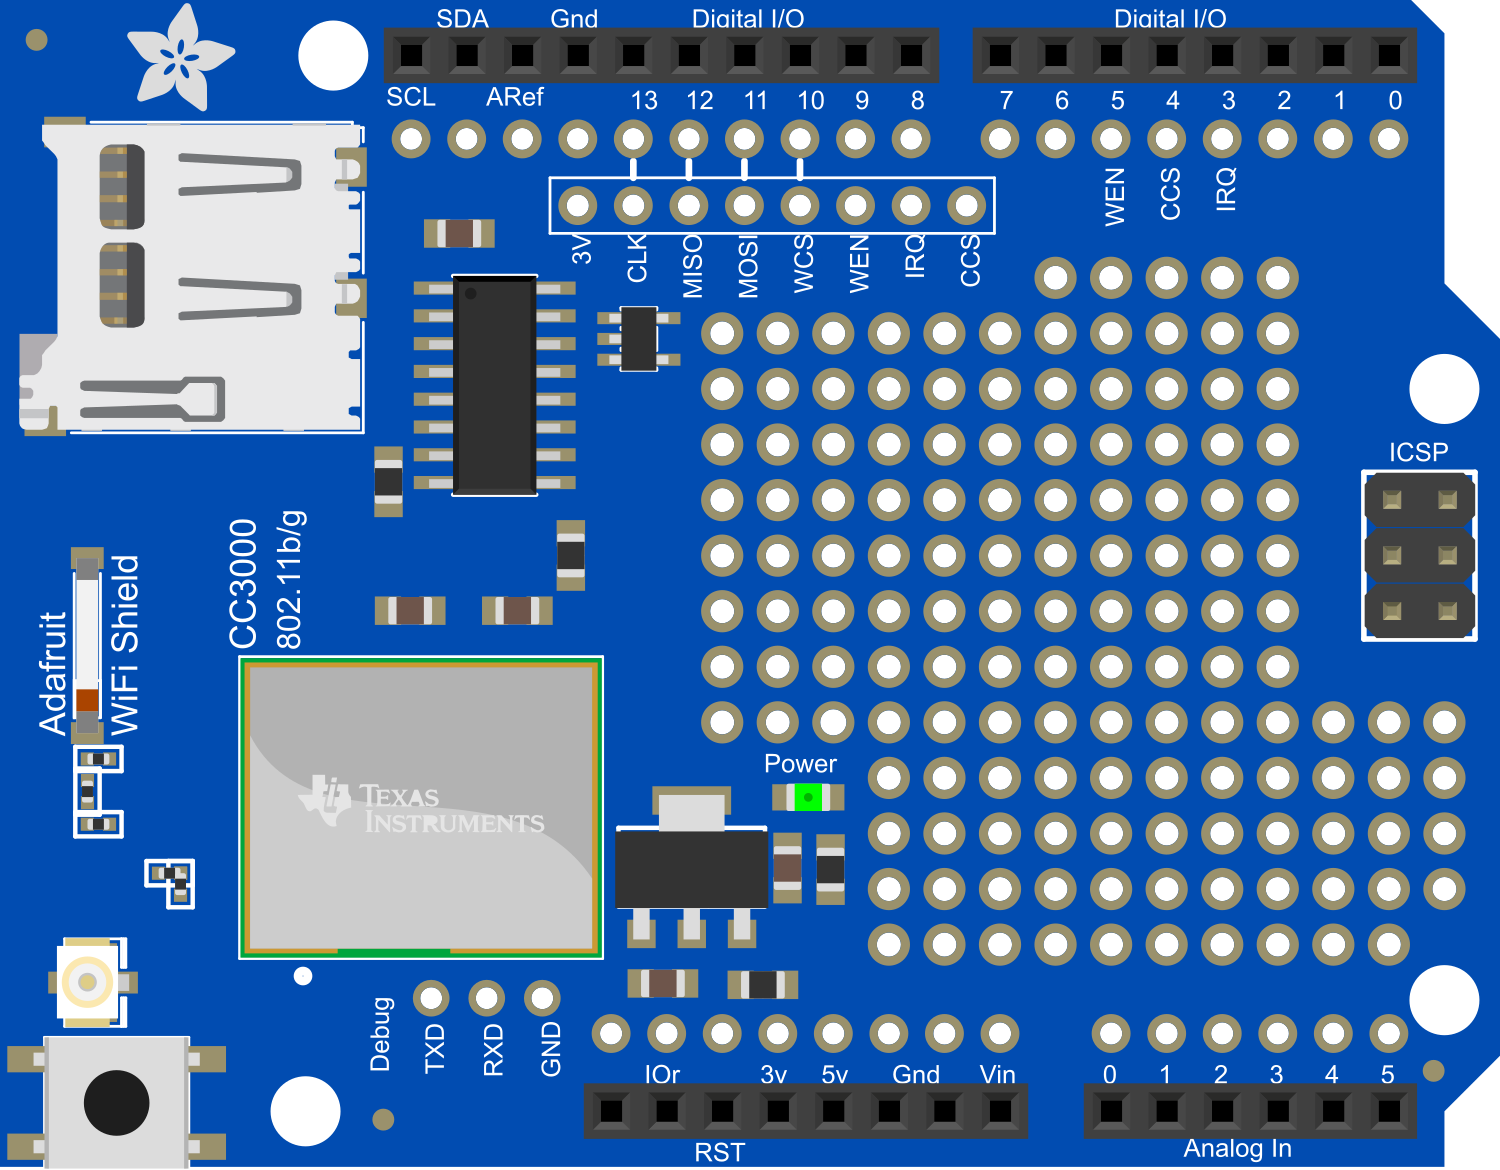
Pin Configuration and Descriptions
| Pin Number | Function | Description |
|---|---|---|
| 1 | GND | Ground |
| 2 | 5V | Power supply from the Arduino |
| 3 | VBEN | Wi-Fi module enable pin |
| 4 | IRQ | Interrupt request pin |
| 5 | SPI MISO | Master In Slave Out for SPI communication |
| 6 | SPI MOSI | Master Out Slave In for SPI communication |
| 7 | SPI SCK | Serial Clock for SPI communication |
| 8 | SPI CS | Chip Select for SPI communication |
| 9 | RST | Reset pin |
Usage Instructions
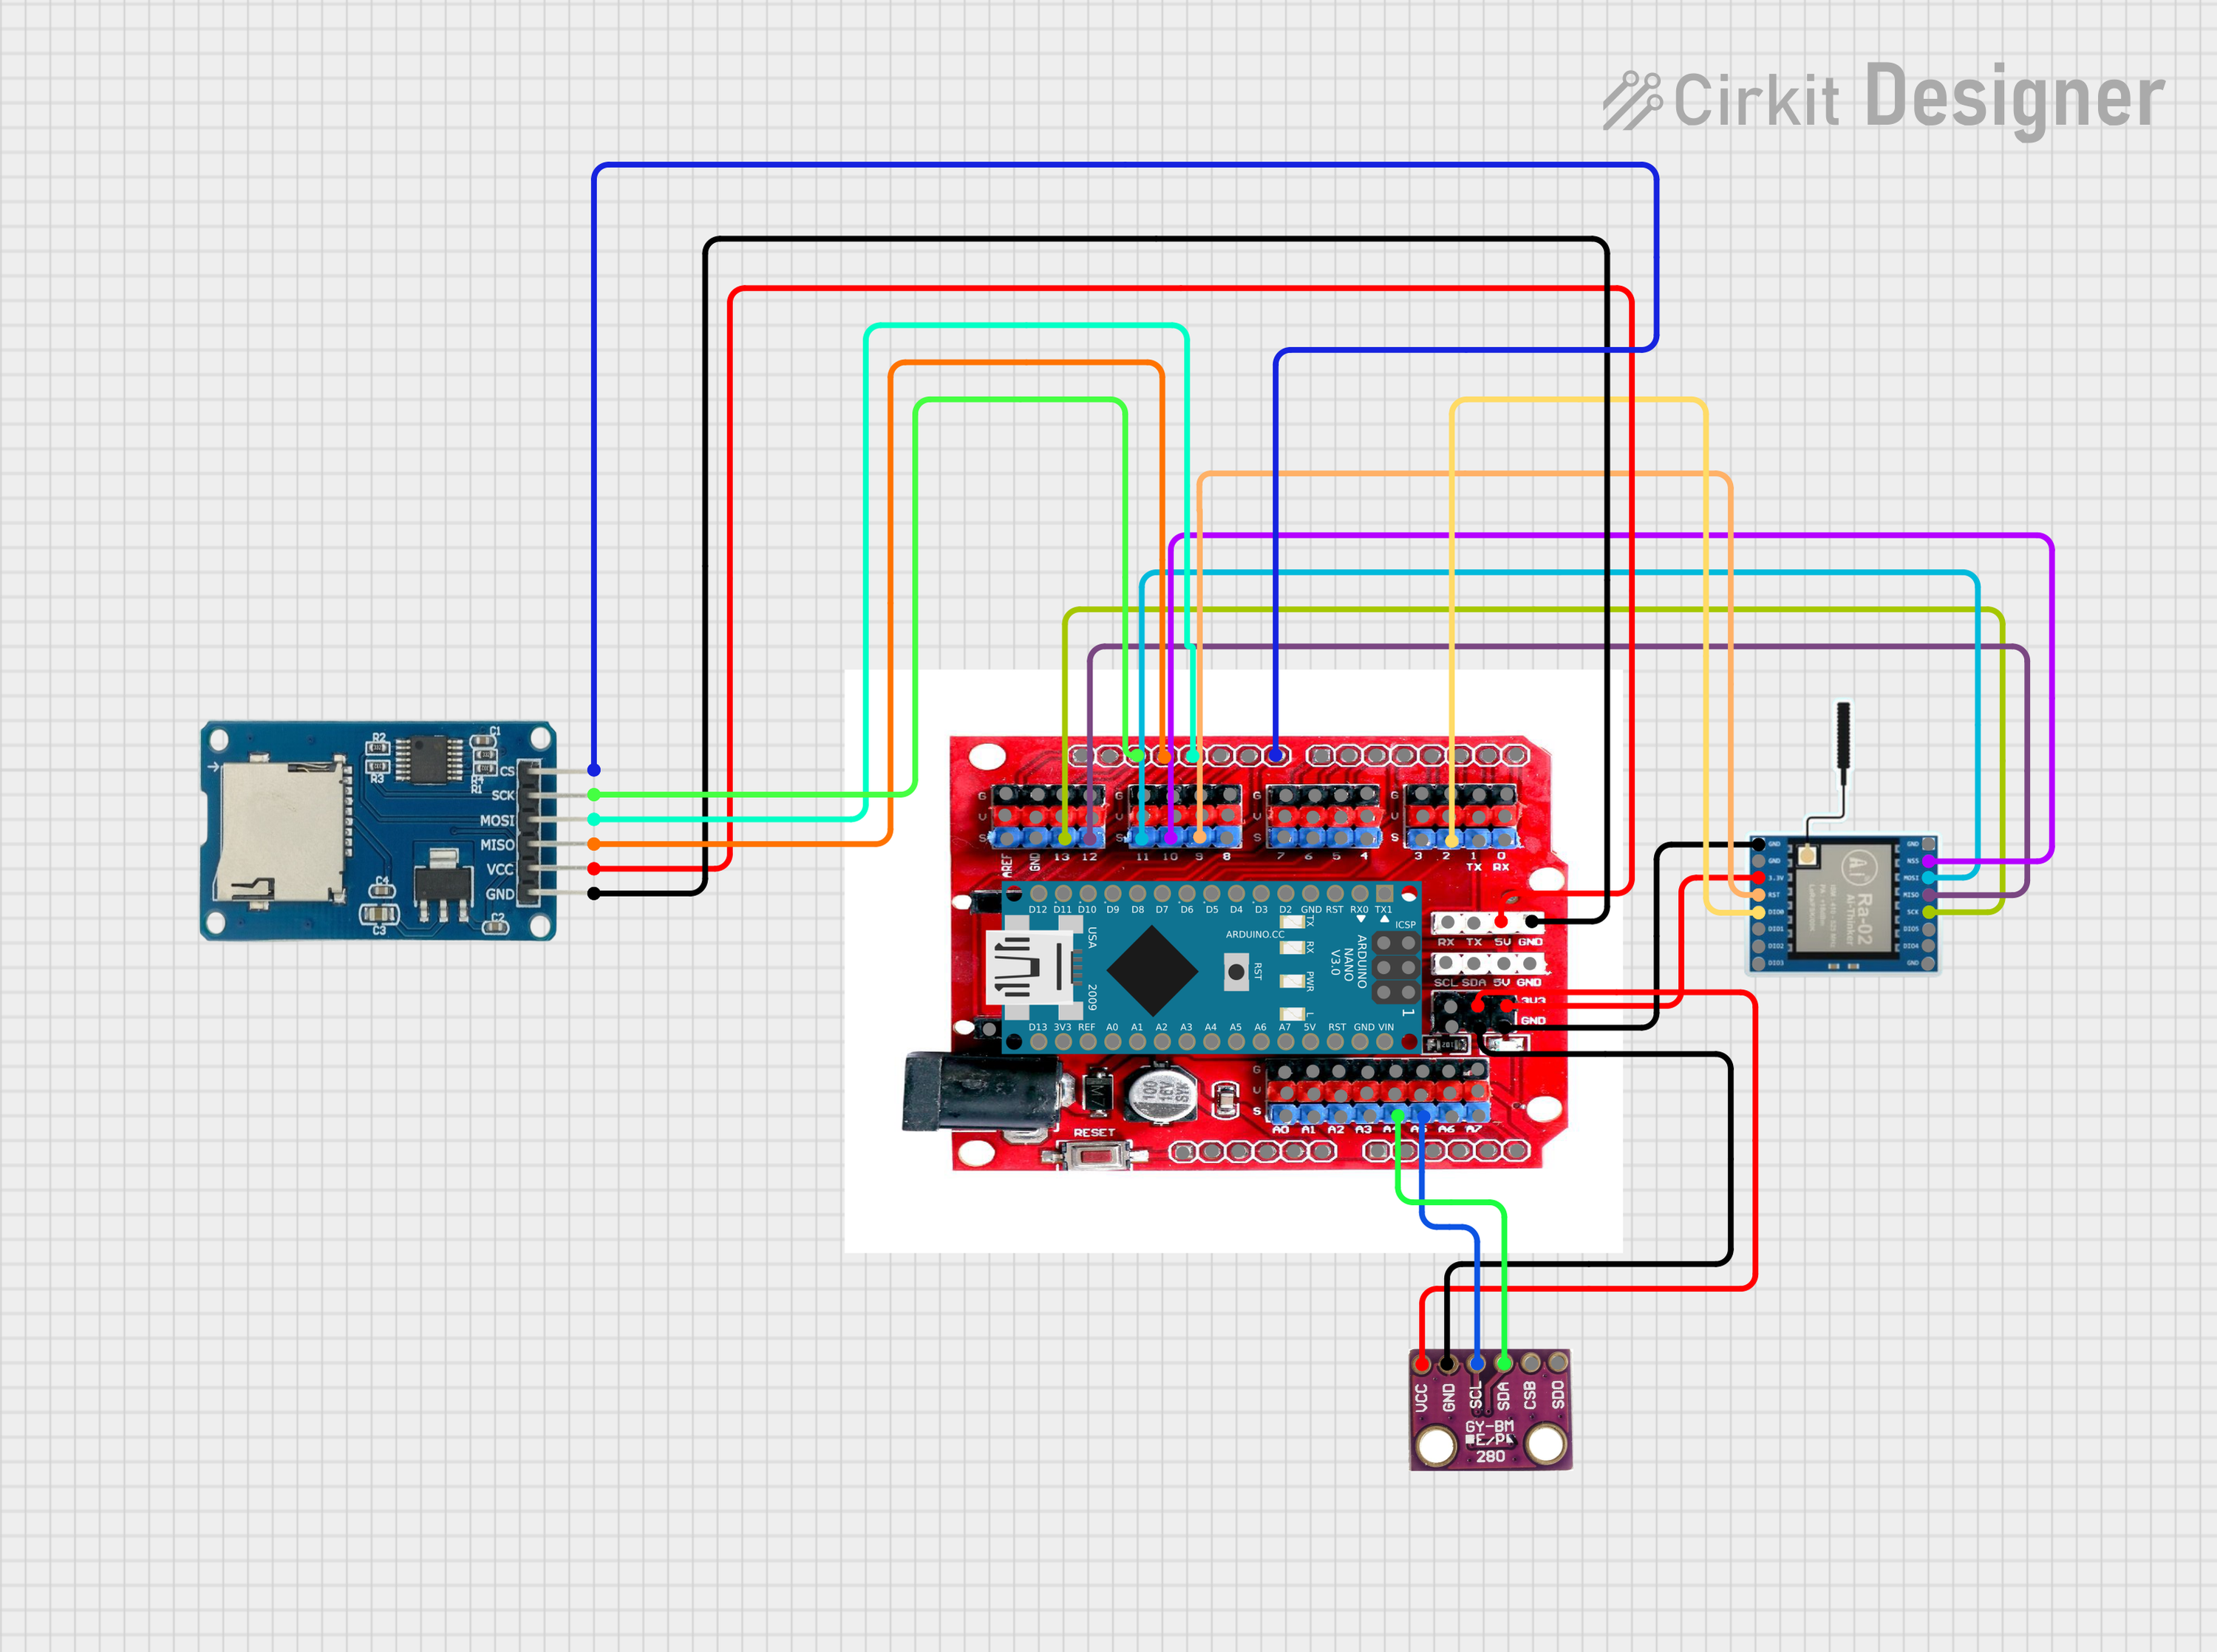
How to Use the Component in a Circuit
Mounting the Shield: Place the Adafruit CC3000 WiFi Shield on top of an Arduino board, ensuring that the pins align correctly and are fully inserted.
Power Supply: The shield is powered through the Arduino board, so make sure the board is connected to a suitable power source.
Antenna Selection: Use the integrated PCB antenna or connect an external antenna to the u.FL connector for better range.
Software Setup: Install the Adafruit CC3000 library through the Arduino IDE's Library Manager.
Initialization: In your Arduino sketch, initialize the CC3000 module and establish a Wi-Fi connection using the provided library functions.
Important Considerations and Best Practices
Power Requirements: Ensure that the Arduino board can supply enough current to the shield, especially when transmitting data.
SPI Communication: The shield uses the SPI bus for communication. Avoid using the SPI pins for other peripherals.
Firmware Update: Keep the CC3000 module's firmware up to date for optimal performance and compatibility.
Signal Strength: Place the antenna in a position with minimal obstructions to ensure a strong Wi-Fi signal.
Heat Dissipation: The CC3000 module can generate heat during operation. Provide adequate ventilation to prevent overheating.
Example Code for Arduino UNO
#include <Adafruit_CC3000.h>
#include <ccspi.h>
#include <SPI.h>

// Define the pins used by the CC3000 module
#define ADAFRUIT_CC3000_IRQ   3
#define ADAFRUIT_CC3000_VBAT  5
#define ADAFRUIT_CC3000_CS    10

// Create an instance of the Adafruit_CC3000 class
Adafruit_CC3000 cc3000 = Adafruit_CC3000(ADAFRUIT_CC3000_CS,
                                          ADAFRUIT_CC3000_IRQ,
                                          ADAFRUIT_CC3000_VBAT,
                                          SPI_CLOCK_DIVIDER);

void setup() {
  Serial.begin(115200);
  Serial.println(F("Initializing the CC3000 Wi-Fi module"));

  // Initialize the module with the SSID and password of your Wi-Fi network
  if (!cc3000.begin()) {
    Serial.println(F("Unable to initialize the CC3000! Check your wiring?"));
    while(1);
  }
}

void loop() {
  // Implement your Wi-Fi handling code here
}
Troubleshooting and FAQs
Common Issues Users Might Face
Connection Issues: If the shield cannot connect to a Wi-Fi network, ensure the network credentials are correct and the network is within range.
SPI Communication Errors: Check the wiring and pin assignments if there are issues with SPI communication.
Firmware Problems: Outdated firmware can cause compatibility issues. Update the firmware to the latest version.
Solutions and Tips for Troubleshooting
Power Cycling: Sometimes, simply turning the Arduino off and on again can resolve connection issues.
Signal Strength: Use an external antenna if the Wi-Fi signal is weak or unstable.
Library Conflicts: Ensure that other libraries included in your sketch are not conflicting with the CC3000 library.
FAQs
Q: Can the shield connect to 5 GHz Wi-Fi networks? A: No, the CC3000 module only supports 2.4 GHz networks.
Q: Is the shield compatible with all Arduino boards? A: The shield is designed for boards that are compatible with the Arduino Uno form factor and operate at 5V.
Q: How do I update the CC3000 module's firmware? A: Follow the instructions provided by Adafruit for updating the firmware, which typically involves running a special sketch that performs the update.
Q: Can I use the shield with a battery-powered project? A: Yes, but ensure the battery can provide sufficient current for both the Arduino and the Wi-Fi shield, especially during data transmission.