How to Use Pilot Lamp Yellon: Examples, Pinouts, and Specs
Introduction
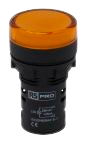
- A Pilot Lamp Yellow is an indicator light used to display the operational status of a device. It typically glows yellow to indicate that the device is powered on, in standby mode, or functioning as intended.
- Common applications include industrial control panels, household appliances, automotive dashboards, and power distribution systems. It is widely used in scenarios where a visual indication of device status is required.
Explore Projects Built with Pilot Lamp Yellon


Explore Projects Built with Pilot Lamp Yellon
Technical Specifications
- Type: LED-based or incandescent pilot lamp
- Color: Yellow
- Voltage Range: 6V, 12V, 24V, or 220V (depending on the model)
- Current Consumption: Typically 10-20mA for LED models
- Power Rating: 0.1W to 1W
- Mounting Style: Panel mount with screw or snap-in design
- Lifespan: Up to 50,000 hours for LED models
- Operating Temperature: -20°C to 70°C
- Ingress Protection (IP) Rating: IP40 to IP67 (varies by model)
Pin Configuration and Descriptions
The Pilot Lamp Yellow typically has two terminals for connection:
| Pin | Description | Notes |
|---|---|---|
| Pin 1 | Positive Terminal (+) | Connect to the positive voltage supply. |
| Pin 2 | Negative Terminal (-) | Connect to the ground or negative terminal. |
Usage Instructions
How to Use the Pilot Lamp Yellow in a Circuit
- Determine Voltage Rating: Verify the voltage rating of the pilot lamp (e.g., 12V or 220V) to ensure compatibility with your circuit.
- Connect Terminals:
- Connect the positive terminal (Pin 1) to the positive voltage supply.
- Connect the negative terminal (Pin 2) to the ground or negative terminal of the power source.
- Use a Resistor (if required):
- For LED-based pilot lamps, use a current-limiting resistor if the lamp does not have an internal resistor. Calculate the resistor value using Ohm's Law:
[ R = \frac{V_{supply} - V_{lamp}}{I_{lamp}} ] where ( V_{supply} ) is the supply voltage, ( V_{lamp} ) is the lamp's forward voltage, and ( I_{lamp} ) is the desired current.
- For LED-based pilot lamps, use a current-limiting resistor if the lamp does not have an internal resistor. Calculate the resistor value using Ohm's Law:
- Mount the Lamp: Secure the pilot lamp into the panel or enclosure using the provided mounting mechanism (e.g., screw or snap-in).
Important Considerations and Best Practices
- Voltage Compatibility: Always match the pilot lamp's voltage rating with the circuit's supply voltage to avoid damage.
- Polarity: For LED-based pilot lamps, ensure correct polarity when connecting the terminals.
- Environmental Conditions: Choose a model with an appropriate IP rating if the lamp will be exposed to dust, moisture, or harsh environments.
- Testing: Test the lamp in a controlled environment before installation to ensure proper functionality.
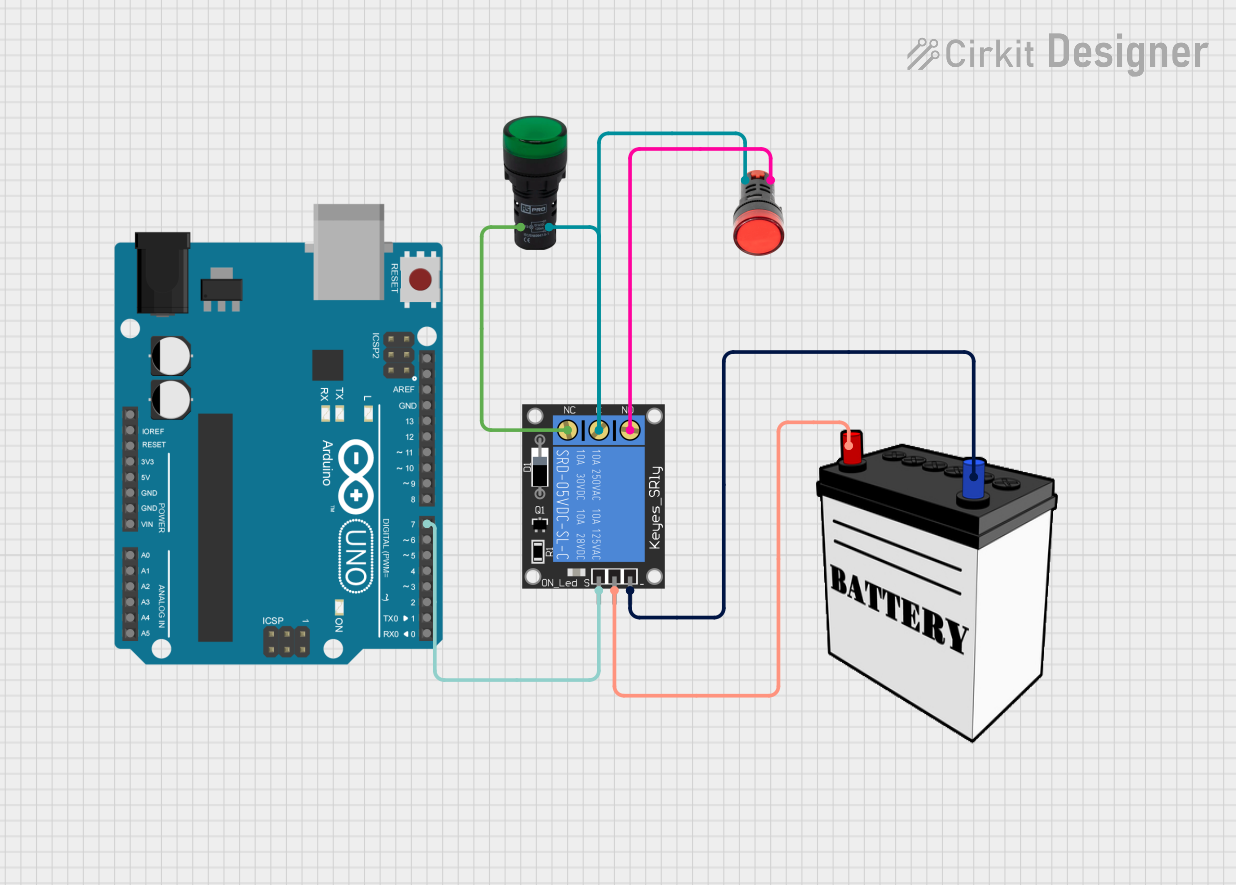
Example: Connecting a Pilot Lamp Yellow to an Arduino UNO
Below is an example of how to connect and control a 12V LED-based Pilot Lamp Yellow using an Arduino UNO and a transistor as a switch.
Circuit Components:
- Arduino UNO
- Pilot Lamp Yellow (12V)
- NPN Transistor (e.g., 2N2222)
- 1kΩ Resistor (for the transistor base)
- 12V Power Supply
Circuit Diagram:
- Connect the positive terminal of the pilot lamp to the 12V power supply.
- Connect the negative terminal of the pilot lamp to the collector of the NPN transistor.
- Connect the emitter of the transistor to the ground.
- Connect the base of the transistor to a digital pin of the Arduino (e.g., Pin 9) through a 1kΩ resistor.
Arduino Code:
// Define the pin connected to the transistor base
const int pilotLampPin = 9;

void setup() {
  // Set the pilot lamp pin as an output
  pinMode(pilotLampPin, OUTPUT);
}

void loop() {
  // Turn the pilot lamp ON
  digitalWrite(pilotLampPin, HIGH);
  delay(1000); // Keep the lamp ON for 1 second

  // Turn the pilot lamp OFF
  digitalWrite(pilotLampPin, LOW);
  delay(1000); // Keep the lamp OFF for 1 second
}
Troubleshooting and FAQs
Common Issues and Solutions
| Issue | Possible Cause | Solution |
|---|---|---|
| Lamp does not light up | Incorrect voltage or polarity | Verify voltage rating and polarity. |
| Lamp flickers | Unstable power supply | Use a regulated power supply. |
| Lamp burns out quickly | Overvoltage or no current-limiting resistor | Check voltage and add a resistor if needed. |
| Lamp is dim | Insufficient current | Ensure the power supply provides enough current. |
FAQs
Can I use a Pilot Lamp Yellow with an AC power source?
Yes, but ensure the lamp is rated for AC operation. Some models are designed for DC only.What resistor value should I use for a 12V LED-based pilot lamp?
Calculate the resistor value using Ohm's Law. For example, if the lamp's forward voltage is 2V and desired current is 20mA:
[ R = \frac{12V - 2V}{0.02A} = 500\ \Omega ]How do I know if the lamp is LED-based or incandescent?
Check the product datasheet or specifications. LED-based lamps typically have a longer lifespan and lower current consumption.Can I dim the Pilot Lamp Yellow?
Yes, for LED-based models, you can use a PWM (Pulse Width Modulation) signal to control brightness.
By following this documentation, you can effectively integrate and troubleshoot the Pilot Lamp Yellow in your projects.