
How to Use Limit switch: Examples, Pinouts, and Specs
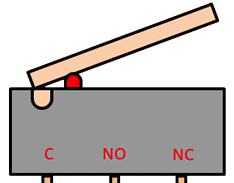
 Design with Limit switch in Cirkit Designer
Introduction
A limit switch is an electromechanical device that detects the presence or absence of an object, or the position of a moving part. It is commonly used to control machinery or equipment by providing feedback to a system when a specific condition is met, such as the end of travel for a moving component. Limit switches are highly reliable and are widely used in industrial automation, robotics, and safety systems.
Explore Projects Built with Limit switch
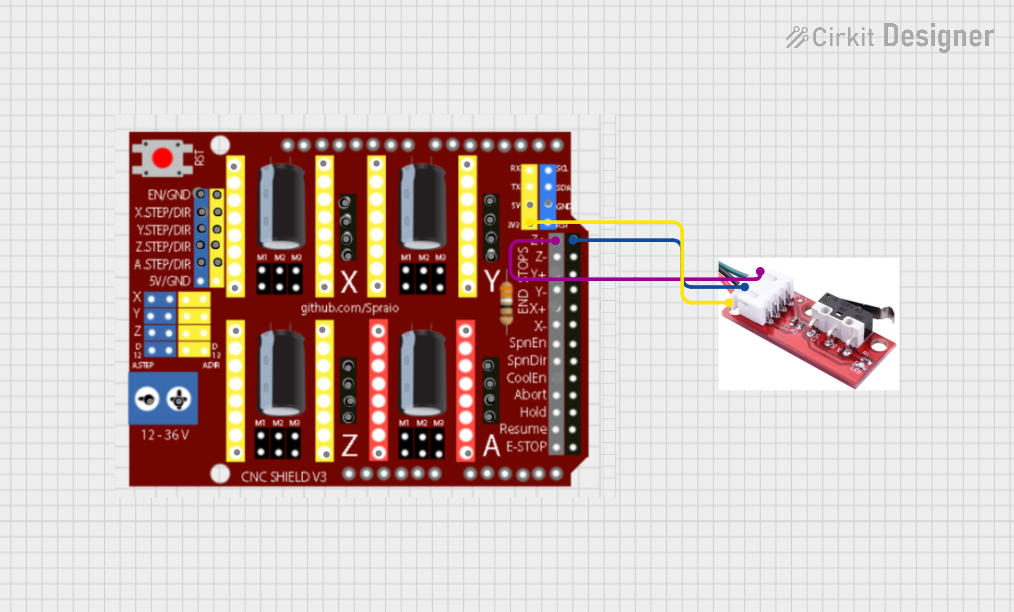 Open Project in Cirkit Designer
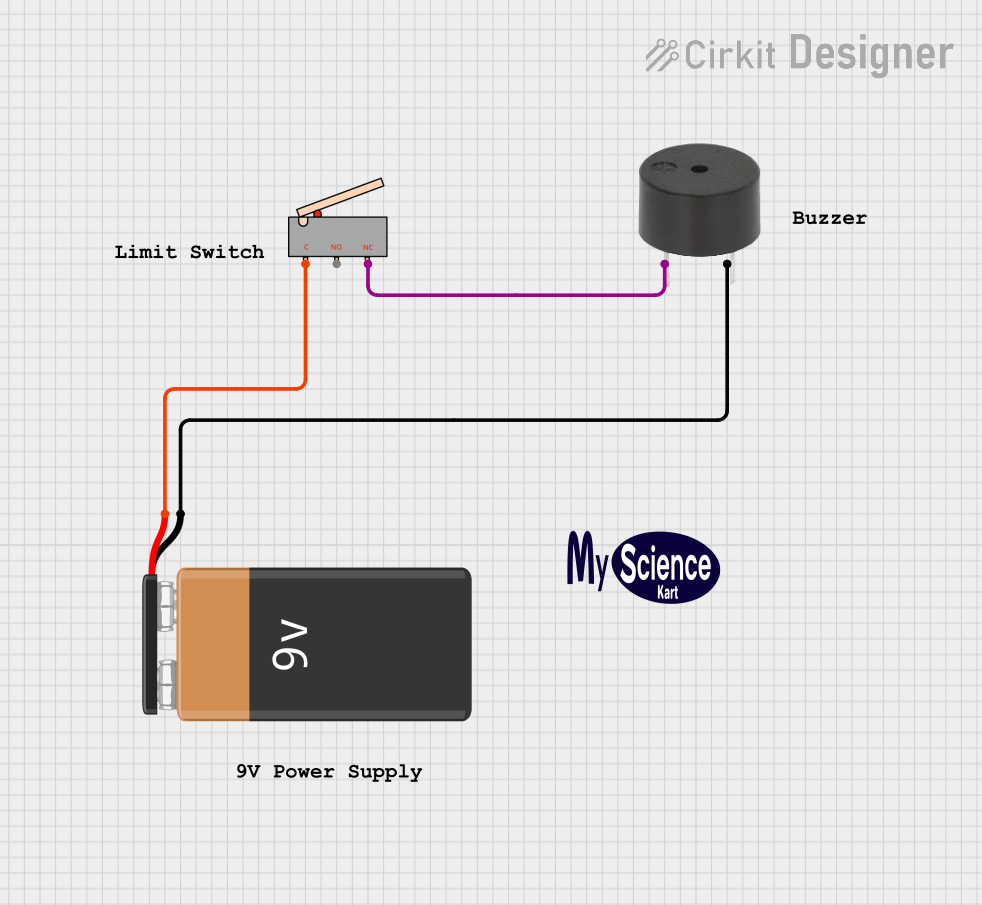 Open Project in Cirkit Designer
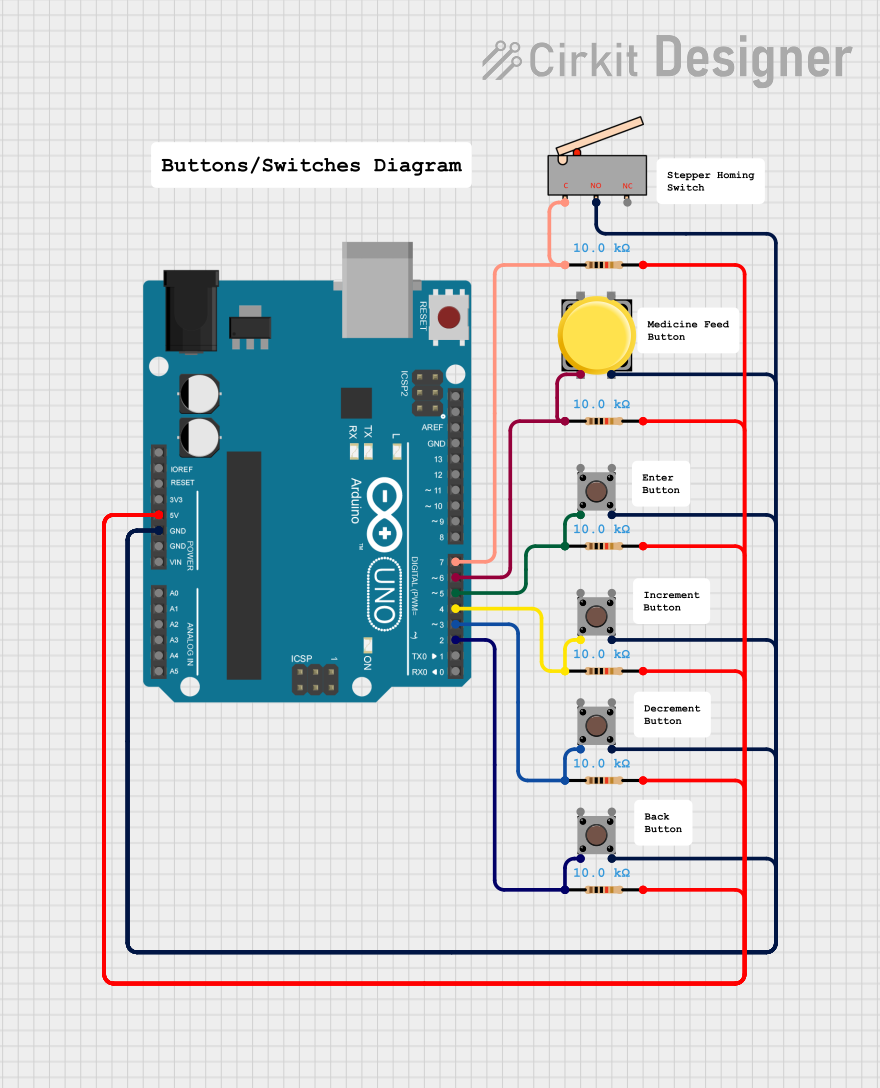 Open Project in Cirkit Designer
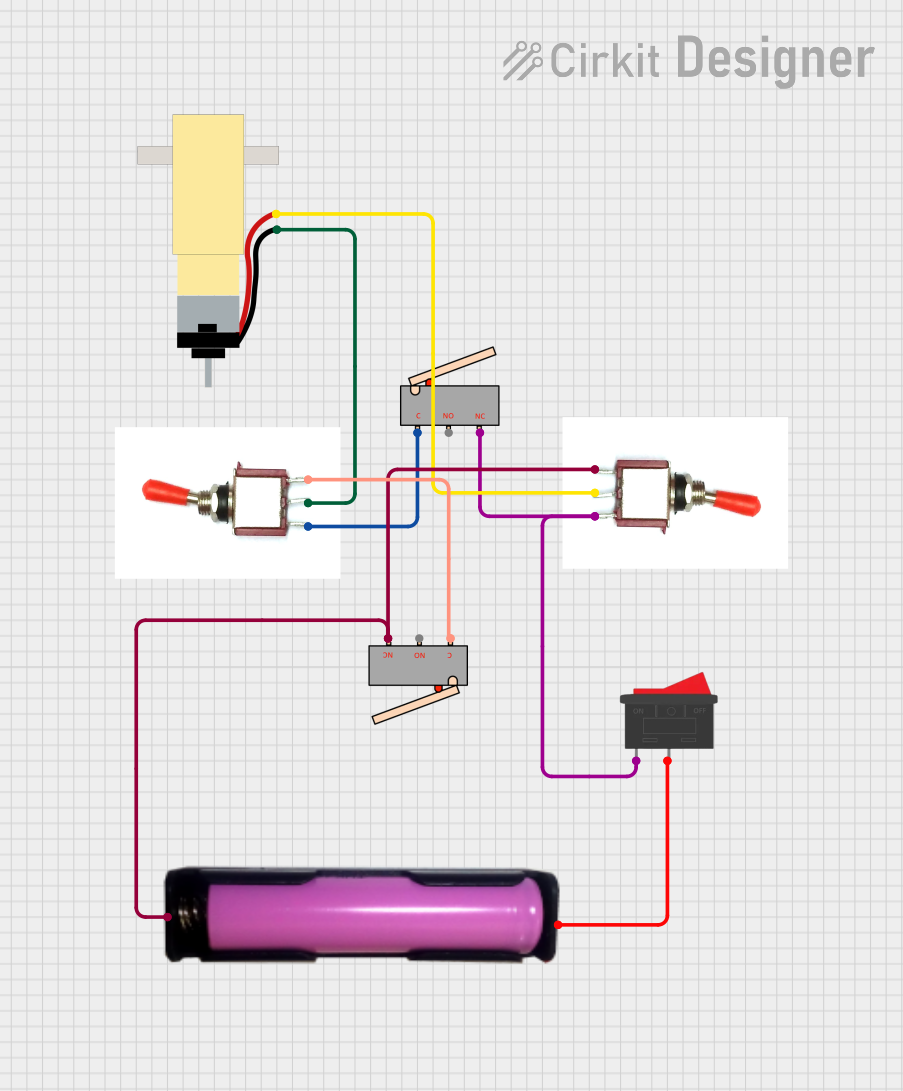 Open Project in Cirkit Designer
Explore Projects Built with Limit switch
Open Project in Cirkit DesignerOpen Project in Cirkit DesignerOpen Project in Cirkit DesignerOpen Project in Cirkit DesignerCommon Applications and Use Cases
- Detecting the position of mechanical components in industrial machines.
- Ensuring safety by stopping machinery when a part reaches its limit.
- Controlling the movement of robotic arms or conveyor belts.
- Monitoring door positions in elevators or automated systems.
- Triggering alarms or system responses when a specific condition is met.
Technical Specifications
Below are the general technical specifications for a standard limit switch. Note that specific models may vary, so always refer to the datasheet of your particular switch.
Key Technical Details
- Operating Voltage: 5V to 250V (AC or DC, depending on the model)
- Operating Current: 0.1A to 10A (varies by model)
- Contact Type: Normally Open (NO), Normally Closed (NC), or both
- Mechanical Life: Up to 10 million operations
- Operating Temperature Range: -25°C to 80°C
- Actuator Type: Lever, roller, plunger, or other variations
- Mounting Style: Screw or snap-fit
Pin Configuration and Descriptions
The limit switch typically has three terminals: Common (COM), Normally Open (NO), and Normally Closed (NC). The table below describes these terminals:
| Pin Name | Description |
|---|---|
| COM | Common terminal, connected to the input voltage or ground. |
| NO | Normally Open terminal, connected to COM when the switch is activated. |
| NC | Normally Closed terminal, connected to COM when the switch is not activated. |
Usage Instructions
How to Use the Component in a Circuit
Wiring the Limit Switch:
- Connect the COM terminal to the input voltage or ground, depending on your circuit design.
- Use the NO terminal if you want the circuit to close (activate) when the switch is pressed.
- Use the NC terminal if you want the circuit to open (deactivate) when the switch is pressed.
Integrating with a Microcontroller (e.g., Arduino UNO):
- Connect the COM terminal to ground (GND) on the Arduino.
- Connect the NO terminal to a digital input pin on the Arduino (e.g., pin 2).
- Use a pull-up resistor (internal or external) to ensure a stable signal.
Example Circuit:
- When the limit switch is pressed, the Arduino pin will detect a LOW signal (if using a pull-up resistor).
Important Considerations and Best Practices
- Debouncing: Mechanical switches can produce noise or "bouncing" when activated. Use software debouncing or a capacitor to filter out noise.
- Voltage and Current Ratings: Ensure the switch can handle the voltage and current in your circuit to avoid damage.
- Mounting: Securely mount the switch to prevent misalignment or accidental activation.
- Environment: Use a switch with appropriate IP (Ingress Protection) rating for dusty or wet environments.
Arduino Example Code
Below is an example of how to use a limit switch with an Arduino UNO:
// Define the pin connected to the limit switch
const int limitSwitchPin = 2; // Digital pin 2
const int ledPin = 13;        // Built-in LED pin

void setup() {
  pinMode(limitSwitchPin, INPUT_PULLUP); // Set pin as input with pull-up resistor
  pinMode(ledPin, OUTPUT);              // Set LED pin as output
  Serial.begin(9600);                   // Initialize serial communication
}

void loop() {
  int switchState = digitalRead(limitSwitchPin); // Read the state of the switch

  if (switchState == LOW) {
    // Switch is pressed (NO terminal connected to COM)
    digitalWrite(ledPin, HIGH); // Turn on the LED
    Serial.println("Limit switch activated!");
  } else {
    // Switch is not pressed
    digitalWrite(ledPin, LOW);  // Turn off the LED
    Serial.println("Limit switch not activated.");
  }

  delay(100); // Small delay for stability
}
Troubleshooting and FAQs
Common Issues Users Might Face
Switch Not Responding:
- Check the wiring and ensure the correct terminals (COM, NO, NC) are connected.
- Verify that the switch is rated for the voltage and current in your circuit.
Unstable or Noisy Signal:
- Use a pull-up or pull-down resistor to stabilize the signal.
- Implement software debouncing in your code to filter out noise.
Mechanical Failure:
- Inspect the actuator for physical damage or wear.
- Replace the switch if it has exceeded its mechanical life.
Incorrect Behavior in Arduino:
- Ensure the correct pin is defined in the code.
- Verify that the pinMode is set to
INPUT_PULLUPif using the NO terminal.
Solutions and Tips for Troubleshooting
- Use a multimeter to test the continuity between terminals when the switch is activated.
- Double-check the datasheet for your specific limit switch model to confirm its ratings and pinout.
- If the switch is used in a high-vibration environment, consider using a switch with a higher mechanical durability rating.
By following these guidelines, you can effectively integrate and troubleshoot a limit switch in your projects.