
How to Use Adafruit Feather 32u4 Basic Proto: Examples, Pinouts, and Specs
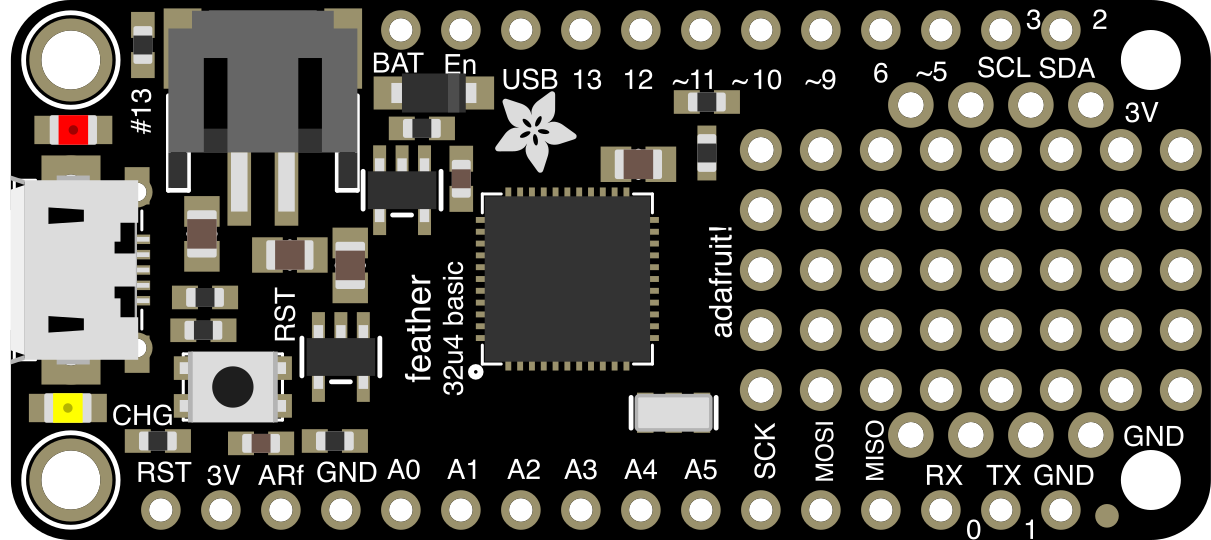
 Design with Adafruit Feather 32u4 Basic Proto in Cirkit Designer
Introduction
The Adafruit Feather 32u4 Basic Proto (Manufacturer Part ID: 2771) is a compact and versatile microcontroller board designed for prototyping and development. It features the ATmega32U4 microcontroller, which includes built-in USB support, making it ideal for projects requiring USB communication. The board is part of Adafruit's Feather ecosystem, offering compatibility with a wide range of FeatherWing add-ons for extended functionality.
Explore Projects Built with Adafruit Feather 32u4 Basic Proto
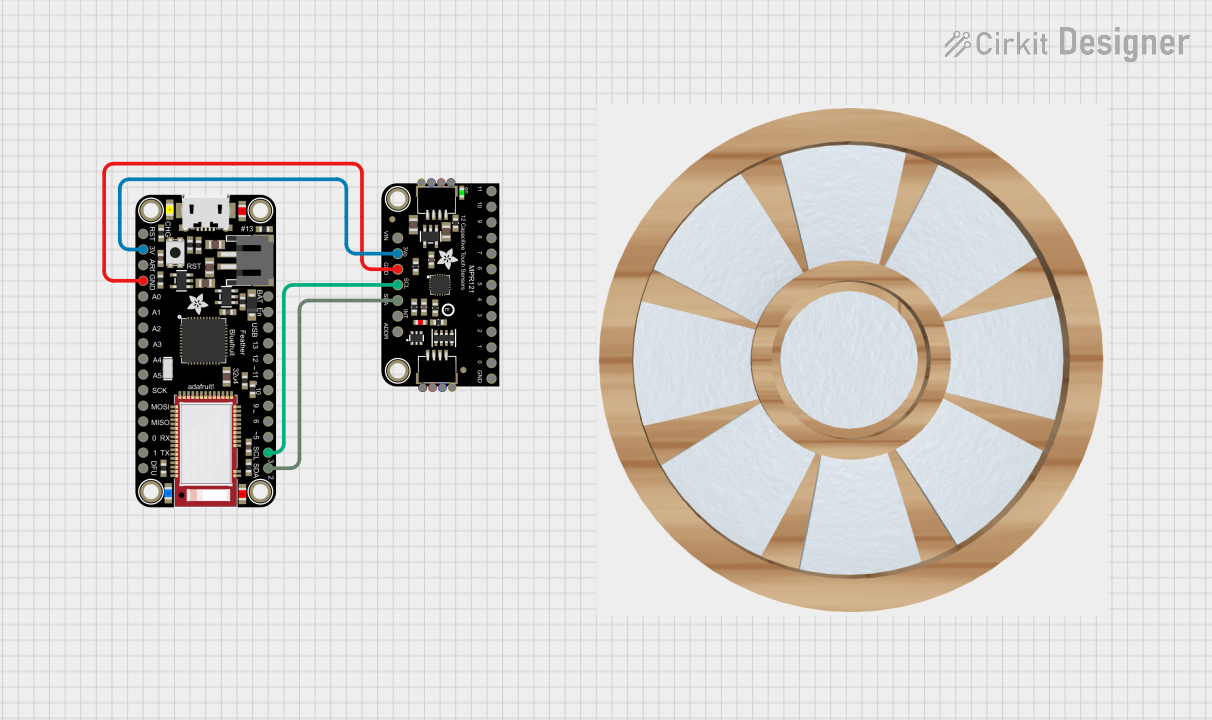 Open Project in Cirkit Designer
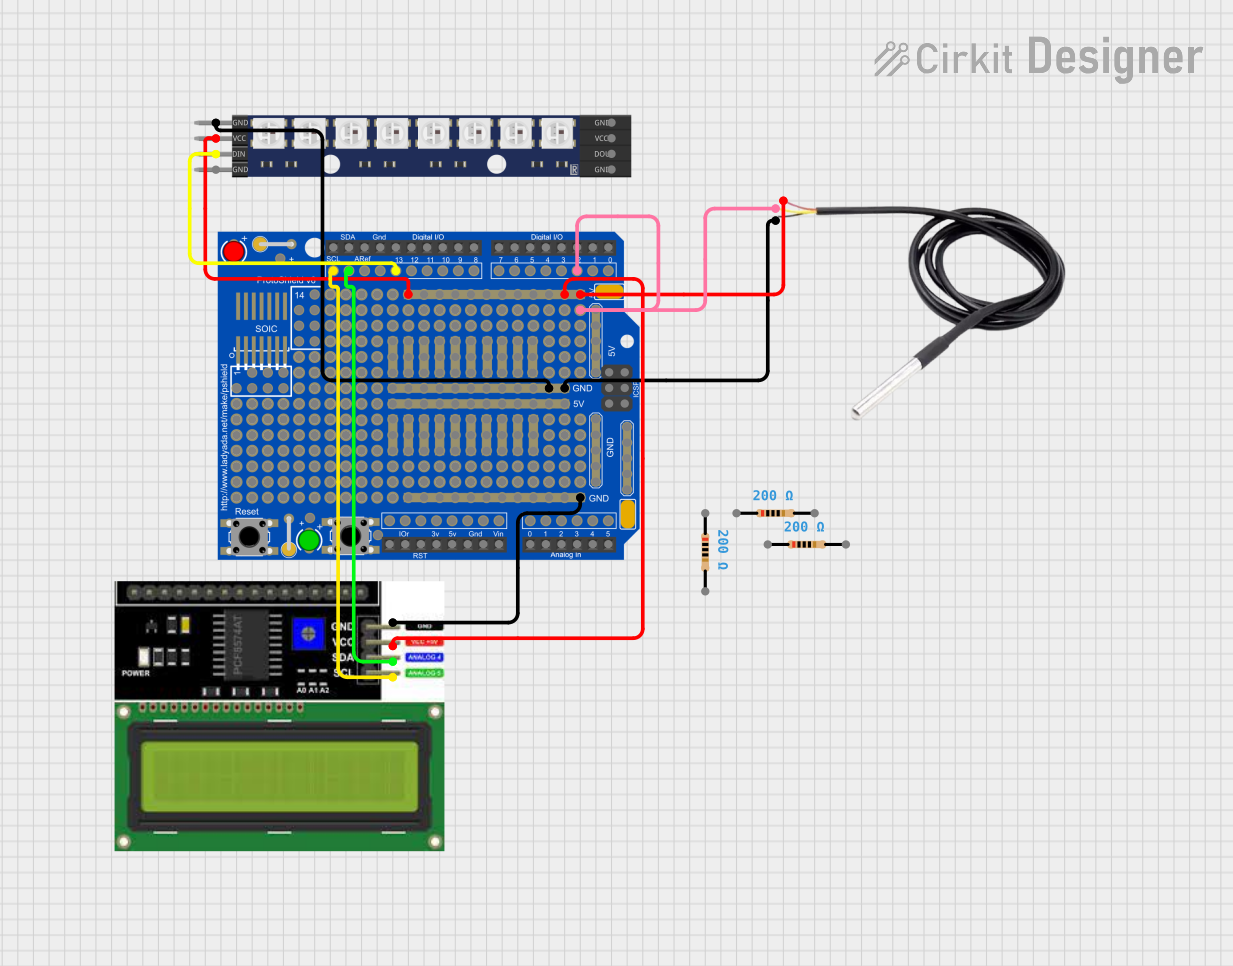 Open Project in Cirkit Designer
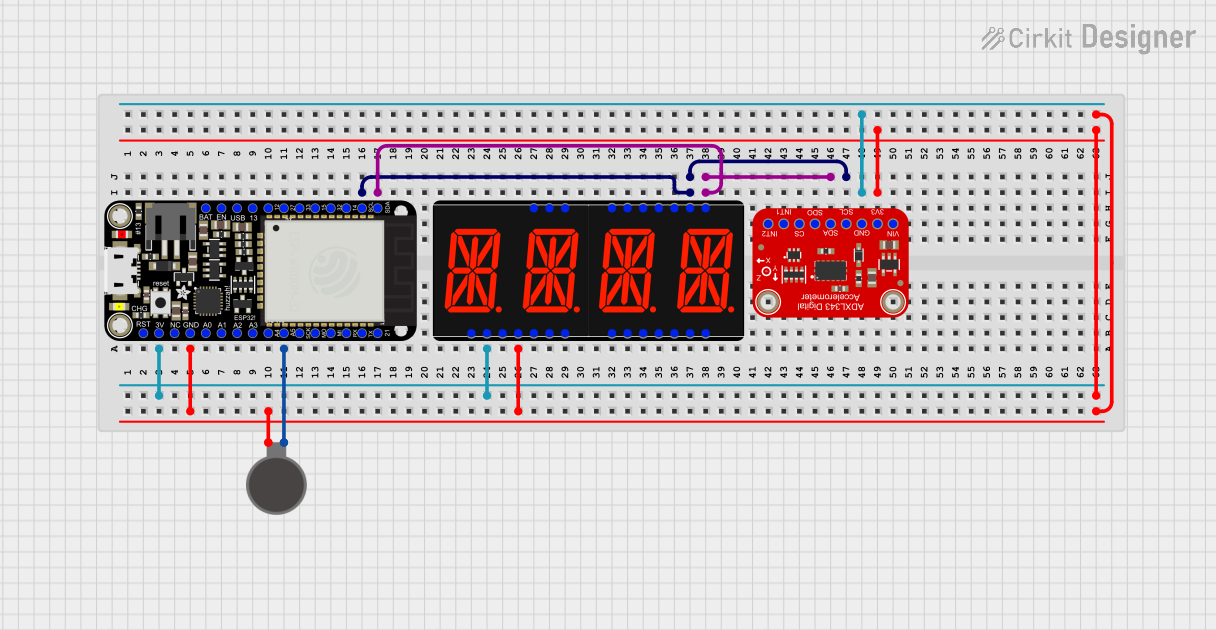 Open Project in Cirkit Designer
 Open Project in Cirkit Designer
Explore Projects Built with Adafruit Feather 32u4 Basic Proto
Open Project in Cirkit DesignerOpen Project in Cirkit DesignerOpen Project in Cirkit DesignerOpen Project in Cirkit DesignerCommon Applications and Use Cases
- USB-enabled projects such as HID devices (keyboards, mice, etc.)
- IoT (Internet of Things) applications
- Prototyping with sensors, actuators, and displays
- Battery-powered projects with built-in LiPo battery charging
- General-purpose microcontroller development with Arduino IDE compatibility
Technical Specifications
Key Technical Details
| Parameter | Value |
|---|---|
| Microcontroller | ATmega32U4 |
| Operating Voltage | 3.3V |
| Clock Speed | 8 MHz |
| Flash Memory | 32 KB (2.75 KB used by bootloader) |
| SRAM | 2.5 KB |
| EEPROM | 1 KB |
| USB Support | Native USB (Micro-B connector) |
| GPIO Pins | 20 (7 PWM, 10 ADC) |
| Communication Protocols | UART, I2C, SPI |
| Power Supply | USB or 3.7V LiPo battery |
| Battery Charging | Built-in LiPo charger (500mA max charge) |
| Dimensions | 51mm x 23mm x 8mm |
| Weight | 4.8g |
Pin Configuration and Descriptions
| Pin Name | Description |
|---|---|
| GND | Ground pin |
| 3V | 3.3V output pin |
| BAT | LiPo battery input/output |
| USB | USB power input/output |
| A0–A5 | Analog input pins (can also be used as digital GPIO) |
| D0–D13 | Digital GPIO pins (D3, D5, D6, D9, D10, D11 support PWM) |
| RX | UART receive pin (D0) |
| TX | UART transmit pin (D1) |
| SCL | I2C clock pin (shared with D3) |
| SDA | I2C data pin (shared with D2) |
| RST | Reset pin |
| EN | Enable pin for 3.3V regulator |
| USB D+ | USB data positive line |
| USB D- | USB data negative line |
Usage Instructions
How to Use the Component in a Circuit
Powering the Board:
- Connect the board to a computer or USB power source using a Micro-B USB cable.
- Alternatively, connect a 3.7V LiPo battery to the BAT pin for portable operation.
Programming:
- Install the Arduino IDE and add the Adafruit Feather 32u4 board via the Boards Manager.
- Select "Adafruit Feather 32u4" from the Tools > Board menu.
- Connect the board via USB and select the appropriate COM port.
- Write your code and upload it to the board.
Connecting Peripherals:
- Use the GPIO pins to connect sensors, actuators, or other components.
- For I2C devices, connect to the SDA and SCL pins.
- For SPI devices, use the MOSI, MISO, and SCK pins.
Battery Charging:
- When a LiPo battery is connected, the board will automatically charge it when powered via USB.
Important Considerations and Best Practices
- Ensure that the total current draw from the GPIO pins does not exceed 50mA.
- Use level shifters if interfacing with 5V logic devices, as the board operates at 3.3V.
- Avoid shorting the BAT pin to GND or other power sources to prevent damage.
- Disconnect the LiPo battery when not in use for extended periods to prevent over-discharge.
Example Code for Arduino UNO Compatibility
The following example demonstrates how to blink an LED connected to pin D13:
// Blink an LED connected to pin D13 on the Adafruit Feather 32u4 Basic Proto

void setup() {
  pinMode(13, OUTPUT); // Set pin D13 as an output
}

void loop() {
  digitalWrite(13, HIGH); // Turn the LED on
  delay(1000);            // Wait for 1 second
  digitalWrite(13, LOW);  // Turn the LED off
  delay(1000);            // Wait for 1 second
}
Troubleshooting and FAQs
Common Issues and Solutions
Board Not Recognized by Computer:
- Ensure the USB cable is data-capable (not charge-only).
- Check that the correct COM port is selected in the Arduino IDE.
- Double-tap the reset button to enter bootloader mode and re-upload the code.
Code Upload Fails:
- Verify that the correct board is selected in the Arduino IDE.
- Ensure no other program is using the COM port.
- Try resetting the board before uploading.
Battery Not Charging:
- Confirm that the USB power source provides sufficient current (at least 500mA).
- Check the battery connection and ensure it is a 3.7V LiPo battery.
Peripheral Not Working:
- Double-check wiring and pin assignments in the code.
- Ensure the peripheral operates at 3.3V or use a level shifter.
FAQs
Q: Can I use the Adafruit Feather 32u4 Basic Proto with 5V sensors?
A: Yes, but you will need to use level shifters to convert the 5V logic to 3.3V.
Q: How do I reset the board?
A: Press the reset button once to restart the board. Double-tap the reset button to enter bootloader mode.
Q: What is the maximum current output of the 3.3V pin?
A: The 3.3V pin can supply up to 500mA, depending on the power source.
Q: Can I power the board with both USB and a LiPo battery simultaneously?
A: Yes, the board will automatically switch between power sources and charge the battery when USB is connected.