How to Use LM4881 Headphones Amplifier: Examples, Pinouts, and Specs
Introduction
The LM4881 is a low-power, high-performance audio amplifier designed specifically for driving headphones. Manufactured in China with the part ID "1," this component is ideal for portable audio applications due to its low distortion rate and high output power. The LM4881 operates on a single supply voltage and includes built-in thermal shutdown and short-circuit protection, ensuring reliable operation in various environments.
Explore Projects Built with LM4881 Headphones Amplifier


Explore Projects Built with LM4881 Headphones Amplifier
Common Applications and Use Cases
- Portable audio devices (e.g., MP3 players, smartphones, and tablets)
- Headphone amplifiers for personal audio systems
- Audio signal amplification in embedded systems
- Low-power audio output stages for battery-operated devices
Technical Specifications
Key Technical Details
- Supply Voltage (Vcc): 2.7V to 5.5V
- Output Power: 85mW per channel (into 32Ω load, Vcc = 5V)
- Total Harmonic Distortion + Noise (THD+N): 0.1% (typical, at 1kHz, 85mW output)
- Quiescent Current: 4mA (typical)
- Shutdown Current: 0.7µA (typical)
- Gain: Internally fixed at -1V/V
- Thermal Shutdown Protection: Yes
- Short-Circuit Protection: Yes
- Operating Temperature Range: -40°C to +85°C
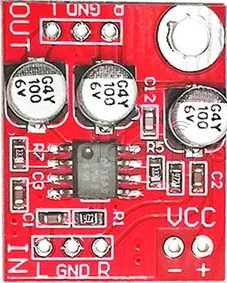
- Package Type: SOIC-8 (Small Outline Integrated Circuit, 8 pins)
Pin Configuration and Descriptions
The LM4881 is an 8-pin SOIC package. The pinout and descriptions are as follows:
| Pin Number | Pin Name | Description |
|---|---|---|
| 1 | Vcc | Positive supply voltage (2.7V to 5.5V). |
| 2 | BYPASS | Bypass capacitor connection for noise reduction. |
| 3 | IN+ | Non-inverting audio input. |
| 4 | IN- | Inverting audio input. |
| 5 | SHUTDOWN | Active-low shutdown pin to disable the amplifier. |
| 6 | GND | Ground connection. |
| 7 | OUT1 | Left channel audio output. |
| 8 | OUT2 | Right channel audio output. |
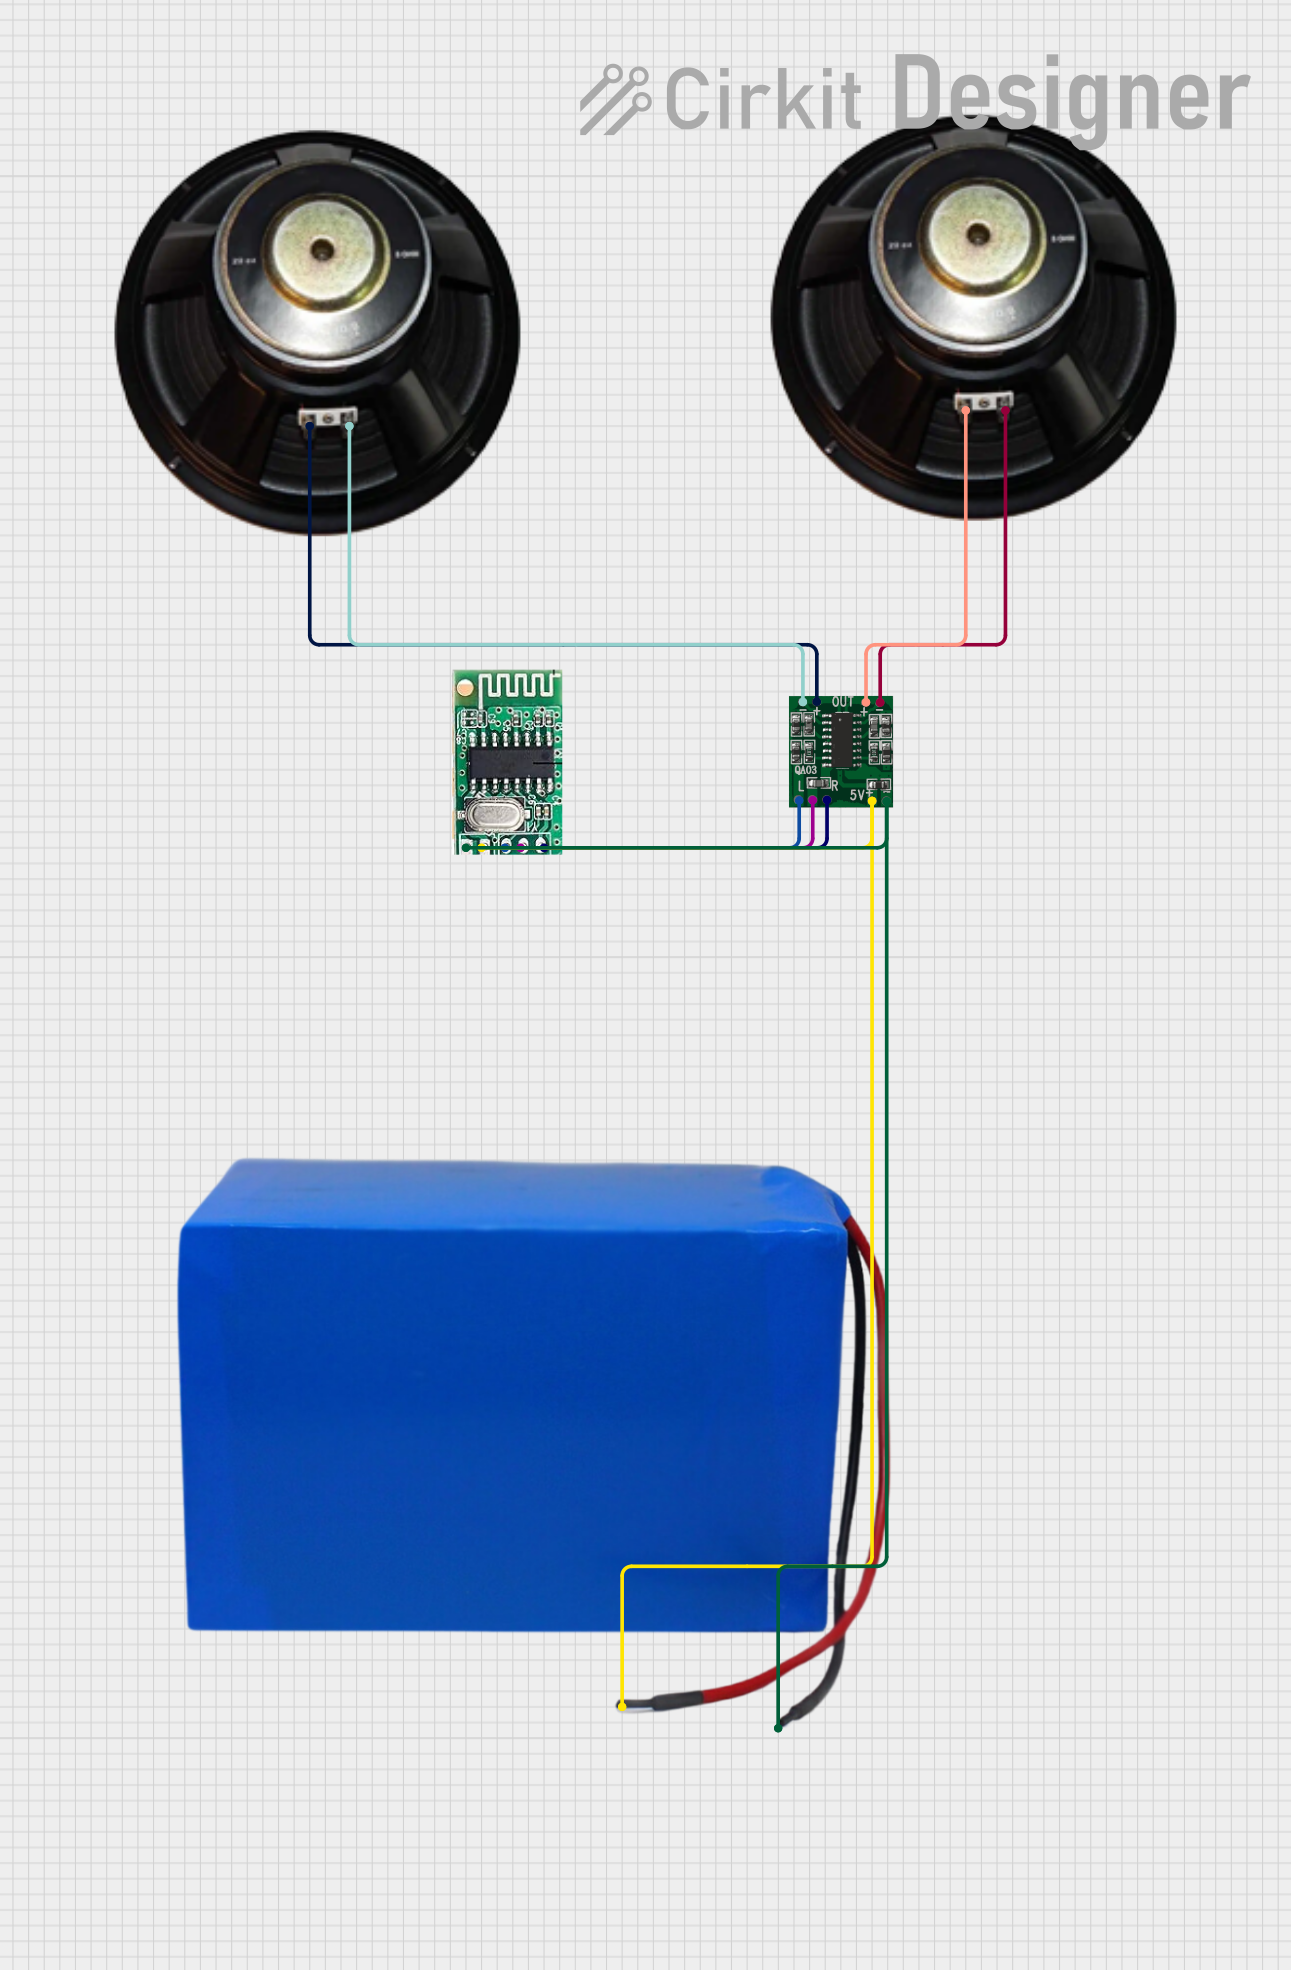
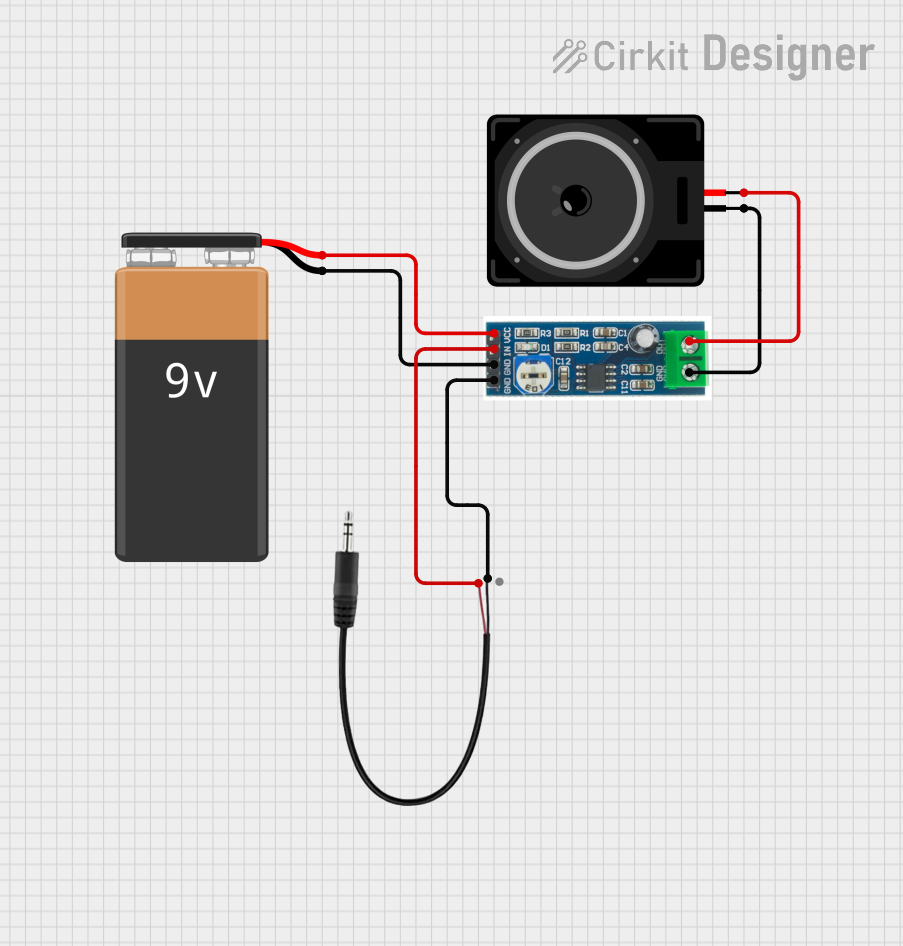
Usage Instructions
How to Use the LM4881 in a Circuit
Power Supply:
- Connect the Vcc pin (Pin 1) to a stable power supply within the range of 2.7V to 5.5V.
- Connect the GND pin (Pin 6) to the ground of the circuit.
Audio Input:
- Connect the audio signal source to the IN+ (Pin 3) and IN- (Pin 4) pins. Use coupling capacitors to block any DC offset from the input signal.
Audio Output:
- Connect the OUT1 (Pin 7) and OUT2 (Pin 8) pins to the left and right headphone drivers, respectively. Ensure the load impedance is appropriate (e.g., 32Ω headphones).
Bypass Capacitor:
- Connect a capacitor (typically 1µF) between the BYPASS pin (Pin 2) and ground to reduce noise and improve stability.
Shutdown Function:
- To enable the amplifier, ensure the SHUTDOWN pin (Pin 5) is pulled high. To disable the amplifier, pull this pin low.
Thermal and Short-Circuit Protection:
- The LM4881 includes built-in protection features. Ensure proper heat dissipation and avoid excessive loads to maintain reliable operation.
Important Considerations and Best Practices
- Use decoupling capacitors (e.g., 0.1µF and 10µF) close to the Vcc pin to minimize power supply noise.
- Avoid exceeding the maximum supply voltage (5.5V) to prevent damage to the component.
- Ensure proper grounding to reduce noise and interference in the audio signal.
- Use appropriate heat sinks or thermal management techniques if operating at high output power for extended periods.
Example: Connecting the LM4881 to an Arduino UNO
The LM4881 can be used with an Arduino UNO to amplify audio signals. Below is an example of how to connect and control the amplifier:
Circuit Connections
- Connect the Vcc pin of the LM4881 to the 5V pin of the Arduino.
- Connect the GND pin of the LM4881 to the GND pin of the Arduino.
- Connect the SHUTDOWN pin to a digital output pin on the Arduino (e.g., Pin 7).
- Connect the audio input signal to the IN+ and IN- pins of the LM4881.
- Connect the OUT1 and OUT2 pins to the headphone drivers.
Arduino Code Example
// LM4881 Headphones Amplifier Control Example
// This code demonstrates how to enable and disable the LM4881 amplifier
// using the SHUTDOWN pin connected to Arduino Pin 7.

#define SHUTDOWN_PIN 7  // Define the SHUTDOWN pin

void setup() {
  pinMode(SHUTDOWN_PIN, OUTPUT);  // Set SHUTDOWN pin as output
  digitalWrite(SHUTDOWN_PIN, HIGH);  // Enable the amplifier (active high)
}

void loop() {
  // Example: Toggle amplifier state every 5 seconds
  digitalWrite(SHUTDOWN_PIN, LOW);  // Disable the amplifier
  delay(5000);                      // Wait for 5 seconds
  digitalWrite(SHUTDOWN_PIN, HIGH); // Enable the amplifier
  delay(5000);                      // Wait for 5 seconds
}
Troubleshooting and FAQs
Common Issues and Solutions
No Audio Output:
- Ensure the SHUTDOWN pin is pulled high to enable the amplifier.
- Verify that the audio input signal is properly connected to the IN+ and IN- pins.
- Check the power supply voltage and ensure it is within the specified range (2.7V to 5.5V).
Distorted Audio:
- Verify that the load impedance (e.g., headphone impedance) is within the recommended range (e.g., 32Ω).
- Check for excessive input signal levels that may cause clipping.
- Ensure proper decoupling and bypass capacitors are used to minimize noise.
Overheating:
- Ensure adequate heat dissipation, especially when driving high-power loads.
- Verify that the load impedance is not too low, which could cause excessive current draw.
Amplifier Not Responding to SHUTDOWN Pin:
- Check the connection between the SHUTDOWN pin and the Arduino or control circuit.
- Ensure the SHUTDOWN pin is not left floating; it must be actively driven high or low.
FAQs
Q: Can the LM4881 drive speakers instead of headphones?
A: The LM4881 is optimized for driving headphones with impedances of 32Ω or higher. It is not recommended for driving low-impedance speakers directly.
Q: What is the purpose of the BYPASS pin?
A: The BYPASS pin is used to connect a capacitor that reduces noise and improves the stability of the amplifier.
Q: Can I use the LM4881 with a dual power supply?
A: No, the LM4881 is designed to operate with a single supply voltage in the range of 2.7V to 5.5V.
Q: How do I protect the LM4881 from damage?
A: Use proper decoupling capacitors, avoid exceeding the maximum supply voltage, and ensure the load impedance is within the recommended range. The built-in thermal shutdown and short-circuit protection features also help safeguard the component.