How to Use Panel Surya: Examples, Pinouts, and Specs
Introduction
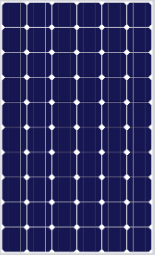
Panel Surya is a solar panel designed to convert sunlight into electrical energy using photovoltaic (PV) cells. It is an efficient and eco-friendly energy source, suitable for a wide range of applications. Panel Surya is commonly used in residential, commercial, and industrial solar power systems, as well as in portable solar-powered devices.
Explore Projects Built with Panel Surya

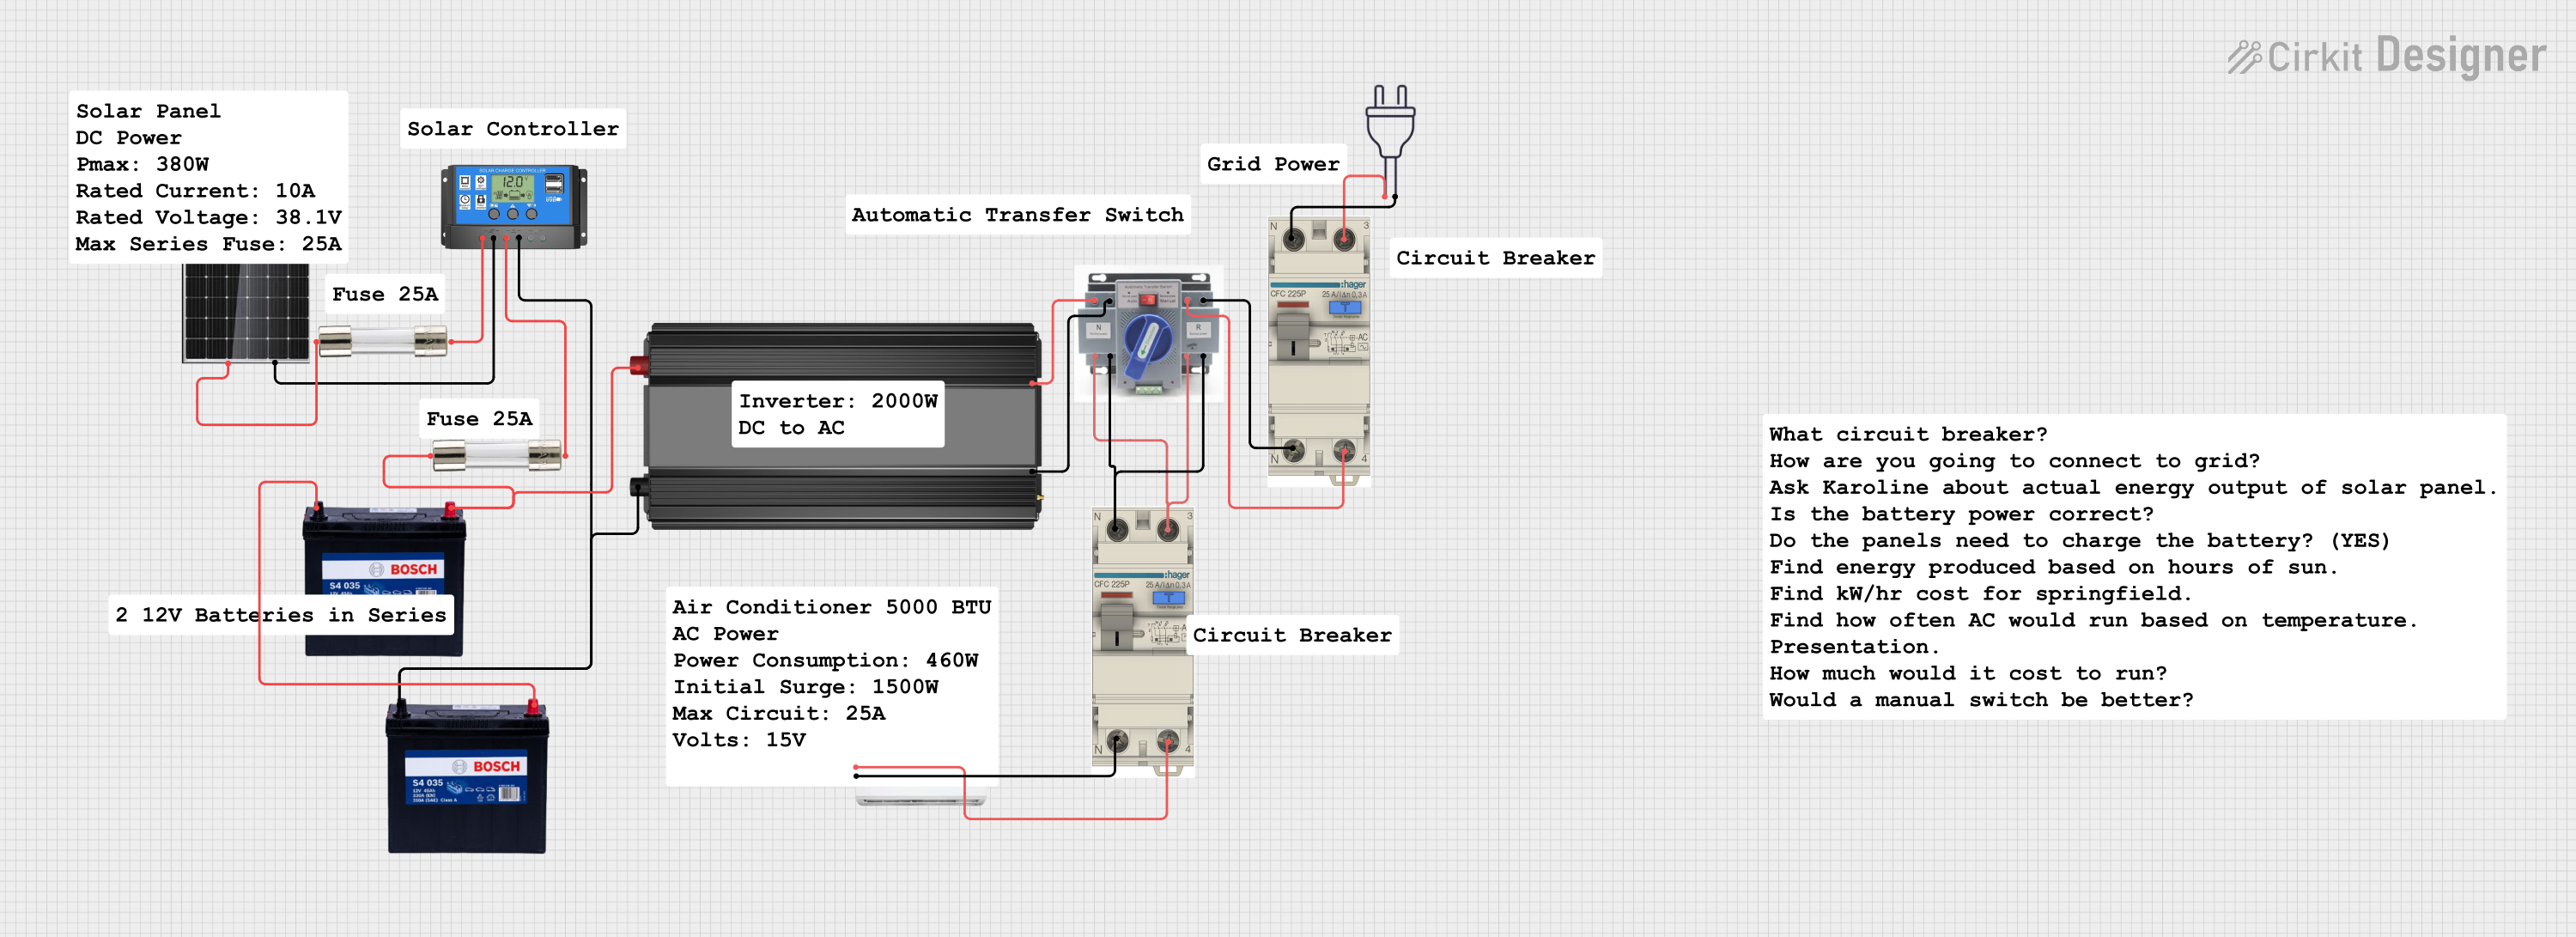
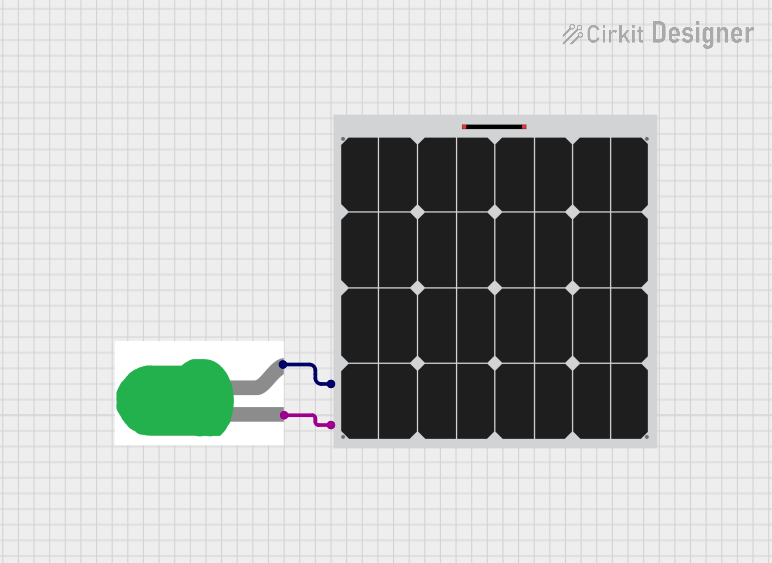
Explore Projects Built with Panel Surya
Common Applications and Use Cases
- Residential rooftop solar installations
- Off-grid power systems for remote areas
- Solar-powered lighting and irrigation systems
- Portable solar chargers for electronic devices
- Integration with battery storage systems for backup power
Technical Specifications
Below are the key technical details of Panel Surya:
| Parameter | Value |
|---|---|
| Maximum Power (Pmax) | 100W |
| Voltage at Pmax (Vmp) | 18V |
| Current at Pmax (Imp) | 5.56A |
| Open Circuit Voltage (Voc) | 22V |
| Short Circuit Current (Isc) | 5.95A |
| Efficiency | 18% |
| Dimensions | 1200mm x 540mm x 35mm |
| Weight | 8kg |
| Operating Temperature | -40°C to +85°C |
| Connector Type | MC4 |
Pin Configuration and Descriptions
Panel Surya typically has two output terminals for electrical connections:
| Pin Name | Description |
|---|---|
| Positive (+) | Positive terminal for DC output voltage. |
| Negative (-) | Negative terminal for DC output voltage. |
Usage Instructions
How to Use the Component in a Circuit
- Positioning the Panel: Install Panel Surya in a location with maximum sunlight exposure. Ensure the panel is angled correctly based on your geographic location to optimize energy generation.
- Connecting to a Charge Controller: Connect the positive (+) and negative (-) terminals of the panel to the corresponding input terminals of a solar charge controller. This prevents overcharging of batteries and regulates the output voltage.
- Battery Integration: Connect the charge controller to a battery for energy storage. Ensure the battery voltage matches the panel's output voltage.
- Load Connection: Attach your DC or AC load (via an inverter, if necessary) to the output terminals of the charge controller or battery.
Important Considerations and Best Practices
- Avoid Shading: Ensure the panel is not shaded by trees, buildings, or other obstructions, as this can significantly reduce efficiency.
- Use Proper Cables: Use cables with appropriate current ratings to minimize power loss and ensure safety.
- Regular Maintenance: Clean the panel surface periodically to remove dust, dirt, or debris that may block sunlight.
- Overvoltage Protection: Use a charge controller to protect connected devices from overvoltage or overcurrent conditions.
- Series or Parallel Connections: For higher voltage or current requirements, connect multiple panels in series or parallel configurations, ensuring compatibility with the charge controller and load.
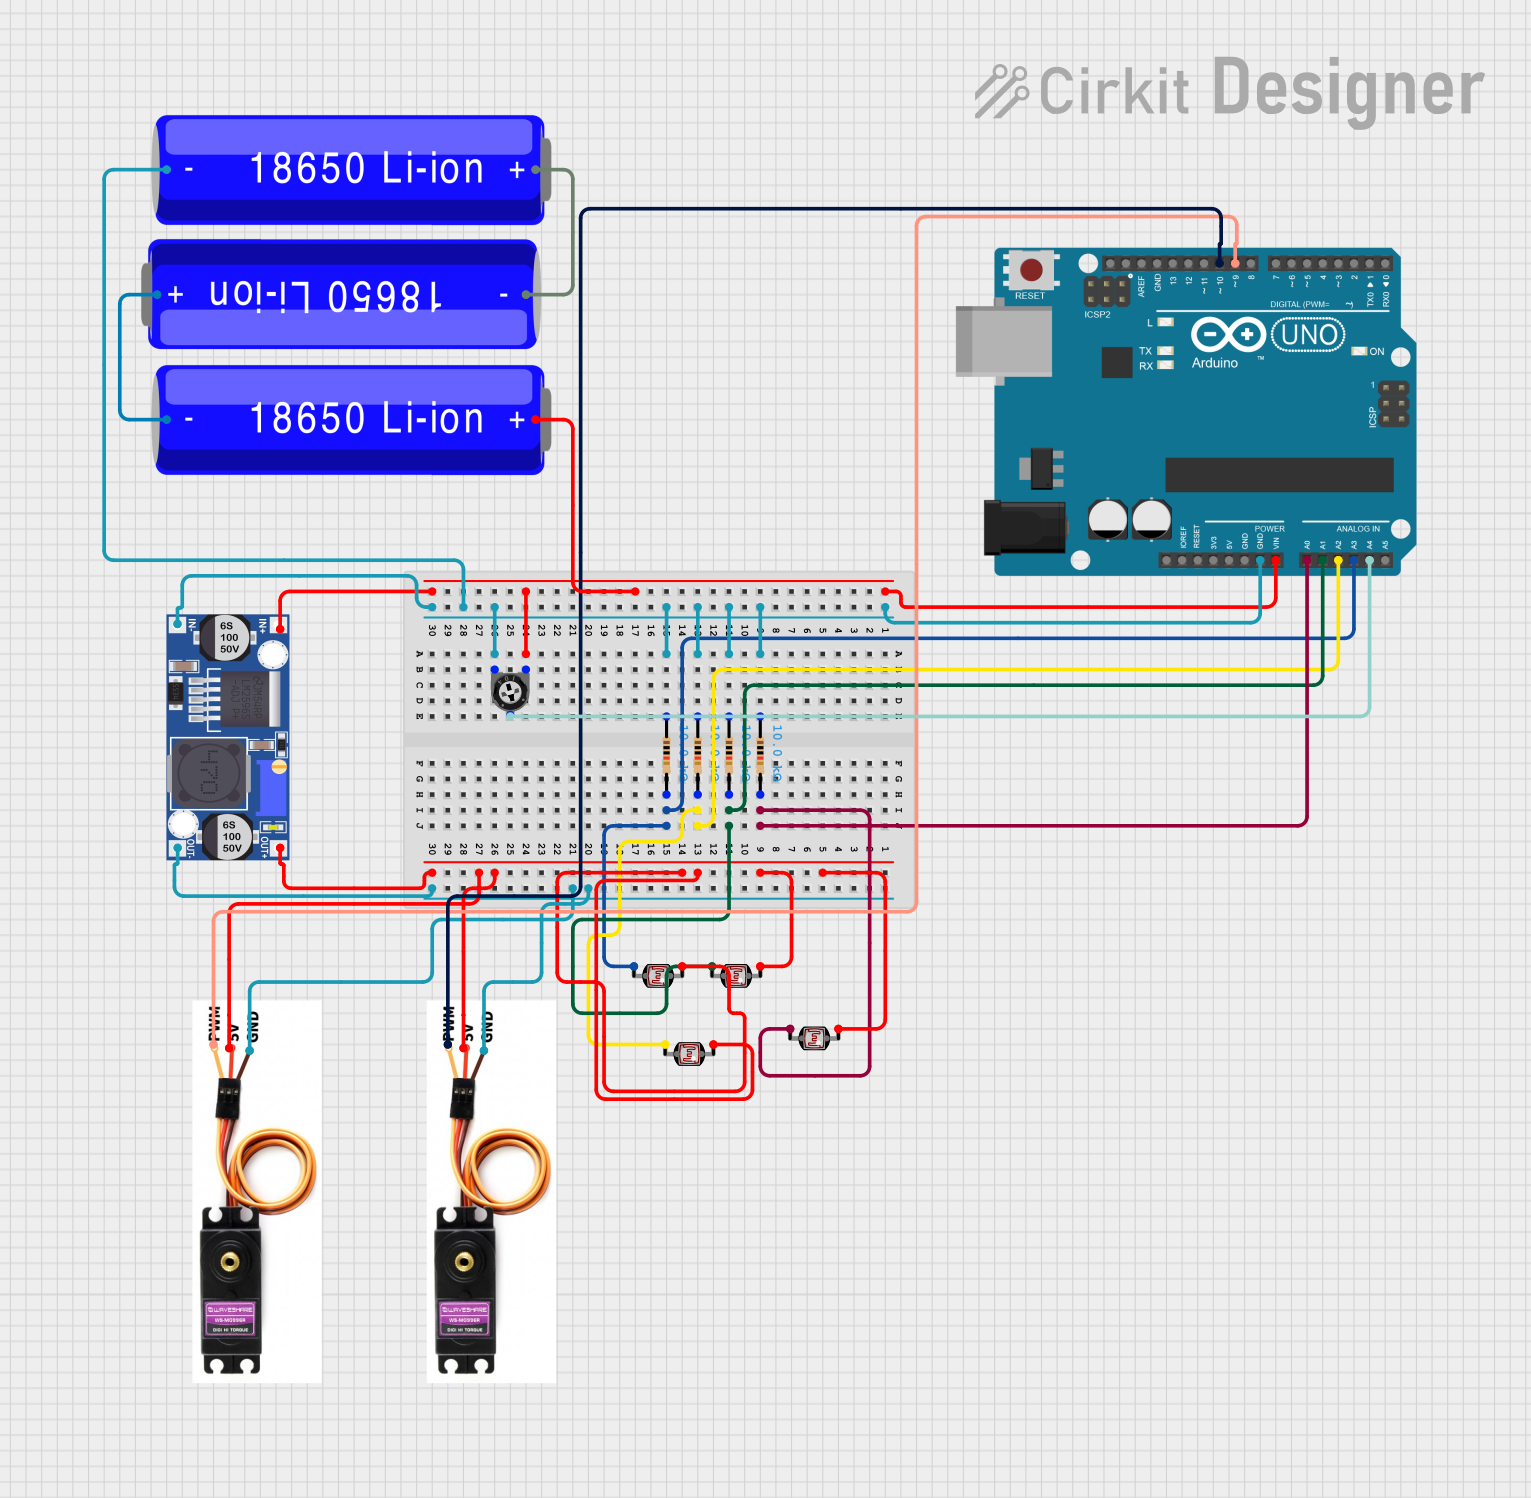
Arduino UNO Integration Example
Panel Surya can be used with an Arduino UNO to monitor voltage and current. Below is an example code snippet:
// Example: Monitor solar panel voltage and current using Arduino UNO
// Ensure proper connections: Panel -> Voltage Divider -> Analog Pins

const int voltagePin = A0; // Analog pin for voltage measurement
const int currentPin = A1; // Analog pin for current measurement
const float voltageDividerRatio = 5.0; // Adjust based on your voltage divider
const float currentSensorSensitivity = 0.185; // Sensitivity in V/A (e.g., ACS712)

void setup() {
  Serial.begin(9600); // Initialize serial communication
}

void loop() {
  // Read voltage from the panel
  int voltageRaw = analogRead(voltagePin);
  float panelVoltage = (voltageRaw * 5.0 / 1023.0) * voltageDividerRatio;

  // Read current from the panel
  int currentRaw = analogRead(currentPin);
  float panelCurrent = (currentRaw * 5.0 / 1023.0) / currentSensorSensitivity;

  // Calculate power
  float panelPower = panelVoltage * panelCurrent;

  // Print results to the Serial Monitor
  Serial.print("Voltage: ");
  Serial.print(panelVoltage);
  Serial.print(" V, Current: ");
  Serial.print(panelCurrent);
  Serial.print(" A, Power: ");
  Serial.print(panelPower);
  Serial.println(" W");

  delay(1000); // Wait for 1 second before the next reading
}
Troubleshooting and FAQs
Common Issues Users Might Face
Low Power Output:
- Cause: Shading, dirt on the panel, or incorrect positioning.
- Solution: Clean the panel surface and ensure it is positioned for maximum sunlight exposure.
Overheating:
- Cause: High ambient temperatures or poor ventilation.
- Solution: Install the panel in a well-ventilated area and avoid placing it directly on heat-absorbing surfaces.
No Output Voltage:
- Cause: Loose or incorrect connections.
- Solution: Check all connections, ensuring proper polarity and secure attachment.
Battery Not Charging:
- Cause: Faulty charge controller or mismatched voltage levels.
- Solution: Verify the charge controller is functioning correctly and ensure the battery voltage matches the panel's output.
Solutions and Tips for Troubleshooting
- Use a multimeter to measure the panel's output voltage and current to diagnose issues.
- Inspect cables and connectors for damage or corrosion.
- If using multiple panels, ensure they are connected correctly in series or parallel as per the system requirements.
- Consult the charge controller's manual for specific troubleshooting steps related to the controller.
By following this documentation, users can effectively utilize Panel Surya for their solar energy needs while ensuring optimal performance and longevity.