How to Use PX4 FLOW: Examples, Pinouts, and Specs
Introduction
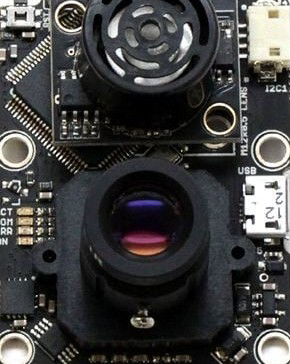
The PX4 FLOW is a vision-based sensor designed for drone and robotic applications. It provides accurate position estimation and velocity measurement using advanced optical flow technology. By integrating a camera and a processing unit, the PX4 FLOW analyzes the movement of the ground below, enabling stable flight and precise navigation. This makes it an essential component for autonomous systems requiring reliable motion tracking and control.
Explore Projects Built with PX4 FLOW
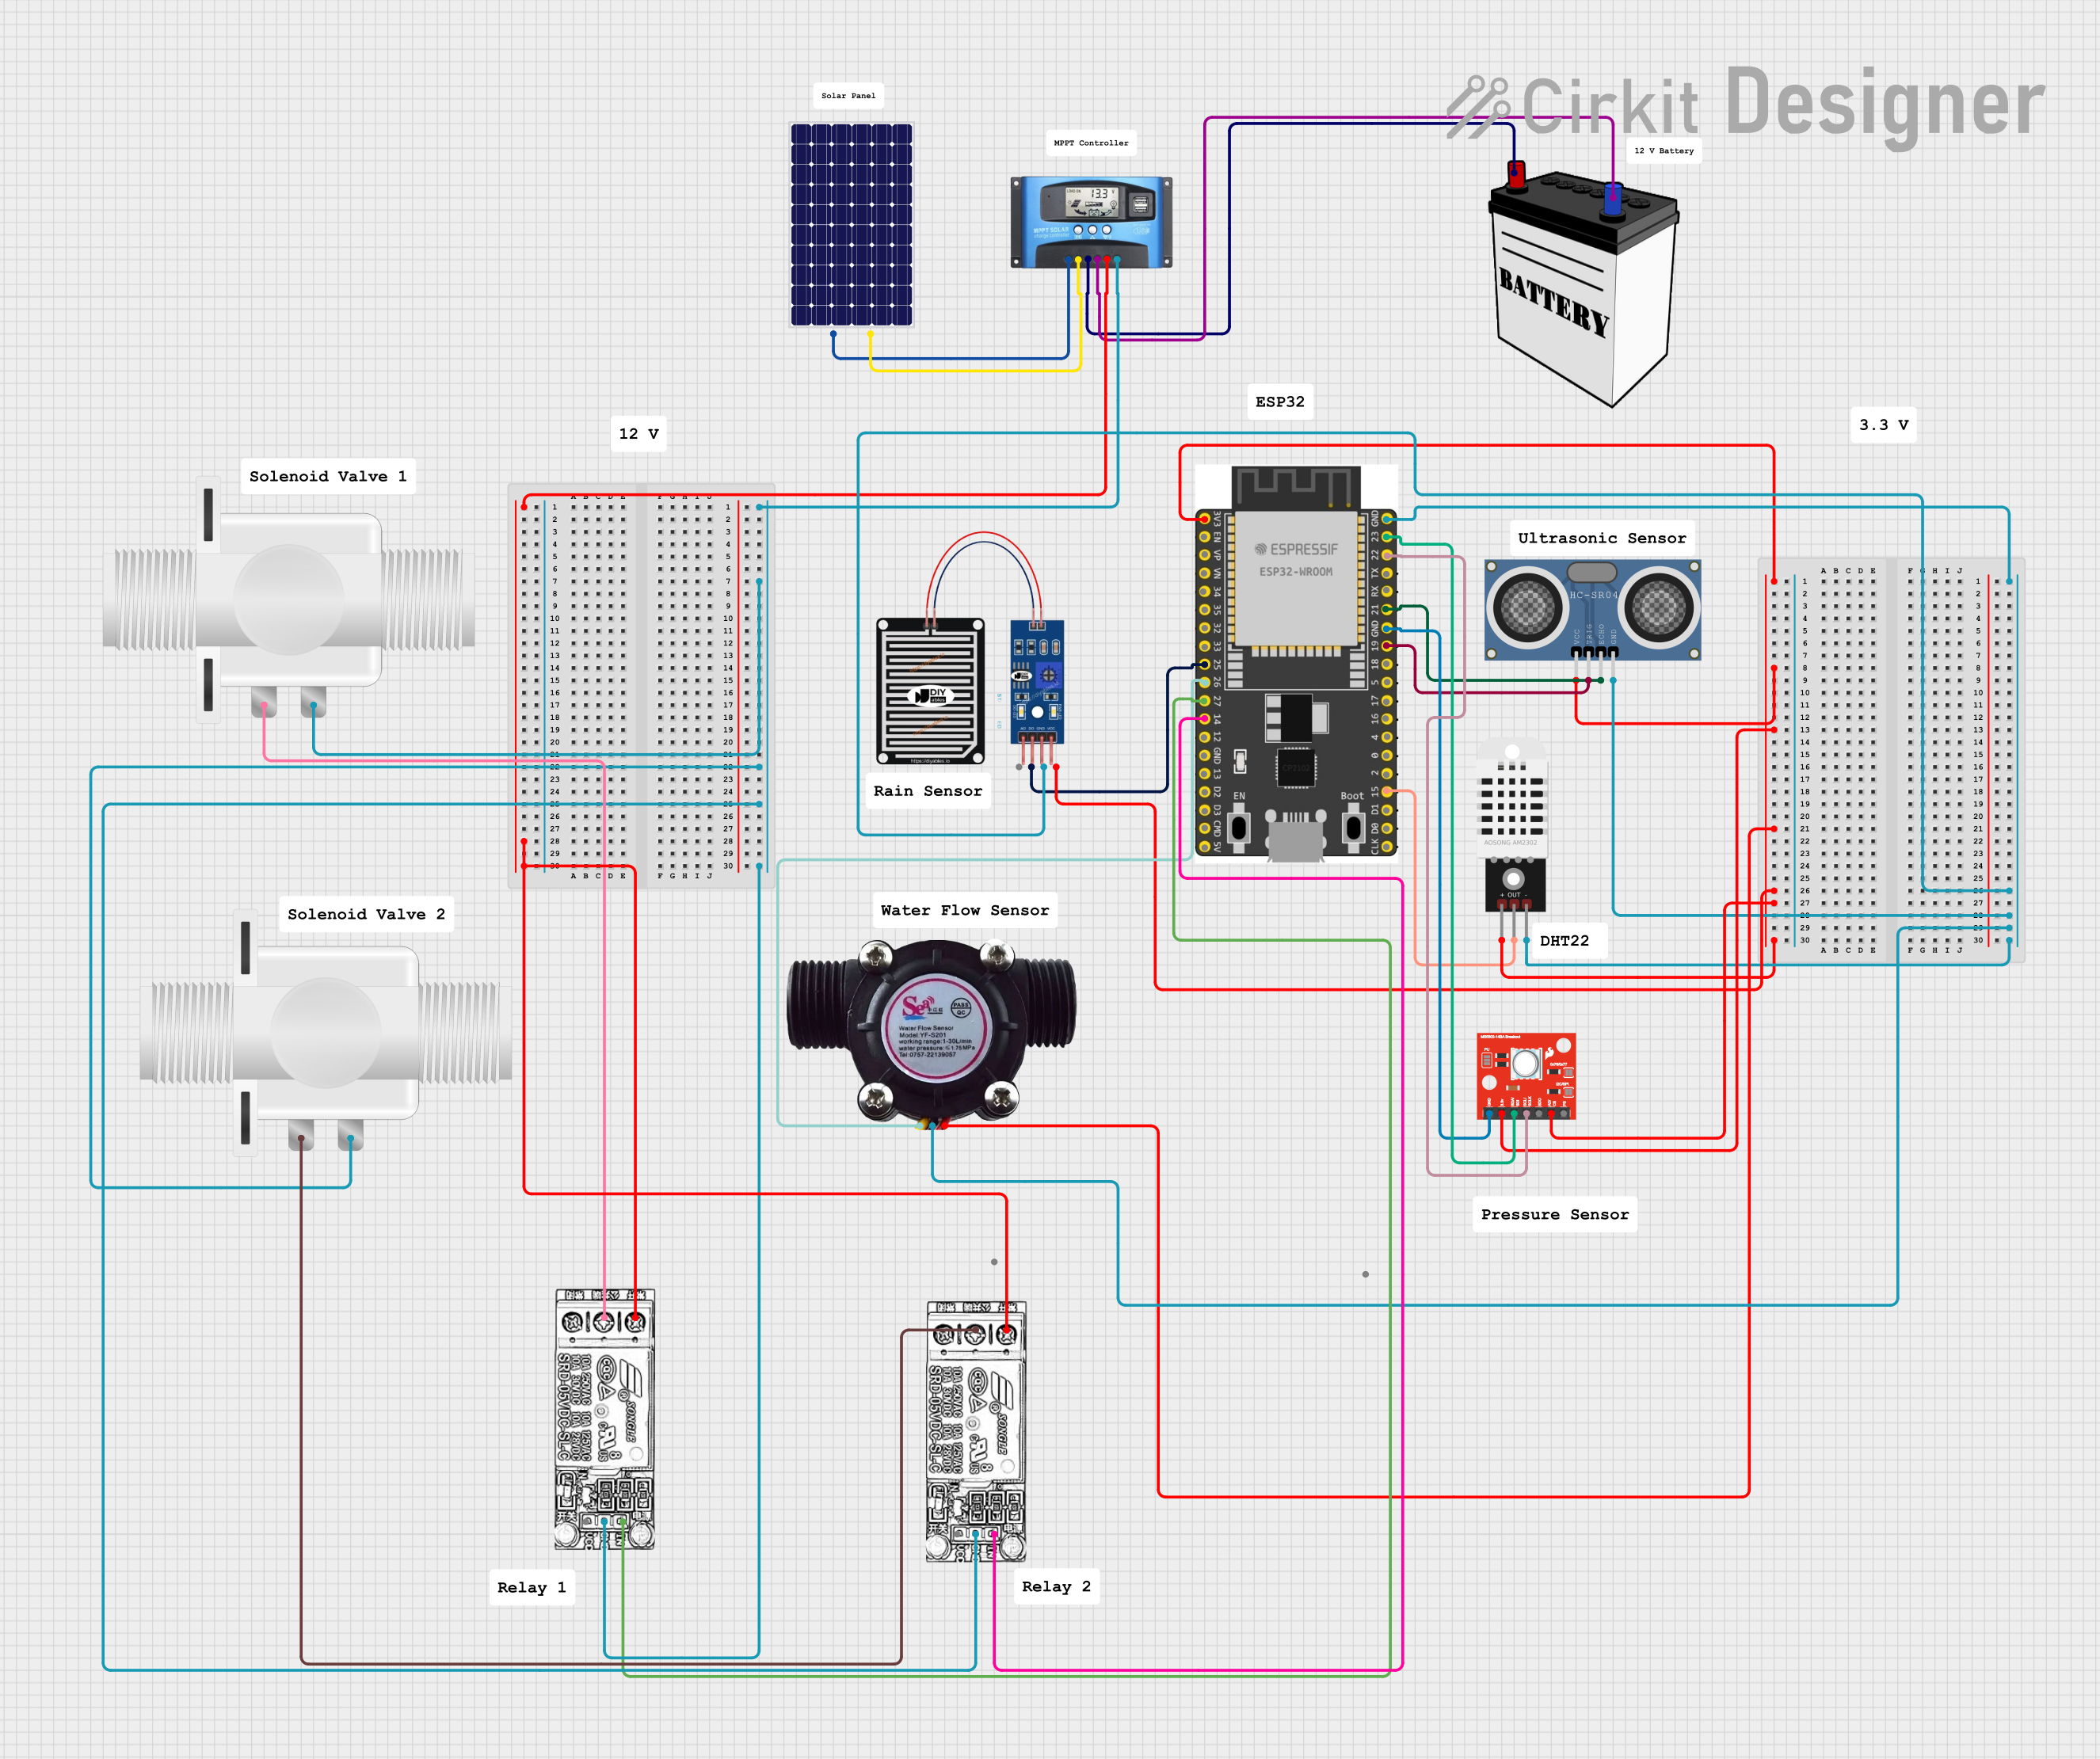


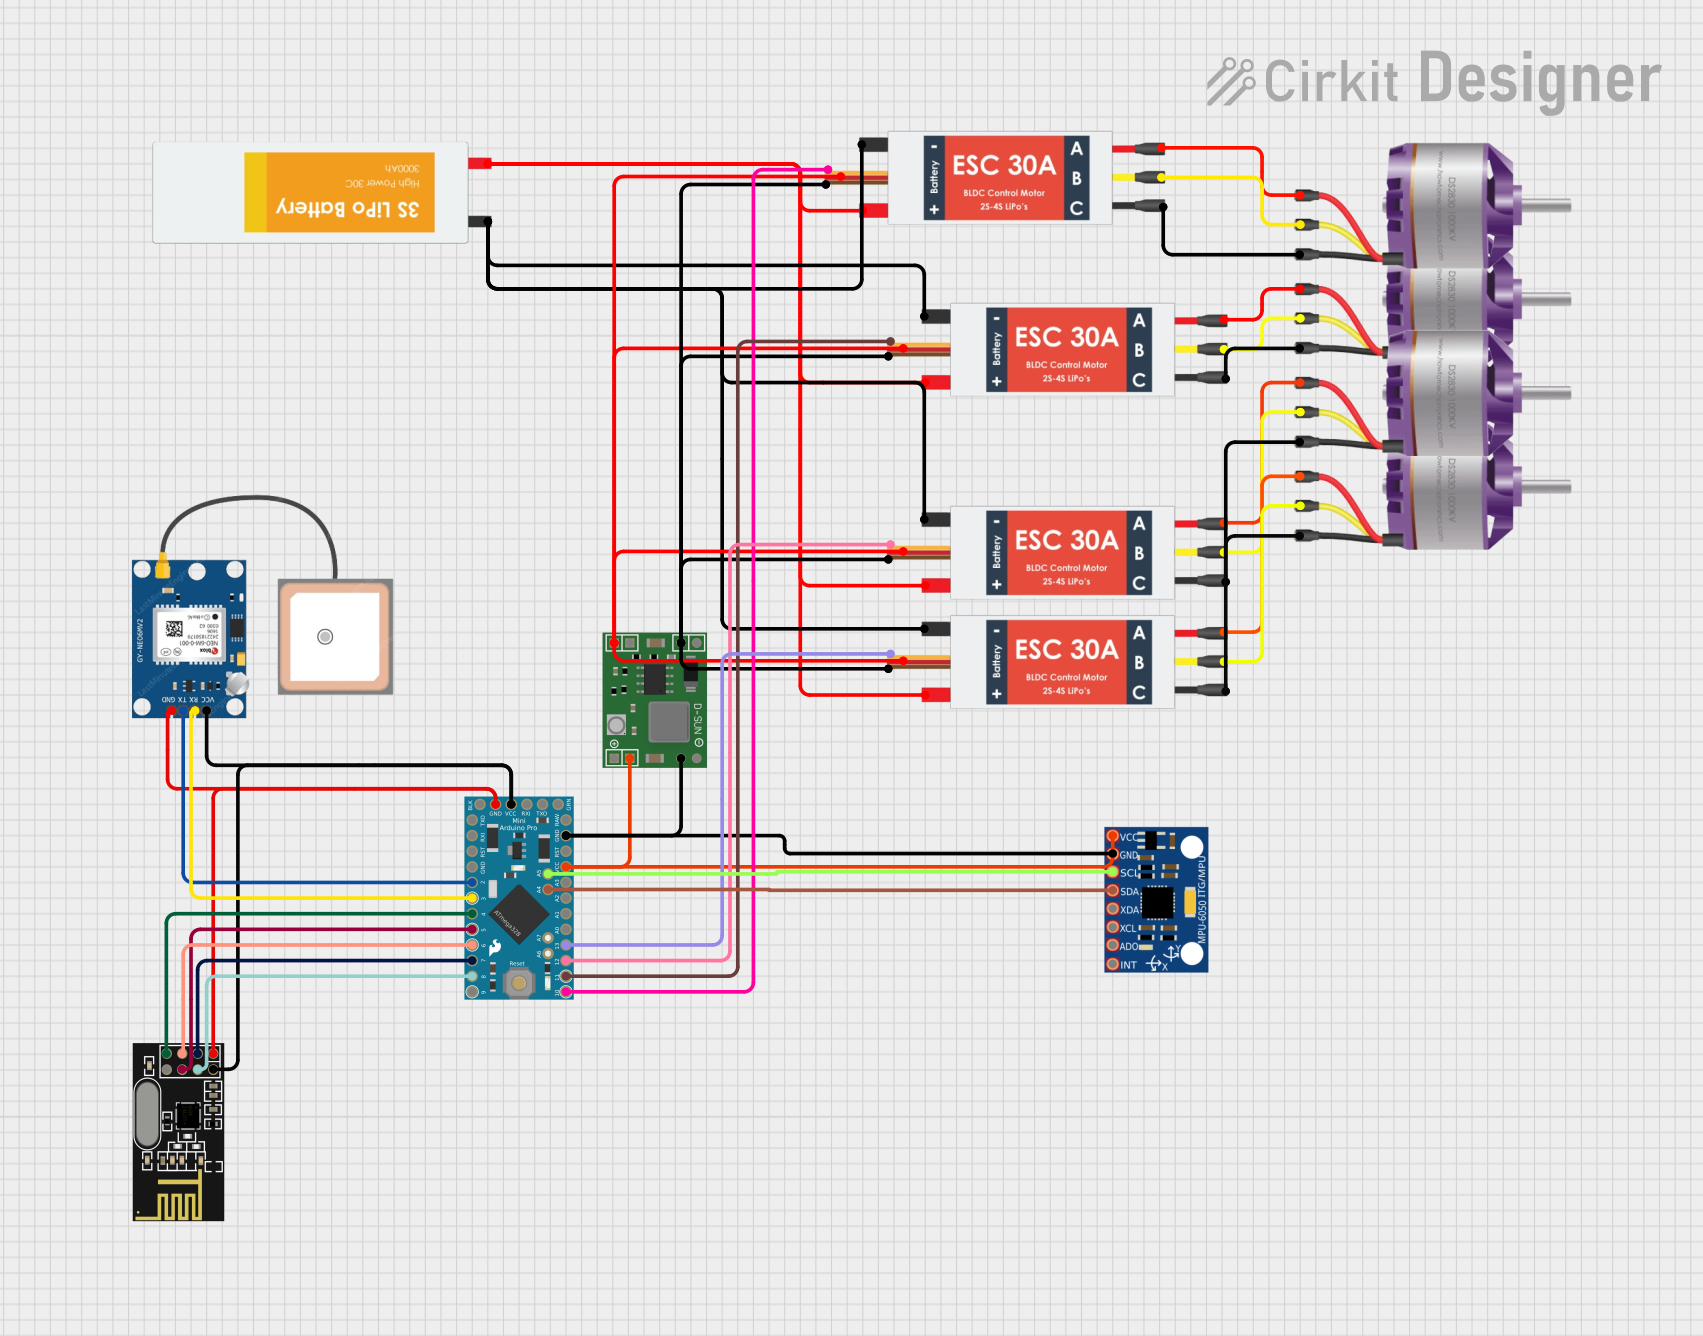
Explore Projects Built with PX4 FLOW
Common Applications and Use Cases
- Autonomous drones for indoor and outdoor navigation
- Robotic systems requiring precise position and velocity feedback
- Stabilization and hover control in quadcopters
- Obstacle avoidance and path planning in robotics
- Research and development in computer vision and robotics
Technical Specifications
Key Technical Details
| Parameter | Specification |
|---|---|
| Sensor Type | Optical Flow |
| Camera Resolution | 752 x 480 pixels (VGA) |
| Lens Field of View (FOV) | 16 mm focal length, ~45° FOV |
| Frame Rate | 120 frames per second (fps) |
| Processor | STM32F407 (168 MHz, Cortex-M4) |
| Communication Interfaces | I2C, UART |
| Input Voltage | 5V DC |
| Power Consumption | ~115 mA |
| Dimensions | 45 mm x 45 mm |
| Weight | ~12.5 g |
Pin Configuration and Descriptions
| Pin Name | Type | Description |
|---|---|---|
| VCC | Power | 5V DC input to power the PX4 FLOW |
| GND | Ground | Ground connection |
| SCL | I2C Clock | Serial clock line for I2C communication |
| SDA | I2C Data | Serial data line for I2C communication |
| TX | UART TX | Transmit pin for UART communication |
| RX | UART RX | Receive pin for UART communication |
Usage Instructions
How to Use the PX4 FLOW in a Circuit
- Power the Sensor: Connect the VCC pin to a 5V DC power source and the GND pin to ground.
- Choose Communication Interface: Decide whether to use I2C or UART for communication:
- For I2C, connect the SCL and SDA pins to the corresponding pins on your microcontroller.
- For UART, connect the TX and RX pins to the UART interface of your microcontroller.
- Mount the Sensor: Securely mount the PX4 FLOW on your drone or robot, ensuring the camera faces downward for optimal ground tracking.
- Configure Software: Use the PX4 firmware or custom software to initialize and read data from the sensor.
Important Considerations and Best Practices
- Lighting Conditions: Ensure adequate lighting for the camera to detect ground features effectively. Poor lighting may reduce accuracy.
- Surface Texture: The sensor performs best on textured surfaces. Avoid smooth or reflective surfaces that may hinder optical flow detection.
- Vibration Isolation: Minimize vibrations by using damping materials or mounts to improve measurement accuracy.
- Firmware Updates: Regularly update the PX4 FLOW firmware to ensure compatibility and access to the latest features.
Example: Connecting PX4 FLOW to Arduino UNO
Below is an example of how to interface the PX4 FLOW with an Arduino UNO using I2C:
#include <Wire.h>

// PX4 FLOW I2C address
#define PX4_FLOW_ADDRESS 0x42

void setup() {
  Wire.begin(); // Initialize I2C communication
  Serial.begin(9600); // Initialize serial communication for debugging

  Serial.println("Initializing PX4 FLOW...");
}

void loop() {
  Wire.beginTransmission(PX4_FLOW_ADDRESS); // Start communication with PX4 FLOW
  Wire.write(0x00); // Request data (register 0x00 is an example)
  Wire.endTransmission();

  Wire.requestFrom(PX4_FLOW_ADDRESS, 2); // Request 2 bytes of data
  if (Wire.available() == 2) {
    int16_t flow = Wire.read() | (Wire.read() << 8); // Combine two bytes
    Serial.print("Optical Flow: ");
    Serial.println(flow); // Print the flow data
  }

  delay(100); // Wait 100 ms before the next reading
}
Notes:
- Replace
0x00with the appropriate register address based on your application. - Ensure pull-up resistors (typically 4.7 kΩ) are connected to the SCL and SDA lines for I2C communication.
Troubleshooting and FAQs
Common Issues and Solutions
No Data from the Sensor
- Cause: Incorrect wiring or communication interface selection.
- Solution: Double-check the connections and ensure the correct interface (I2C or UART) is configured in your software.
Inaccurate Measurements
- Cause: Poor lighting or unsuitable surface texture.
- Solution: Improve lighting conditions and ensure the sensor is used on textured surfaces.
High Vibration Interference
- Cause: Excessive vibrations from motors or environment.
- Solution: Use vibration-damping mounts to isolate the sensor.
Communication Errors
- Cause: Incorrect I2C address or baud rate settings.
- Solution: Verify the I2C address (default is
0x42) and ensure the baud rate matches the sensor's configuration.
FAQs
Q: Can the PX4 FLOW be used outdoors?
- A: Yes, but ensure adequate lighting and avoid reflective surfaces like water or glass.
Q: What is the maximum altitude for accurate measurements?
- A: The PX4 FLOW performs best at altitudes below 3 meters. Accuracy decreases at higher altitudes.
Q: Is the PX4 FLOW compatible with other flight controllers?
- A: Yes, it is compatible with most flight controllers that support I2C or UART communication, including the PX4 Autopilot.
Q: How do I update the PX4 FLOW firmware?
- A: Use the QGroundControl software to update the firmware via USB.
By following this documentation, users can effectively integrate and utilize the PX4 FLOW sensor in their projects.