
How to Use RELAY: Examples, Pinouts, and Specs
 Design with RELAY in Cirkit Designer
Introduction
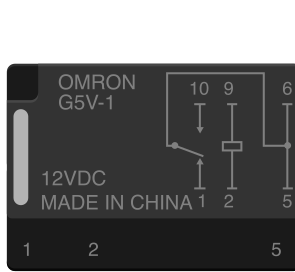
The Omron G5V-1 is a compact, high-performance electromechanical relay designed for a wide range of applications. A relay is an electromechanical switch that uses an electromagnetic coil to open or close a circuit, enabling the control of high-power devices using low-power signals. The G5V-1 is particularly valued for its reliability, small size, and low power consumption.
Explore Projects Built with RELAY
 Open Project in Cirkit Designer
 Open Project in Cirkit Designer
 Open Project in Cirkit Designer
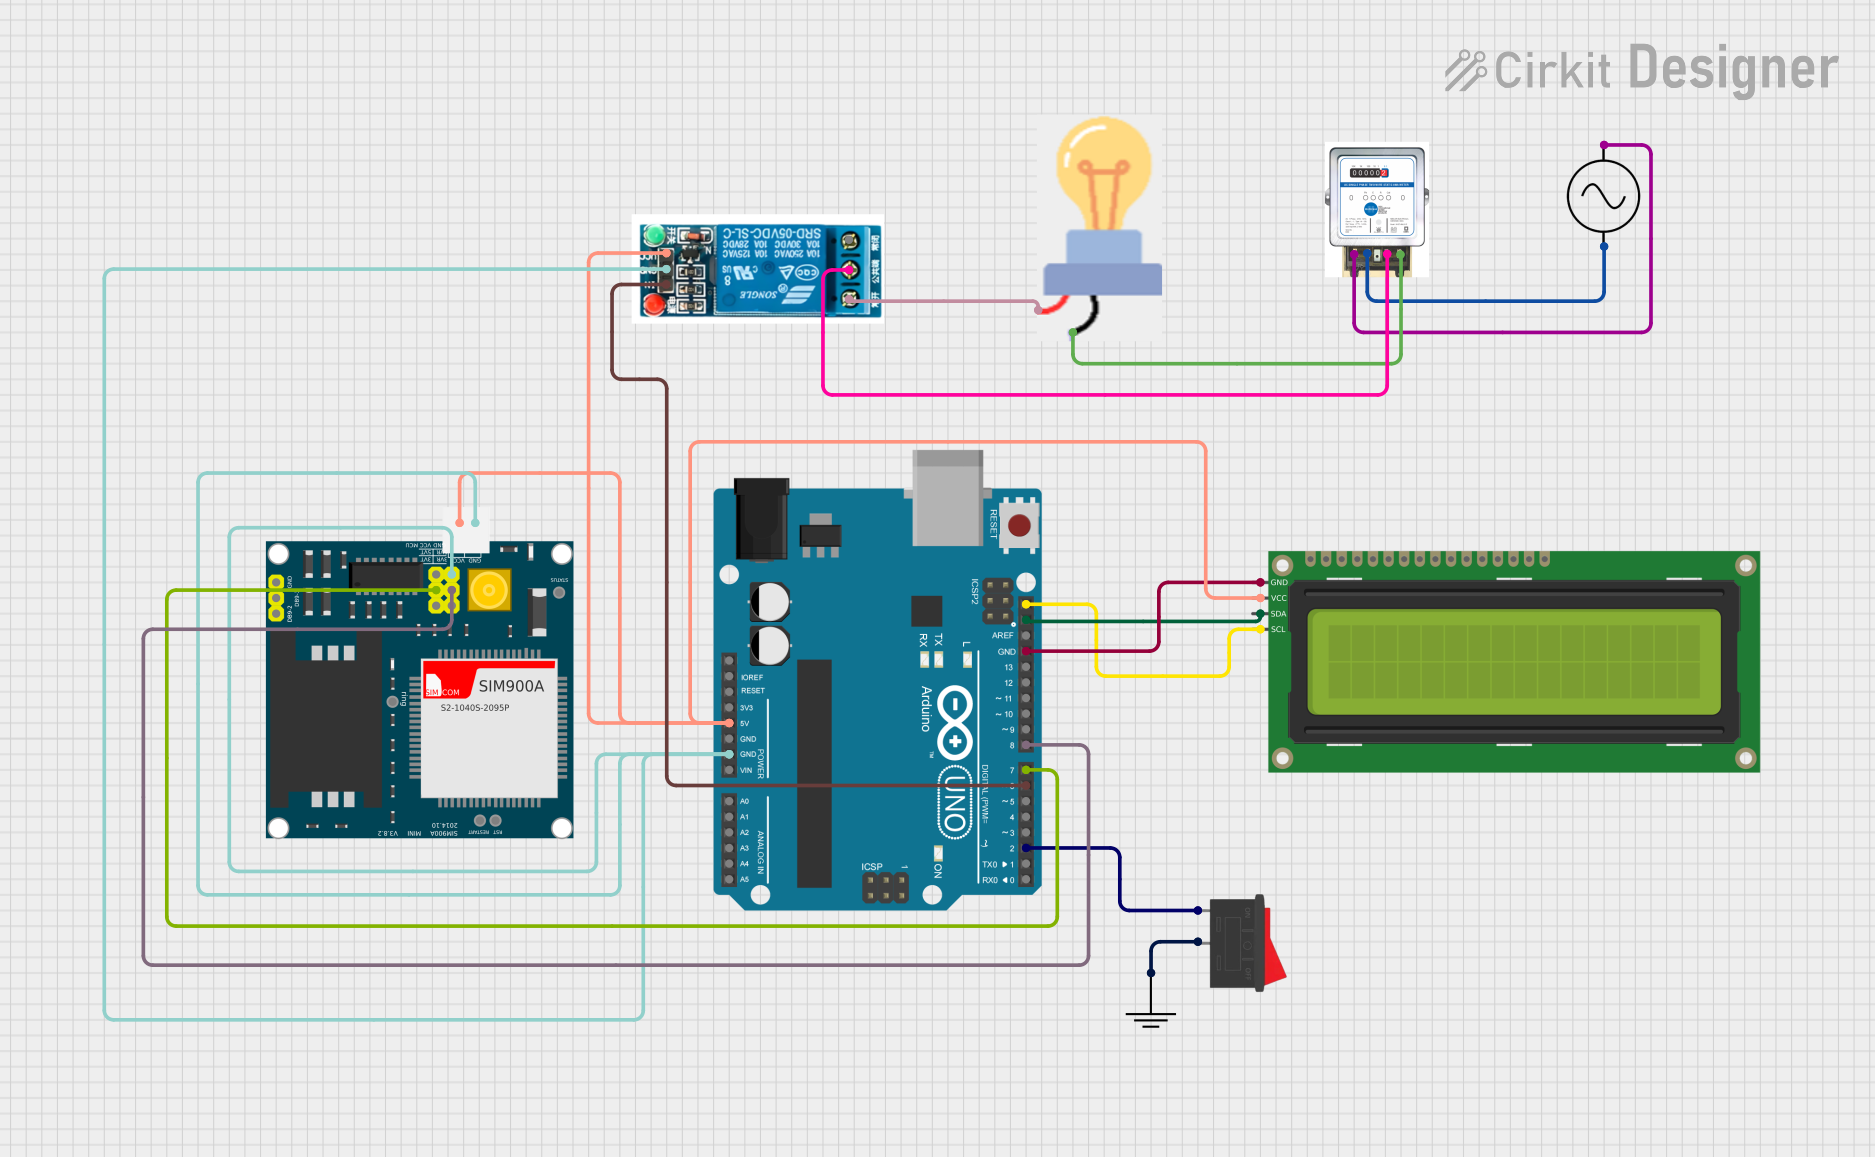 Open Project in Cirkit Designer
Explore Projects Built with RELAY
Open Project in Cirkit DesignerOpen Project in Cirkit DesignerOpen Project in Cirkit DesignerOpen Project in Cirkit DesignerCommon Applications and Use Cases
- Home Automation: Controlling lights, fans, and other appliances.
- Industrial Control Systems: Switching motors, solenoids, and other high-power devices.
- Microcontroller Projects: Interfacing with Arduino, Raspberry Pi, or other microcontrollers.
- Telecommunications: Signal routing and switching.
- Test and Measurement Equipment: Isolating and controlling test signals.
Technical Specifications
The Omron G5V-1 relay is designed to meet the needs of various low-power switching applications. Below are its key technical details:
General Specifications
| Parameter | Value |
|---|---|
| Manufacturer | Omron |
| Part Number | G5V-1 |
| Type | Electromechanical Relay |
| Contact Configuration | SPDT (Single Pole Double Throw) |
| Coil Voltage Options | 5V, 12V, 24V |
| Contact Rating | 1A at 30V DC / 0.5A at 125V AC |
| Coil Resistance | 500Ω (for 5V version) |
| Switching Time | Operate: 5ms, Release: 3ms |
| Insulation Resistance | 100MΩ minimum at 500V DC |
| Dielectric Strength | 1000V AC for 1 minute |
| Operating Temperature | -40°C to +70°C |
| Dimensions | 20.2mm x 10.1mm x 10.4mm |
Pin Configuration and Descriptions
The G5V-1 relay has a total of 5 pins. The pinout is as follows:
| Pin Number | Name | Description |
|---|---|---|
| 1 | Coil (+) | Positive terminal of the electromagnetic coil. |
| 2 | Coil (-) | Negative terminal of the electromagnetic coil. |
| 3 | Common (COM) | Common terminal for the switching contacts. |
| 4 | Normally Open (NO) | Open when the relay is inactive; closes when activated. |
| 5 | Normally Closed (NC) | Closed when the relay is inactive; opens when activated. |
Usage Instructions
The Omron G5V-1 relay can be easily integrated into circuits for switching applications. Below are the steps and considerations for using this relay:
How to Use the Relay in a Circuit
- Power the Coil: Connect the coil terminals (pins 1 and 2) to a DC voltage source matching the relay's rated coil voltage (e.g., 5V for the 5V version).
- Control the Load: Connect the load to the Common (COM) terminal (pin 3) and either the Normally Open (NO) or Normally Closed (NC) terminal (pins 4 or 5), depending on the desired behavior:
- Use the NO terminal if the load should be powered only when the relay is activated.
- Use the NC terminal if the load should be powered when the relay is inactive.
- Add a Flyback Diode: Place a flyback diode (e.g., 1N4007) across the coil terminals to protect the driving circuit from voltage spikes when the relay is deactivated.
- Control the Relay: Use a microcontroller, transistor, or other control circuit to switch the relay on and off by energizing the coil.
Example: Connecting to an Arduino UNO
Below is an example of how to control the G5V-1 relay using an Arduino UNO:
Circuit Connections
- Connect pin 1 (Coil +) to a digital output pin on the Arduino (e.g., pin 7) through a 2N2222 NPN transistor.
- Connect pin 2 (Coil -) to the ground (GND).
- Place a flyback diode (e.g., 1N4007) across the coil terminals (pin 1 to pin 2).
- Connect the load to the COM and NO terminals.
Arduino Code
// Define the relay pin
const int relayPin = 7;

void setup() {
  pinMode(relayPin, OUTPUT); // Set the relay pin as an output
  digitalWrite(relayPin, LOW); // Ensure the relay is off at startup
}

void loop() {
  digitalWrite(relayPin, HIGH); // Activate the relay
  delay(1000); // Keep the relay on for 1 second
  digitalWrite(relayPin, LOW); // Deactivate the relay
  delay(1000); // Keep the relay off for 1 second
}
Important Considerations and Best Practices
- Voltage Matching: Ensure the coil voltage matches the relay's rated voltage to avoid damage.
- Current Handling: Verify that the relay's contact rating is sufficient for the load being switched.
- Isolation: Use an optocoupler or transistor to isolate the control circuit from the relay if necessary.
- Flyback Diode: Always include a flyback diode to protect the control circuit from voltage spikes.
Troubleshooting and FAQs
Common Issues and Solutions
Relay Not Activating:
- Check the coil voltage and ensure it matches the relay's rated voltage.
- Verify the control circuit is providing sufficient current to energize the coil.
- Inspect the connections for loose or incorrect wiring.
Load Not Switching:
- Confirm the load is properly connected to the COM and NO/NC terminals.
- Check the relay's contact rating to ensure it can handle the load's current and voltage.
- Test the relay with a multimeter to verify the switching action.
Voltage Spikes Damaging Components:
- Ensure a flyback diode is installed across the coil terminals.
- Use additional protection components, such as a snubber circuit, if necessary.
FAQs
Q: Can the G5V-1 relay switch AC loads?
A: Yes, the G5V-1 can switch AC loads up to 0.5A at 125V AC. Ensure the load does not exceed the relay's contact rating.
Q: What is the purpose of the flyback diode?
A: The flyback diode protects the control circuit from voltage spikes generated when the relay coil is de-energized.
Q: Can I use the G5V-1 relay with a 3.3V microcontroller?
A: Yes, but you may need a transistor or MOSFET to drive the relay, as the coil voltage is typically 5V or higher.
Q: How do I test if the relay is working?
A: Use a multimeter to check continuity between the COM and NO/NC terminals while energizing and de-energizing the coil.