How to Use VESC 75200: Examples, Pinouts, and Specs
Introduction
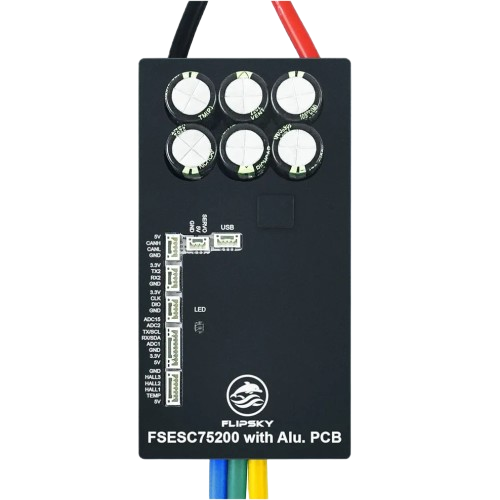
The VESC 75200, manufactured by Flipsky, is a high-performance electronic speed controller (ESC) designed for electric vehicles, robotics, and other motor-driven applications. It is built to handle high currents and voltages, making it suitable for demanding environments. The VESC 75200 features advanced motor control algorithms, regenerative braking, and a wide range of customizable settings, allowing users to optimize performance for their specific needs.
Explore Projects Built with VESC 75200


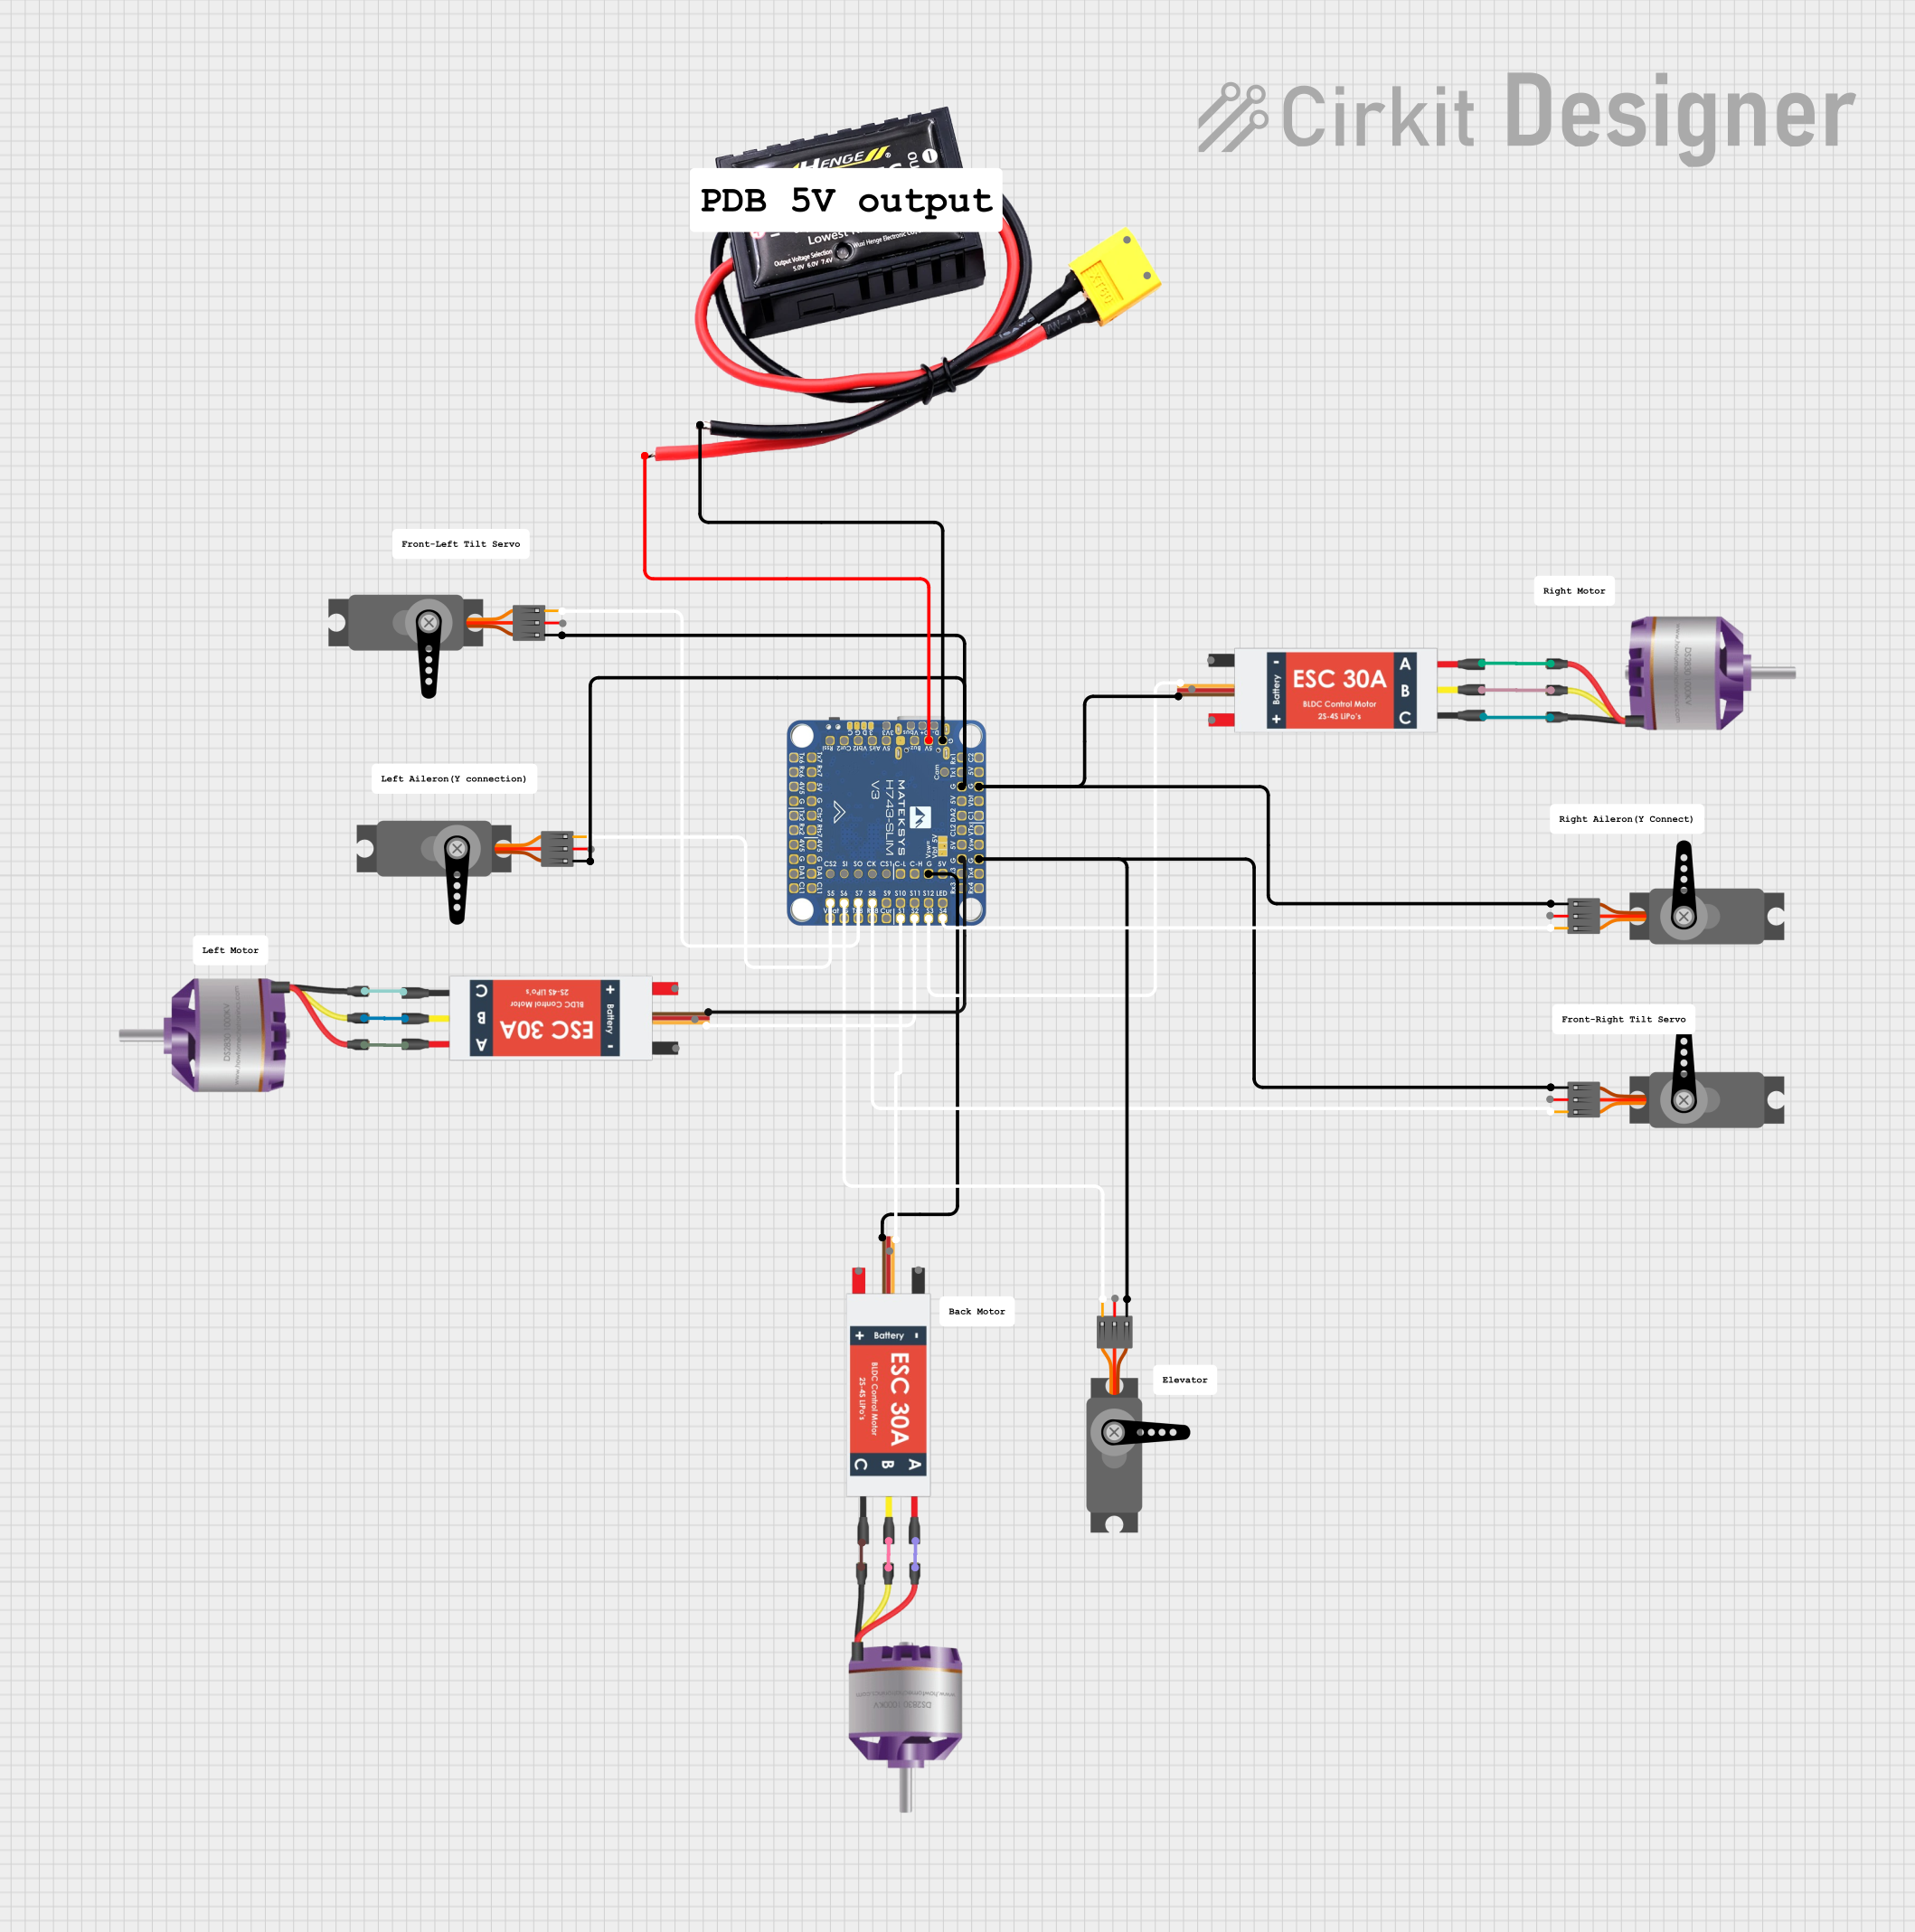
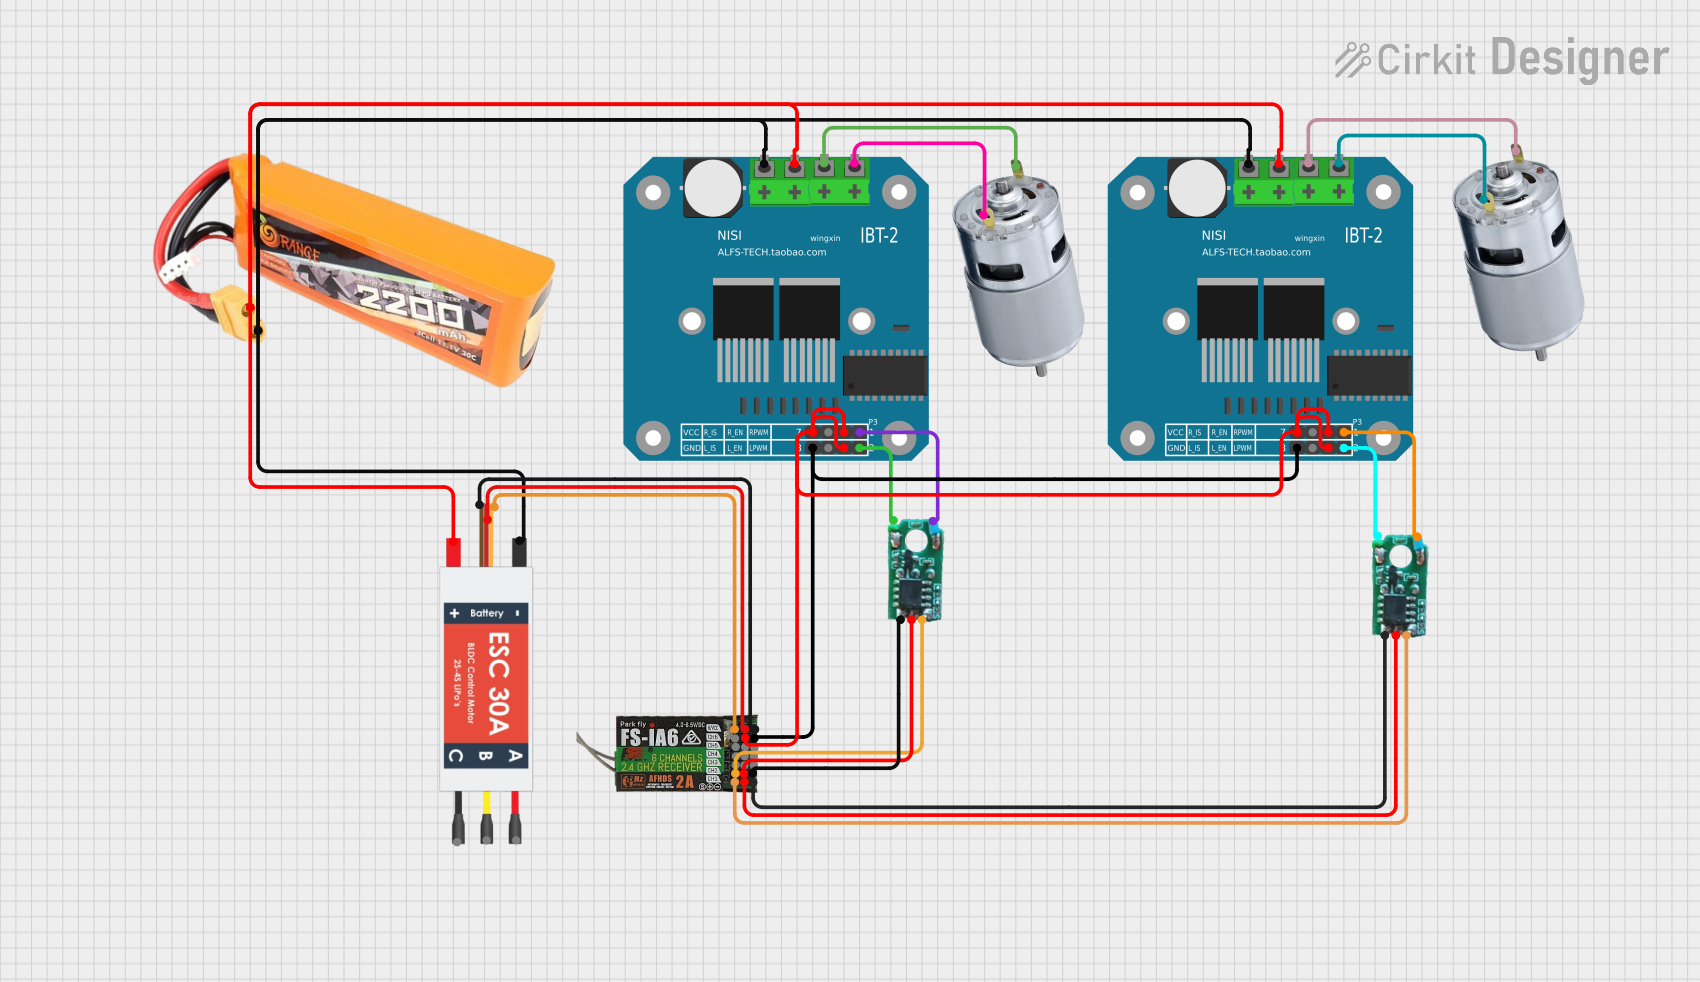
Explore Projects Built with VESC 75200
Common Applications
- Electric skateboards, scooters, and bicycles
- Robotics and industrial automation
- Electric boats and drones
- High-power RC vehicles
- Research and development projects requiring precise motor control
Technical Specifications
The VESC 75200 is designed to deliver robust performance while maintaining flexibility for various applications. Below are its key technical specifications:
General Specifications
| Parameter | Value |
|---|---|
| Input Voltage Range | 14V - 75V (up to 16S LiPo) |
| Continuous Current | 200A |
| Peak Current | 300A |
| Supported Motor Types | BLDC, FOC, and DC motors |
| Communication Interfaces | CAN, UART, USB, PWM, PPM |
| Regenerative Braking | Yes |
| Dimensions | 100mm x 74mm x 30mm |
| Weight | 350g |
Pin Configuration and Descriptions
The VESC 75200 features multiple connectors for power, motor, and communication. Below is the pin configuration:
Power and Motor Connections
| Pin Name | Description |
|---|---|
| + (Positive) | Positive terminal for battery input |
| - (Negative) | Negative terminal for battery input |
| M1, M2, M3 | Motor phase connections |
Communication and Control
| Pin Name | Description |
|---|---|
| UART_TX | UART transmit pin for communication |
| UART_RX | UART receive pin for communication |
| CAN_H | CAN bus high signal |
| CAN_L | CAN bus low signal |
| PPM | Pulse Position Modulation input |
| USB | USB port for configuration and updates |
Usage Instructions
The VESC 75200 is a versatile ESC that can be configured and used in a variety of applications. Below are the steps and best practices for using the component:
Step 1: Wiring the VESC 75200
- Connect the Power Supply: Attach the battery's positive and negative terminals to the
+and-pins on the VESC. - Connect the Motor: Connect the motor's three phase wires to the
M1,M2, andM3terminals. Ensure the connections are secure. - Connect the Control Interface: Depending on your application, connect the appropriate control interface (e.g., UART, CAN, or PPM).
Step 2: Configuring the VESC
- Download the VESC Tool software from the Flipsky website.
- Connect the VESC to your computer using the USB port.
- Open the VESC Tool and follow the on-screen instructions to:
- Detect the motor and configure its parameters.
- Set the input voltage limits to match your battery.
- Configure the control mode (e.g., current control, duty cycle control).
- Save the configuration to the VESC.
Step 3: Testing the Setup
- Power on the VESC and ensure all connections are secure.
- Use the VESC Tool to test motor functionality and verify the configuration.
- Gradually increase the throttle to ensure smooth operation.
Arduino Integration Example
The VESC 75200 can be controlled using an Arduino UNO via the UART interface. Below is an example code snippet:
#include <VescUart.h> // Include the VESC UART library

VescUart vesc; // Create a VESC object

void setup() {
  Serial.begin(115200); // Initialize serial communication
  vesc.setSerialPort(&Serial); // Set the UART port for VESC communication
}

void loop() {
  // Set motor duty cycle to 50%
  if (vesc.setDuty(0.5)) {
    Serial.println("Duty cycle set to 50%");
  } else {
    Serial.println("Failed to communicate with VESC");
  }

  delay(1000); // Wait for 1 second
}
Note: Ensure the VESC UART pins are connected to the Arduino's TX and RX pins. Use a logic level shifter if the voltage levels differ.
Best Practices
- Always double-check wiring to avoid short circuits or damage.
- Use appropriate connectors and cables rated for the current and voltage.
- Monitor the VESC's temperature during operation to prevent overheating.
- Regularly update the firmware using the VESC Tool for optimal performance.
Troubleshooting and FAQs
Common Issues and Solutions
Motor Does Not Spin
- Cause: Incorrect motor detection or wiring.
- Solution: Re-run the motor detection process in the VESC Tool and verify wiring.
Overheating
- Cause: Prolonged high current or insufficient cooling.
- Solution: Add a heatsink or cooling fan to the VESC.
Communication Failure
- Cause: Incorrect UART or CAN wiring.
- Solution: Verify the connections and ensure the correct baud rate is set.
Regenerative Braking Not Working
- Cause: Incorrect configuration in the VESC Tool.
- Solution: Enable regenerative braking and set appropriate parameters.
FAQs
Can the VESC 75200 handle 16S LiPo batteries?
- Yes, the VESC 75200 supports up to 75V, which is compatible with 16S LiPo batteries.
Is the VESC 75200 waterproof?
- No, the VESC 75200 is not waterproof. Use a waterproof enclosure for outdoor applications.
Can I use the VESC 75200 with brushed DC motors?
- Yes, the VESC 75200 supports brushed DC motors in addition to BLDC and FOC motors.
How do I update the firmware?
- Connect the VESC to your computer via USB, open the VESC Tool, and follow the firmware update instructions.
By following this documentation, users can effectively utilize the VESC 75200 for their projects and troubleshoot common issues with ease.