
How to Use KENT_LCD_CONN: Examples, Pinouts, and Specs
 Design with KENT_LCD_CONN in Cirkit Designer
Introduction
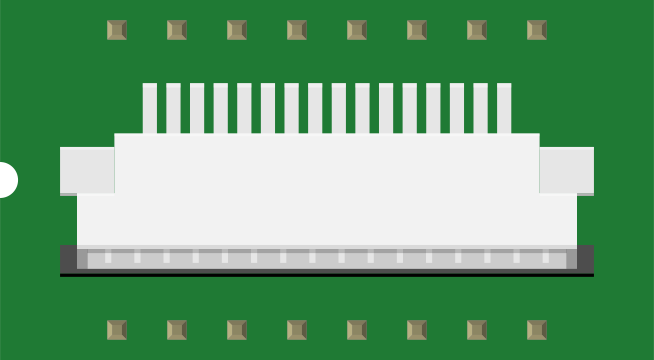
The KENT_LCD_CONN (manufacturer part ID: LCD-09560) is a specialized connector designed by SparkFun for interfacing with KENT LCD displays. This component simplifies the process of connecting KENT LCD modules to microcontrollers or other circuit components, ensuring reliable communication and power delivery. Its compact design and robust construction make it ideal for prototyping and production-level applications.
Explore Projects Built with KENT_LCD_CONN
 Open Project in Cirkit Designer
 Open Project in Cirkit Designer
 Open Project in Cirkit Designer
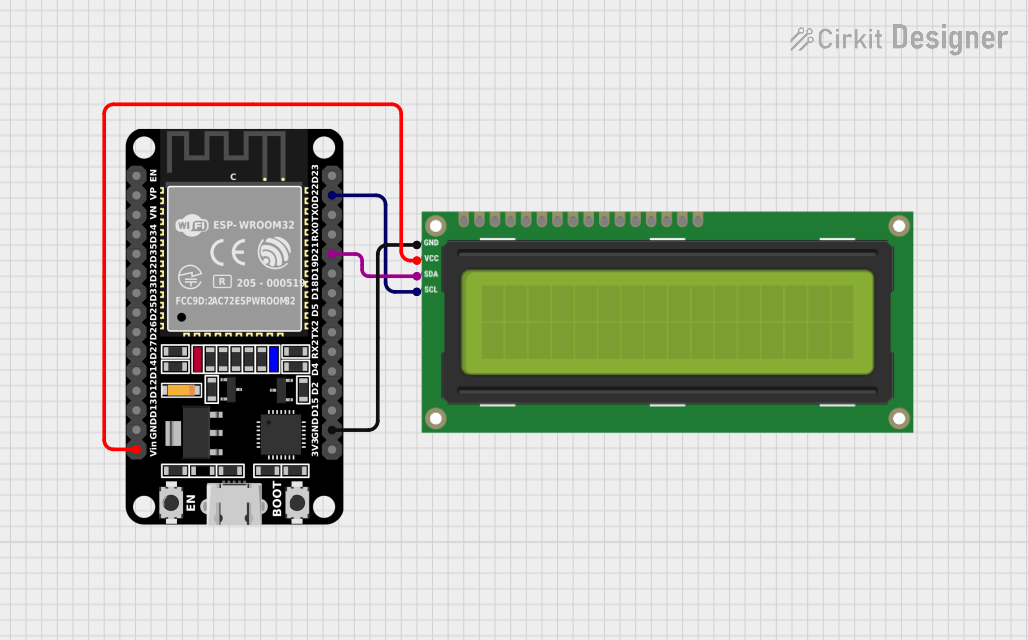 Open Project in Cirkit Designer
Explore Projects Built with KENT_LCD_CONN
Open Project in Cirkit DesignerOpen Project in Cirkit DesignerOpen Project in Cirkit DesignerOpen Project in Cirkit DesignerCommon Applications and Use Cases
- Connecting KENT LCD displays to microcontrollers (e.g., Arduino, Raspberry Pi)
- Prototyping display-based projects
- Embedded systems requiring visual output
- Industrial control panels and user interfaces
Technical Specifications
The following table outlines the key technical details of the KENT_LCD_CONN:
| Parameter | Value |
|---|---|
| Manufacturer | SparkFun |
| Part ID | LCD-09560 |
| Connector Type | 16-pin FPC/FFC connector |
| Pitch | 0.5 mm |
| Voltage Rating | 3.3V to 5V (compatible with most microcontrollers) |
| Current Rating | 500 mA |
| Operating Temperature | -40°C to +85°C |
| Dimensions | 20 mm x 5 mm x 2 mm |
Pin Configuration and Descriptions
The KENT_LCD_CONN features a 16-pin configuration, as detailed in the table below:
| Pin Number | Pin Name | Description |
|---|---|---|
| 1 | VCC | Power supply input (3.3V or 5V) |
| 2 | GND | Ground connection |
| 3 | RS | Register Select (Command/Data selection) |
| 4 | RW | Read/Write control |
| 5 | E | Enable signal |
| 6-13 | D0-D7 | Data bus lines (8-bit parallel communication) |
| 14 | LED+ | Backlight positive terminal |
| 15 | LED- | Backlight negative terminal |
| 16 | NC | Not connected |
Usage Instructions
How to Use the Component in a Circuit
- Mounting the Connector: Solder the KENT_LCD_CONN onto a PCB or use a breadboard-compatible adapter.
- Connecting the LCD: Insert the FPC/FFC cable from the KENT LCD display into the connector, ensuring proper alignment.
- Wiring to Microcontroller:
- Connect the
VCCandGNDpins to the power supply. - Wire the
RS,RW, andEpins to digital I/O pins on the microcontroller. - Connect the
D0-D7pins to additional digital I/O pins for data transfer. - Optionally, connect
LED+andLED-to control the backlight (use a current-limiting resistor if necessary).
- Connect the
Important Considerations and Best Practices
- Voltage Compatibility: Ensure the voltage levels of the microcontroller match the LCD's requirements (3.3V or 5V).
- Cable Insertion: Insert the FPC/FFC cable gently to avoid damaging the connector.
- Backlight Control: Use a PWM pin on the microcontroller to adjust the backlight brightness if needed.
- Decoupling Capacitors: Place decoupling capacitors (e.g., 0.1 µF) near the power pins to reduce noise.
Example Code for Arduino UNO
Below is an example of how to interface the KENT_LCD_CONN with an Arduino UNO to display text on a KENT LCD:
#include <LiquidCrystal.h>

// Initialize the LiquidCrystal library with the pin connections:
// RS, E, D4, D5, D6, D7
LiquidCrystal lcd(7, 8, 9, 10, 11, 12);

void setup() {
  // Set up the LCD's number of columns and rows
  lcd.begin(16, 2);

  // Print a message to the LCD
  lcd.print("Hello, KENT LCD!");
}

void loop() {
  // Move the cursor to the second row, first column
  lcd.setCursor(0, 1);

  // Print a dynamic message
  lcd.print("Time: ");
  lcd.print(millis() / 1000); // Display elapsed time in seconds
}
Troubleshooting and FAQs
Common Issues and Solutions
LCD Not Displaying Anything:
- Cause: Incorrect wiring or loose connections.
- Solution: Double-check all connections, especially the FPC/FFC cable alignment.
Backlight Not Turning On:
- Cause: Missing or incorrect connection to
LED+andLED-. - Solution: Verify the backlight pins are connected properly and use a current-limiting resistor if required.
- Cause: Missing or incorrect connection to
Garbage Characters on Display:
- Cause: Incorrect initialization or timing issues.
- Solution: Ensure the microcontroller code initializes the LCD correctly and matches the display's specifications.
Connector Damage:
- Cause: Excessive force during cable insertion.
- Solution: Handle the FPC/FFC cable and connector gently to avoid physical damage.
FAQs
Q: Can I use this connector with non-KENT LCDs?
A: The KENT_LCD_CONN is specifically designed for KENT LCD displays. While it may work with other displays using a similar pinout, compatibility is not guaranteed.
Q: What is the maximum cable length supported?
A: For optimal performance, keep the FPC/FFC cable length under 10 cm to minimize signal degradation.
Q: Is this connector compatible with 3.3V logic?
A: Yes, the KENT_LCD_CONN supports both 3.3V and 5V logic levels, making it compatible with a wide range of microcontrollers.
Q: Can I control the backlight brightness?
A: Yes, you can use a PWM pin on your microcontroller to adjust the backlight brightness by varying the duty cycle.
This concludes the documentation for the KENT_LCD_CONN. For further assistance, refer to SparkFun's official resources or contact their support team.