5V DC Air Pump Documentation
1. Introduction
The 5V DC Air Pump is a compact and efficient device designed to provide airflow or inflate small items. Powered by a 5V DC supply, this pump is lightweight, portable, and easy to integrate into various projects. Its small size and low power consumption make it ideal for hobbyists, DIY enthusiasts, and professionals alike.
Common Applications:
- DIY Electronics Projects: Used in automated air systems or small pneumatic setups.
- Aquarium Aeration: Provides airflow for small aquariums or fish tanks.
- Inflation: Inflates small items like balloons or air cushions.
- Air Circulation: Used in small-scale ventilation or cooling systems.
- Medical Devices: Incorporated into low-power medical devices like nebulizers.
2. Technical Specifications
The following table outlines the key technical details of the 5V DC Air Pump:
Pin Configuration and Descriptions
The 5V DC Air Pump typically has two wires for connection:
3. Usage Instructions
How to Use the 5V DC Air Pump in a Circuit:
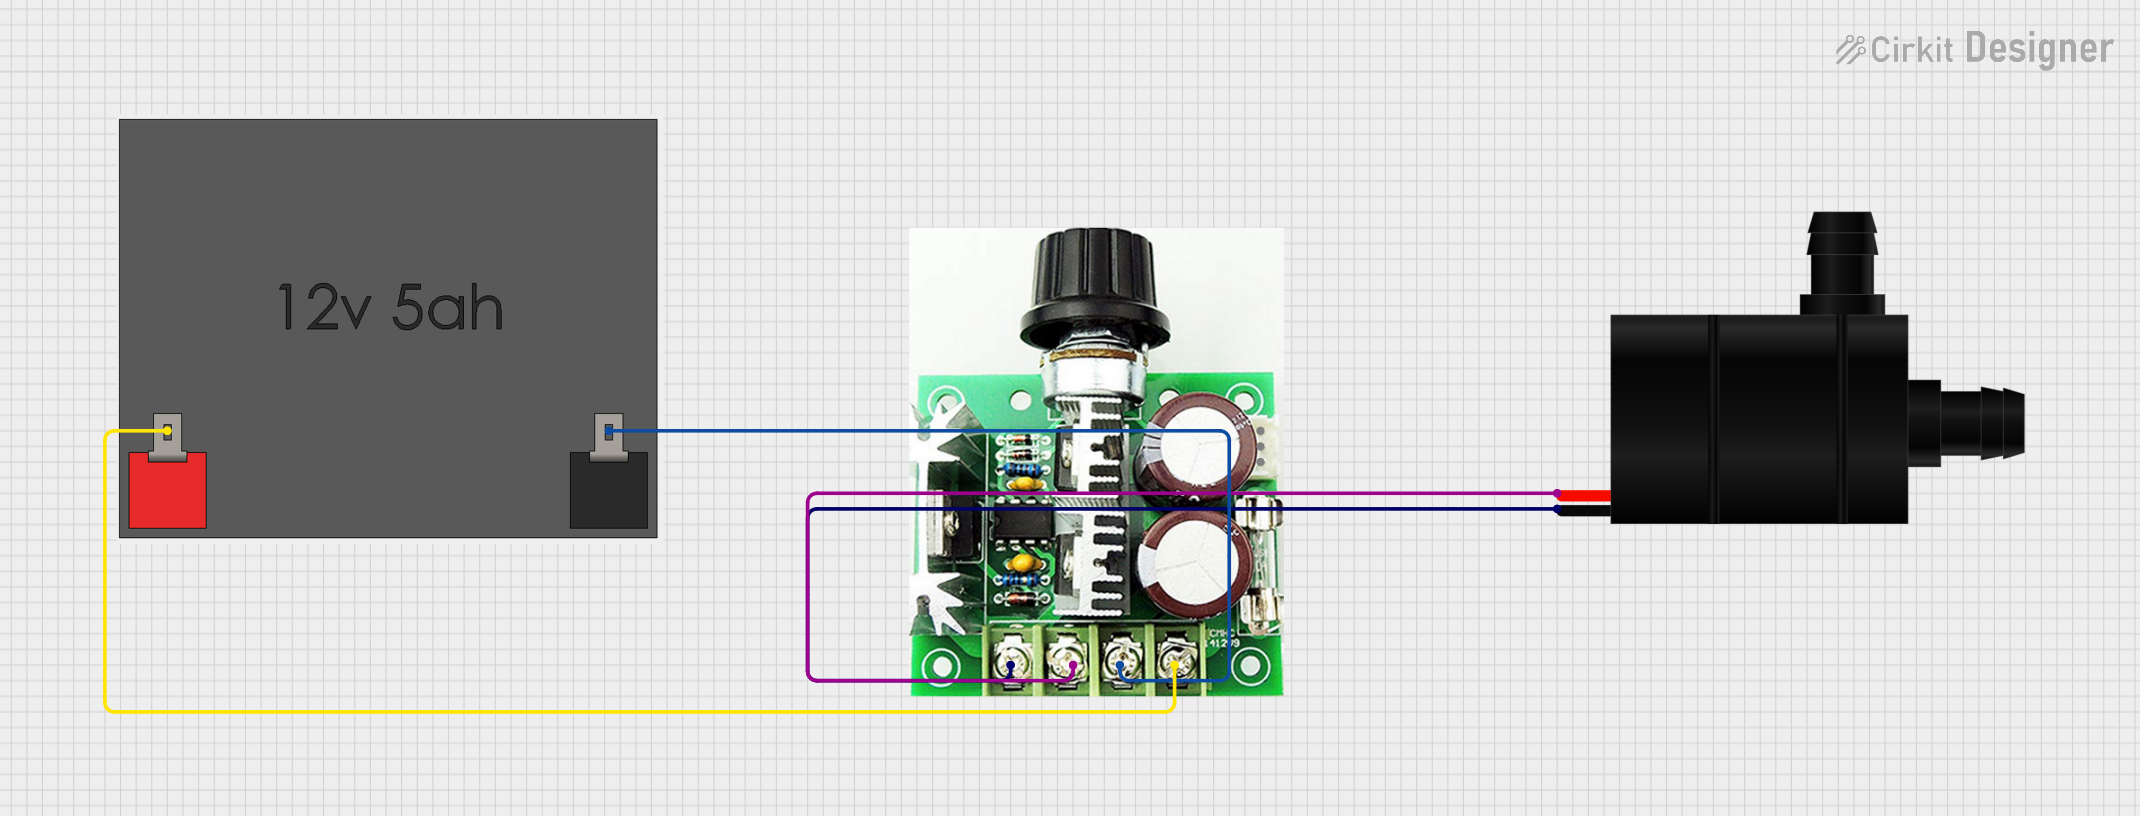
- Power Supply: Connect the red wire to a 5V DC power source and the black wire to ground.
- Control with a Switch: Use a simple on/off switch to control the pump manually.
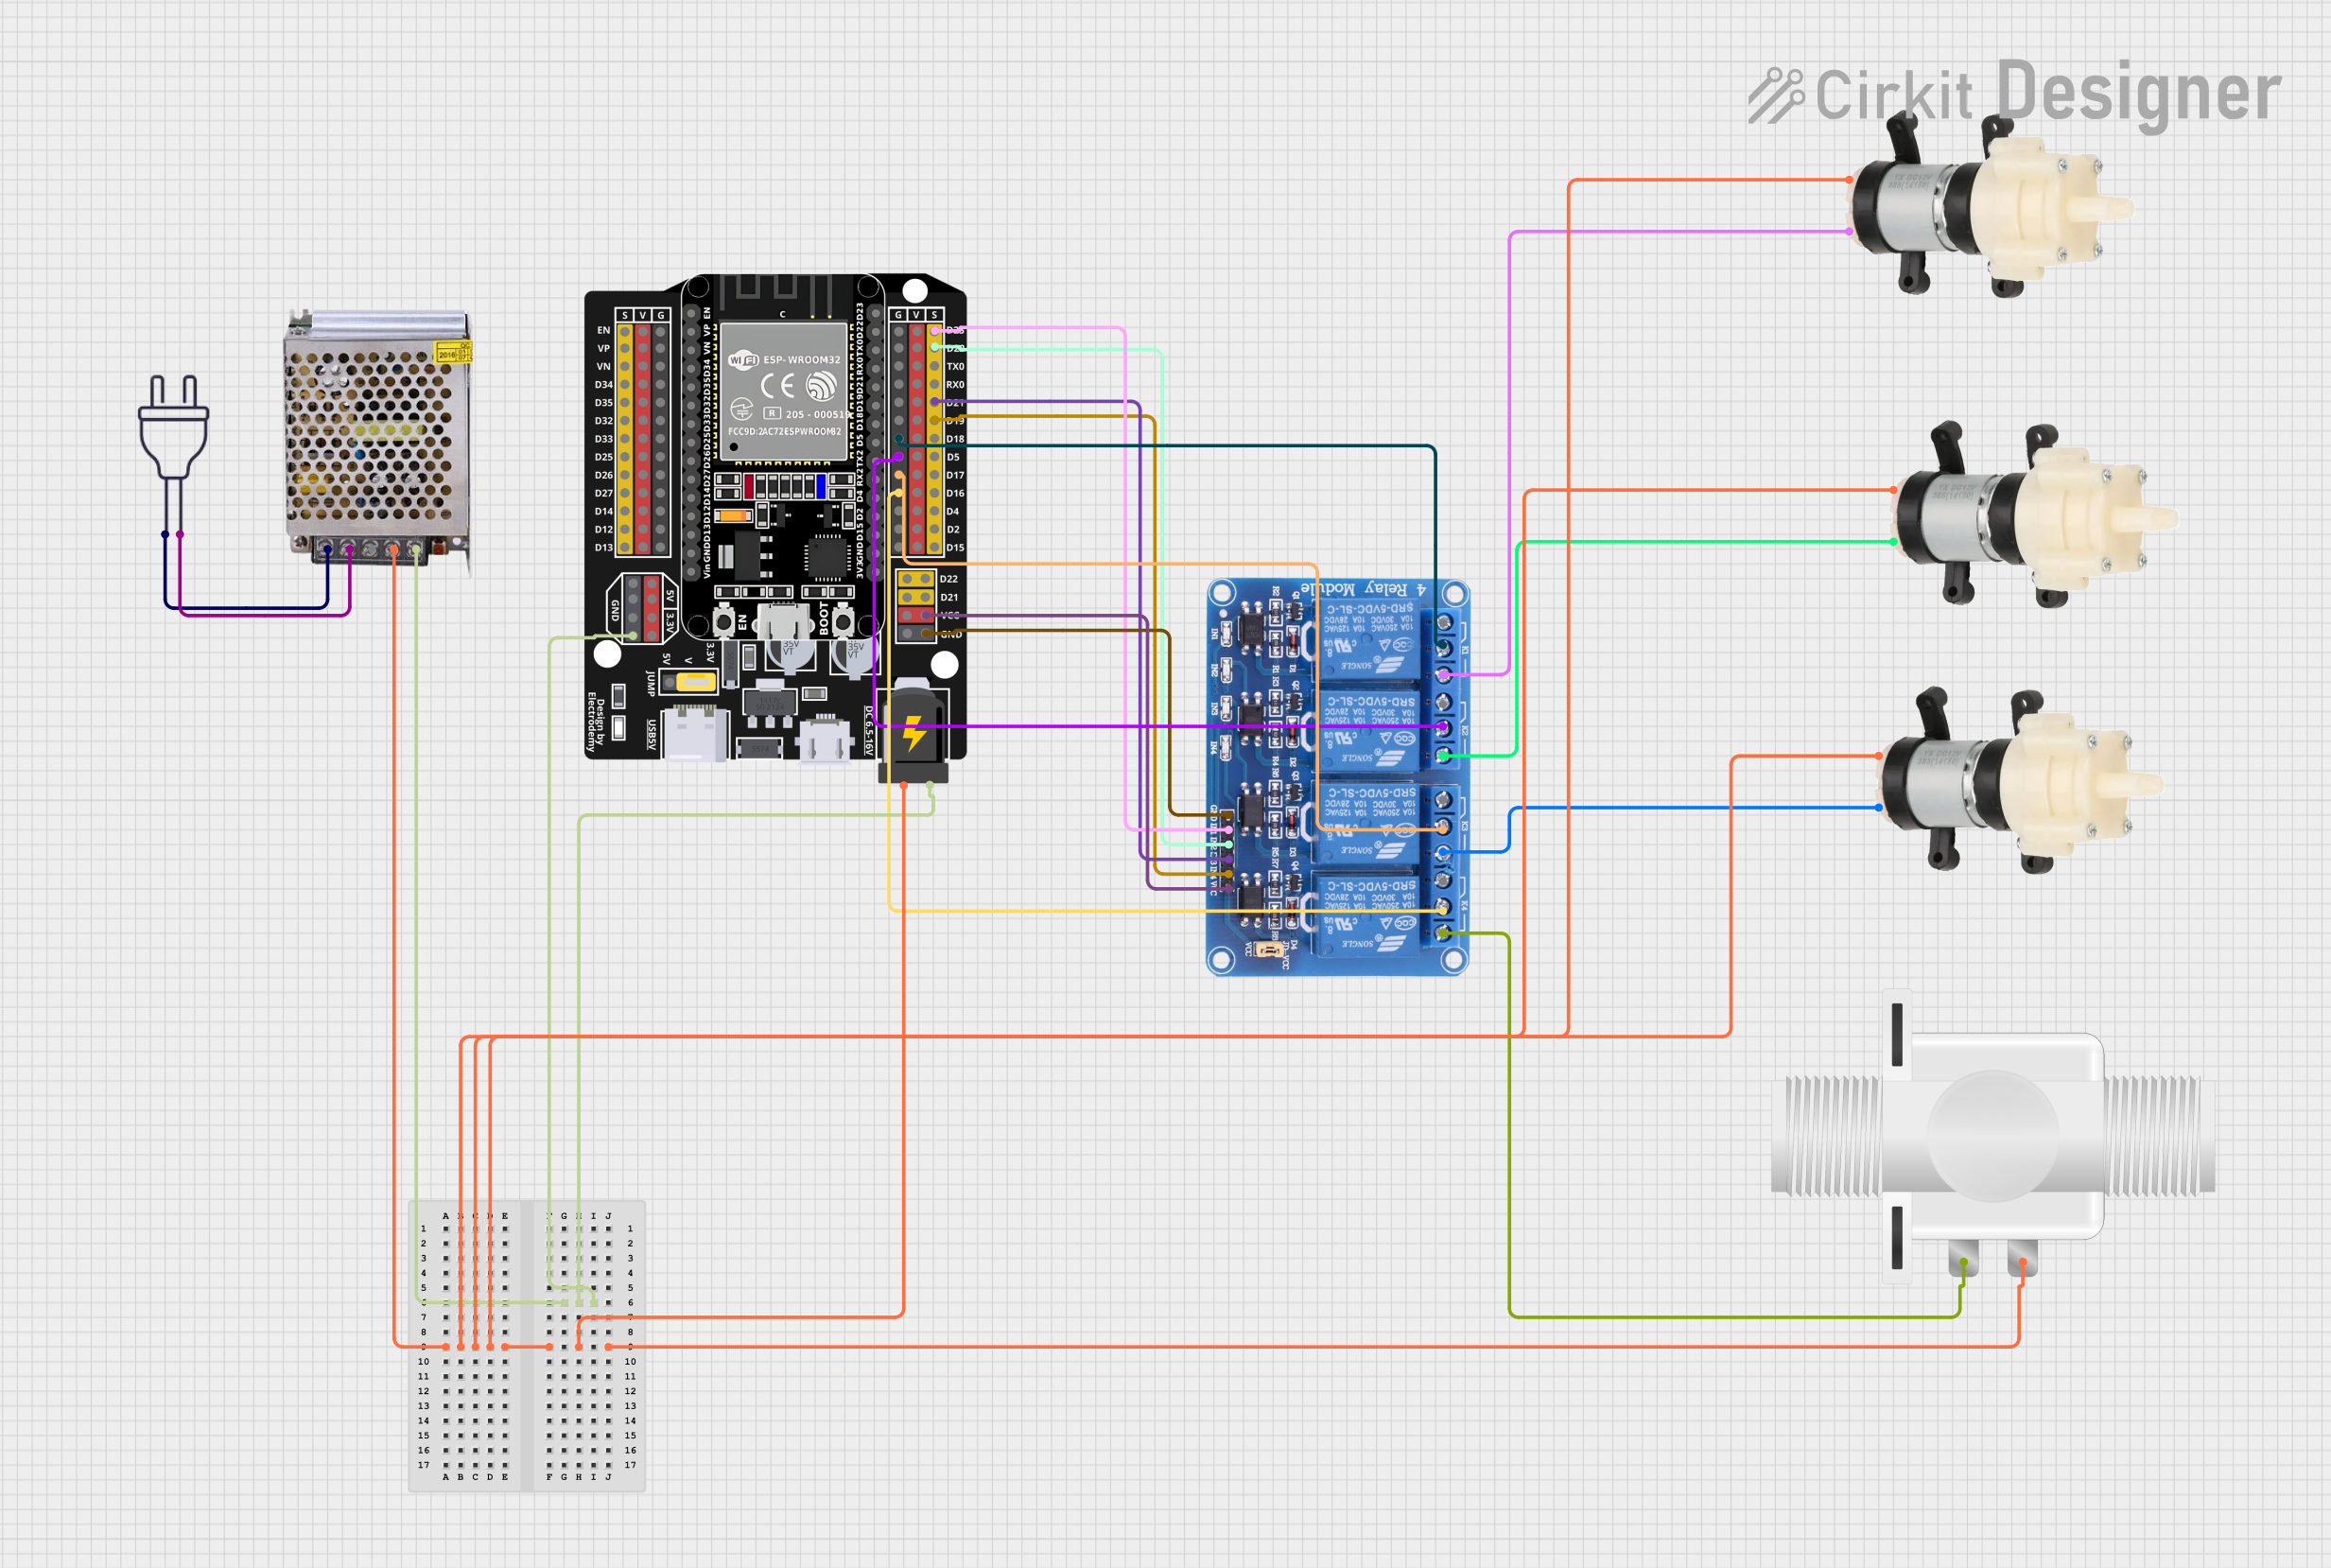
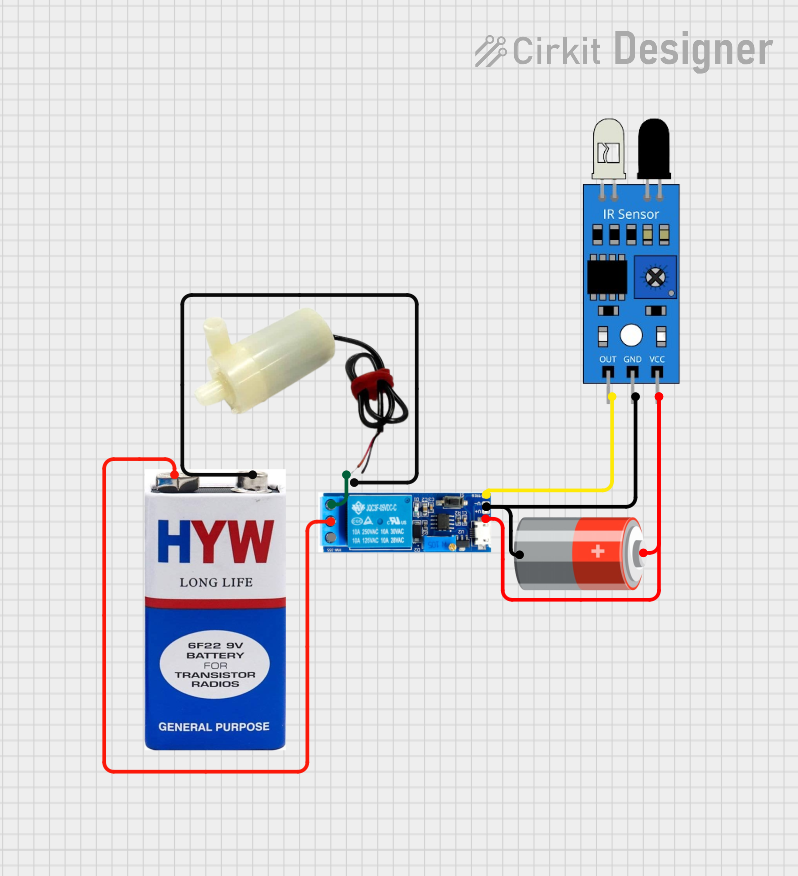
- Control with a Microcontroller: Use a transistor or relay module to control the pump via a microcontroller like an Arduino UNO.
Circuit Diagram:
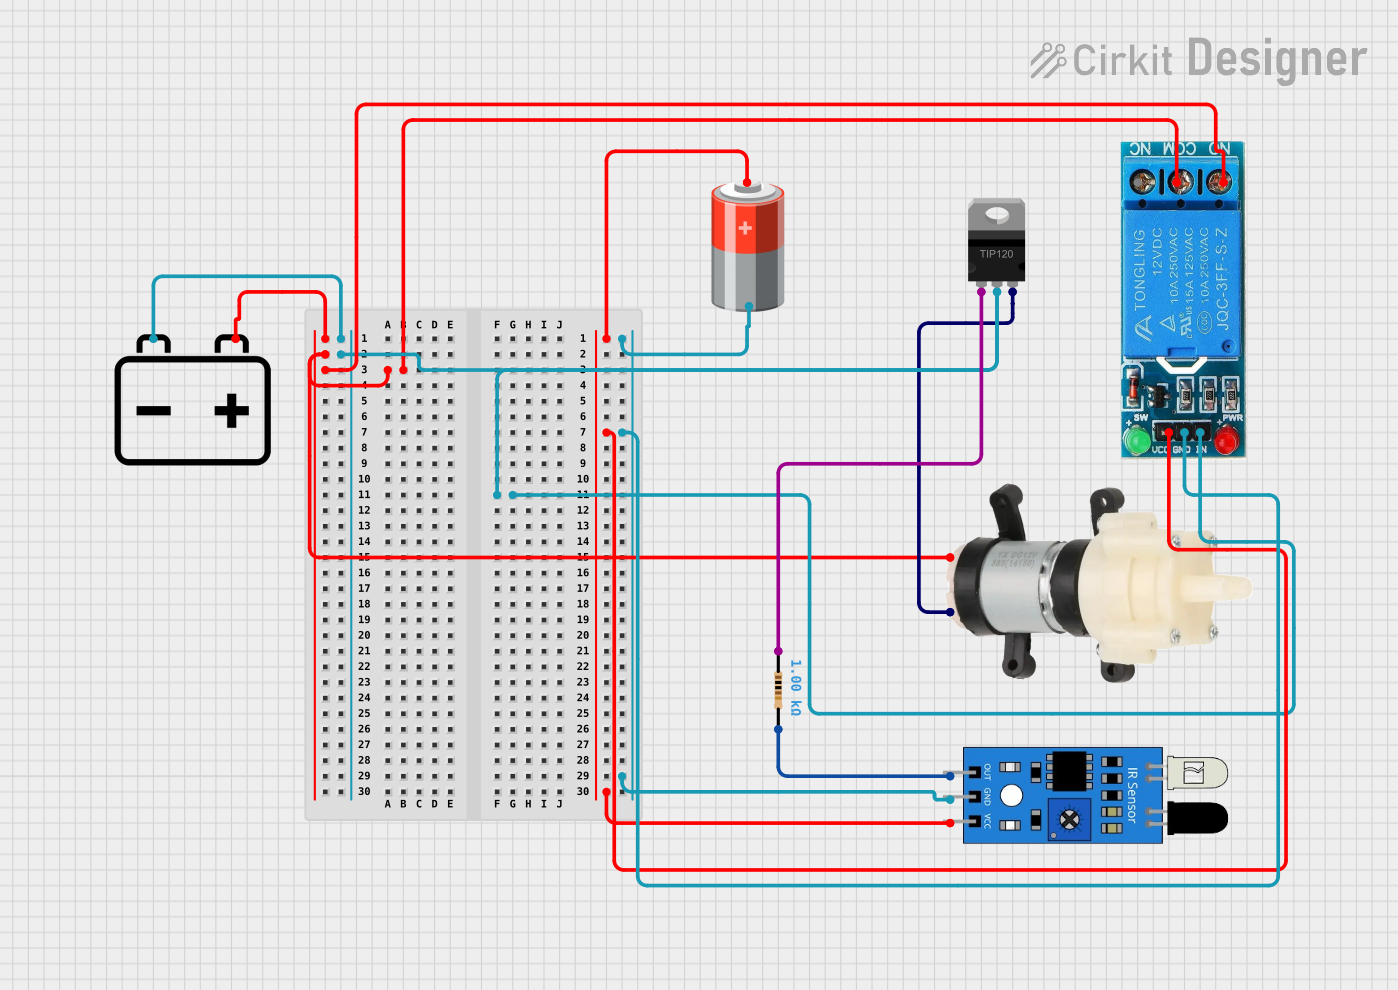
Below is a basic circuit diagram for controlling the pump with an Arduino UNO using a transistor:
+5V (Arduino) -----> Pump Red Wire
GND (Arduino) -----> Pump Black Wire
For microcontroller control:
- Use an NPN transistor (e.g., 2N2222) to switch the pump on/off.
- Connect the transistor's collector to the pump's red wire and emitter to ground.
- Use a 1kΩ resistor between the Arduino digital pin and the transistor's base.
Arduino Code Example:
The following code demonstrates how to control the 5V DC Air Pump using an Arduino UNO:
// Define the pin connected to the pump
const int pumpPin = 9;

void setup() {
  // Set the pump pin as an output
  pinMode(pumpPin, OUTPUT);
}

void loop() {
  // Turn the pump ON
  digitalWrite(pumpPin, HIGH);
  delay(5000); // Keep the pump ON for 5 seconds

  // Turn the pump OFF
  digitalWrite(pumpPin, LOW);
  delay(5000); // Keep the pump OFF for 5 seconds
}
Important Considerations:
- Power Supply: Ensure the power supply can provide sufficient current (at least 300mA).
- Heat Management: Avoid running the pump continuously for long periods to prevent overheating.
- Noise: The pump may produce noise during operation; consider using vibration dampeners if needed.
- Polarity: Double-check the wire connections to avoid damage to the pump.
4. Troubleshooting and FAQs
Common Issues and Solutions:
Frequently Asked Questions:
Can I power the pump with a battery?
- Yes, you can use a 5V battery pack or a USB power bank, but ensure it can supply sufficient current.
Can the pump be used with liquids?
- No, this pump is designed for air only. Using it with liquids may damage the internal components.
How do I reduce the noise during operation?
- Use vibration-dampening materials or mount the pump on a soft surface to reduce noise.
Can I control the airflow rate?
- The airflow rate is fixed, but you can use PWM (Pulse Width Modulation) with a transistor to control the pump's speed.
5. Conclusion
The 5V DC Air Pump is a versatile and reliable component for projects requiring airflow or inflation. Its compact size, low power consumption, and ease of use make it an excellent choice for hobbyists and professionals alike. By following the guidelines in this documentation, you can integrate the pump into your projects effectively and troubleshoot common issues with ease.
For further assistance, feel free to consult the manufacturer’s datasheet or reach out to the community for support. Happy building!


 Open Project in Cirkit Designer