
How to Use ESP32-CAM MB FLIP: Examples, Pinouts, and Specs
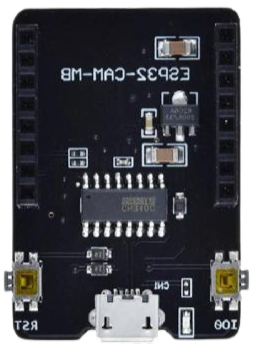
 Design with ESP32-CAM MB FLIP in Cirkit Designer
Introduction
The ESP32-CAM MB FLIP is a compact and versatile Wi-Fi and Bluetooth-enabled development board designed for IoT applications, image processing, and wireless communication. It integrates an ESP32-S module with a camera module, making it ideal for projects requiring video streaming, image capture, or remote monitoring. The "MB FLIP" variant includes a USB-to-serial adapter for easy programming and debugging, eliminating the need for an external FTDI programmer.
Explore Projects Built with ESP32-CAM MB FLIP
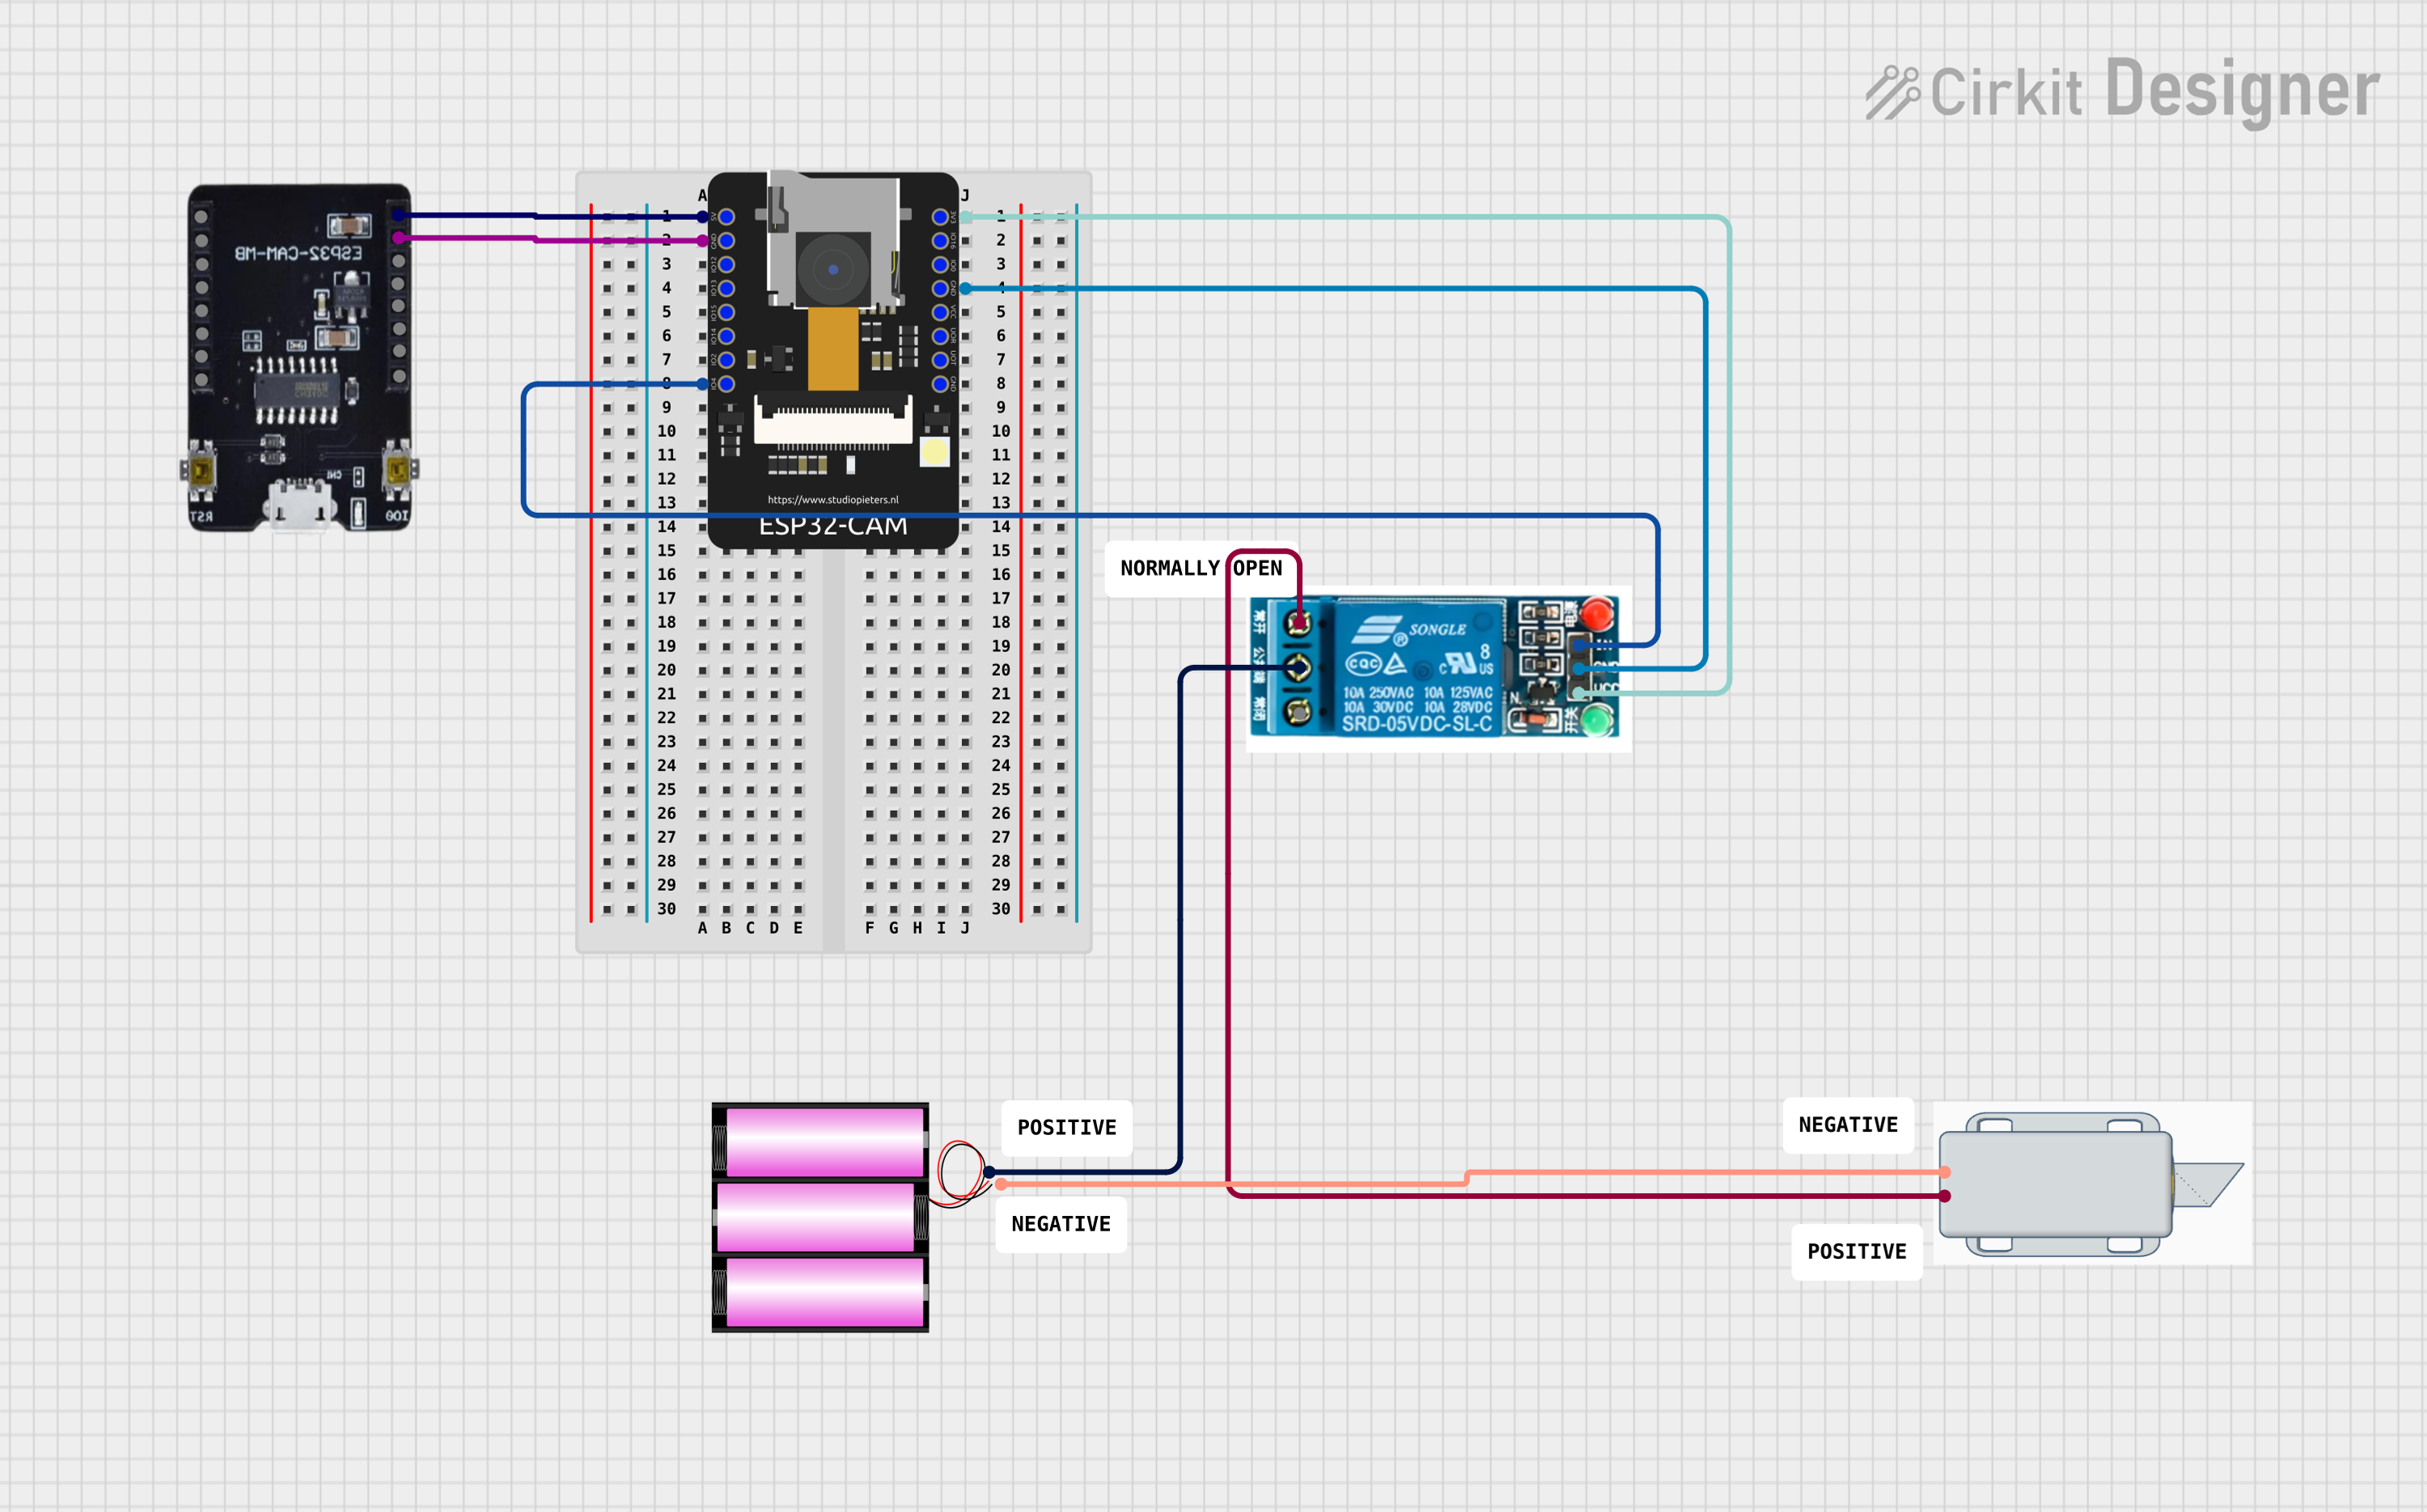 Open Project in Cirkit Designer
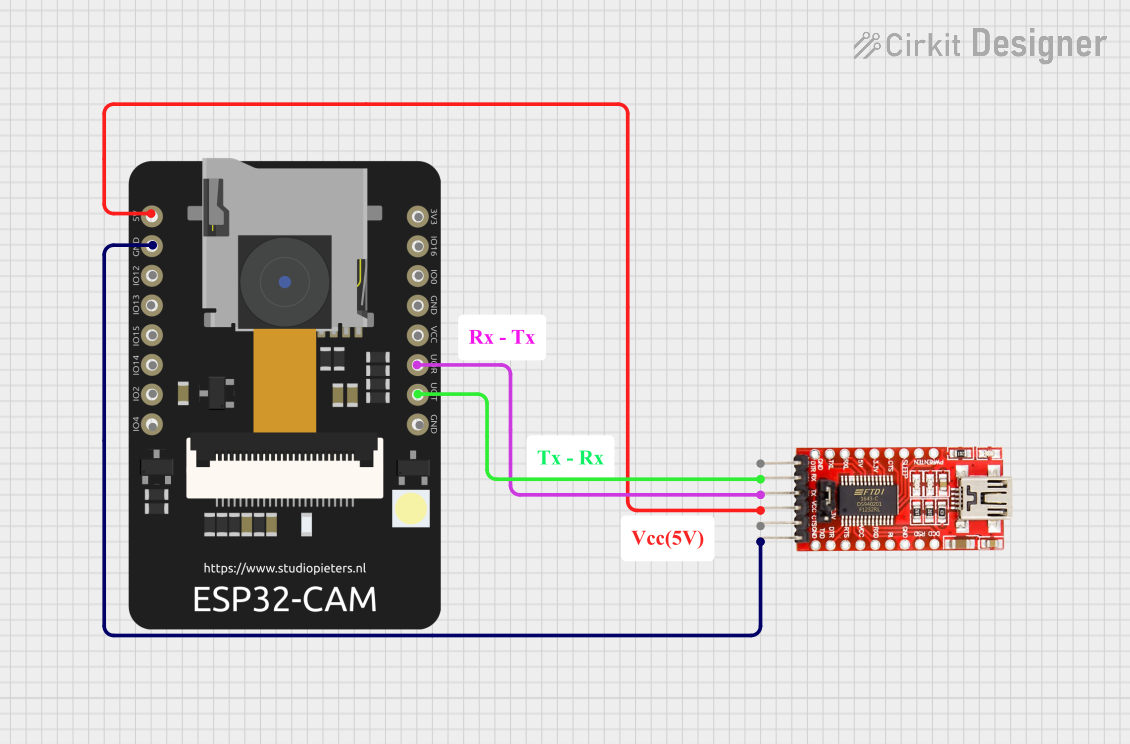 Open Project in Cirkit Designer
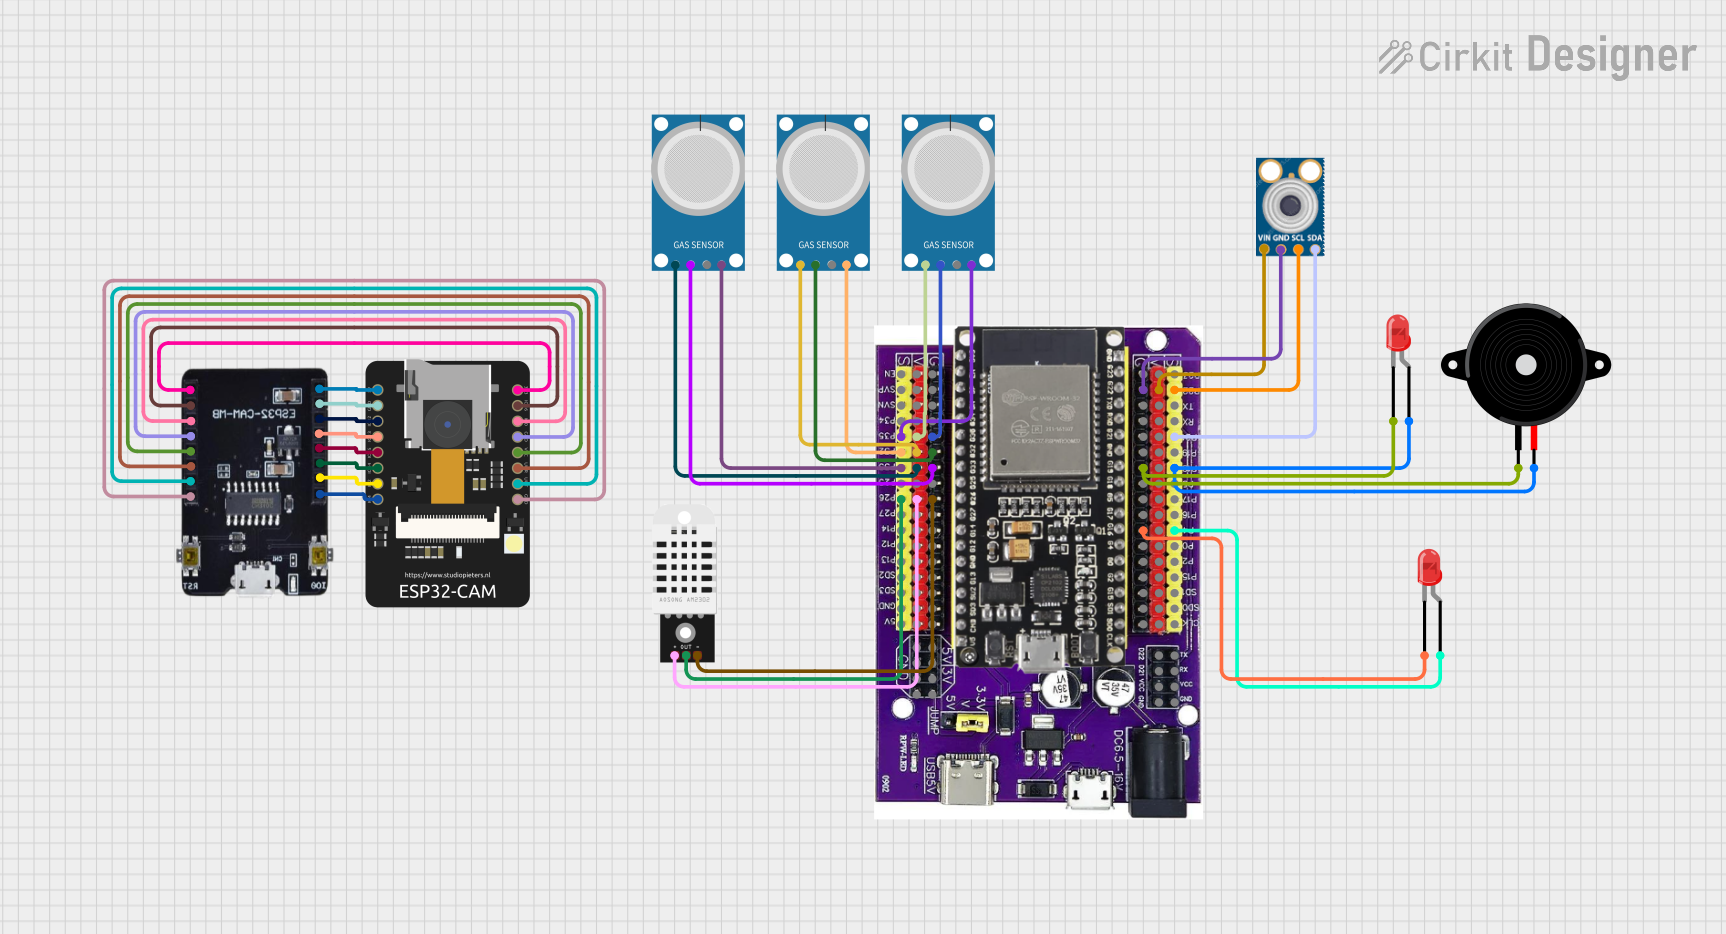 Open Project in Cirkit Designer
 Open Project in Cirkit Designer
Explore Projects Built with ESP32-CAM MB FLIP
Open Project in Cirkit DesignerOpen Project in Cirkit DesignerOpen Project in Cirkit DesignerOpen Project in Cirkit DesignerCommon Applications and Use Cases
- Wireless video surveillance systems
- Smart home automation with image recognition
- IoT devices with camera functionality
- Remote-controlled robots with live video feed
- Face detection and recognition systems
Technical Specifications
Key Technical Details
| Parameter | Specification |
|---|---|
| Microcontroller | ESP32-S (dual-core, 32-bit processor) |
| Wireless Connectivity | Wi-Fi 802.11 b/g/n, Bluetooth 4.2 |
| Camera Module | OV2640 (2MP resolution) |
| Flash Memory | 4 MB (SPI Flash) |
| RAM | 520 KB SRAM + 4 MB PSRAM |
| Operating Voltage | 3.3V |
| Input Voltage (USB) | 5V |
| GPIO Pins | 9 (configurable for various functions) |
| Interfaces | UART, SPI, I2C, PWM, ADC |
| Dimensions | 40mm x 27mm |
Pin Configuration and Descriptions
| Pin Name | Pin Number | Description |
|---|---|---|
| GND | - | Ground |
| 3.3V | - | 3.3V power output |
| GPIO0 | 1 | Boot mode selection (connect to GND for flashing) |
| GPIO1 | 2 | UART TX (serial communication) |
| GPIO3 | 3 | UART RX (serial communication) |
| GPIO12 | 4 | Configurable GPIO, often used for SD card |
| GPIO13 | 5 | Configurable GPIO, often used for LED flash |
| GPIO14 | 6 | Configurable GPIO |
| GPIO15 | 7 | Configurable GPIO |
| GPIO16 | 8 | Configurable GPIO |
| GPIO17 | 9 | Configurable GPIO |
Usage Instructions
How to Use the ESP32-CAM MB FLIP in a Circuit
Powering the Board:
- Connect the ESP32-CAM MB FLIP to your computer via a USB cable. The onboard USB-to-serial adapter simplifies programming and power supply.
- Ensure the input voltage is 5V when using the USB port.
Programming the Board:
- Install the latest version of the Arduino IDE.
- Add the ESP32 board package to the Arduino IDE by navigating to
File > Preferencesand adding the following URL to the "Additional Board Manager URLs":https://dl.espressif.com/dl/package_esp32_index.json - Select the "AI Thinker ESP32-CAM" board from the
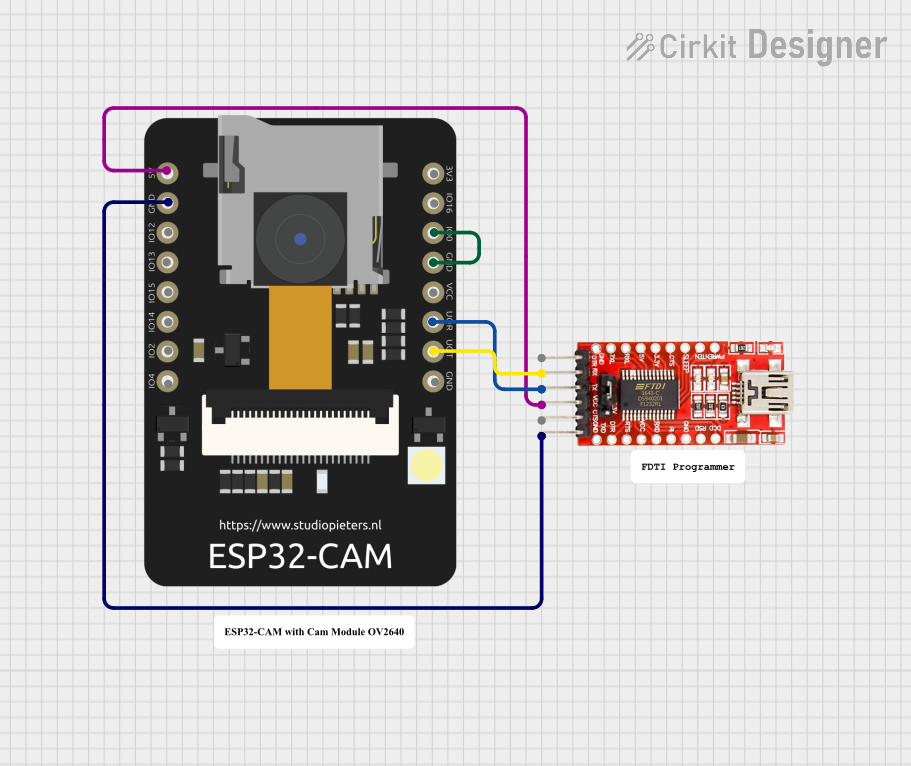
Tools > Boardmenu. - Connect GPIO0 to GND to enable flashing mode, then upload your code.
Connecting Peripherals:
- Use the GPIO pins to connect sensors, actuators, or other peripherals.
- The onboard OV2640 camera is pre-connected and ready for use.
Example Code for Camera Streaming:
Below is an example sketch to set up a basic camera web server:#include "esp_camera.h" #include <WiFi.h> // Replace with your network credentials const char* ssid = "Your_SSID"; const char* password = "Your_PASSWORD"; void startCameraServer(); void setup() { Serial.begin(115200); // Connect to Wi-Fi WiFi.begin(ssid, password); while (WiFi.status() != WL_CONNECTED) { delay(500); Serial.print("."); } Serial.println(""); Serial.println("WiFi connected"); // Start the camera server startCameraServer(); Serial.println("Camera ready! Use 'http://' + WiFi.localIP() to connect"); } void loop() { // Nothing to do here } void startCameraServer() { // Camera server initialization code // Refer to the ESP32-CAM library for detailed implementation }Note: Replace
Your_SSIDandYour_PASSWORDwith your Wi-Fi credentials. Ensure the ESP32-CAM library is installed in your Arduino IDE.
Important Considerations and Best Practices
- Power Supply: Use a stable 5V power source to avoid unexpected resets or malfunctions.
- Heat Management: The ESP32-CAM can get warm during operation. Ensure proper ventilation or consider adding a heatsink for prolonged use.
- Flashing Mode: Always connect GPIO0 to GND before uploading code. Disconnect it after flashing to boot normally.
- Antenna Selection: The ESP32-CAM has an onboard PCB antenna. For better range, you can connect an external antenna (requires soldering).
Troubleshooting and FAQs
Common Issues and Solutions
Issue: The ESP32-CAM does not appear in the Arduino IDE's serial port list.
Solution: Ensure the USB cable is a data cable (not a charge-only cable). Check the USB connection and drivers for the USB-to-serial adapter.Issue: The board keeps resetting or crashing during operation.
Solution: Verify that the power supply provides sufficient current (at least 500mA). Use a high-quality USB cable.Issue: The camera feed is not working or shows a black screen.
Solution: Double-check the camera module connection. Ensure the correct camera model (OV2640) is selected in your code.Issue: Unable to upload code to the board.
Solution: Ensure GPIO0 is connected to GND before uploading. After flashing, disconnect GPIO0 from GND to boot normally.
FAQs
Q: Can I use the ESP32-CAM MB FLIP without the camera module?
A: Yes, the board can function as a standard ESP32 development board for non-camera applications.Q: What is the maximum resolution supported by the OV2640 camera?
A: The OV2640 supports resolutions up to 1600x1200 (UXGA).Q: Can I use the ESP32-CAM MB FLIP with a microSD card?
A: Yes, the board supports microSD cards via GPIO12, GPIO13, GPIO14, and GPIO15.Q: Is the ESP32-CAM MB FLIP compatible with other IDEs?
A: Yes, it can be programmed using the ESP-IDF or PlatformIO in addition to the Arduino IDE.