How to Use 12au7: Examples, Pinouts, and Specs
Introduction
The 12AU7, also known as ECC82 in European nomenclature, is a dual triode vacuum tube widely used in audio amplification and preamplifier circuits. This component is prized for its low noise, high gain, and excellent linearity, making it a popular choice in high-fidelity audio systems, musical instrument amplifiers, and other analog signal processing applications. Its robust design and versatility have made it a staple in both vintage and modern audio equipment.
Explore Projects Built with 12au7
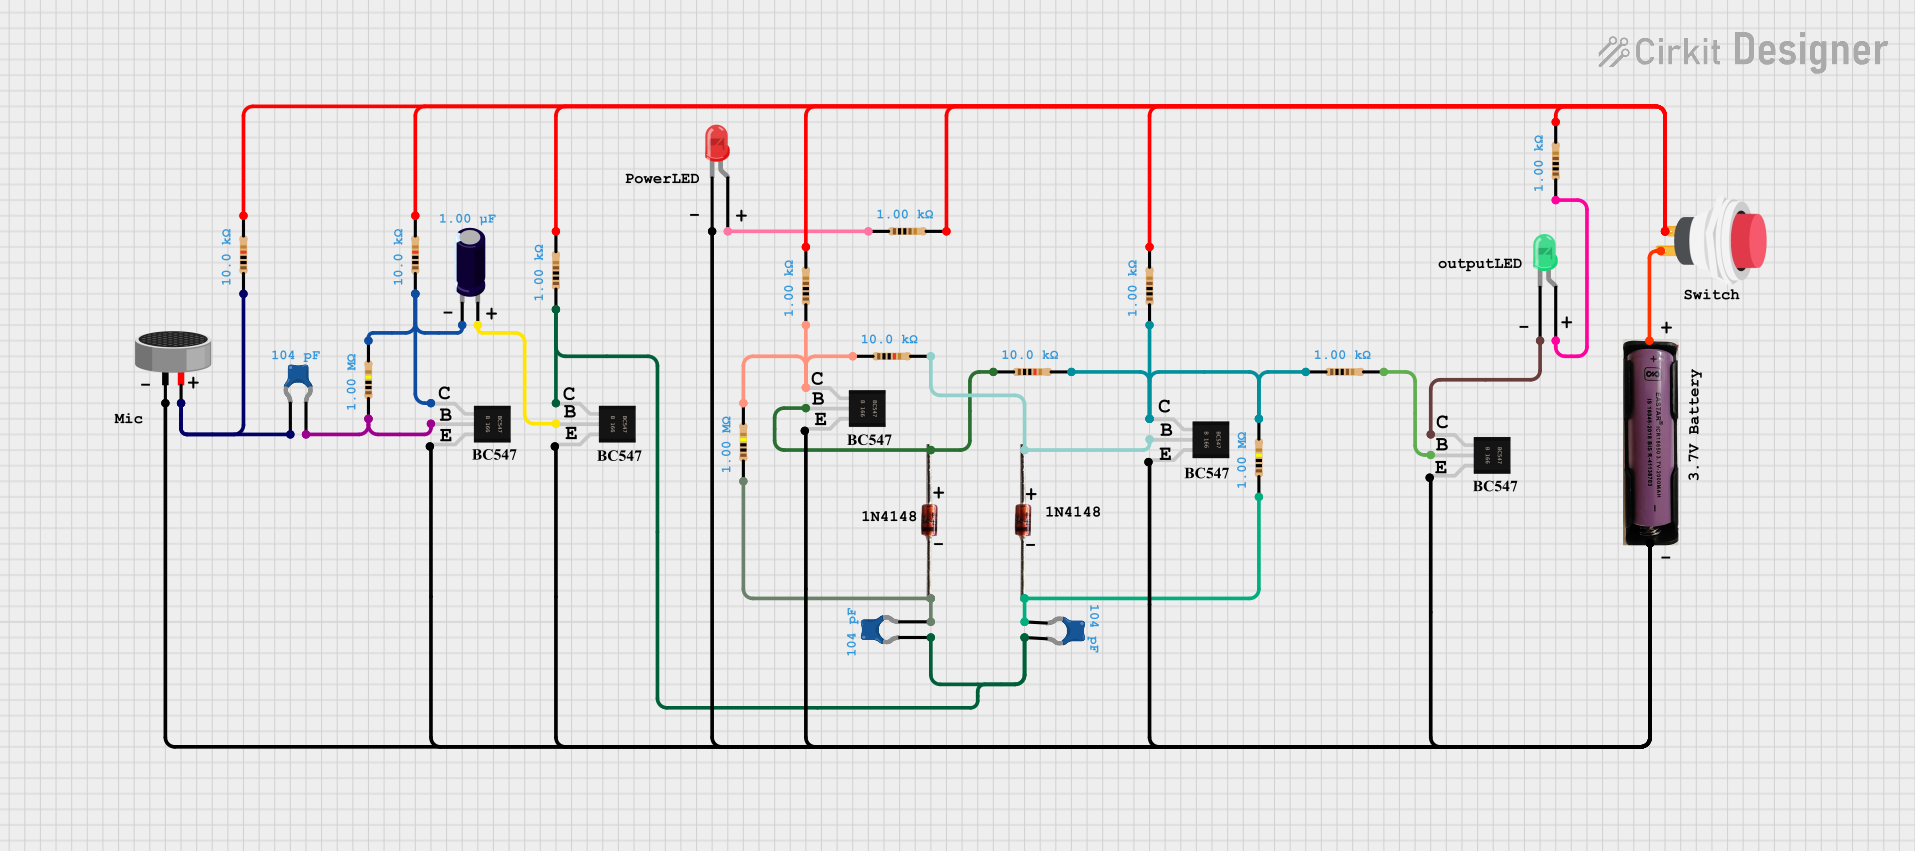


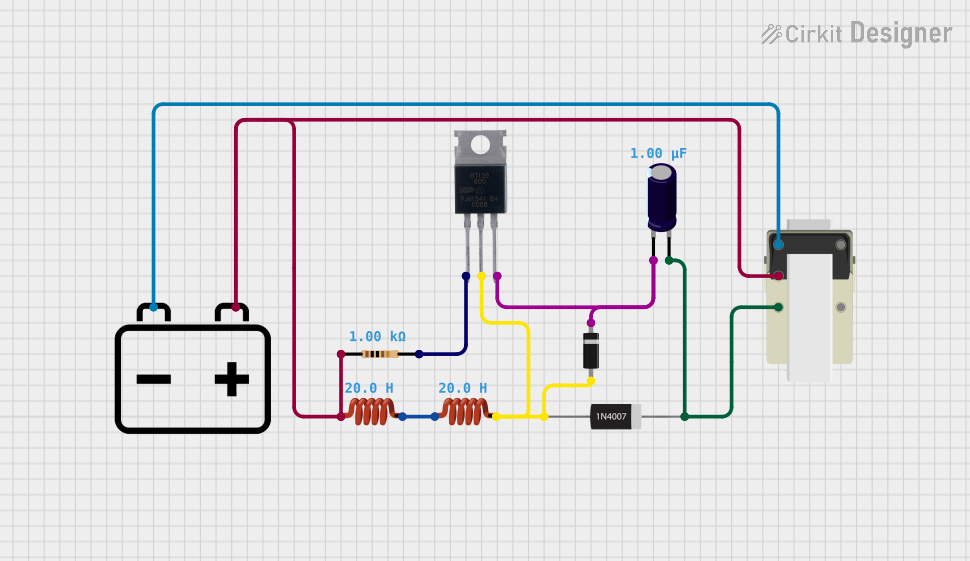
Explore Projects Built with 12au7
Common Applications
- Audio preamplifiers for high-fidelity sound systems
- Musical instrument amplifiers (e.g., guitar amps)
- Phase inverters in push-pull amplifier designs
- Oscillators and signal processing circuits
- DIY audio projects and tube-based audio equipment
Technical Specifications
Key Technical Details
| Parameter | Value |
|---|---|
| Heater Voltage (Vh) | 6.3V (parallel) or 12.6V (series) |
| Heater Current (Ih) | 0.3A (6.3V) or 0.15A (12.6V) |
| Plate Voltage (Va) | Up to 300V |
| Plate Current (Ia) | 10.5mA (typical) |
| Amplification Factor (μ) | 17 |
| Transconductance (gm) | 2.2 mA/V |
| Maximum Plate Dissipation | 2.75W per triode |
| Base Type | 9-pin Noval (B9A) |
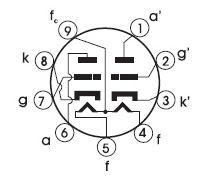
Pin Configuration and Descriptions
The 12AU7 vacuum tube uses a 9-pin Noval (B9A) base. Below is the pinout and description:
| Pin Number | Connection | Description |
|---|---|---|
| 1 | Plate (Triode 1) | Anode of the first triode section |
| 2 | Grid (Triode 1) | Control grid of the first triode section |
| 3 | Cathode (Triode 1) | Cathode of the first triode section |
| 4 | Heater | Heater connection (shared) |
| 5 | Heater | Heater connection (shared) |
| 6 | Plate (Triode 2) | Anode of the second triode section |
| 7 | Grid (Triode 2) | Control grid of the second triode section |
| 8 | Cathode (Triode 2) | Cathode of the second triode section |
| 9 | Heater Center Tap | Optional heater center tap connection |
Usage Instructions
How to Use the 12AU7 in a Circuit
Heater Configuration:
- For a 6.3V heater supply, connect pins 4 and 5 to the heater voltage source.
- For a 12.6V heater supply, connect pins 4 and 5 in series using pin 9 as the center tap.
Biasing:
- Properly bias the control grid (pins 2 and 7) relative to the cathode (pins 3 and 8) to ensure linear operation.
- Use a resistor between the cathode and ground to set the bias voltage.
Plate Voltage:
- Apply a high voltage (typically 100V to 300V) to the plates (pins 1 and 6) through a load resistor.
- Ensure the plate dissipation does not exceed 2.75W per triode.
Coupling Capacitors:
- Use coupling capacitors to block DC voltage while allowing the AC signal to pass between stages.
Signal Input and Output:
- Feed the input signal to the control grid (pins 2 or 7) through a coupling capacitor.
- Take the amplified output signal from the plate (pins 1 or 6).
Important Considerations and Best Practices
- Avoid Overheating: Ensure proper ventilation and heat dissipation to prevent damage to the tube.
- High Voltage Safety: Exercise caution when working with high voltages. Always discharge capacitors before handling the circuit.
- Socket Compatibility: Use a 9-pin Noval socket for secure and reliable connections.
- Microphonics: Minimize vibrations to reduce microphonic noise in audio applications.
- Tube Matching: For stereo or push-pull configurations, use matched pairs of 12AU7 tubes for consistent performance.
Example Circuit with Arduino UNO
While the 12AU7 is not directly compatible with Arduino due to its high voltage requirements, it can be used in conjunction with Arduino to control audio signals. For example, an Arduino can control a relay to switch the 12AU7 circuit on or off.
// Example Arduino code to control a relay for a 12AU7 tube circuit
const int relayPin = 7; // Pin connected to the relay module

void setup() {
  pinMode(relayPin, OUTPUT); // Set relay pin as output
  digitalWrite(relayPin, LOW); // Ensure relay is off at startup
}

void loop() {
  // Turn on the relay to power the 12AU7 circuit
  digitalWrite(relayPin, HIGH);
  delay(5000); // Keep the circuit on for 5 seconds

  // Turn off the relay to disconnect the 12AU7 circuit
  digitalWrite(relayPin, LOW);
  delay(5000); // Keep the circuit off for 5 seconds
}
Troubleshooting and FAQs
Common Issues
No Output Signal:
- Check the heater connections (pins 4, 5, and 9) for proper voltage.
- Verify the plate voltage and ensure the load resistor is correctly sized.
- Inspect the input signal and coupling capacitors for faults.
Excessive Noise or Hum:
- Ensure proper grounding and shielding of the circuit.
- Check for microphonic noise caused by vibrations.
- Use high-quality components to minimize noise.
Tube Overheating:
- Verify that the heater voltage is within the specified range.
- Ensure adequate ventilation and heat dissipation.
Distorted Output:
- Check the biasing of the control grid.
- Ensure the input signal is not exceeding the tube's linear range.
FAQs
Q: Can I use the 12AU7 in a guitar amplifier?
A: Yes, the 12AU7 is commonly used in guitar amplifiers, especially in preamp stages, due to its low noise and high gain characteristics.
Q: How long does a 12AU7 tube last?
A: The lifespan of a 12AU7 tube depends on usage and operating conditions but typically ranges from 5,000 to 10,000 hours.
Q: Can I replace a 12AX7 with a 12AU7?
A: While the 12AU7 can replace a 12AX7 in some circuits, it has a lower gain (amplification factor of 17 vs. 100) and may not provide the same performance.
Q: Is the 12AU7 suitable for DIY audio projects?
A: Absolutely! The 12AU7 is a popular choice for DIY audio enthusiasts due to its versatility and excellent audio quality.