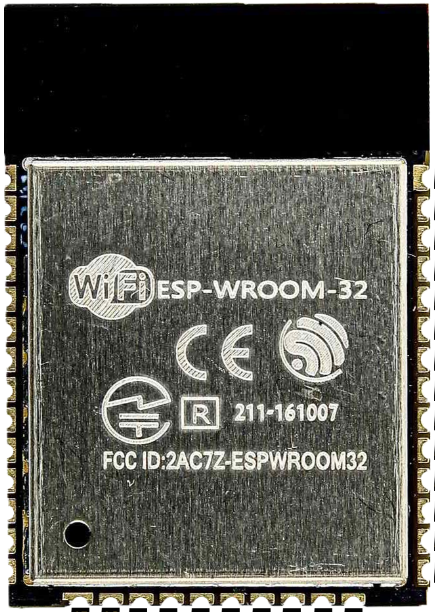
How to Use esp32-wroom-32: Examples, Pinouts, and Specs
Introduction
The ESP32-WROOM-32 is a powerful, low-power system on a chip (SoC) with integrated Wi-Fi and Bluetooth capabilities. It is designed for a wide range of applications, from low-power sensor networks to more demanding tasks such as voice encoding, music streaming, and MP3 decoding. The ESP32-WROOM-32 is particularly well-suited for Internet of Things (IoT) applications due to its robust connectivity options and versatile processing power.
Explore Projects Built with esp32-wroom-32


Explore Projects Built with esp32-wroom-32
Common Applications and Use Cases
- IoT Devices: Smart home devices, environmental monitoring, and industrial automation.
- Wearables: Fitness trackers, smartwatches, and health monitoring devices.
- Networking: Wi-Fi repeaters, mesh networks, and Bluetooth gateways.
- Multimedia: Audio streaming, voice recognition, and MP3 decoding.
Technical Specifications
Key Technical Details
| Parameter | Value |
|---|---|
| SoC | ESP32-D0WDQ6 |
| CPU | Xtensa® 32-bit LX6 dual-core processor |
| Clock Speed | Up to 240 MHz |
| Flash Memory | 4 MB (external) |
| SRAM | 520 KB |
| Wi-Fi | 802.11 b/g/n |
| Bluetooth | v4.2 BR/EDR and BLE |
| Operating Voltage | 3.0V to 3.6V |
| Operating Current | 80 mA (average) |
| Deep Sleep Current | < 10 µA |
| GPIO Pins | 34 |
| ADC Channels | 18 (12-bit) |
| DAC Channels | 2 (8-bit) |
| UART | 3 |
| SPI | 4 |
| I2C | 2 |
| I2S | 2 |
| PWM | 16 channels |
Pin Configuration and Descriptions
| Pin Number | Pin Name | Description |
|---|---|---|
| 1 | EN | Chip enable (active high) |
| 2 | IO0 | GPIO0, ADC2_CH1, Touch1 |
| 3 | IO1 | GPIO1, UART0_TXD |
| 4 | IO2 | GPIO2, ADC2_CH2, Touch2 |
| 5 | IO3 | GPIO3, UART0_RXD |
| 6 | IO4 | GPIO4, ADC2_CH0, Touch0 |
| 7 | IO5 | GPIO5, ADC2_CH3, Touch3 |
| 8 | GND | Ground |
| 9 | 3V3 | 3.3V power supply |
| 10 | IO12 | GPIO12, ADC2_CH5, Touch5, HSPI_MISO |
| 11 | IO13 | GPIO13, ADC2_CH4, Touch4, HSPI_MOSI |
| 12 | IO14 | GPIO14, ADC2_CH6, Touch6, HSPI_CLK |
| 13 | IO15 | GPIO15, ADC2_CH7, Touch7, HSPI_CS0 |
| 14 | IO16 | GPIO16, UART2_RXD |
| 15 | IO17 | GPIO17, UART2_TXD |
| 16 | IO18 | GPIO18, VSPI_CLK |
| 17 | IO19 | GPIO19, VSPI_MISO |
| 18 | IO21 | GPIO21, I2C_SDA |
| 19 | IO22 | GPIO22, I2C_SCL |
| 20 | IO23 | GPIO23, VSPI_MOSI |
| 21 | IO25 | GPIO25, DAC1, ADC2_CH8 |
| 22 | IO26 | GPIO26, DAC2, ADC2_CH9 |
| 23 | IO27 | GPIO27, ADC2_CH7, Touch7 |
| 24 | IO32 | GPIO32, ADC1_CH4, Touch9 |
| 25 | IO33 | GPIO33, ADC1_CH5, Touch8 |
| 26 | IO34 | GPIO34, ADC1_CH6 |
| 27 | IO35 | GPIO35, ADC1_CH7 |
| 28 | IO36 | GPIO36, ADC1_CH0, SENS_VP |
| 29 | IO39 | GPIO39, ADC1_CH3, SENS_VN |
Usage Instructions
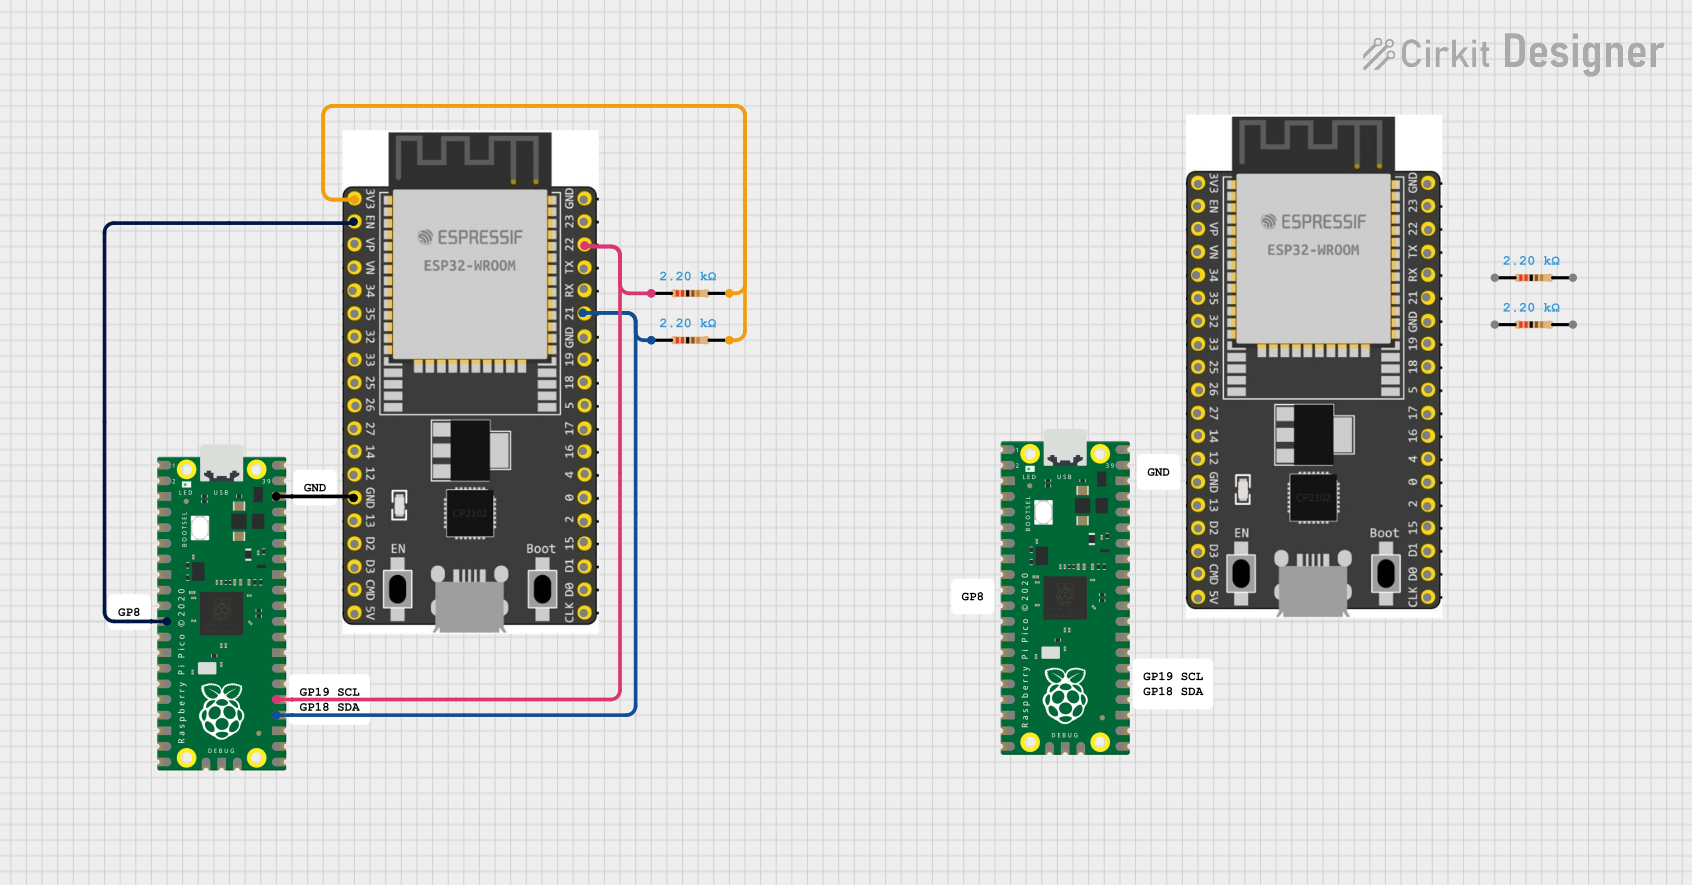
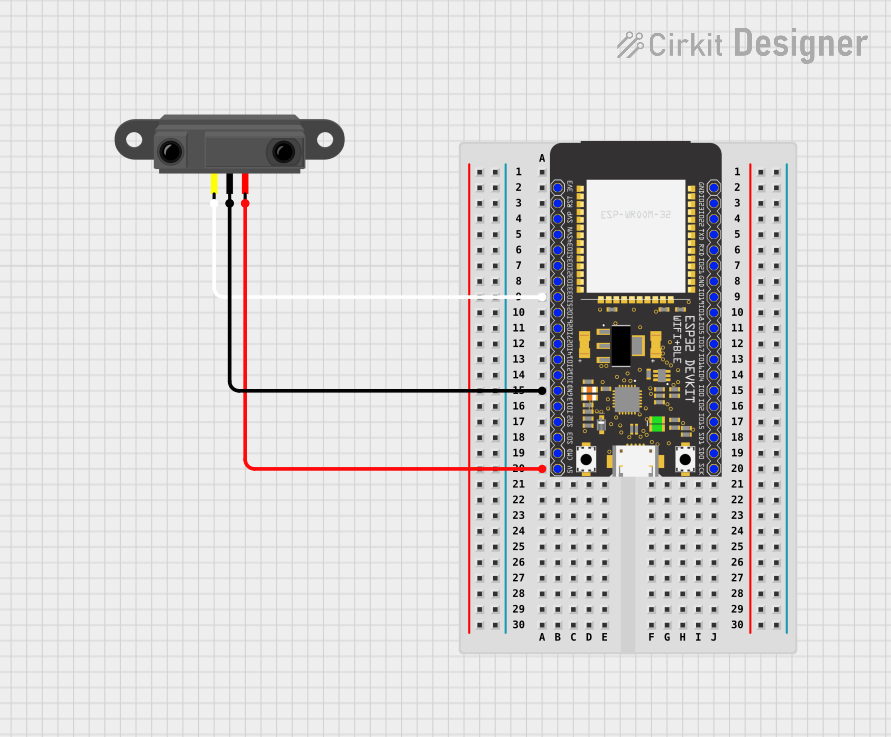
How to Use the Component in a Circuit
- Power Supply: Connect the 3V3 pin to a 3.3V power supply and the GND pin to ground.
- GPIO Pins: Use the GPIO pins for digital input/output operations. Refer to the pin configuration table for specific functions.
- Wi-Fi and Bluetooth: Use the integrated Wi-Fi and Bluetooth for wireless communication. Libraries such as
WiFi.handBluetoothSerial.hcan be used in Arduino IDE. - Programming: The ESP32-WROOM-32 can be programmed using the Arduino IDE. Select "ESP32 Dev Module" from the board manager.
Important Considerations and Best Practices
- Voltage Levels: Ensure that the voltage levels on the GPIO pins do not exceed 3.3V.
- Power Consumption: Utilize deep sleep modes to minimize power consumption in battery-powered applications.
- Antenna Placement: For optimal Wi-Fi and Bluetooth performance, ensure that the antenna area is free from obstructions and placed away from metal objects.
- Heat Dissipation: Although the ESP32 is designed to operate at high temperatures, ensure adequate ventilation to prevent overheating in high-power applications.
Example Code for Arduino UNO
#include <WiFi.h>

// Replace with your network credentials
const char* ssid = "your_SSID";
const char* password = "your_PASSWORD";

void setup() {
  Serial.begin(115200);

  // Connect to Wi-Fi
  WiFi.begin(ssid, password);

  // Wait for connection
  while (WiFi.status() != WL_CONNECTED) {
    delay(1000);
    Serial.println("Connecting to WiFi...");
  }

  Serial.println("Connected to WiFi");
}

void loop() {
  // Put your main code here, to run repeatedly
}
Troubleshooting and FAQs
Common Issues Users Might Face
Wi-Fi Connection Issues:
- Solution: Ensure that the SSID and password are correct. Check the signal strength and reduce the distance between the ESP32 and the router.
Overheating:
- Solution: Ensure proper ventilation and avoid placing the ESP32 in enclosed spaces without airflow.
Programming Errors:
- Solution: Ensure that the correct board and port are selected in the Arduino IDE. Check for any syntax errors in the code.
Unstable Operation:
- Solution: Verify the power supply voltage and current ratings. Use capacitors to filter out noise in the power supply.
FAQs
Q1: Can I use the ESP32-WROOM-32 with a 5V power supply?
- A1: No, the ESP32-WROOM-32 operates at 3.3V. Using a 5V power supply can damage the chip.
Q2: How can I reduce power consumption in my ESP32 project?
- A2: Utilize deep sleep modes and ensure that peripherals are powered down when not in use.
Q3: Can I use the ESP32-WROOM-32 for audio applications?
- A3: Yes, the ESP32 supports I2S and has DAC channels, making it suitable for audio applications.
Q4: How do I update the firmware on the ESP32-WROOM-32?
- A4: Firmware can be updated using the Arduino IDE or the ESP-IDF (Espressif IoT Development Framework).
This documentation provides a comprehensive overview of the ESP32-WROOM-32, including its technical specifications, usage instructions, and troubleshooting tips. Whether you are a beginner or an experienced user, this guide will help you effectively utilize the ESP32-WROOM-32 in your projects.