How to Use 12V LED: Examples, Pinouts, and Specs
Introduction
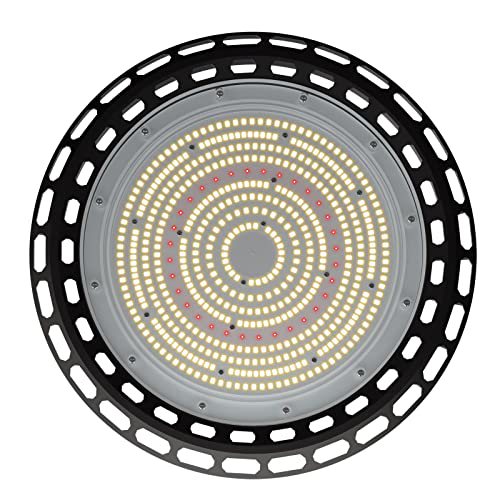
The 12V LED is a light-emitting diode designed to operate at a nominal voltage of 12 volts. It is widely used in various lighting applications due to its energy efficiency, long lifespan, and ease of integration into circuits. Unlike standard LEDs, which require external current-limiting resistors, the 12V LED typically includes an internal resistor or driver circuit, simplifying its use in projects.
Explore Projects Built with 12V LED

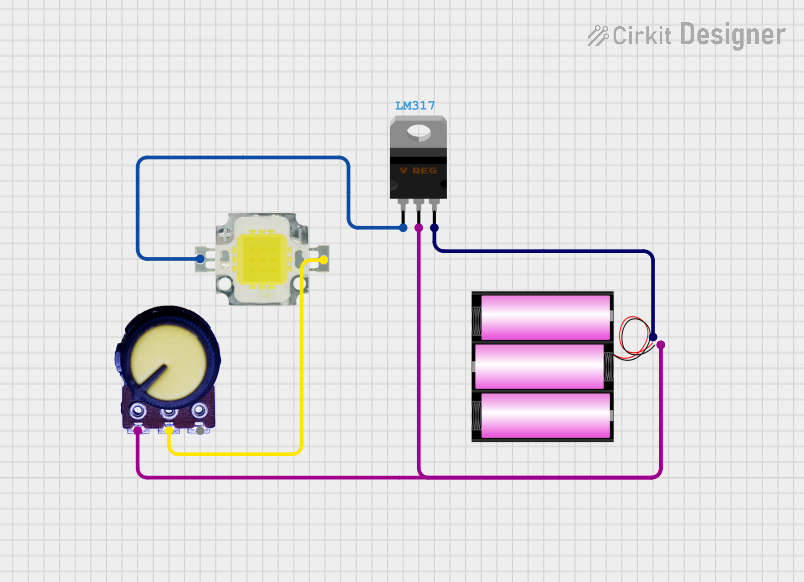
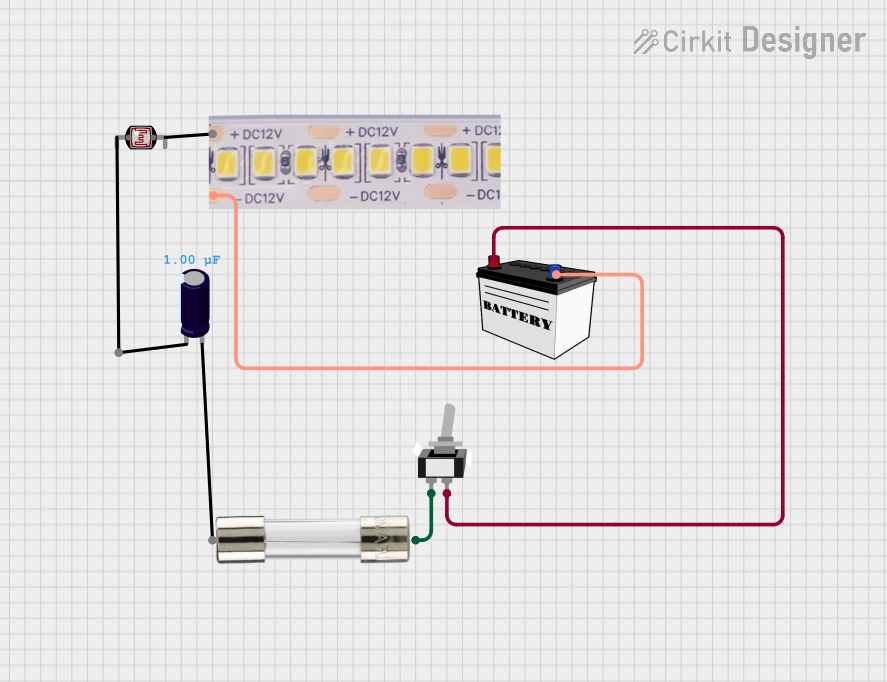
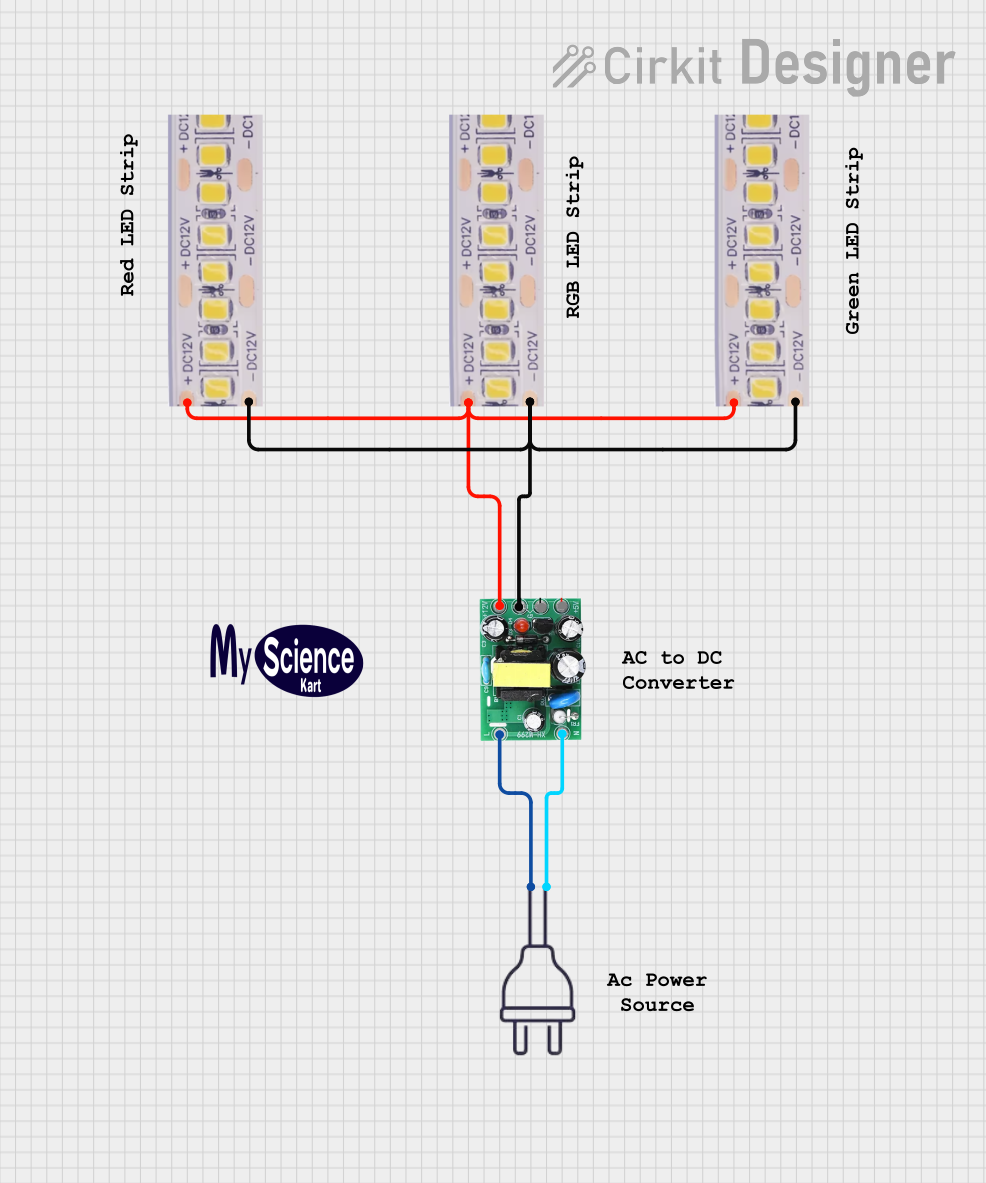
Explore Projects Built with 12V LED
Common Applications
- Automotive lighting (e.g., interior lights, tail lights)
- Home and office lighting systems
- Decorative lighting and signage
- DIY electronics projects
- Indicator lights in control panels
Technical Specifications
The following table outlines the key technical details of a typical 12V LED:
| Parameter | Value |
|---|---|
| Operating Voltage | 12V DC |
| Current Consumption | 20-30 mA (typical) |
| Power Consumption | 0.24-0.36 W (typical) |
| Luminous Intensity | 20-100 lumens (varies by type) |
| Color Options | Red, Green, Blue, White, etc. |
| Lifespan | 25,000 - 50,000 hours |
| Operating Temperature | -20°C to 60°C |
Pin Configuration
The 12V LED typically has two pins:
| Pin Name | Description |
|---|---|
| Anode (+) | Positive terminal (connect to +12V) |
| Cathode (-) | Negative terminal (connect to GND) |
Usage Instructions
How to Use the 12V LED in a Circuit
- Power Supply: Ensure you have a stable 12V DC power source. The 12V LED is designed to operate directly at this voltage without requiring an external resistor.
- Polarity: Connect the anode (+) to the positive terminal of the power supply and the cathode (-) to the ground (GND). Reversing the polarity may damage the LED.
- Wiring: Use appropriate gauge wires to handle the current (20-30 mA). For multiple LEDs, consider wiring them in parallel to maintain consistent brightness.
- Switching: If you want to control the LED with a microcontroller (e.g., Arduino), use a transistor or MOSFET as a switch, as the microcontroller's GPIO pins cannot directly supply 12V.
Important Considerations
- Heat Management: While 12V LEDs are efficient, they can still generate heat. Ensure proper ventilation or use a heatsink if necessary.
- Voltage Tolerance: Avoid exceeding the 12V rating, as overvoltage can damage the internal circuitry.
- Current Limiting: Although the 12V LED includes an internal resistor, verify the current draw to ensure it matches your power supply's capacity.
Example: Controlling a 12V LED with an Arduino UNO
To control a 12V LED using an Arduino UNO, you can use a transistor as a switch. Below is an example circuit and code:
Circuit Diagram
- Connect the 12V LED's anode (+) to the collector of an NPN transistor (e.g., 2N2222).
- Connect the cathode (-) to the ground (GND).
- Connect the emitter of the transistor to the ground (GND).
- Connect a 1kΩ resistor between the Arduino's digital pin (e.g., D9) and the base of the transistor.
- Connect the 12V power supply's positive terminal to the LED's anode and its negative terminal to the Arduino's GND.
Arduino Code
// Define the pin connected to the transistor's base
const int ledPin = 9;

void setup() {
  pinMode(ledPin, OUTPUT); // Set the pin as an output
}

void loop() {
  digitalWrite(ledPin, HIGH); // Turn the LED on
  delay(1000);                // Wait for 1 second
  digitalWrite(ledPin, LOW);  // Turn the LED off
  delay(1000);                // Wait for 1 second
}
Troubleshooting and FAQs
Common Issues
LED Does Not Light Up
- Cause: Incorrect polarity.
- Solution: Verify that the anode is connected to +12V and the cathode to GND.
LED Flickers
- Cause: Unstable power supply or loose connections.
- Solution: Use a regulated 12V DC power supply and check all connections.
LED Overheats
- Cause: Insufficient ventilation or overvoltage.
- Solution: Ensure proper airflow and verify the power supply voltage.
Dim Light Output
- Cause: Insufficient current or degraded LED.
- Solution: Check the power supply's current capacity and replace the LED if necessary.
FAQs
Q: Can I connect multiple 12V LEDs in series?
A: No, 12V LEDs are designed to operate at 12V individually. Connecting them in series would require a higher voltage.
Q: Can I dim a 12V LED?
A: Yes, you can use a PWM (Pulse Width Modulation) signal from a microcontroller or a dedicated dimmer circuit to control the brightness.
Q: Is a resistor needed for a 12V LED?
A: No, 12V LEDs typically include an internal resistor or driver circuit, so an external resistor is not required.
Q: Can I use a 12V LED with a 9V battery?
A: While it may light up dimly, the LED is designed for 12V operation and may not function optimally at lower voltages.