
How to Use Adafruit AT42QT1010 Standalone Momentary Capacitive Touch Sensor: Examples, Pinouts, and Specs
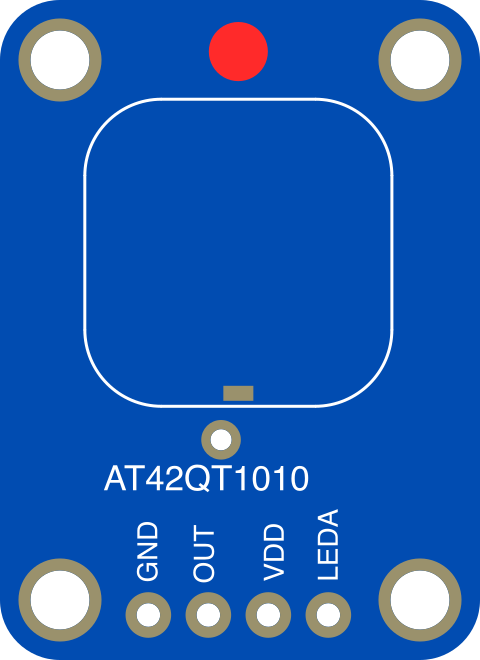
 Design with Adafruit AT42QT1010 Standalone Momentary Capacitive Touch Sensor in Cirkit Designer
Introduction
The Adafruit AT42QT1010 (Part ID: 1374) is a compact capacitive touch sensor designed to detect touch input and provide a simple, reliable way to add touch-sensitive functionality to electronic projects. This standalone sensor operates independently, meaning it does not require additional microcontroller programming for basic operation. It outputs a digital signal when a touch is detected, making it ideal for a wide range of applications.
Explore Projects Built with Adafruit AT42QT1010 Standalone Momentary Capacitive Touch Sensor
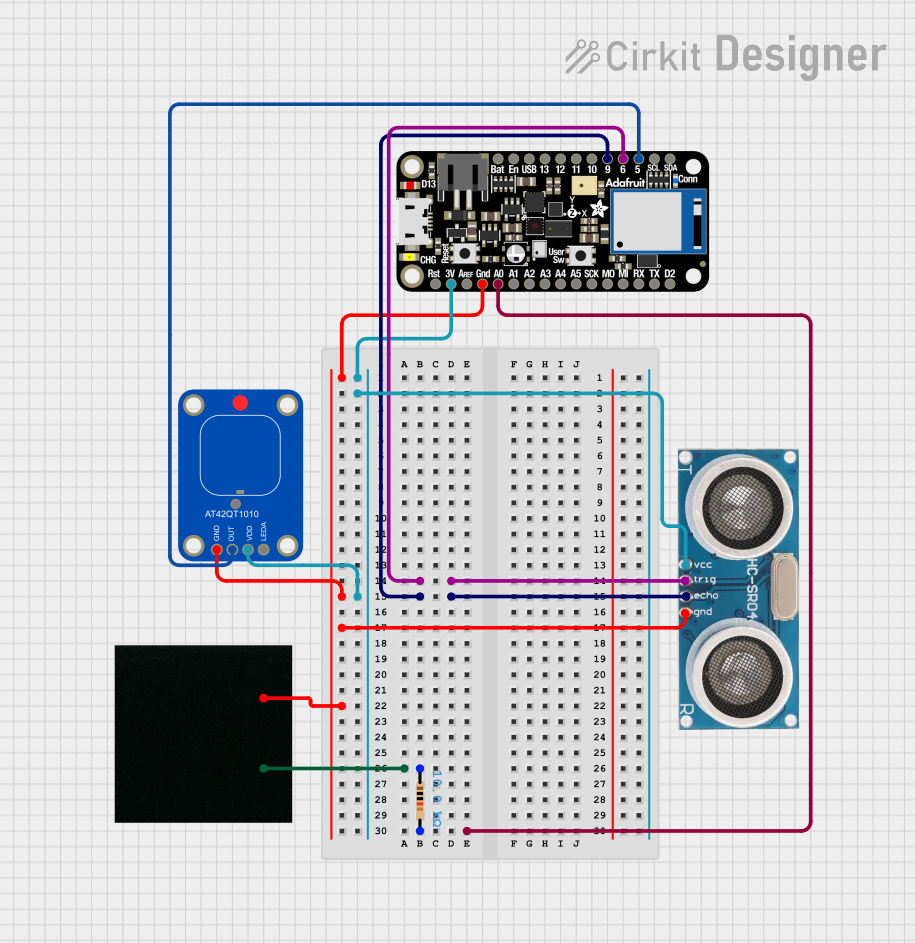 Open Project in Cirkit Designer
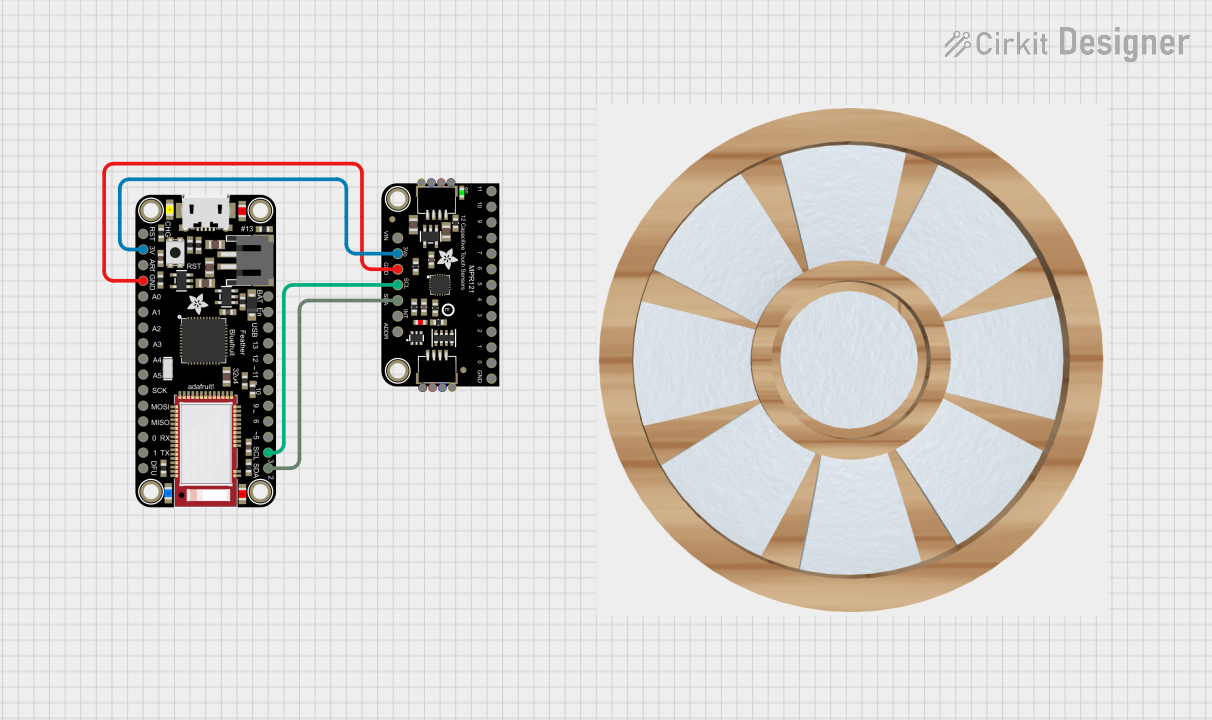 Open Project in Cirkit Designer
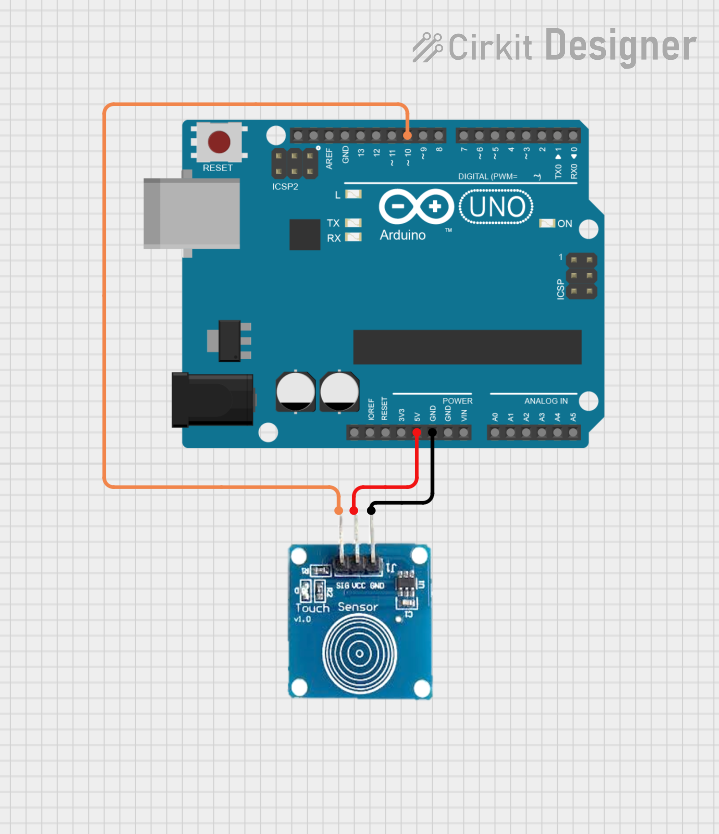 Open Project in Cirkit Designer
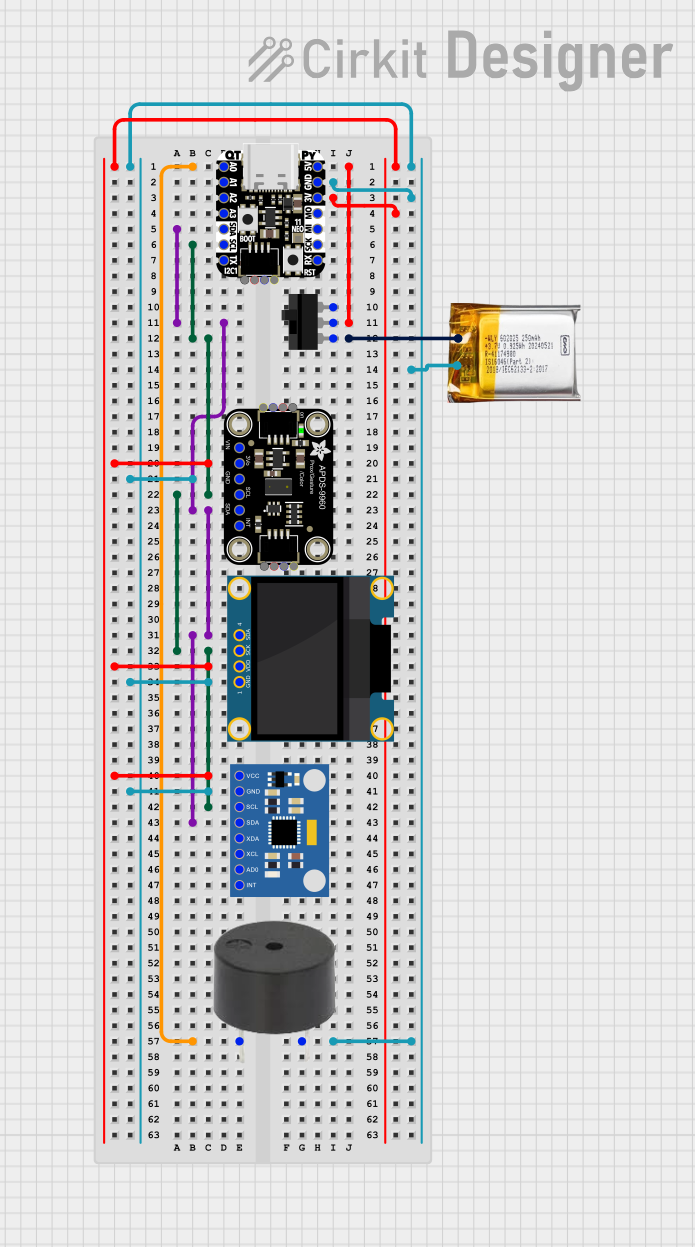 Open Project in Cirkit Designer
Explore Projects Built with Adafruit AT42QT1010 Standalone Momentary Capacitive Touch Sensor
Open Project in Cirkit DesignerOpen Project in Cirkit DesignerOpen Project in Cirkit DesignerOpen Project in Cirkit DesignerCommon Applications and Use Cases
- Touch-sensitive buttons for consumer electronics
- Interactive art installations
- Home automation systems
- Wearable devices
- Prototyping touch-based interfaces
- Replacing mechanical buttons in projects
Technical Specifications
The Adafruit AT42QT1010 is designed for ease of use and versatility. Below are its key technical details:
| Parameter | Value |
|---|---|
| Operating Voltage | 1.8V to 5.5V |
| Current Consumption | ~1.5 µA (at 1.8V) |
| Output Type | Digital (Active Low) |
| Response Time | ~100 ms |
| Touch Sensitivity | Adjustable via external capacitor |
| Operating Temperature | -40°C to +85°C |
| Dimensions | 8.9mm x 8.9mm x 3.2mm |
Pin Configuration and Descriptions
The AT42QT1010 sensor has three pins, as described in the table below:
| Pin | Name | Description |
|---|---|---|
| 1 | VCC | Power supply input (1.8V to 5.5V). Connect to the positive voltage source. |
| 2 | GND | Ground. Connect to the ground of the power supply. |
| 3 | OUT | Digital output. Goes LOW when touch is detected and HIGH when no touch is detected. |
Usage Instructions
How to Use the Component in a Circuit
- Power the Sensor: Connect the
VCCpin to a power source (1.8V to 5.5V) and theGNDpin to ground. - Connect the Output: The
OUTpin provides a digital signal. Connect it to a microcontroller input pin or directly to an LED (with a current-limiting resistor) to observe touch detection. - Adjust Sensitivity: The touch sensitivity can be adjusted by connecting a capacitor (typically 1nF to 50nF) between the
SENSEpin (on the sensor PCB) and ground. A larger capacitor increases sensitivity.
Important Considerations and Best Practices
- Avoid Noise Interference: Ensure proper grounding and minimize noise in the power supply to avoid false triggers.
- Touch Surface: The sensor can detect touch through non-conductive materials like plastic or glass. Ensure the material is thin enough for reliable detection.
- Debouncing: If connecting to a microcontroller, implement software debouncing to filter out rapid, unintended touch signals.
- Output Behavior: The
OUTpin is active LOW, meaning it goes LOW when a touch is detected and HIGH otherwise.
Example: Connecting to an Arduino UNO
Below is an example of how to connect and use the AT42QT1010 with an Arduino UNO:
Circuit Connections
- Connect the
VCCpin of the sensor to the 5V pin on the Arduino. - Connect the
GNDpin of the sensor to the GND pin on the Arduino. - Connect the
OUTpin of the sensor to digital pin 2 on the Arduino.
Arduino Code
// Example code for using the Adafruit AT42QT1010 with Arduino UNO
const int touchPin = 2; // Pin connected to the OUT pin of the sensor
const int ledPin = 13;  // Built-in LED on Arduino

void setup() {
  pinMode(touchPin, INPUT); // Set touchPin as input
  pinMode(ledPin, OUTPUT);  // Set ledPin as output
  Serial.begin(9600);       // Initialize serial communication
}

void loop() {
  int touchState = digitalRead(touchPin); // Read the sensor output

  if (touchState == LOW) {
    // Sensor detects touch (active LOW)
    digitalWrite(ledPin, HIGH); // Turn on LED
    Serial.println("Touch detected!");
  } else {
    // No touch detected
    digitalWrite(ledPin, LOW); // Turn off LED
  }

  delay(100); // Small delay to stabilize readings
}
Troubleshooting and FAQs
Common Issues and Solutions
Sensor Not Responding
- Cause: Incorrect wiring or insufficient power supply.
- Solution: Double-check all connections and ensure the power supply voltage is within the specified range (1.8V to 5.5V).
False Touch Detection
- Cause: Electrical noise or improper grounding.
- Solution: Use a decoupling capacitor (e.g., 0.1µF) across the power supply pins and ensure a solid ground connection.
Low Sensitivity
- Cause: Inadequate capacitance on the
SENSEpin. - Solution: Increase the value of the external capacitor connected to the
SENSEpin.
- Cause: Inadequate capacitance on the
No Output Signal
- Cause: Output pin not properly connected or damaged sensor.
- Solution: Verify the connection to the
OUTpin and test the sensor with a multimeter or oscilloscope.
FAQs
Q: Can the sensor detect touch through thick materials?
A: The sensor can detect touch through non-conductive materials like plastic or glass, but the thickness should be minimal (typically less than 3mm) for reliable detection.
Q: Is the sensor compatible with 3.3V systems?
A: Yes, the sensor operates within a voltage range of 1.8V to 5.5V, making it compatible with both 3.3V and 5V systems.
Q: Can I use multiple sensors in the same project?
A: Yes, multiple sensors can be used, but ensure proper grounding and spacing to avoid interference between sensors.
Q: How do I increase the touch sensitivity?
A: Increase the value of the capacitor connected to the SENSE pin. A larger capacitor increases sensitivity but may also increase response time.
This concludes the documentation for the Adafruit AT42QT1010 Standalone Momentary Capacitive Touch Sensor.