
How to Use ESP32-C6: Examples, Pinouts, and Specs
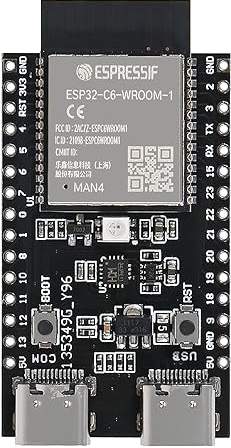
 Design with ESP32-C6 in Cirkit Designer
Introduction
The ESP32-C6 (Manufacturer Part ID: MAN16) is a low-power, dual-core microcontroller developed by Espressif. It is designed for Internet of Things (IoT) applications and features integrated Wi-Fi 6, Bluetooth 5 (LE), and 802.15.4 capabilities. Built on a 32-bit RISC-V architecture, the ESP32-C6 offers robust performance, energy efficiency, and extensive peripheral support, making it ideal for a wide range of embedded projects.
Explore Projects Built with ESP32-C6
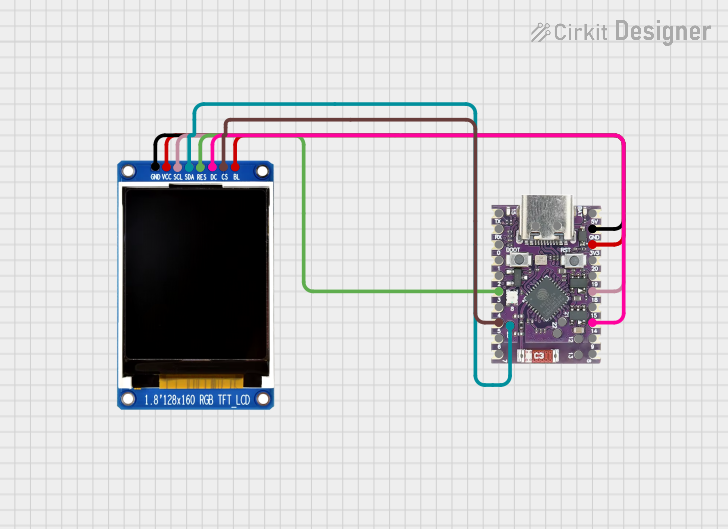 Open Project in Cirkit Designer
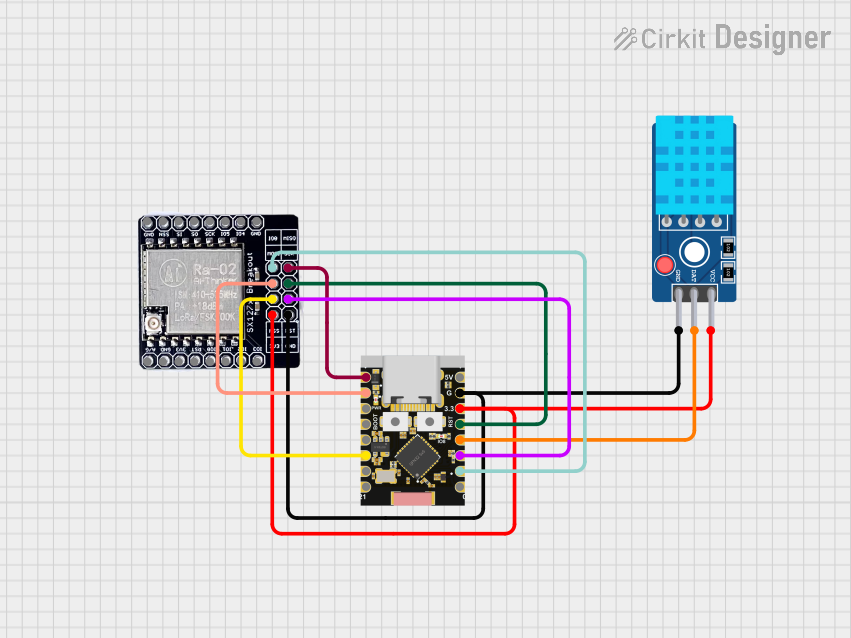 Open Project in Cirkit Designer
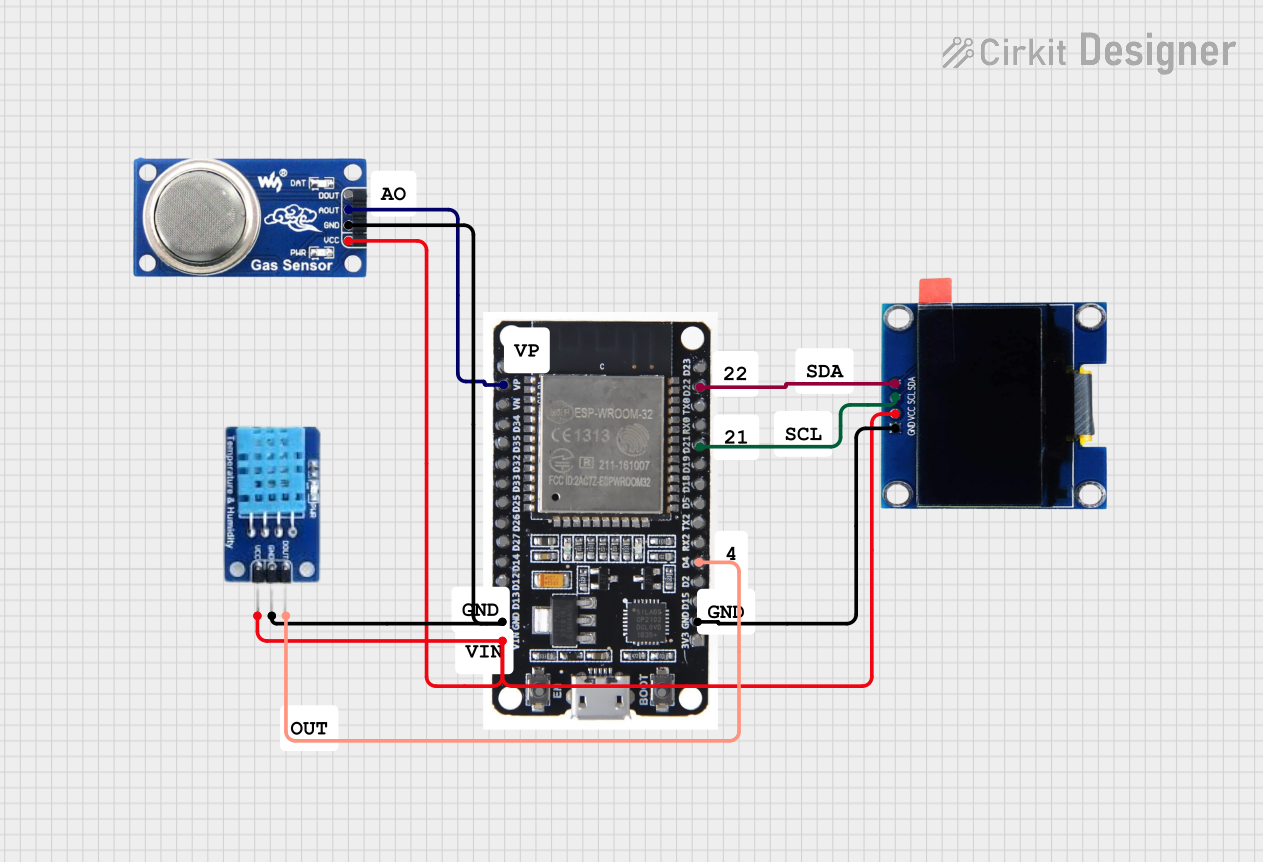 Open Project in Cirkit Designer
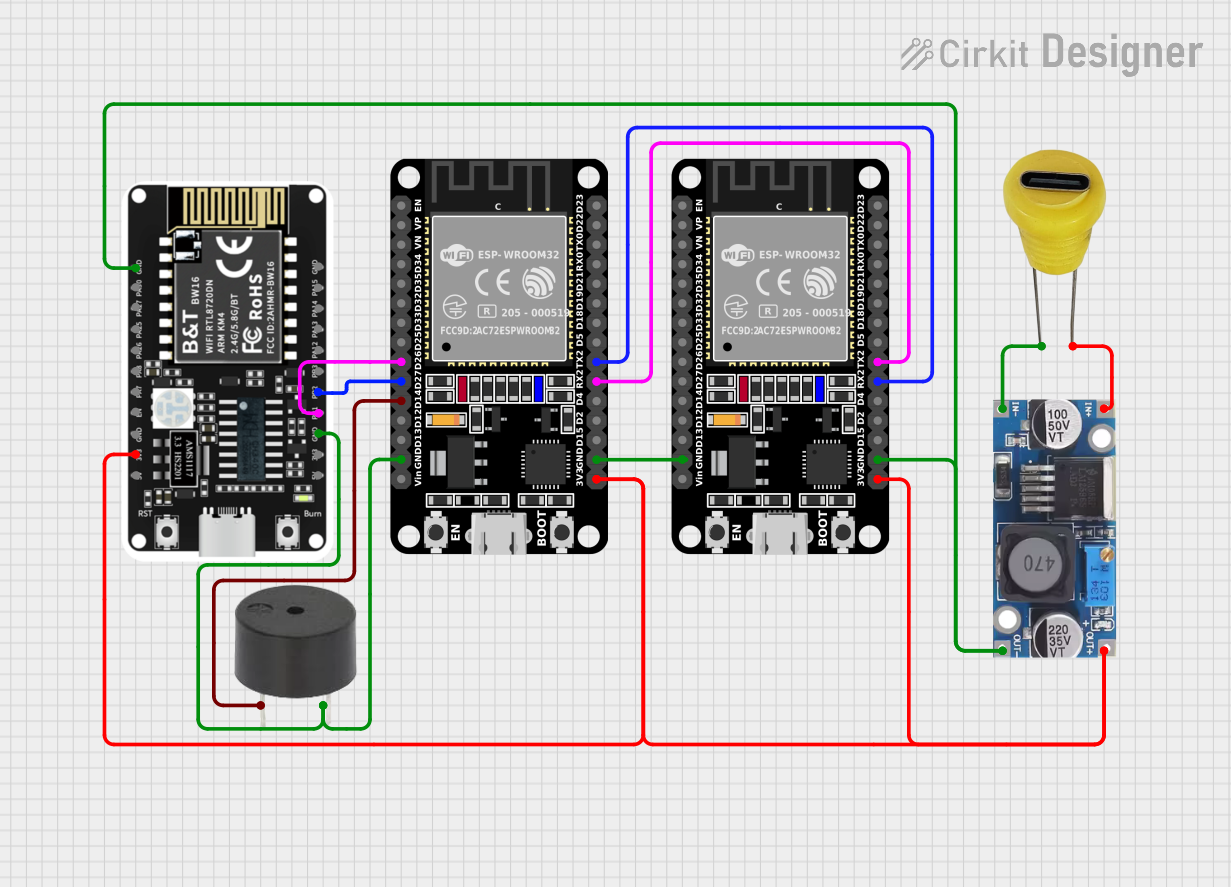 Open Project in Cirkit Designer
Explore Projects Built with ESP32-C6
Open Project in Cirkit DesignerOpen Project in Cirkit DesignerOpen Project in Cirkit DesignerOpen Project in Cirkit DesignerCommon Applications
- Smart home devices (e.g., smart lights, thermostats)
- Industrial IoT systems
- Wearable technology
- Wireless sensor networks
- Low-power communication hubs
- Home automation and security systems
Technical Specifications
The ESP32-C6 is packed with features that make it versatile and powerful for IoT applications. Below are its key technical details:
General Specifications
| Feature | Description |
|---|---|
| Architecture | 32-bit RISC-V |
| Cores | Dual-core |
| Clock Speed | Up to 160 MHz |
| Wireless Connectivity | Wi-Fi 6 (802.11ax), Bluetooth 5 (LE), 802.15.4 |
| Flash Memory | Up to 8 MB external flash |
| SRAM | 512 KB |
| GPIO Pins | 22 |
| Operating Voltage | 3.0V to 3.6V |
| Power Consumption | Ultra-low power modes available |
| Operating Temperature | -40°C to +85°C |
Wireless Specifications
| Feature | Description |
|---|---|
| Wi-Fi Standard | 802.11ax (Wi-Fi 6), backward compatible with 802.11b/g/n |
| Bluetooth Standard | Bluetooth 5 (LE) |
| 802.15.4 Support | Zigbee and Thread protocols |
| Frequency Band | 2.4 GHz |
| Security Features | WPA3, AES-128/256 encryption |
Pin Configuration
The ESP32-C6 has a total of 22 GPIO pins, which can be configured for various functions. Below is the pinout description:
| Pin Number | Pin Name | Functionality |
|---|---|---|
| 1 | GND | Ground |
| 2 | 3V3 | Power supply (3.3V) |
| 3 | EN | Chip enable (active high) |
| 4 | GPIO0 | General-purpose I/O, boot mode selection |
| 5 | GPIO1 | General-purpose I/O, UART TX |
| 6 | GPIO2 | General-purpose I/O, UART RX |
| 7 | GPIO3 | General-purpose I/O, ADC input |
| 8 | GPIO4 | General-purpose I/O, PWM output |
| 9 | GPIO5 | General-purpose I/O, SPI MOSI |
| 10 | GPIO6 | General-purpose I/O, SPI MISO |
| ... | ... | ... (Refer to the full datasheet for all pin configurations) |
Usage Instructions
The ESP32-C6 is versatile and can be used in a variety of embedded systems. Below are the steps and best practices for using the ESP32-C6 in a circuit.
Basic Circuit Setup
- Power Supply: Connect the 3V3 pin to a 3.3V power source and GND to ground.
- Boot Mode: To enter bootloader mode, connect GPIO0 to GND during power-up.
- Peripherals: Use the GPIO pins for connecting sensors, actuators, or other peripherals. Ensure the voltage levels are compatible.
- Programming: Use a USB-to-UART converter to program the ESP32-C6 via its UART pins (GPIO1 for TX, GPIO2 for RX).
Important Considerations
- Voltage Levels: Ensure all connected peripherals operate at 3.3V logic levels to avoid damage.
- Antenna Placement: For optimal wireless performance, ensure the onboard antenna is not obstructed by metal or other conductive materials.
- Power Management: Utilize the ultra-low power modes for battery-powered applications.
Example: Connecting to an Arduino UNO
The ESP32-C6 can communicate with an Arduino UNO via UART or I2C. Below is an example of using the ESP32-C6 to send data to an Arduino UNO via UART.
Arduino Code
// Arduino UNO code to receive data from ESP32-C6 via UART
void setup() {
  Serial.begin(9600); // Initialize UART communication at 9600 baud
  Serial.println("Arduino ready to receive data from ESP32-C6");
}

void loop() {
  if (Serial.available() > 0) {
    String data = Serial.readString(); // Read incoming data
    Serial.print("Received: ");
    Serial.println(data); // Print received data to Serial Monitor
  }
}
ESP32-C6 Code
// ESP32-C6 code to send data to Arduino UNO via UART
#include <HardwareSerial.h>

HardwareSerial mySerial(1); // Use UART1 for communication

void setup() {
  mySerial.begin(9600, SERIAL_8N1, GPIO2, GPIO1);
  // Initialize UART1 at 9600 baud, GPIO2 as RX, GPIO1 as TX
}

void loop() {
  mySerial.println("Hello from ESP32-C6!");
  // Send data to Arduino UNO
  delay(1000); // Wait for 1 second before sending the next message
}
Troubleshooting and FAQs
Common Issues
ESP32-C6 Not Powering On
- Ensure the 3V3 pin is connected to a stable 3.3V power source.
- Check for loose connections or damaged components.
Wi-Fi or Bluetooth Not Working
- Verify that the onboard antenna is not obstructed.
- Ensure the firmware is updated to the latest version.
Unable to Program the ESP32-C6
- Confirm that GPIO0 is connected to GND during power-up for bootloader mode.
- Check the USB-to-UART converter connections and drivers.
Peripheral Not Responding
- Double-check the GPIO pin assignments in your code.
- Verify that the peripheral operates at 3.3V logic levels.
FAQs
Q: Can the ESP32-C6 operate on 5V?
A: No, the ESP32-C6 operates at 3.3V. Connecting it to 5V may damage the chip.
Q: Does the ESP32-C6 support over-the-air (OTA) updates?
A: Yes, the ESP32-C6 supports OTA updates for firmware upgrades.
Q: How do I reduce power consumption?
A: Use the ultra-low power modes and disable unused peripherals to minimize power usage.
Q: Can I use the ESP32-C6 for Zigbee applications?
A: Yes, the ESP32-C6 supports Zigbee and Thread protocols via its 802.15.4 radio.
This concludes the documentation for the ESP32-C6. For more details, refer to the official datasheet and programming guide provided by Espressif.