How to Use Adafruit I2C Non-Volatile FRAM 32KB: Examples, Pinouts, and Specs
Introduction
The Adafruit I2C Non-Volatile FRAM 32KB is a high-performance, low-power memory module that utilizes ferroelectric random-access memory (FRAM) technology. Unlike traditional non-volatile memories like EEPROM or Flash, FRAM offers faster read and write operations and does not require a backup battery to maintain data. This makes it ideal for applications that require frequent or rapid data storage without the long-term data retention issues associated with battery-backed solutions.
Explore Projects Built with Adafruit I2C Non-Volatile FRAM 32KB


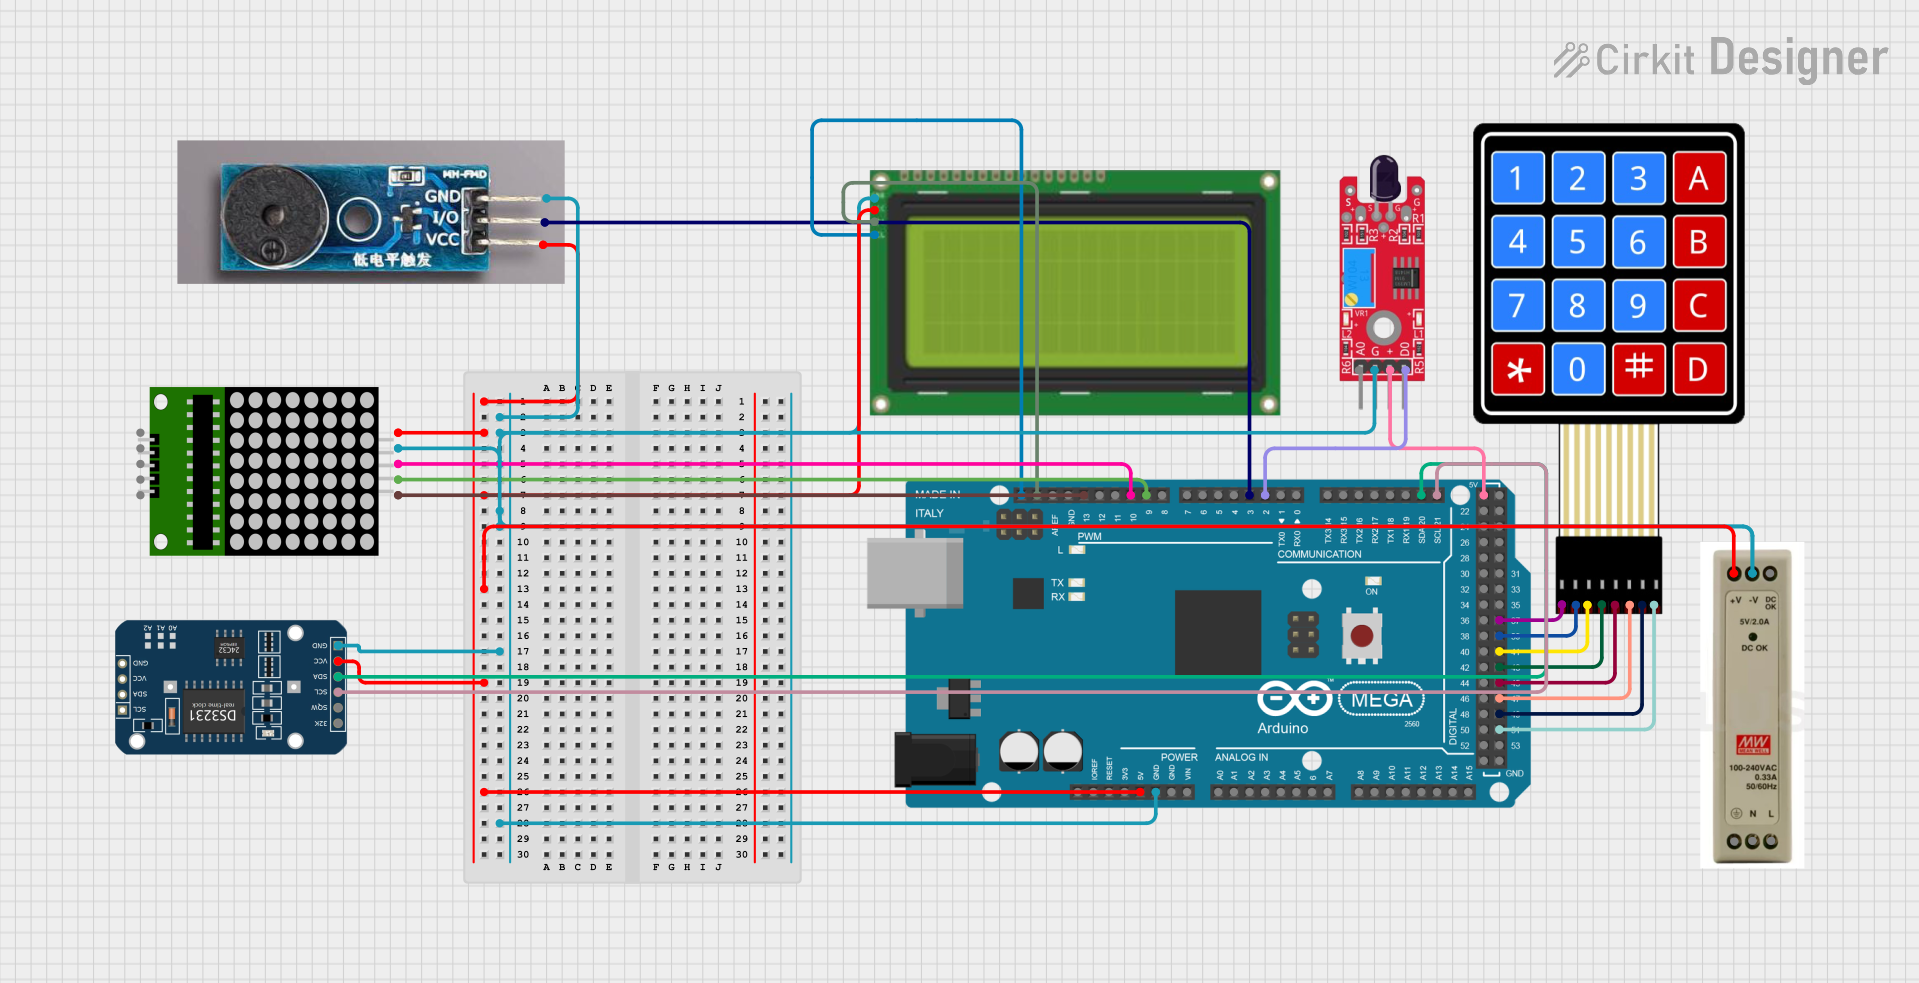

Explore Projects Built with Adafruit I2C Non-Volatile FRAM 32KB
Common Applications and Use Cases
- Data logging devices
- Real-time clocks
- Digital counters
- Gaming and entertainment systems
- Industrial control systems
Technical Specifications
Key Technical Details
- Voltage: 2.7V to 5.5V
- Current: 400µA active write, 50µA read
- Endurance: 10^14 read/write cycles
- Data retention: 10 years at +85°C
- Interface: I2C (up to 1MHz)
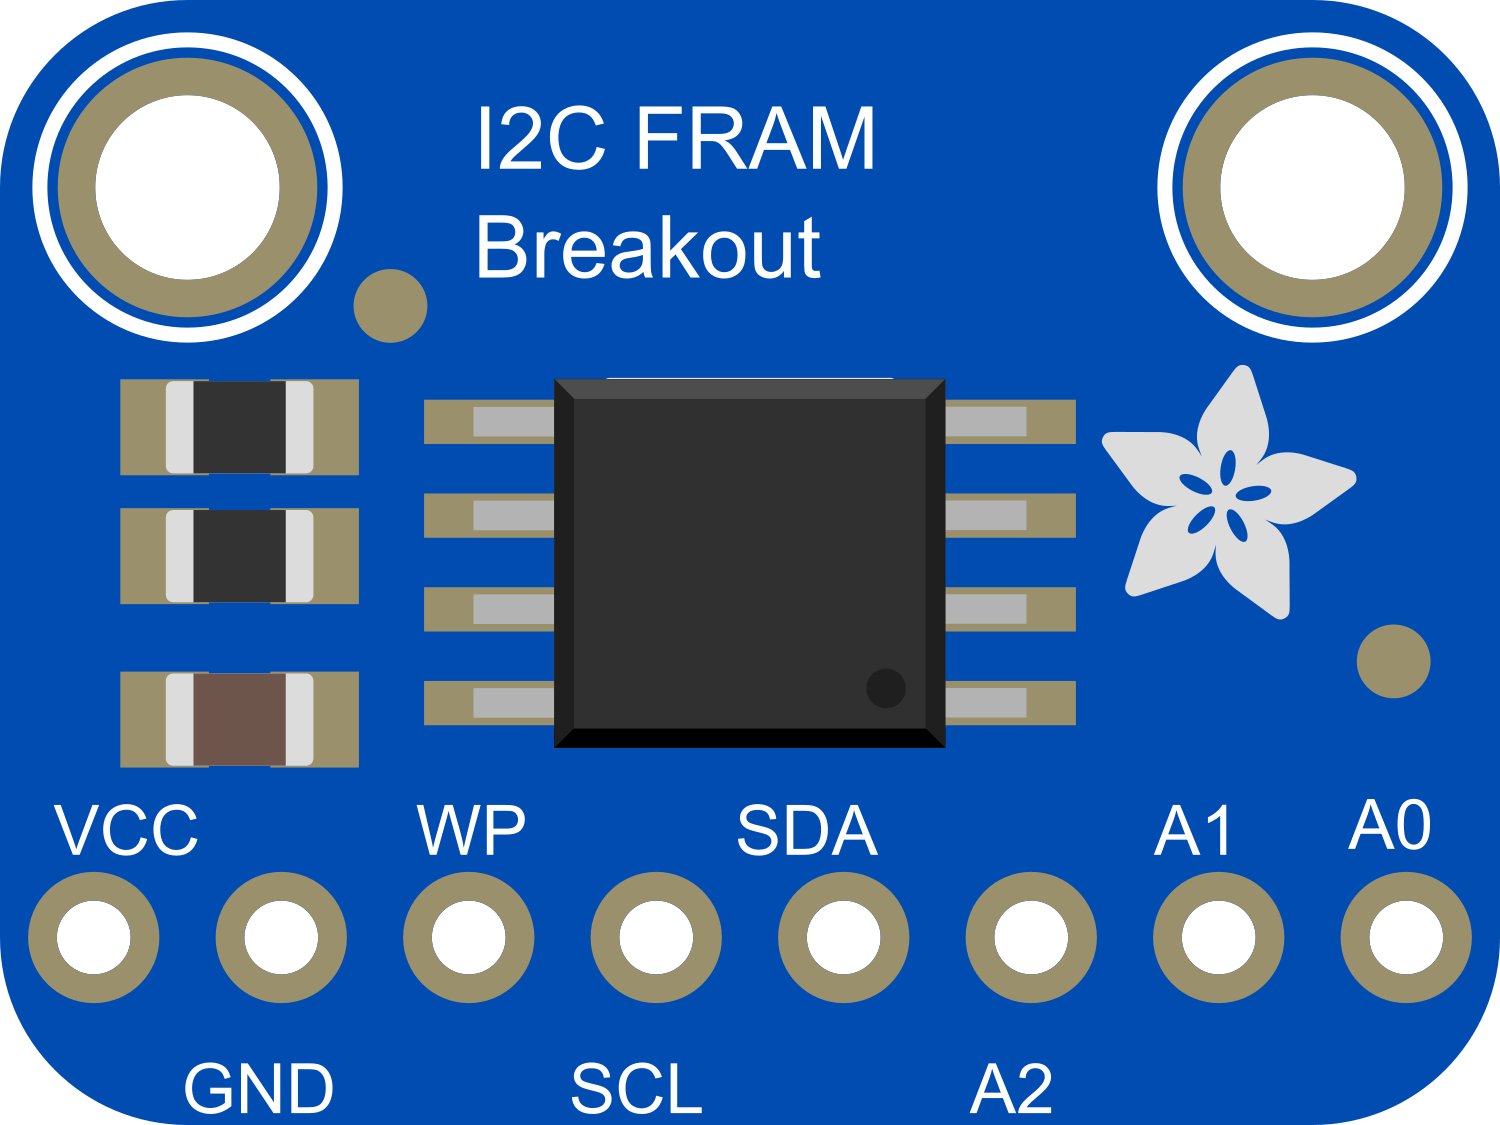
Pin Configuration and Descriptions
| Pin Number | Name | Description |
|---|---|---|
| 1 | VCC | Power supply (2.7V to 5.5V) |
| 2 | GND | Ground |
| 3 | SDA | I2C Data Line |
| 4 | SCL | I2C Clock Line |
| 5 | WP | Write Protect (optional) |
Usage Instructions
How to Use the Component in a Circuit
- Connect VCC to the power supply (2.7V to 5.5V).
- Connect GND to the ground of the power supply.
- Connect SDA and SCL to the I2C data and clock lines, respectively.
- Optionally, connect WP to a digital output pin if write protection is needed.
Important Considerations and Best Practices
- Ensure that pull-up resistors are connected to the SDA and SCL lines, as they are required for proper I2C communication.
- Avoid exposing the component to temperatures beyond the specified range to prevent data loss.
- If write protection is not required, WP can be connected to VCC.
Example Code for Arduino UNO
#include <Wire.h>
#include <Adafruit_FRAM_I2C.h>

/* Create an instance of the Adafruit_FRAM_I2C class */
Adafruit_FRAM_I2C fram = Adafruit_FRAM_I2C();

void setup() {
  Serial.begin(9600);
  /* Initialize I2C communication */
  if (fram.begin()) {
    Serial.println("Found I2C FRAM");
  } else {
    Serial.println("No I2C FRAM found ... check your connections");
    while (1);
  }

  /* Optional: write data to FRAM */
  fram.write8(0x0, 0x42); // Write 0x42 to address 0x0
}

void loop() {
  /* Read data from FRAM */
  uint8_t result = fram.read8(0x0); // Read from address 0x0
  Serial.print("Read: 0x"); Serial.println(result, HEX);
  delay(1000);
}
Troubleshooting and FAQs
Common Issues Users Might Face
- I2C Communication Failure: Ensure that the SDA and SCL lines are connected properly and that pull-up resistors are in place.
- Data Not Retained: Verify that the VCC is within the specified range and that the WP pin is not inadvertently engaged.
Solutions and Tips for Troubleshooting
- Use the
Wirelibrary'sbeginTransmission()andendTransmission()functions to check for connectivity. - If using the WP pin, ensure that it is either connected to VCC or controlled by a digital output pin.
FAQs
Q: What is the maximum I2C speed supported by the FRAM module? A: The module supports I2C speeds of up to 1MHz.
Q: Can the FRAM module be used with 3.3V systems? A: Yes, the module can operate at voltages ranging from 2.7V to 5.5V, making it compatible with both 3.3V and 5V systems.
Q: How long will the FRAM retain data without power? A: The FRAM is rated to retain data for 10 years at +85°C, which can be longer at lower temperatures.
Q: Is it necessary to use the WP pin? A: The WP pin is optional and is used for write protection. If you do not require write protection, you can tie it to VCC or leave it unconnected.
Q: How do I know if my FRAM is functioning correctly? A: You can run the example code provided to test basic read and write operations. If the data is correctly written and read back, the FRAM is functioning properly.