
How to Use Switch Push On Off 16mm: Examples, Pinouts, and Specs
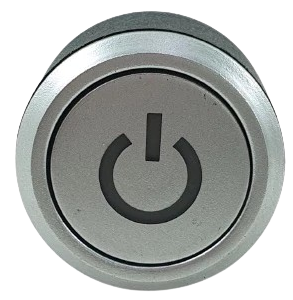
 Design with Switch Push On Off 16mm in Cirkit Designer
Introduction
The Switch Push On Off 16mm is a compact, durable push-button switch designed for toggling between on and off states. With a 16mm mounting diameter, this switch is ideal for applications requiring user control in electronic devices and circuits. Manufactured by Glodok Supermarket, this switch is widely used in control panels, DIY electronics, and industrial equipment due to its reliability and ease of use.
Explore Projects Built with Switch Push On Off 16mm
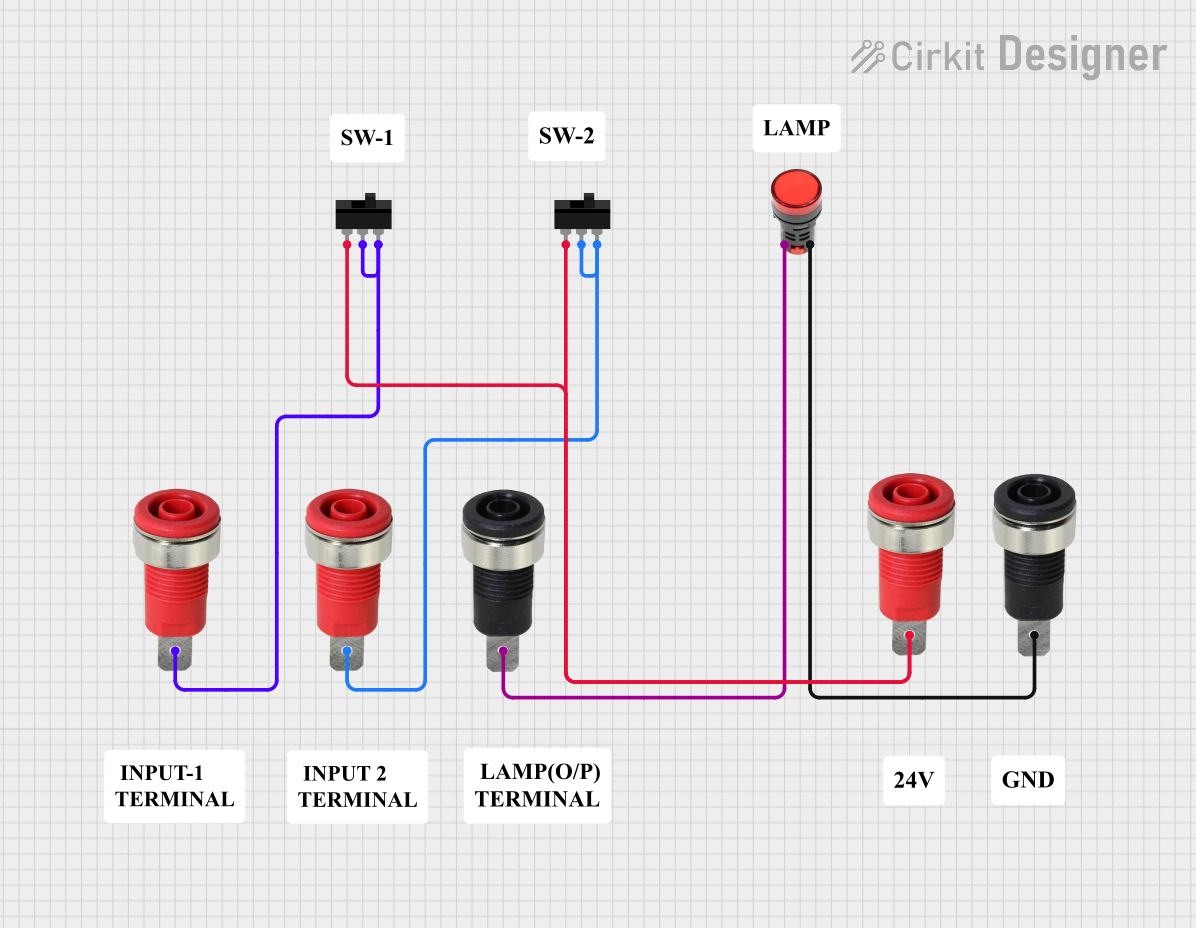 Open Project in Cirkit Designer
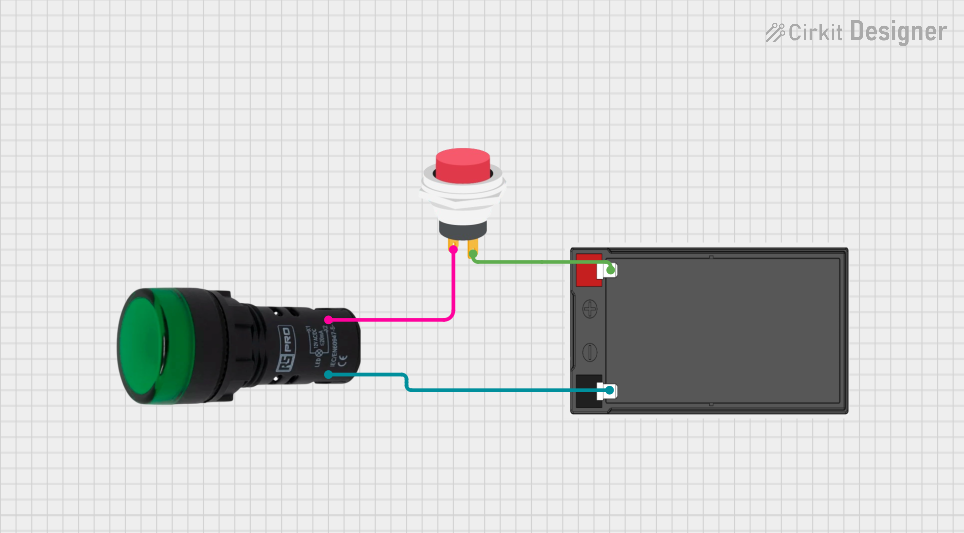 Open Project in Cirkit Designer
 Open Project in Cirkit Designer
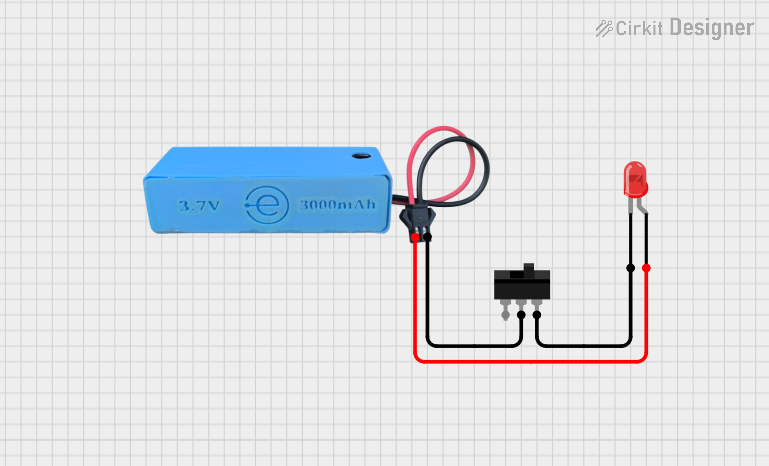 Open Project in Cirkit Designer
Explore Projects Built with Switch Push On Off 16mm
Open Project in Cirkit DesignerOpen Project in Cirkit DesignerOpen Project in Cirkit DesignerOpen Project in Cirkit DesignerCommon Applications
- Power control in electronic devices
- DIY electronics projects
- Industrial control panels
- Home automation systems
- Automotive dashboards
Technical Specifications
Below are the key technical details for the Switch Push On Off 16mm:
| Parameter | Specification |
|---|---|
| Manufacturer | Glodok Supermarket |
| Mounting Hole Diameter | 16mm |
| Switch Type | Push-button, Latching (On/Off) |
| Rated Voltage | 12V DC / 250V AC |
| Rated Current | 3A |
| Contact Resistance | ≤ 50 mΩ |
| Insulation Resistance | ≥ 1000 MΩ |
| Mechanical Life | 50,000 cycles |
| Operating Temperature | -20°C to +55°C |
| Material | Metal housing, plastic actuator |
Pin Configuration and Descriptions
The Switch Push On Off 16mm typically has two or three terminals, depending on the specific model. Below is the pin configuration:
| Pin | Label | Description |
|---|---|---|
| 1 | COM | Common terminal for the switch |
| 2 | NO | Normally Open terminal (connects to COM when pressed) |
| 3 | NC | Normally Closed terminal (optional, disconnects when pressed) |
Note: Some models may only have two pins (COM and NO). Always refer to the datasheet for your specific model.
Usage Instructions
How to Use the Switch in a Circuit
- Mounting the Switch: Drill a 16mm hole in your panel or enclosure. Insert the switch and secure it using the provided nut.
- Wiring:
- Connect the COM terminal to the power source or signal input.
- Connect the NO terminal to the load or signal output.
- If the switch has an NC terminal, connect it to the circuit requiring a normally closed state.
- Testing: After wiring, press the button to toggle between the on and off states. Verify the circuit's functionality.
Important Considerations
- Ensure the switch's voltage and current ratings match your circuit requirements.
- Avoid exposing the switch to moisture or extreme temperatures beyond its operating range.
- Use appropriate wire gauges to handle the current without overheating.
- For AC applications, ensure proper insulation and safety precautions.
Example: Connecting to an Arduino UNO
The Switch Push On Off 16mm can be used with an Arduino UNO for simple input control. Below is an example circuit and code:
Circuit Setup
- Connect the COM terminal to the Arduino's GND pin.
- Connect the NO terminal to a digital input pin (e.g., D2) on the Arduino.
- Use a pull-up resistor (10kΩ) between the digital input pin and 5V to ensure a stable signal.
Arduino Code
// Define the pin connected to the switch
const int switchPin = 2;

// Variable to store the switch state
int switchState = 0;

void setup() {
  pinMode(switchPin, INPUT); // Set the switch pin as input
  Serial.begin(9600);        // Initialize serial communication
}

void loop() {
  // Read the state of the switch
  switchState = digitalRead(switchPin);

  // Print the switch state to the Serial Monitor
  if (switchState == HIGH) {
    Serial.println("Switch is ON");
  } else {
    Serial.println("Switch is OFF");
  }

  delay(500); // Delay for stability
}
Note: This code assumes the use of a pull-up resistor. If using the Arduino's internal pull-up, configure the pin as
INPUT_PULLUPin thepinMode()function.
Troubleshooting and FAQs
Common Issues
Switch Not Responding:
- Ensure proper wiring of the terminals (COM, NO, NC).
- Verify that the switch is securely mounted and not damaged.
- Check for loose connections or broken wires.
Switch Feels Stuck or Hard to Press:
- Inspect for physical obstructions or debris around the actuator.
- Avoid excessive force, which may damage the switch.
Intermittent Operation:
- Check for poor solder joints or loose connections.
- Ensure the circuit's voltage and current are within the switch's rated limits.
Arduino Not Detecting the Switch State:
- Verify the pull-up resistor is correctly connected or use the internal pull-up.
- Ensure the correct pin number is defined in the Arduino code.
FAQs
Q: Can this switch handle AC loads?
A: Yes, the switch is rated for up to 250V AC at 3A. Ensure proper insulation and safety precautions when using with AC.
Q: Is the switch waterproof?
A: No, this switch is not waterproof. Avoid using it in environments with high humidity or water exposure.
Q: Can I use this switch for momentary operation?
A: No, this is a latching switch designed to toggle between on and off states. For momentary operation, use a momentary push-button switch.
Q: How do I clean the switch?
A: Use a dry cloth or compressed air to remove dust. Avoid using liquids or solvents that may damage the switch.
By following this documentation, you can effectively integrate the Switch Push On Off 16mm into your projects and troubleshoot any issues that arise.