
How to Use Ultrasonic Distance Sensor: Examples, Pinouts, and Specs
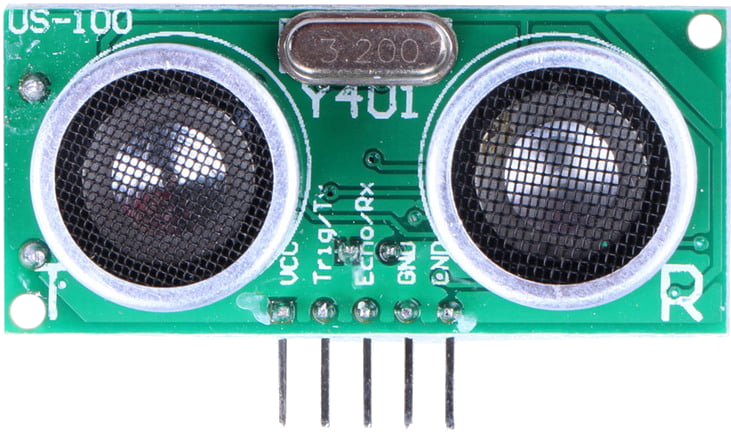
 Design with Ultrasonic Distance Sensor in Cirkit Designer
Introduction
The Adafruit US-100 Ultrasonic Distance Sensor is a versatile and reliable device designed to measure distances using ultrasonic waves. It emits a sound wave at a frequency beyond human hearing and calculates the distance to an object based on the time it takes for the echo to return. This sensor is widely used in robotics, automation, and IoT applications due to its accuracy, ease of use, and compatibility with microcontrollers like Arduino.
Explore Projects Built with Ultrasonic Distance Sensor
 Open Project in Cirkit Designer
 Open Project in Cirkit Designer
 Open Project in Cirkit Designer
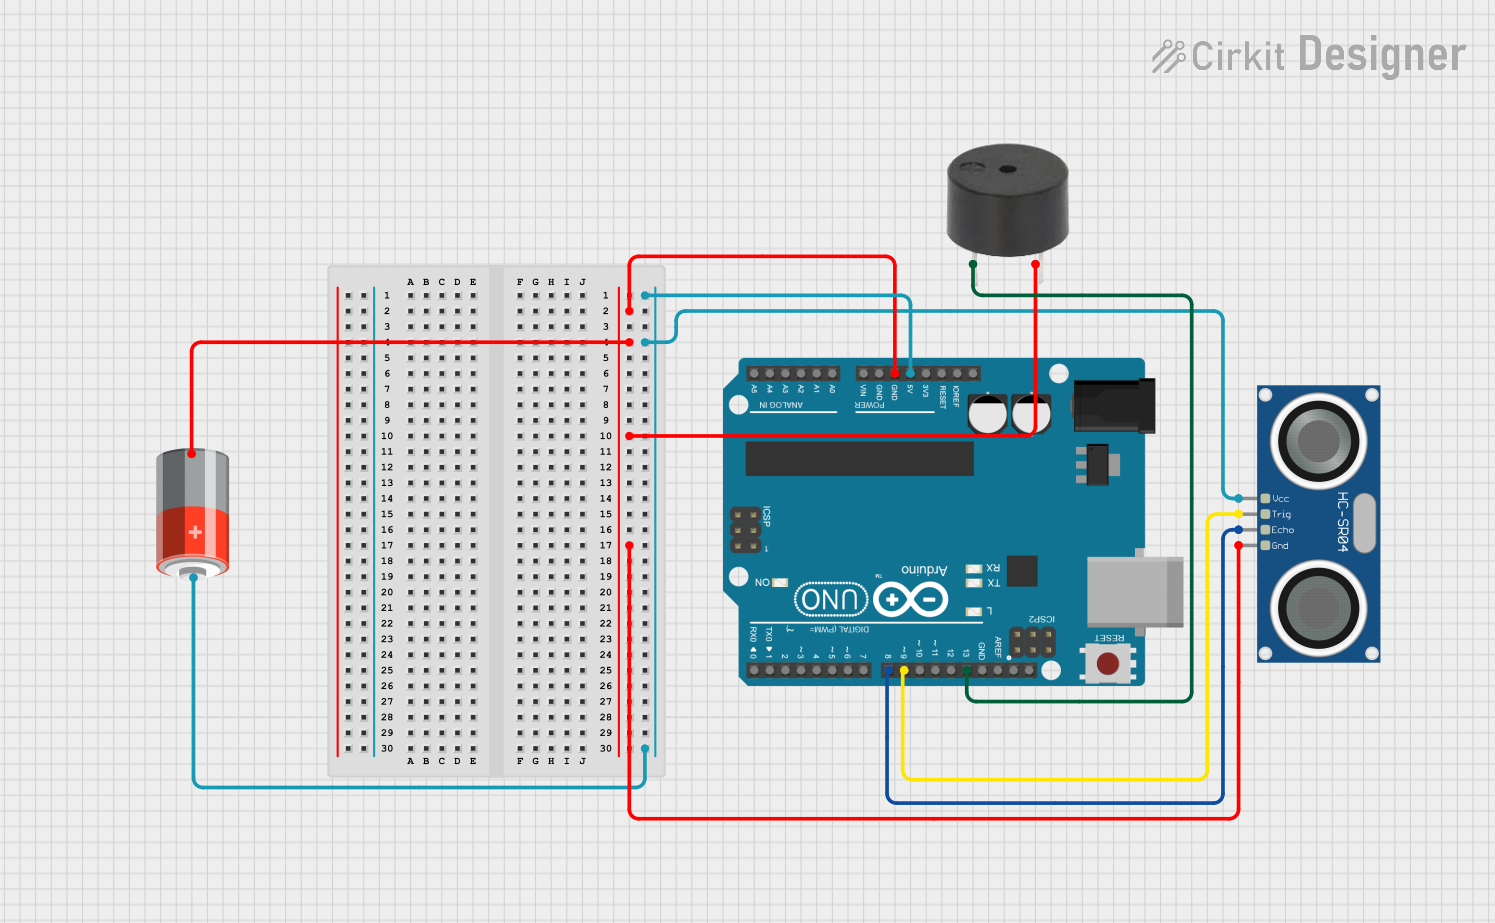
 Open Project in Cirkit Designer
Explore Projects Built with Ultrasonic Distance Sensor

 Open Project in Cirkit Designer
 Open Project in Cirkit Designer
 Open Project in Cirkit Designer
 Open Project in Cirkit Designer
Common Applications and Use Cases
- Obstacle detection in robotics
- Distance measurement in automation systems
- Liquid level sensing in tanks
- Proximity detection in security systems
- Smart parking systems
Technical Specifications
The following table outlines the key technical details of the Adafruit US-100 Ultrasonic Distance Sensor:
| Parameter | Specification |
|---|---|
| Operating Voltage | 2.4V to 5.5V |
| Operating Current | ~2mA |
| Measuring Range | 2cm to 450cm |
| Accuracy | ±0.3cm |
| Output Modes | Serial (UART) or PWM |
| Operating Temperature | -20°C to 70°C |
| Dimensions | 45mm x 20mm x 15mm |
Pin Configuration and Descriptions
The US-100 sensor has a 4-pin interface. The pinout is as follows:
| Pin | Name | Description |
|---|---|---|
| 1 | VCC | Power supply input (2.4V to 5.5V). Connect to the 5V pin of your microcontroller. |
| 2 | Trig/TX | Trigger pin for PWM mode or TX pin for UART mode. |
| 3 | Echo/RX | Echo pin for PWM mode or RX pin for UART mode. |
| 4 | GND | Ground. Connect to the GND pin of your microcontroller. |
Usage Instructions
Using the US-100 in a Circuit
- Power the Sensor: Connect the VCC pin to a 5V power source and the GND pin to ground.
- Select Output Mode:
- For PWM mode, use the Trig and Echo pins to send and receive ultrasonic signals.
- For UART mode, connect the TX and RX pins to the corresponding UART pins on your microcontroller.
- Connect to a Microcontroller: For example, when using an Arduino UNO:
- Connect the Trig pin to a digital output pin (e.g., D9).
- Connect the Echo pin to a digital input pin (e.g., D10).
Important Considerations and Best Practices
- Ensure the sensor is mounted securely and is not obstructed by nearby objects.
- Avoid placing the sensor in environments with excessive noise or vibrations, as this may affect accuracy.
- Use a resistor divider or level shifter if interfacing with a 3.3V microcontroller to avoid damaging the sensor.
Example Code for Arduino UNO (PWM Mode)
// Example code for using the Adafruit US-100 Ultrasonic Distance Sensor in PWM mode
// with an Arduino UNO. This code measures the distance to an object and prints it
// to the Serial Monitor.

#define TRIG_PIN 9  // Define the pin connected to the Trig pin of the sensor
#define ECHO_PIN 10 // Define the pin connected to the Echo pin of the sensor

void setup() {
  pinMode(TRIG_PIN, OUTPUT); // Set the Trig pin as an output
  pinMode(ECHO_PIN, INPUT);  // Set the Echo pin as an input
  Serial.begin(9600);        // Initialize serial communication at 9600 baud
}

void loop() {
  // Send a 10-microsecond pulse to the Trig pin to trigger the sensor
  digitalWrite(TRIG_PIN, LOW);
  delayMicroseconds(2);
  digitalWrite(TRIG_PIN, HIGH);
  delayMicroseconds(10);
  digitalWrite(TRIG_PIN, LOW);

  // Measure the duration of the pulse on the Echo pin
  long duration = pulseIn(ECHO_PIN, HIGH);

  // Calculate the distance in centimeters
  float distance = (duration / 2.0) * 0.0343;

  // Print the distance to the Serial Monitor
  Serial.print("Distance: ");
  Serial.print(distance);
  Serial.println(" cm");

  delay(500); // Wait for 500ms before taking the next measurement
}
Troubleshooting and FAQs
Common Issues and Solutions
No Output or Incorrect Readings:
- Ensure the sensor is powered correctly (2.4V to 5.5V).
- Verify the connections to the microcontroller are secure and match the pin configuration.
- Check for obstacles or interference in the sensor's field of view.
Inconsistent Measurements:
- Ensure the sensor is mounted on a stable surface to minimize vibrations.
- Avoid using the sensor in environments with high humidity or extreme temperatures.
Sensor Not Responding in UART Mode:
- Verify the baud rate is set to 9600 in your microcontroller's code.
- Ensure the TX and RX pins are connected correctly.
FAQs
Q: Can the US-100 measure distances below 2cm?
A: No, the minimum measurable distance is 2cm. Objects closer than this may not be detected accurately.
Q: How do I switch between PWM and UART modes?
A: The US-100 defaults to PWM mode. To use UART mode, send a specific command via the TX pin. Refer to the manufacturer's datasheet for details.
Q: Can I use the US-100 with a 3.3V microcontroller?
A: Yes, but you should use a level shifter or resistor divider to ensure the sensor's 5V signals are compatible with the 3.3V logic levels of your microcontroller.