
How to Use WeMos D1 Mini OLED Shield: Examples, Pinouts, and Specs
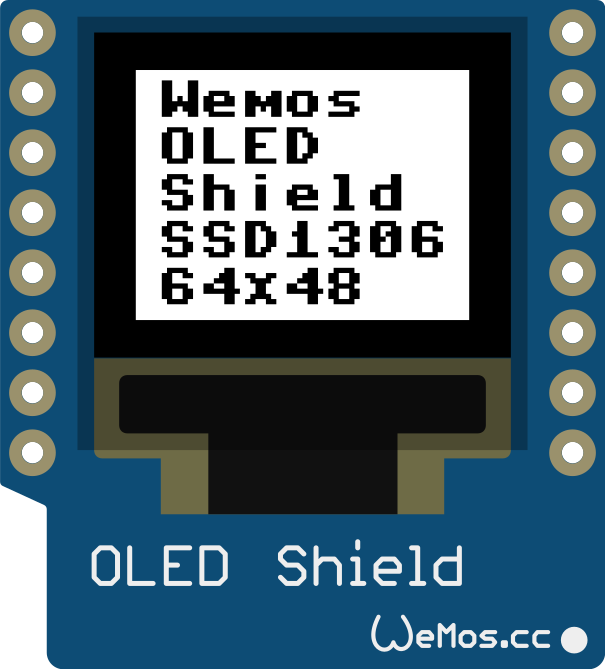
 Design with WeMos D1 Mini OLED Shield in Cirkit Designer
Introduction
The WeMos D1 Mini OLED Shield is a compact display module designed specifically for the WeMos D1 Mini development board. It features a 0.66-inch OLED screen with a resolution of 64x48 pixels, making it ideal for displaying text, graphics, and sensor data in IoT projects and prototyping. The shield uses the I2C communication protocol, ensuring easy integration with the D1 Mini and other microcontrollers.
Explore Projects Built with WeMos D1 Mini OLED Shield
 Open Project in Cirkit Designer
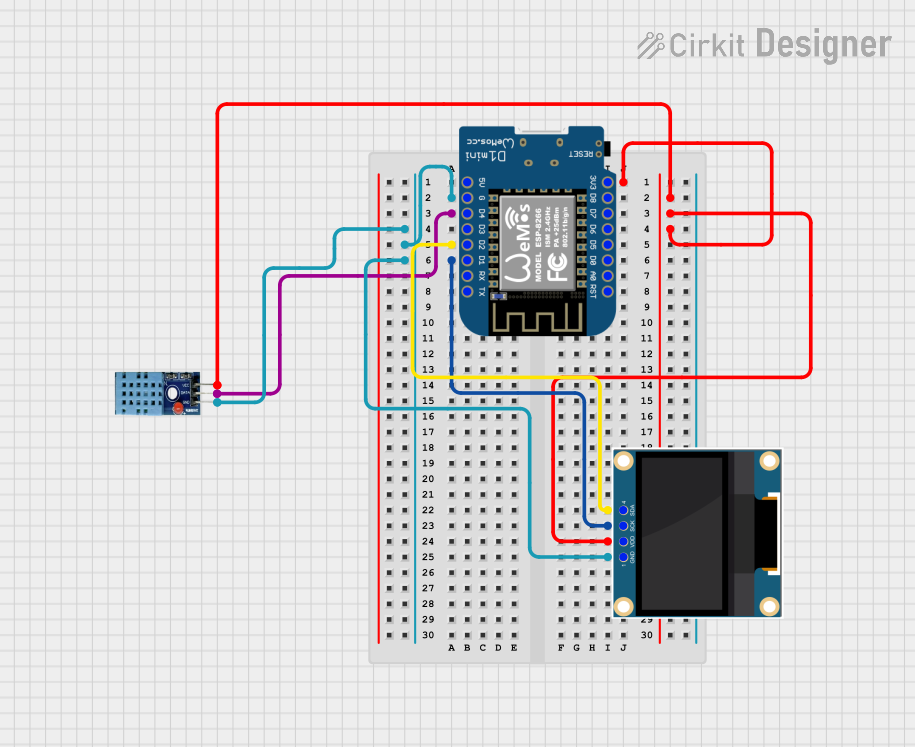 Open Project in Cirkit Designer
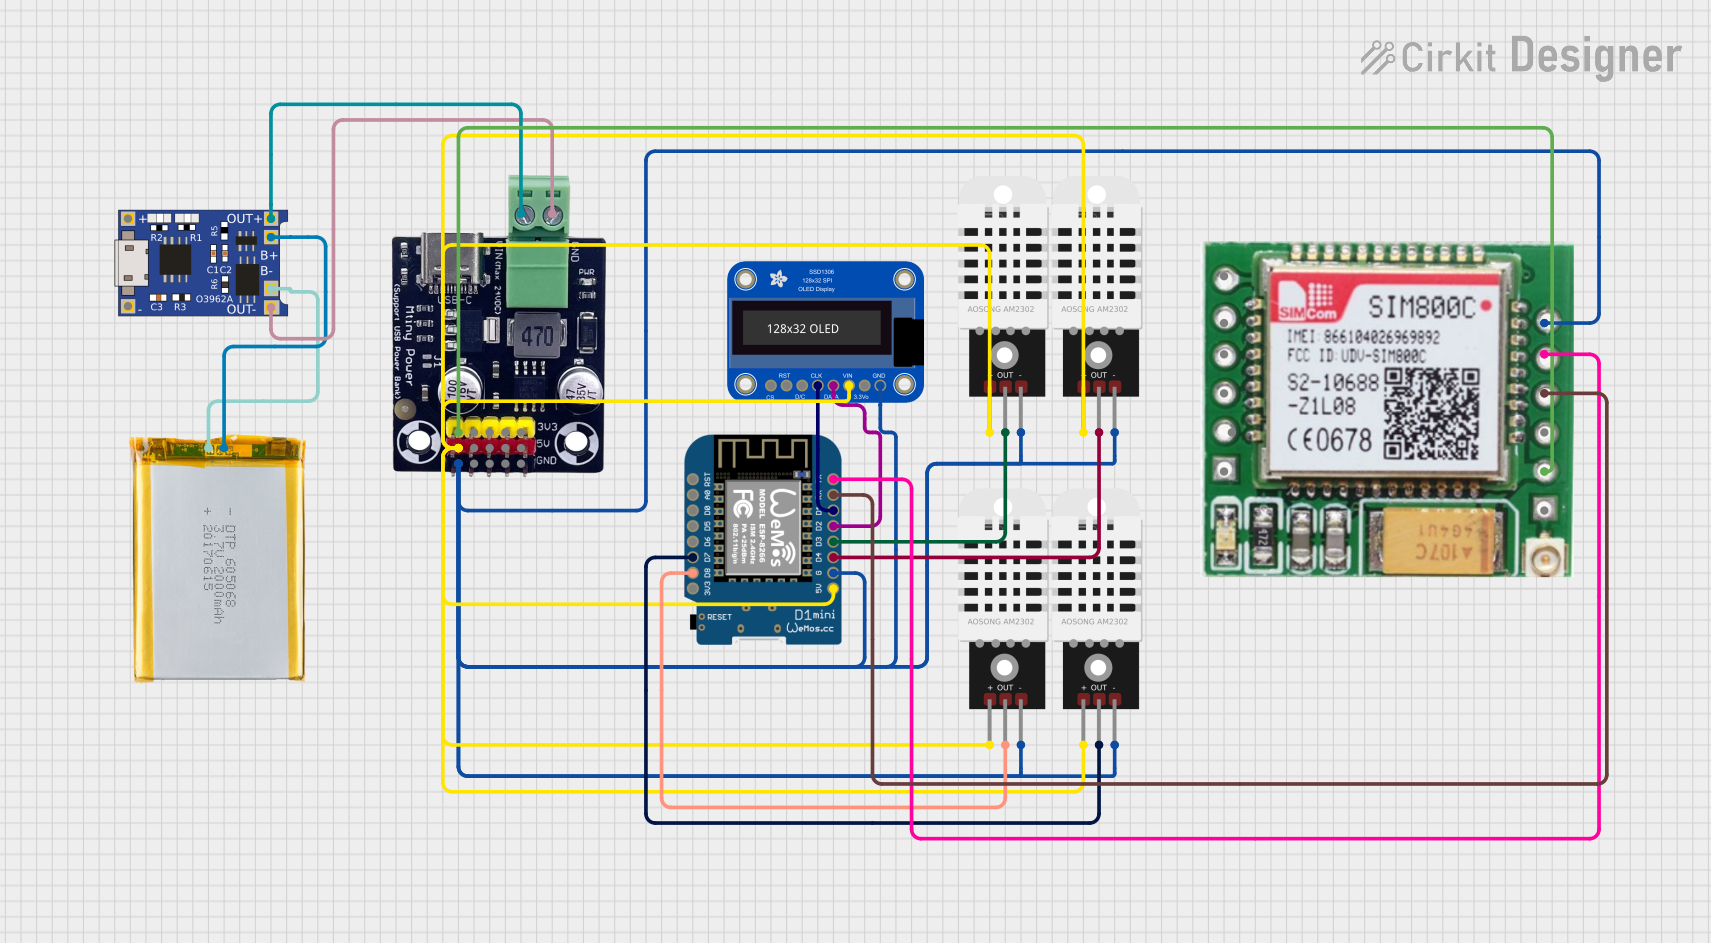 Open Project in Cirkit Designer
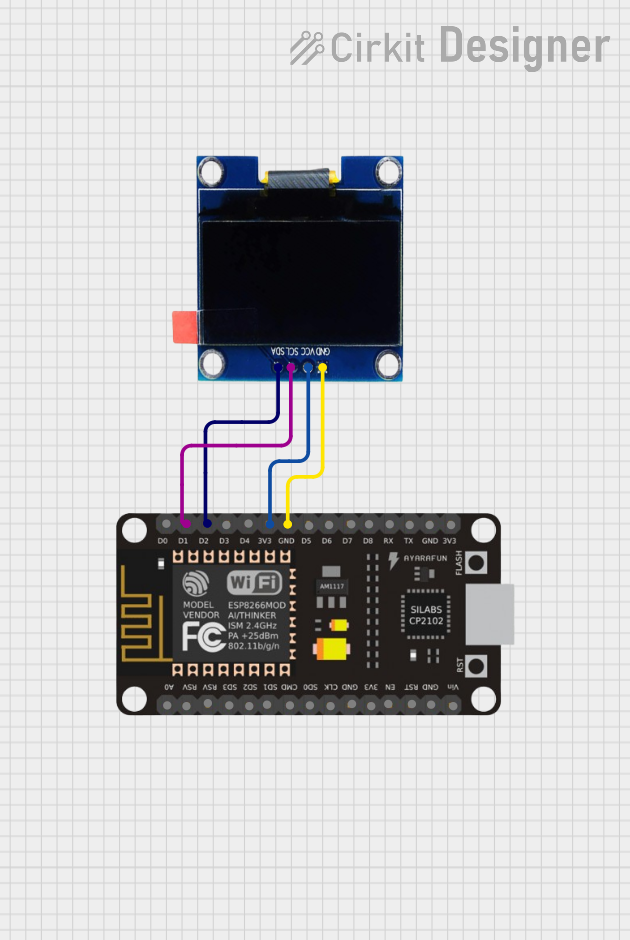 Open Project in Cirkit Designer
Explore Projects Built with WeMos D1 Mini OLED Shield
Open Project in Cirkit DesignerOpen Project in Cirkit DesignerOpen Project in Cirkit DesignerOpen Project in Cirkit DesignerCommon Applications and Use Cases
- Displaying sensor readings in IoT projects
- Visual feedback for user interfaces
- Debugging and monitoring system status
- Compact prototyping for wearable devices
- Educational projects and demonstrations
Technical Specifications
Key Technical Details
| Parameter | Specification |
|---|---|
| Display Type | OLED |
| Screen Size | 0.66 inches |
| Resolution | 64x48 pixels |
| Communication Protocol | I2C |
| I2C Address | 0x3C (default) |
| Operating Voltage | 3.3V |
| Current Consumption | ~10mA |
| Dimensions | 34.2mm x 25.6mm x 3.2mm |
Pin Configuration and Descriptions
The WeMos D1 Mini OLED Shield connects directly to the D1 Mini via its pin headers. Below is the pin mapping for the shield:
| Pin on Shield | Function | Description |
|---|---|---|
| D1 (GPIO5) | SCL (Clock) | I2C clock line for communication |
| D2 (GPIO4) | SDA (Data) | I2C data line for communication |
| 3V3 | Power | Provides 3.3V power to the OLED display |
| GND | Ground | Common ground connection |
Usage Instructions
How to Use the Component in a Circuit
- Attach the Shield: Plug the OLED shield directly onto the WeMos D1 Mini headers.
- Install Required Libraries: Use the Arduino IDE to install the
Adafruit_GFXandAdafruit_SSD1306libraries, which are compatible with the OLED shield.- Go to Sketch > Include Library > Manage Libraries.
- Search for
Adafruit GFXandAdafruit SSD1306, then click Install.
- Connect the Shield: Ensure the shield is securely connected to the D1 Mini. The I2C pins (D1 and D2) will automatically align with the D1 Mini's GPIO pins.
Example Code for Arduino UNO
Below is an example code snippet to display "Hello, World!" on the OLED shield:
#include <Wire.h>
#include <Adafruit_GFX.h>
#include <Adafruit_SSD1306.h>

// Define the screen dimensions
#define SCREEN_WIDTH 64
#define SCREEN_HEIGHT 48

// Create an SSD1306 object with I2C address 0x3C
Adafruit_SSD1306 display(SCREEN_WIDTH, SCREEN_HEIGHT, &Wire, -1);

void setup() {
  // Initialize the display
  if (!display.begin(SSD1306_I2C_ADDRESS, 0x3C)) {
    // If initialization fails, halt the program
    Serial.println(F("SSD1306 allocation failed"));
    for (;;);
  }

  // Clear the display buffer
  display.clearDisplay();

  // Set text size and color
  display.setTextSize(1); // Smallest text size
  display.setTextColor(SSD1306_WHITE);

  // Display "Hello, World!" on the screen
  display.setCursor(0, 0); // Start at top-left corner
  display.println(F("Hello, World!"));

  // Update the display with the buffer content
  display.display();
}

void loop() {
  // No actions needed in the loop for this example
}
Important Considerations and Best Practices
- Power Supply: Ensure the D1 Mini is powered via USB or an appropriate external power source.
- I2C Address Conflicts: If other I2C devices are connected, ensure they do not share the same address (0x3C). Modify the address in the code if necessary.
- Library Compatibility: Always use the latest versions of the
Adafruit_GFXandAdafruit_SSD1306libraries for optimal performance. - Avoid Overloading: Do not exceed the current and voltage ratings of the shield to prevent damage.
Troubleshooting and FAQs
Common Issues and Solutions
Display Not Turning On:
- Verify that the shield is securely connected to the D1 Mini.
- Check the power supply to ensure the D1 Mini is receiving sufficient voltage.
- Confirm that the I2C address in the code matches the shield's default address (0x3C).
Text or Graphics Not Displaying:
- Ensure the
Adafruit_GFXandAdafruit_SSD1306libraries are correctly installed. - Verify that the screen dimensions (64x48) are correctly defined in the code.
- Ensure the
Flickering or Unstable Display:
- Check for loose connections between the shield and the D1 Mini.
- Ensure no other devices are interfering with the I2C communication.
I2C Address Conflict:
- If multiple I2C devices are connected, use an I2C scanner sketch to identify address conflicts and adjust the code accordingly.
FAQs
Q: Can I use this shield with other microcontrollers?
A: Yes, the shield can be used with other microcontrollers that support I2C communication, but you may need to use jumper wires instead of directly mounting it.
Q: What is the maximum refresh rate of the display?
A: The refresh rate depends on the complexity of the graphics being displayed and the speed of the I2C communication. For simple text, the refresh rate is typically sufficient for most applications.
Q: Can I change the I2C address of the shield?
A: No, the I2C address (0x3C) is fixed for this shield and cannot be changed.
Q: Is the shield compatible with 5V logic?
A: No, the shield operates at 3.3V and is not compatible with 5V logic levels. Ensure your microcontroller supports 3.3V logic.
By following this documentation, you can effectively integrate the WeMos D1 Mini OLED Shield into your projects and troubleshoot common issues with ease.