
How to Use pH 4502c: Examples, Pinouts, and Specs
 Design with pH 4502c in Cirkit Designer
Introduction
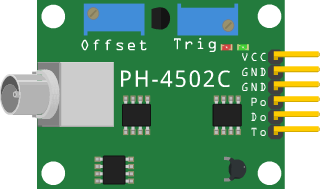
The pH 4502c, manufactured by DIY MORE (Part ID: PH BOARD), is a pH sensor module designed for measuring the acidity or alkalinity of a solution. It provides accurate and reliable pH readings, making it ideal for a wide range of applications. This module is commonly used in laboratory experiments, aquariums, hydroponics, water quality monitoring, and industrial chemical processes.
The pH 4502c module is easy to integrate into microcontroller-based systems, such as Arduino, and features an onboard potentiometer for calibration. Its compact design and high sensitivity make it a popular choice for both hobbyists and professionals.
Explore Projects Built with pH 4502c
 Open Project in Cirkit Designer
 Open Project in Cirkit Designer
 Open Project in Cirkit Designer
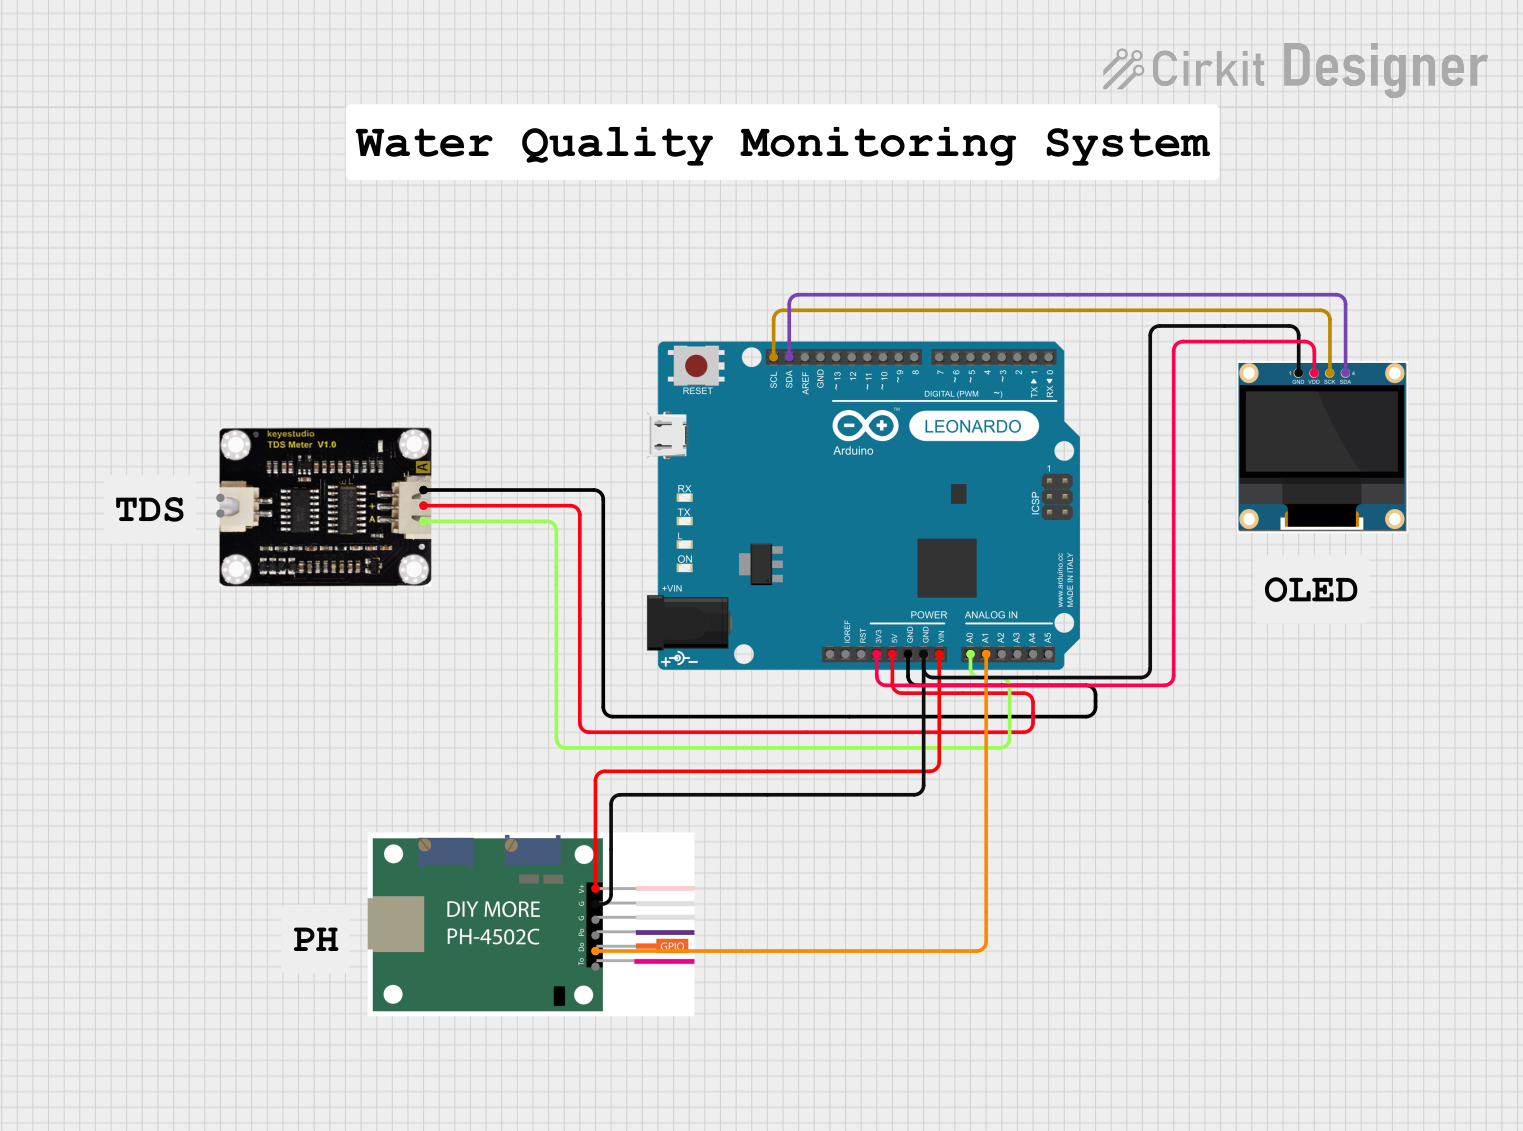
 Open Project in Cirkit Designer
Explore Projects Built with pH 4502c

 Open Project in Cirkit Designer
 Open Project in Cirkit Designer
 Open Project in Cirkit Designer
 Open Project in Cirkit Designer
Technical Specifications
Below are the key technical details of the pH 4502c module:
- Input Voltage: 5V DC
- Output Voltage: 0V to 3V (analog signal)
- Measurement Range: 0 to 14 pH
- Accuracy: ±0.1 pH (at 25°C)
- Temperature Range: 0°C to 60°C
- Connector Type: BNC for pH probe
- Calibration: Onboard potentiometer for offset adjustment
- Dimensions: 42mm x 32mm x 20mm (approx.)
Pin Configuration and Descriptions
The pH 4502c module has a 4-pin interface for connecting to a microcontroller or other devices. The pin configuration is as follows:
| Pin | Name | Description |
|---|---|---|
| 1 | VCC | Power supply input (5V DC). |
| 2 | GND | Ground connection. |
| 3 | DO | Digital output (high/low signal, typically unused for pH measurement). |
| 4 | AO | Analog output (provides a voltage proportional to the pH value). |
Usage Instructions
Connecting the pH 4502c to a Circuit
- Power Supply: Connect the
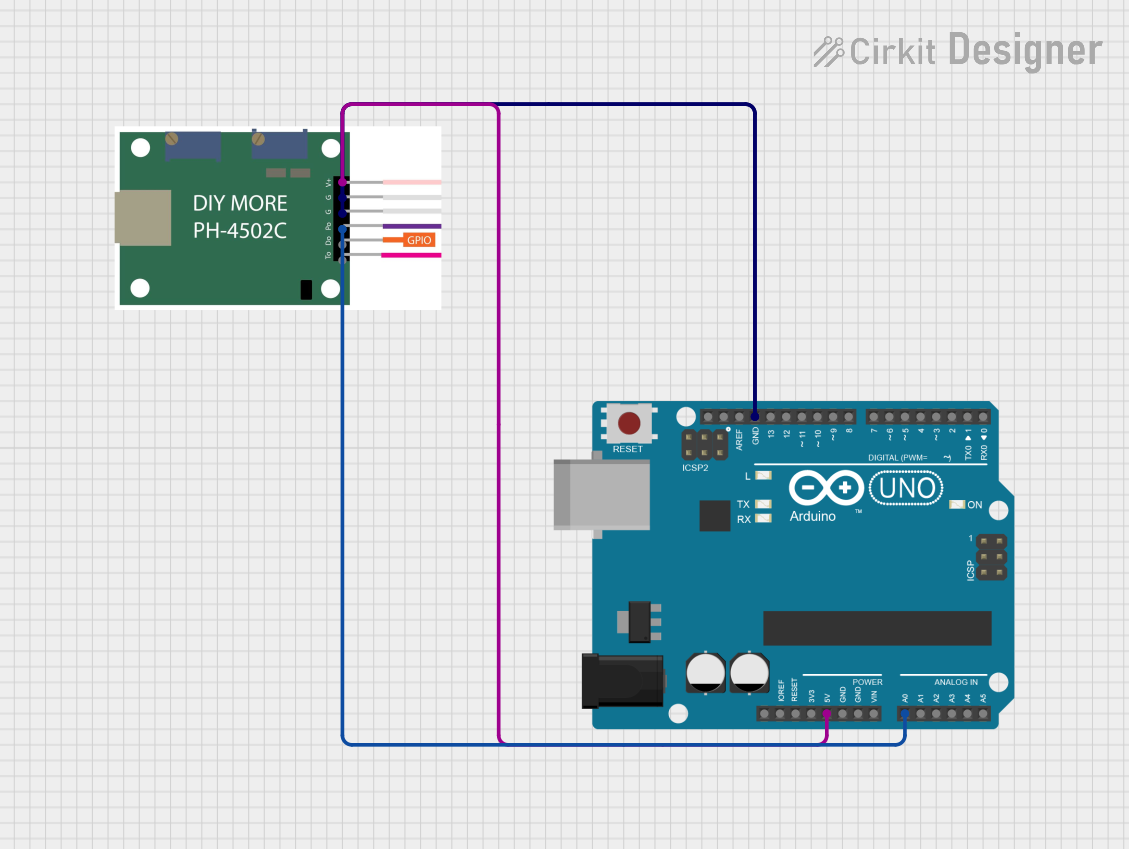
VCCpin to a 5V power source and theGNDpin to ground. - Analog Output: Connect the
AOpin to an analog input pin on your microcontroller (e.g., Arduino). - Digital Output (Optional): The
DOpin can be connected to a digital input pin, but it is typically not used for pH measurement. - pH Probe: Attach the BNC connector of the pH probe to the module.
Calibration
- Submerge the pH probe in a standard buffer solution (e.g., pH 7.0).
- Adjust the onboard potentiometer until the analog output corresponds to the expected voltage for the buffer solution.
- Repeat the process with a second buffer solution (e.g., pH 4.0 or pH 10.0) for more accurate calibration.
Arduino Example Code
Below is an example of how to use the pH 4502c module with an Arduino UNO:
// pH 4502c Example Code for Arduino UNO
// This code reads the analog output from the pH sensor and converts it to a pH value.

const int pH_pin = A0; // Analog pin connected to the AO pin of the pH 4502c module
float voltage;         // Variable to store the sensor's output voltage
float pH_value;        // Variable to store the calculated pH value

void setup() {
  Serial.begin(9600); // Initialize serial communication at 9600 baud
  pinMode(pH_pin, INPUT); // Set the pH pin as an input
}

void loop() {
  // Read the analog value from the pH sensor
  int sensorValue = analogRead(pH_pin);

  // Convert the analog value to voltage (assuming 5V reference voltage)
  voltage = sensorValue * (5.0 / 1023.0);

  // Convert the voltage to a pH value
  // The formula below assumes a linear relationship between voltage and pH
  // Adjust the coefficients based on your calibration results
  pH_value = 3.5 * voltage + 0.0; // Example formula, adjust as needed

  // Print the pH value to the Serial Monitor
  Serial.print("pH Value: ");
  Serial.println(pH_value);

  delay(1000); // Wait for 1 second before the next reading
}
Important Considerations
- Calibration: Always calibrate the sensor before use to ensure accurate readings.
- Temperature Compensation: The pH 4502c does not include automatic temperature compensation. For precise measurements, use a temperature sensor to adjust the pH value based on the solution's temperature.
- Probe Maintenance: Clean the pH probe regularly and store it in a pH storage solution to maintain accuracy and extend its lifespan.
- Avoid Drying: Never let the pH probe dry out, as this can damage the sensitive glass membrane.
Troubleshooting and FAQs
Common Issues
Inaccurate Readings:
- Ensure the sensor is properly calibrated using standard buffer solutions.
- Check for contamination or damage to the pH probe.
No Output Signal:
- Verify the connections to the module and ensure the power supply is 5V DC.
- Check the BNC connector to ensure the probe is securely attached.
Fluctuating Readings:
- Ensure the probe is fully submerged in the solution.
- Avoid air bubbles around the probe tip, as they can affect measurements.
FAQs
Q: Can I use the pH 4502c with a 3.3V microcontroller?
A: The module requires a 5V power supply, but the analog output can be read by a 3.3V microcontroller. Use a level shifter if needed.
Q: How often should I calibrate the sensor?
A: For best results, calibrate the sensor before each use or at least once a week during regular operation.
Q: Can the pH 4502c measure highly acidic or basic solutions?
A: Yes, the module can measure pH values from 0 to 14. However, prolonged exposure to extreme pH levels may reduce the probe's lifespan.
Q: What is the lifespan of the pH probe?
A: The lifespan of the probe depends on usage and maintenance. With proper care, it can last 1 to 2 years.