
How to Use Snootlab DeuLigne 1.1 16x2 I2C LCD Shield: Examples, Pinouts, and Specs
 Design with Snootlab DeuLigne 1.1 16x2 I2C LCD Shield in Cirkit Designer
Introduction
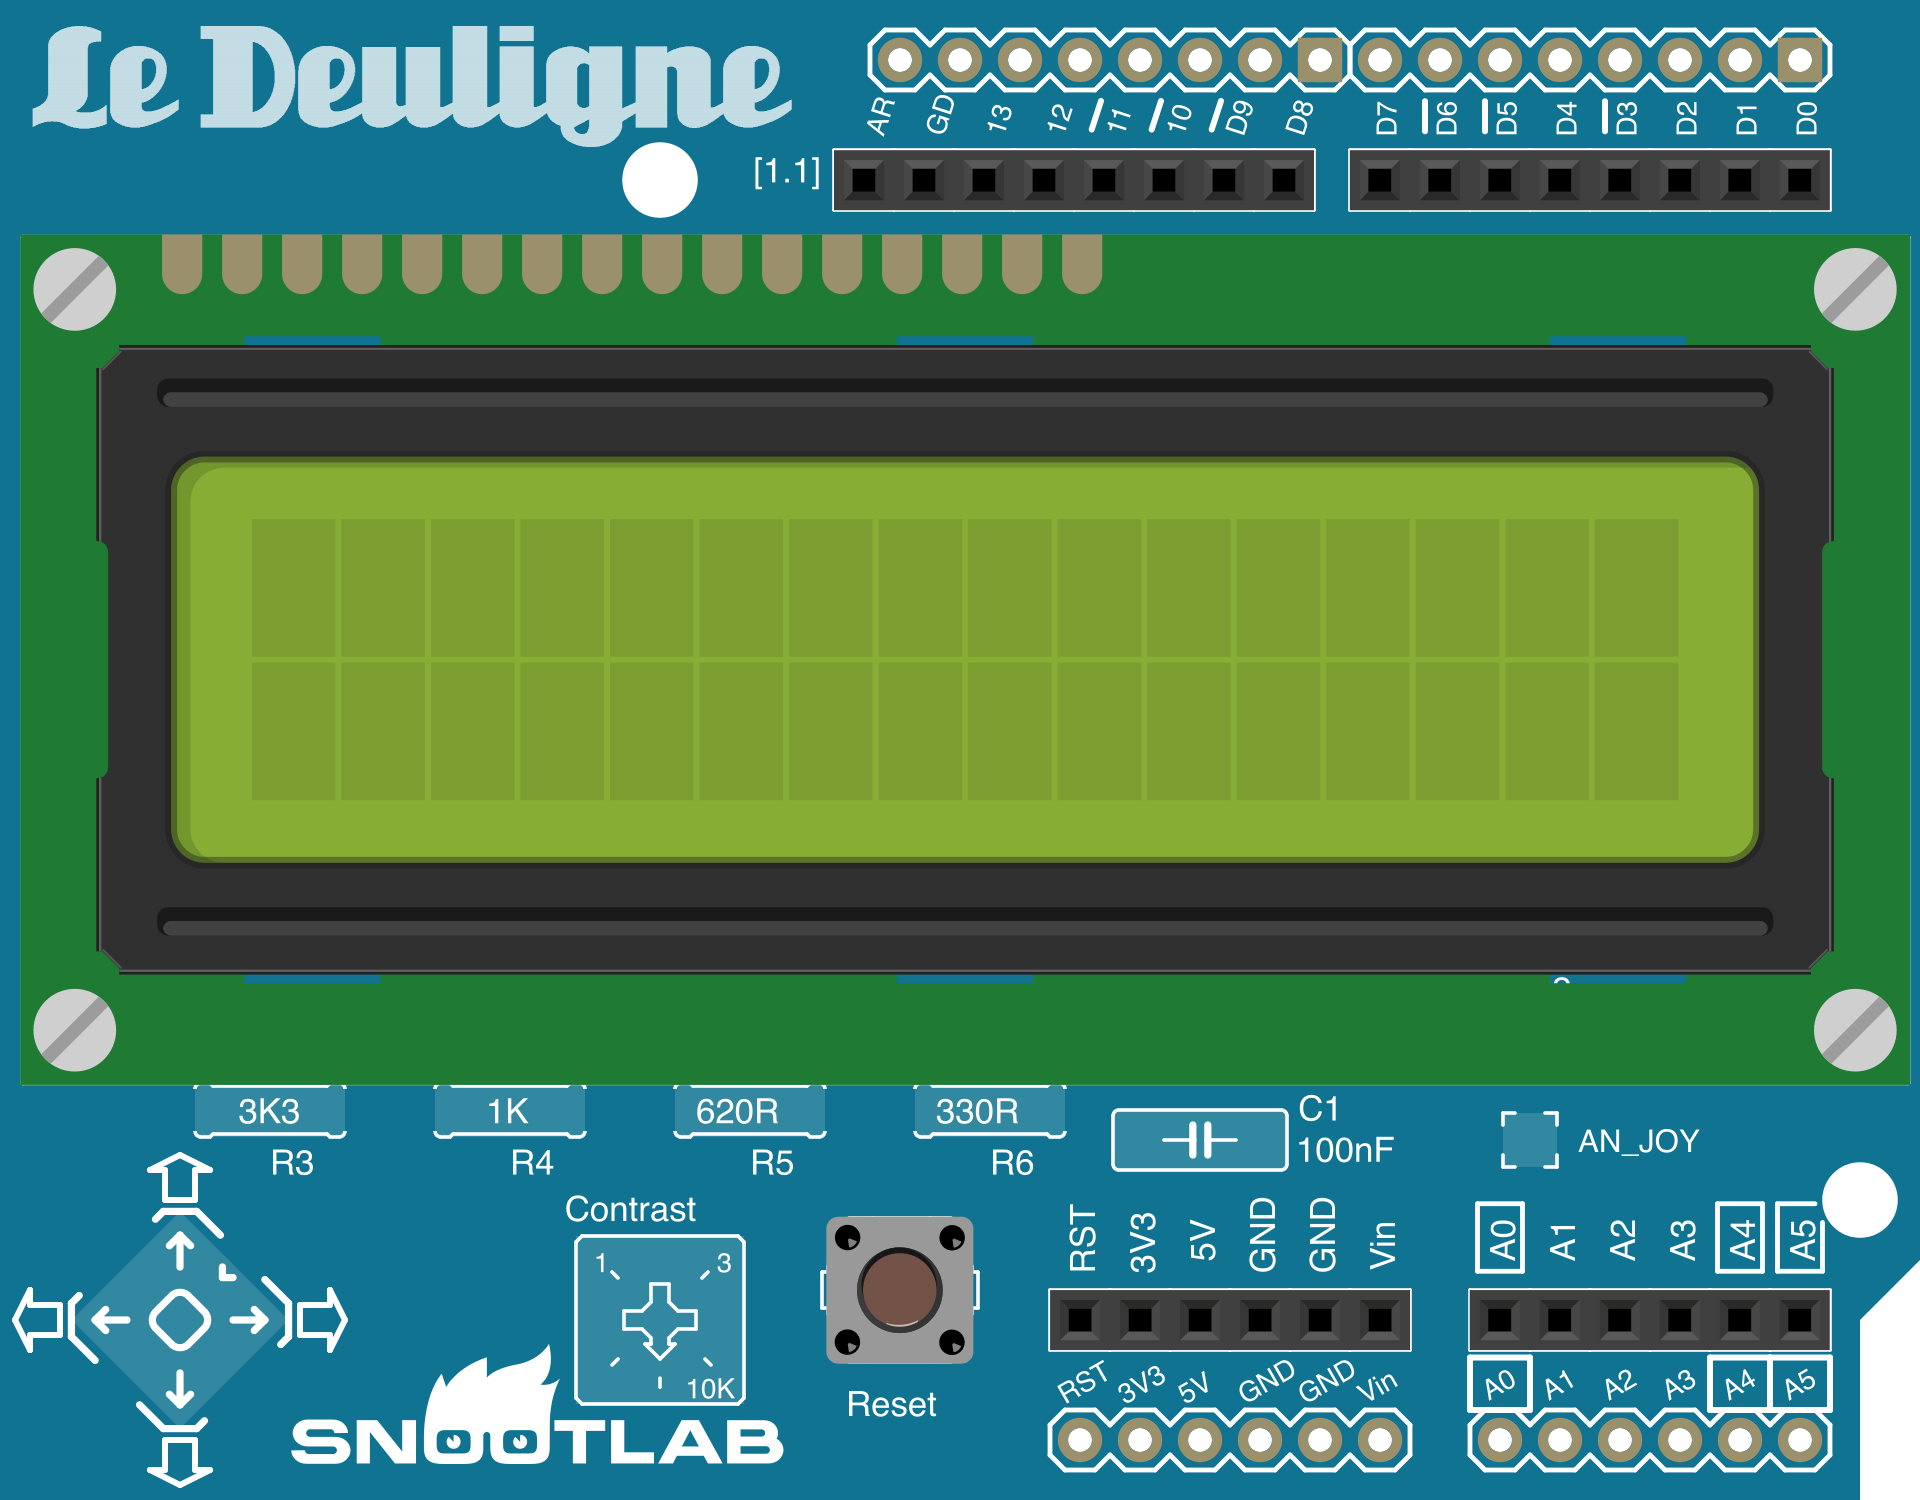
The Snootlab DeuLigne 1.1 is a compact LCD shield featuring a 16x2 character display with an I2C interface. Designed for simplicity and efficiency, this shield allows users to easily integrate a display into their projects without the need for complex wiring. The I2C interface reduces the number of pins required for communication, making it ideal for microcontroller-based applications.
Explore Projects Built with Snootlab DeuLigne 1.1 16x2 I2C LCD Shield
 Open Project in Cirkit Designer
 Open Project in Cirkit Designer
 Open Project in Cirkit Designer
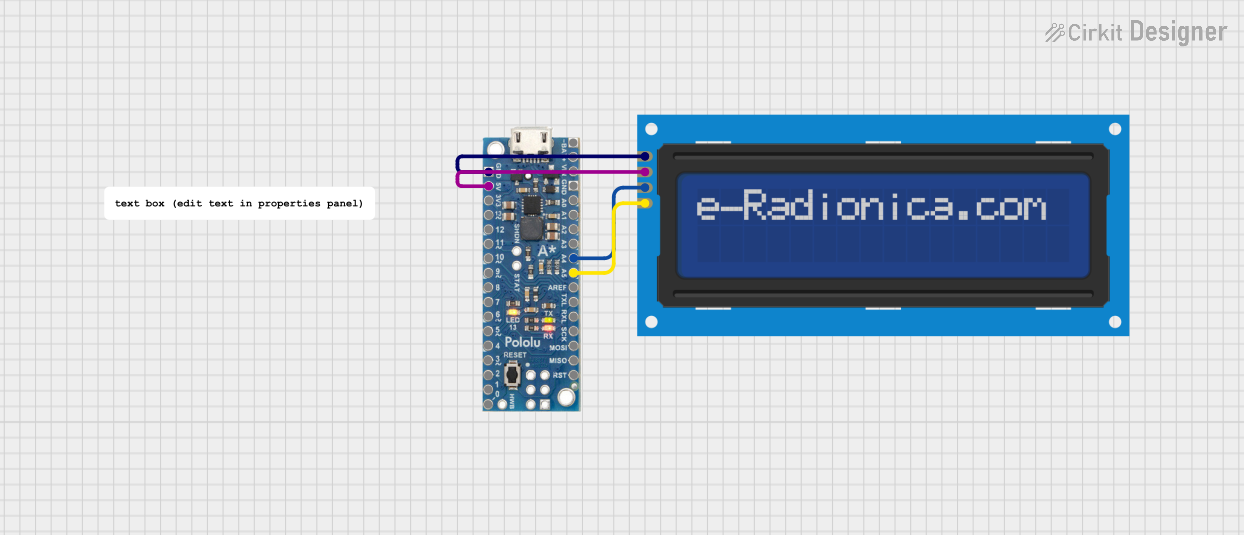 Open Project in Cirkit Designer
Explore Projects Built with Snootlab DeuLigne 1.1 16x2 I2C LCD Shield
Open Project in Cirkit DesignerOpen Project in Cirkit DesignerOpen Project in Cirkit DesignerOpen Project in Cirkit DesignerCommon Applications and Use Cases
- Displaying sensor data in real-time
- User interfaces for embedded systems
- Debugging and monitoring microcontroller outputs
- Educational projects and prototyping
- Compact devices requiring minimal wiring for displays
Technical Specifications
The following table outlines the key technical details of the Snootlab DeuLigne 1.1:
| Specification | Details |
|---|---|
| Manufacturer | Snootlab |
| Part ID | DeuLigne 1.1 |
| Display Type | 16x2 character LCD |
| Interface | I2C |
| Operating Voltage | 5V |
| Backlight | Yes (controllable via software) |
| Contrast Adjustment | Potentiometer on the shield |
| I2C Address | Default: 0x27 (modifiable) |
| Dimensions | 80mm x 36mm x 18mm |
| Compatibility | Arduino UNO, Mega, and other I2C-enabled microcontrollers |
Pin Configuration and Descriptions
The Snootlab DeuLigne 1.1 shield uses the I2C interface, which requires only two pins for communication. These pins are connected to the corresponding I2C pins on the microcontroller.
| Pin | Description |
|---|---|
| SDA | Serial Data Line (I2C data pin) |
| SCL | Serial Clock Line (I2C clock pin) |
| GND | Ground |
| VCC | Power supply (5V) |
Usage Instructions
Connecting the Shield
- Attach the Shield: Place the Snootlab DeuLigne 1.1 shield directly onto the Arduino UNO or compatible microcontroller. Ensure the pins are aligned correctly.
- Power the Shield: The shield is powered through the Arduino's 5V and GND pins.
- I2C Address: By default, the I2C address is set to
0x27. If multiple I2C devices are used, ensure there are no address conflicts.
Programming the Shield
To use the Snootlab DeuLigne 1.1 with an Arduino, you will need the LiquidCrystal_I2C library. Follow these steps:
Install the library:
- Open the Arduino IDE.
- Go to Sketch > Include Library > Manage Libraries.
- Search for
LiquidCrystal_I2Cand install the library.
Use the following example code to display text on the LCD:
#include <Wire.h>
#include <LiquidCrystal_I2C.h>

// Initialize the LCD with I2C address 0x27 and 16x2 dimensions
LiquidCrystal_I2C lcd(0x27, 16, 2);

void setup() {
  lcd.begin(); // Initialize the LCD
  lcd.backlight(); // Turn on the backlight

  // Display a message on the LCD
  lcd.setCursor(0, 0); // Set cursor to the first row, first column
  lcd.print("Hello, World!"); // Print text
  lcd.setCursor(0, 1); // Set cursor to the second row, first column
  lcd.print("DeuLigne 1.1"); // Print text
}

void loop() {
  // No actions in the loop for this example
}
Important Considerations and Best Practices
- Contrast Adjustment: Use the potentiometer on the shield to adjust the display contrast for optimal visibility.
- Backlight Control: The backlight can be turned on or off programmatically using the
lcd.backlight()andlcd.noBacklight()functions. - I2C Address Conflicts: If using multiple I2C devices, ensure each device has a unique address. The address on the DeuLigne 1.1 can be modified by adjusting the solder jumpers on the shield.
Troubleshooting and FAQs
Common Issues and Solutions
The LCD does not display any text:
- Ensure the shield is properly seated on the Arduino.
- Verify that the I2C address in the code matches the shield's address (default:
0x27). - Adjust the contrast using the potentiometer.
The backlight does not turn on:
- Check the power connections to the shield.
- Ensure the
lcd.backlight()function is called in the code.
Text appears garbled or incomplete:
- Verify the I2C connections (SDA and SCL).
- Ensure the correct library (
LiquidCrystal_I2C) is installed and used.
Multiple I2C devices are not working:
- Check for address conflicts. Modify the shield's I2C address if necessary.
FAQs
Q: Can I use this shield with a 3.3V microcontroller?
A: The Snootlab DeuLigne 1.1 is designed for 5V operation. Using it with a 3.3V microcontroller may require a level shifter for proper communication.
Q: How do I change the I2C address?
A: The I2C address can be changed by modifying the solder jumpers on the shield. Refer to the shield's datasheet for detailed instructions.
Q: Is the shield compatible with other Arduino boards?
A: Yes, the shield is compatible with Arduino Mega, Leonardo, and other boards with an I2C interface.
Q: Can I display custom characters on the LCD?
A: Yes, the LiquidCrystal_I2C library supports custom characters. Refer to the library documentation for details on creating and displaying custom characters.