How to Use 7-Segment Display (4 Digit) YOUNGSUN: Examples, Pinouts, and Specs

Introduction
The YOUNGSUN 4-digit 7-segment display is an electronic component that is widely used to display numeric information. It consists of four individual 7-segment LEDs, which are packaged together to allow for the display of four digits, making it ideal for applications such as digital clocks, timers, counters, and other numerical output displays.
Explore Projects Built with 7-Segment Display (4 Digit) YOUNGSUN


Explore Projects Built with 7-Segment Display (4 Digit) YOUNGSUN
Common Applications and Use Cases
- Digital clocks and timers
- Electronic counters
- Temperature displays
- Calculators
- Scoreboards
Technical Specifications
Key Technical Details
- Operating Voltage: Typically 3.3V to 5V
- Forward Current: 10-20 mA per segment
- Peak Forward Current: 100 mA
- Reverse Voltage: 5V maximum
- Luminous Intensity: 80-100 mcd per segment
- Wavelength: 655-660 nm (for red color)
Pin Configuration and Descriptions
| Pin Number | Function | Description |
|---|---|---|
| 1 | Digit 1 Anode | Controls the first digit (leftmost) |
| 2 | Segment E | Controls the E segment of all four digits |
| 3 | Segment D | Controls the D segment of all four digits |
| 4 | Digit 4 Anode | Controls the fourth digit (rightmost) |
| 5 | Segment C | Controls the C segment of all four digits |
| 6 | Decimal Point | Controls the decimal points of all four digits |
| 7 | Segment G | Controls the G segment of all four digits |
| 8 | Ground/Common Cathode | Common ground for all segments |
| 9 | Segment F | Controls the F segment of all four digits |
| 10 | Segment A | Controls the A segment of all four digits |
| 11 | Segment B | Controls the B segment of all four digits |
| 12 | Digit 2 Anode | Controls the second digit |
| 13 | Digit 3 Anode | Controls the third digit |
| 14 | Segment DP | Controls the decimal point of all four digits |
Usage Instructions
How to Use the Component in a Circuit
Power Supply: Connect the common cathode pin (pin 8) to the ground of your power supply, and ensure that the operating voltage is within the specified range for your display.
Current Limiting Resistors: Place a current limiting resistor in series with each anode pin to prevent damage to the LEDs. The value of the resistor can be calculated using Ohm's law:
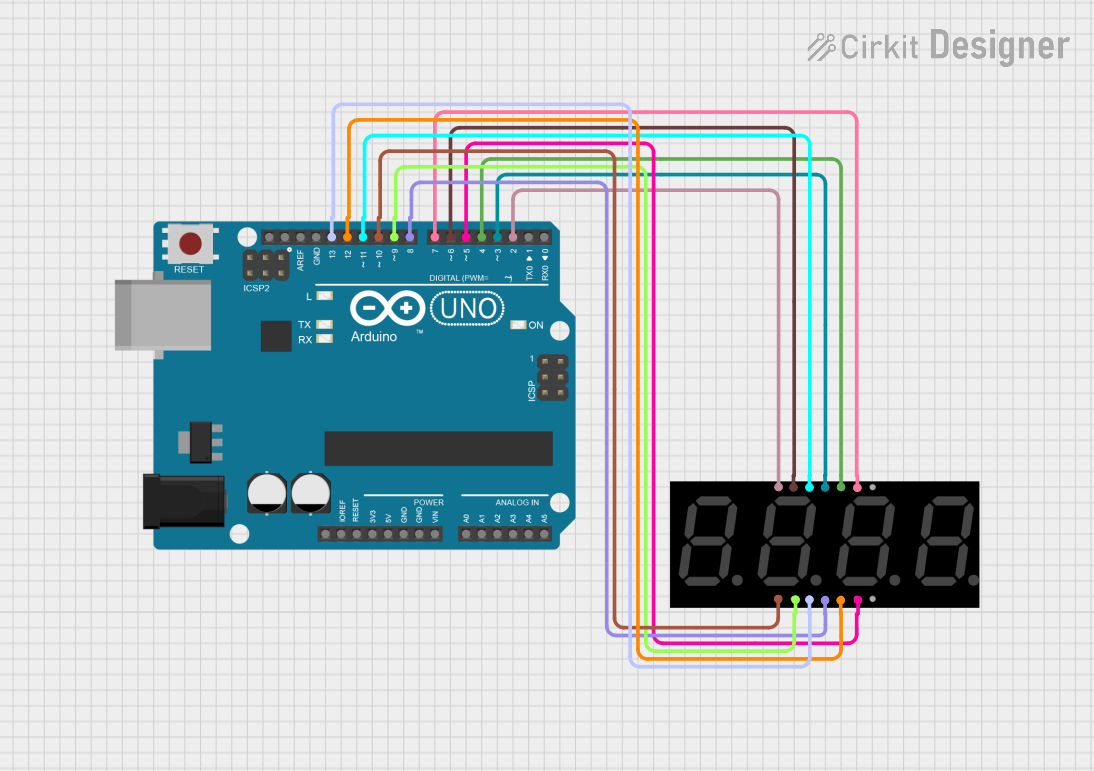
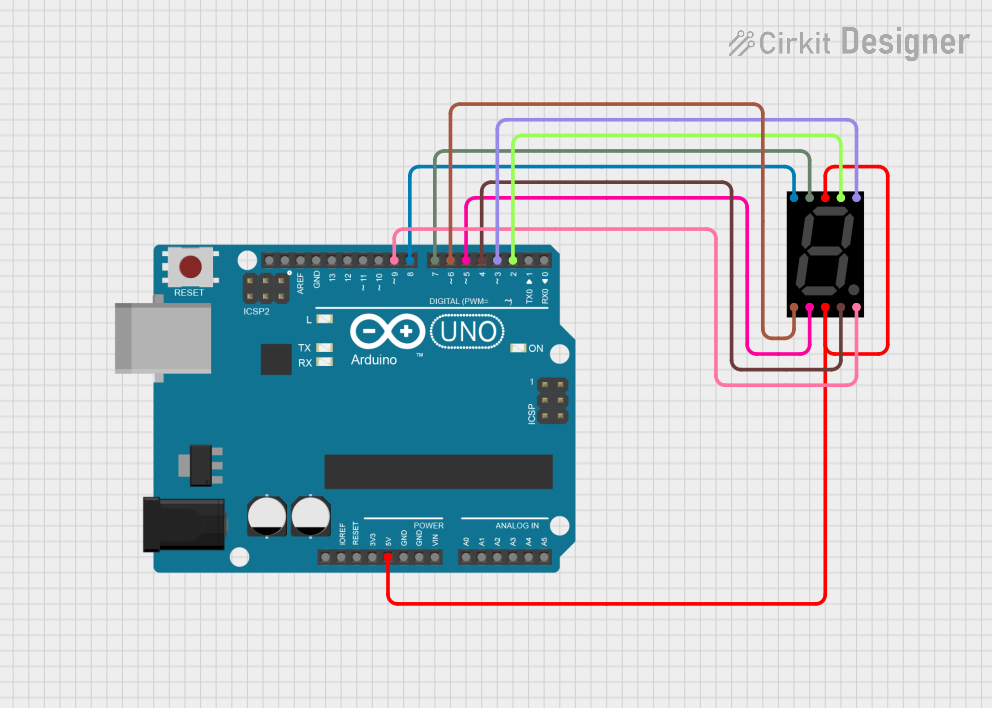
R = (V_supply - V_forward) / I_forward.Microcontroller Interface: Connect the anode pins and segment control pins to the digital output pins of a microcontroller such as an Arduino UNO. Use the microcontroller to control which segments are lit to display the desired numbers.
Important Considerations and Best Practices
- Always use current limiting resistors to prevent damage to the LEDs.
- Multiplexing may be required to control all four digits individually.
- Avoid driving all segments at maximum current simultaneously to prevent excessive power consumption and heat generation.
Example Code for Arduino UNO
// Define the connections to the Arduino UNO
int segmentPins[] = {2, 3, 4, 5, 6, 7, 8, 9}; // A, B, C, D, E, F, G, DP
int digitPins[] = {10, 11, 12, 13}; // Digits 1, 2, 3, 4

// Define the representation of each number 0-9 on a 7-segment display
byte numbers[10] = {
  0b00111111, // 0
  0b00000110, // 1
  0b01011011, // 2
  0b01001111, // 3
  0b01100110, // 4
  0b01101101, // 5
  0b01111101, // 6
  0b00000111, // 7
  0b01111111, // 8
  0b01101111  // 9
};

void setup() {
  // Set all the digit pins as outputs
  for (int i = 0; i < 4; i++) {
    pinMode(digitPins[i], OUTPUT);
  }
  // Set all the segment pins as outputs
  for (int i = 0; i < 8; i++) {
    pinMode(segmentPins[i], OUTPUT);
  }
  // Turn off all digits to start
  for (int i = 0; i < 4; i++) {
    digitalWrite(digitPins[i], HIGH);
  }
}

void loop() {
  // Example: Display the number 1234
  for (int digit = 0; digit < 4; digit++) {
    displayDigit(digit, digit + 1);
    delay(5); // Short delay for multiplexing
  }
}

void displayDigit(int digit, int number) {
  // Turn off all digits
  for (int i = 0; i < 4; i++) {
    digitalWrite(digitPins[i], HIGH);
  }
  // Set the segments for the number
  for (int segment = 0; segment < 8; segment++) {
    boolean isSegmentOn = bitRead(numbers[number], segment);
    digitalWrite(segmentPins[segment], !isSegmentOn);
  }
  // Turn on the current digit
  digitalWrite(digitPins[digit], LOW);
}
Troubleshooting and FAQs
Common Issues Users Might Face
- All segments are dim or not lighting up: Check the power supply voltage and current limiting resistors.
- Only one digit is working: Ensure that multiplexing is implemented correctly in the code.
- Incorrect numbers displayed: Verify the segment-to-pin mapping and the number encoding in the code.
Solutions and Tips for Troubleshooting
- Double-check wiring and ensure all connections are secure.
- Use a multimeter to verify the voltage across each segment and the current through each anode.
- Review the code for proper timing and control logic in the multiplexing routine.
FAQs
Q: Can I use this display with a 3.3V system? A: Yes, but the brightness may be reduced. Ensure that the current limiting resistors are recalculated for the lower voltage.
Q: How can I display numbers larger than 9? A: You will need to implement a method to break down the number into individual digits and display each digit in sequence rapidly to create the illusion of a static display. This is typically done through multiplexing.
Q: Can I display letters on the 7-segment display? A: Some letters can be approximated using the 7 segments, but not all letters can be displayed clearly due to the limited number of segments.