How to Use LM36: Examples, Pinouts, and Specs
Introduction
The LM36 is a precision temperature sensor that provides an analog output voltage directly proportional to the temperature in degrees Celsius. It is designed to operate over a wide temperature range, making it suitable for a variety of applications. The LM36 is easy to use, requiring no external calibration or trimming, and it delivers a linear output with a slope of 10 mV/°C. Its low power consumption and high accuracy make it ideal for temperature monitoring and control systems.
Explore Projects Built with LM36

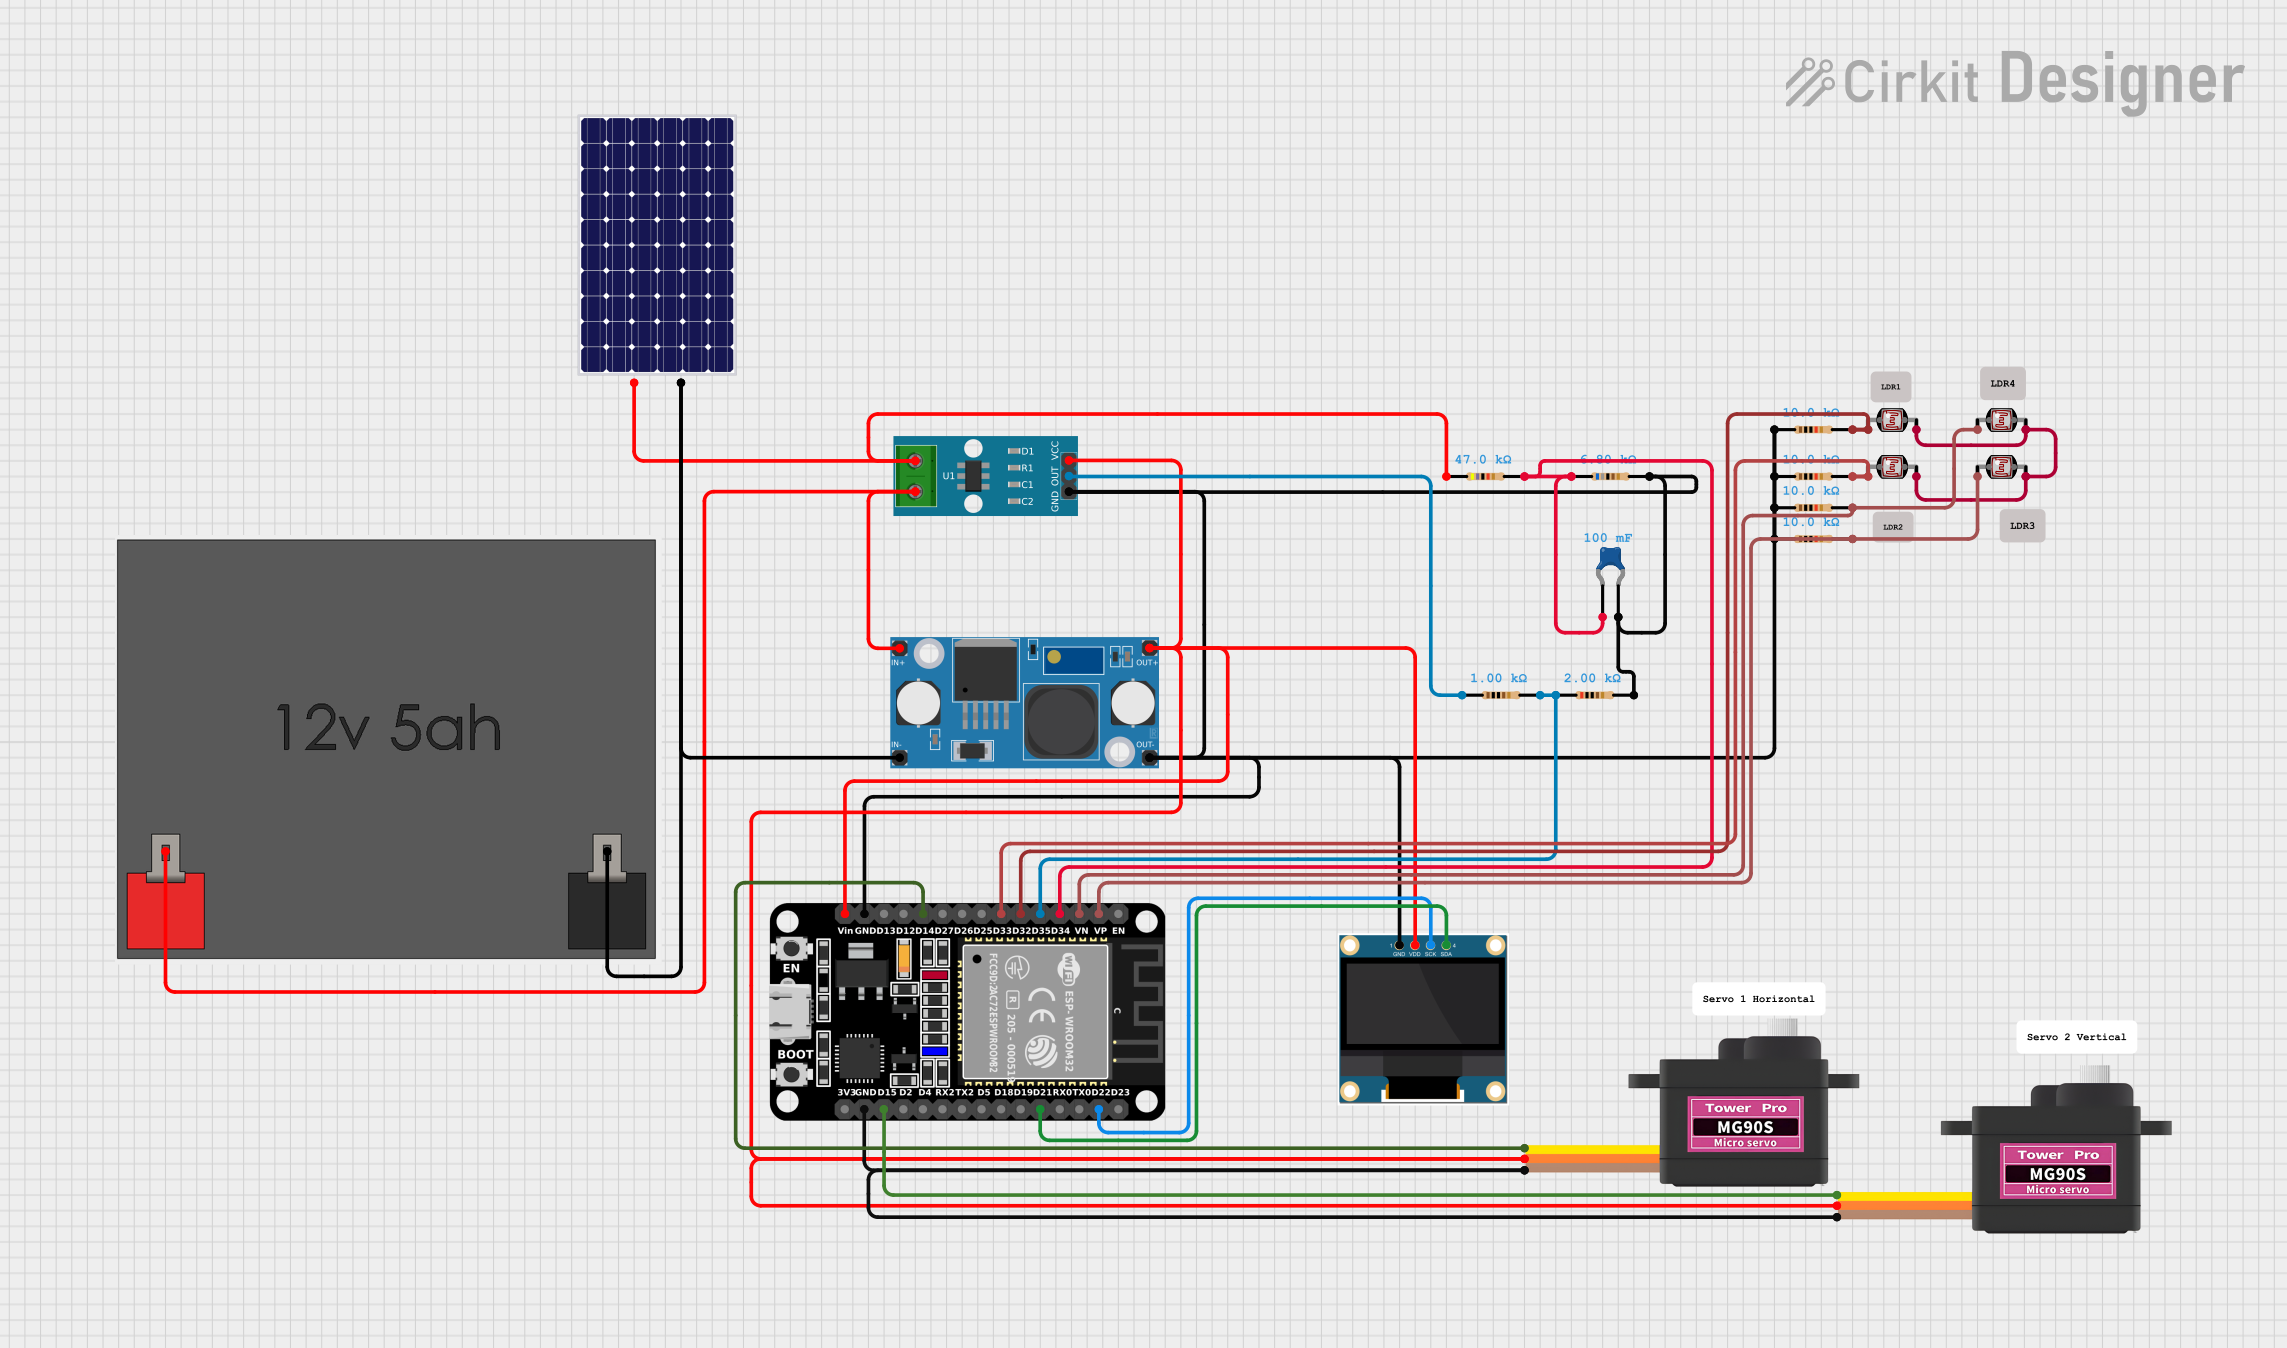


Explore Projects Built with LM36
Common Applications
- HVAC systems for temperature monitoring
- Industrial temperature control systems
- Consumer electronics for thermal management
- Weather stations and environmental monitoring
- Automotive temperature sensing
Technical Specifications
The LM36 is a versatile and reliable temperature sensor with the following key specifications:
| Parameter | Value |
|---|---|
| Supply Voltage (Vcc) | 4 V to 30 V |
| Output Voltage Range | 0.1 V to 2.9 V (for -40°C to 125°C) |
| Output Sensitivity | 10 mV/°C |
| Accuracy | ±0.5°C (at 25°C) |
| Operating Temperature | -40°C to +125°C |
| Quiescent Current | 130 µA (typical) |
| Package Types | TO-92, SOIC-8 |
Pin Configuration
The LM36 is typically available in a 3-pin TO-92 or SOIC-8 package. Below is the pin configuration for the TO-92 package:
| Pin Number | Pin Name | Description |
|---|---|---|
| 1 | VOUT | Analog output voltage proportional to temperature |
| 2 | GND | Ground (0 V reference) |
| 3 | VCC | Positive supply voltage (4 V to 30 V) |
Usage Instructions
How to Use the LM36 in a Circuit
- Power Supply: Connect the VCC pin to a stable DC voltage source between 4 V and 30 V. Connect the GND pin to the ground of the circuit.
- Output Connection: The VOUT pin provides an analog voltage proportional to the temperature. Connect this pin to an analog input of a microcontroller (e.g., Arduino) or an ADC (Analog-to-Digital Converter) for further processing.
- Decoupling Capacitor: Place a 0.1 µF ceramic capacitor between VCC and GND to filter out noise and ensure stable operation.
Important Considerations
- The LM36 output voltage is calibrated for a slope of 10 mV/°C. For example, at 25°C, the output voltage will be approximately 0.25 V.
- Ensure proper thermal contact between the LM36 and the surface or environment being measured for accurate readings.
- Avoid placing the sensor near heat sources or in direct sunlight, as this may affect the accuracy of the readings.
Example: Connecting LM36 to Arduino UNO
Below is an example of how to connect the LM36 to an Arduino UNO and read the temperature:
Circuit Diagram
- Connect the LM36's VCC pin to the Arduino's 5V pin.
- Connect the GND pin to the Arduino's GND pin.
- Connect the VOUT pin to the Arduino's analog input pin (e.g., A0).
Arduino Code
// LM36 Temperature Sensor Example
// Reads the temperature from the LM36 and displays it on the Serial Monitor.

const int sensorPin = A0; // Analog pin connected to LM36 VOUT
const float voltageRef = 5.0; // Reference voltage of Arduino (5V)
const float tempSlope = 10.0; // LM36 output slope (10 mV/°C)
const float offsetVoltage = 0.0; // LM36 offset voltage (0V at 0°C)

void setup() {
  Serial.begin(9600); // Initialize serial communication
}

void loop() {
  int sensorValue = analogRead(sensorPin); // Read analog value from LM36
  float voltage = (sensorValue / 1023.0) * voltageRef; // Convert to voltage
  float temperature = (voltage - offsetVoltage) * 100.0 / tempSlope;
  // Convert voltage to temperature in °C

  Serial.print("Temperature: ");
  Serial.print(temperature);
  Serial.println(" °C");

  delay(1000); // Wait 1 second before next reading
}
Notes:
- The code assumes a 5V reference voltage for the Arduino. If using a different reference voltage, adjust the
voltageRefvariable accordingly. - The LM36 has an offset voltage of 0 V at 0°C, so no additional offset is required in the calculation.
Troubleshooting and FAQs
Common Issues
Incorrect Temperature Readings
- Cause: Noise in the power supply or incorrect wiring.
- Solution: Add a 0.1 µF decoupling capacitor between VCC and GND. Double-check the wiring.
Output Voltage is Constant
- Cause: The sensor is not properly powered or the VOUT pin is not connected.
- Solution: Verify that the VCC and GND pins are connected to the correct voltage and ground. Ensure the VOUT pin is connected to the analog input.
Temperature Fluctuations
- Cause: External heat sources or airflow affecting the sensor.
- Solution: Shield the sensor from direct heat or airflow. Use thermal insulation if necessary.
FAQs
Q: Can the LM36 measure negative temperatures?
A: Yes, the LM36 can measure temperatures as low as -40°C. The output voltage will still follow the 10 mV/°C slope, but it will be below 0.4 V for negative temperatures.
Q: Is the LM36 compatible with 3.3V systems?
A: The LM36 requires a minimum supply voltage of 4 V, so it is not directly compatible with 3.3V systems. However, you can use a voltage regulator or level shifter to interface it with 3.3V systems.
Q: How accurate is the LM36?
A: The LM36 has an accuracy of ±0.5°C at 25°C. Accuracy may vary slightly over the full temperature range.
Q: Can I use the LM36 in battery-powered applications?
A: Yes, the LM36 has a low quiescent current of 130 µA, making it suitable for battery-powered applications.