How to Use Adafruit Neopixel: Examples, Pinouts, and Specs
Introduction
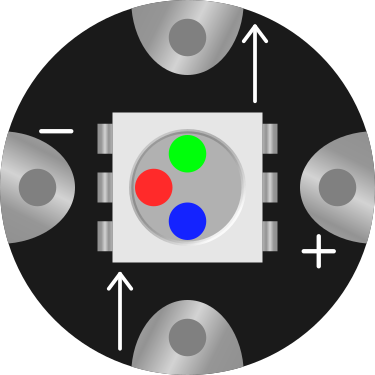
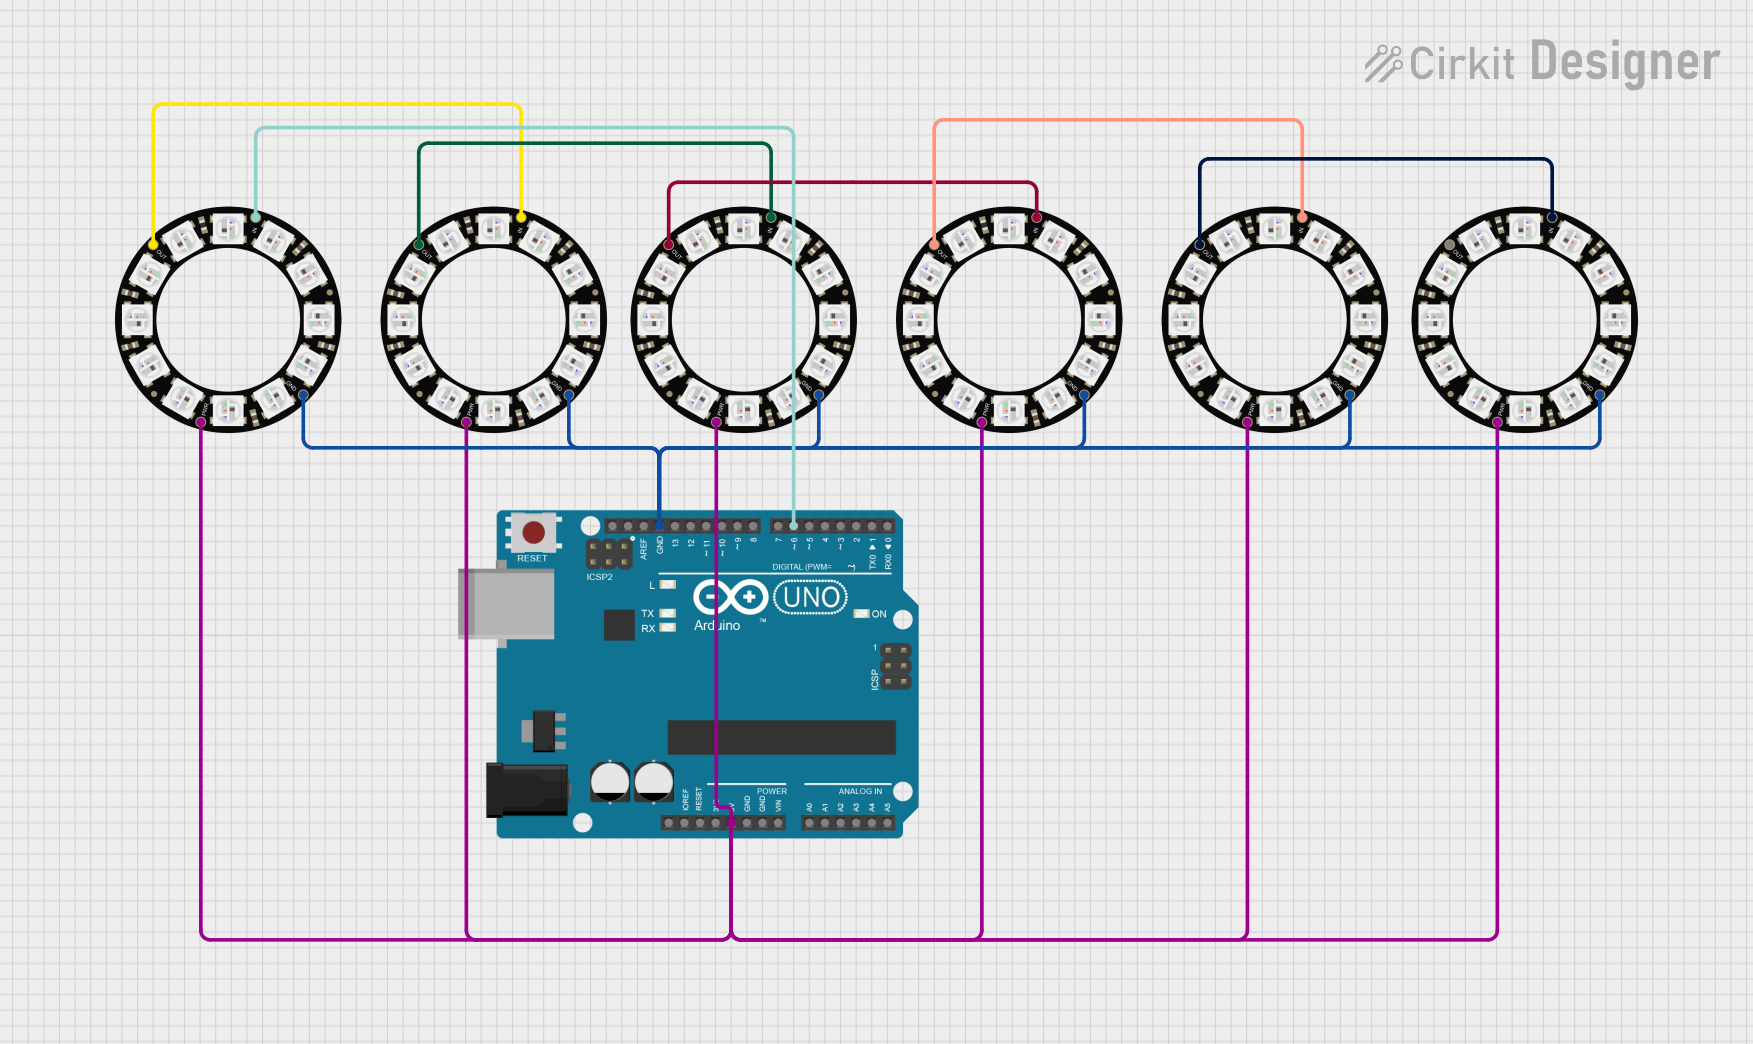
Adafruit Neopixel is a series of individually addressable RGB LED strips and modules that allow for vibrant color displays and effects. Each LED in the Neopixel series can be controlled independently, enabling the creation of dynamic lighting patterns, animations, and effects. These LEDs are controlled via a single data line, making them easy to integrate into a wide range of projects.
Explore Projects Built with Adafruit Neopixel
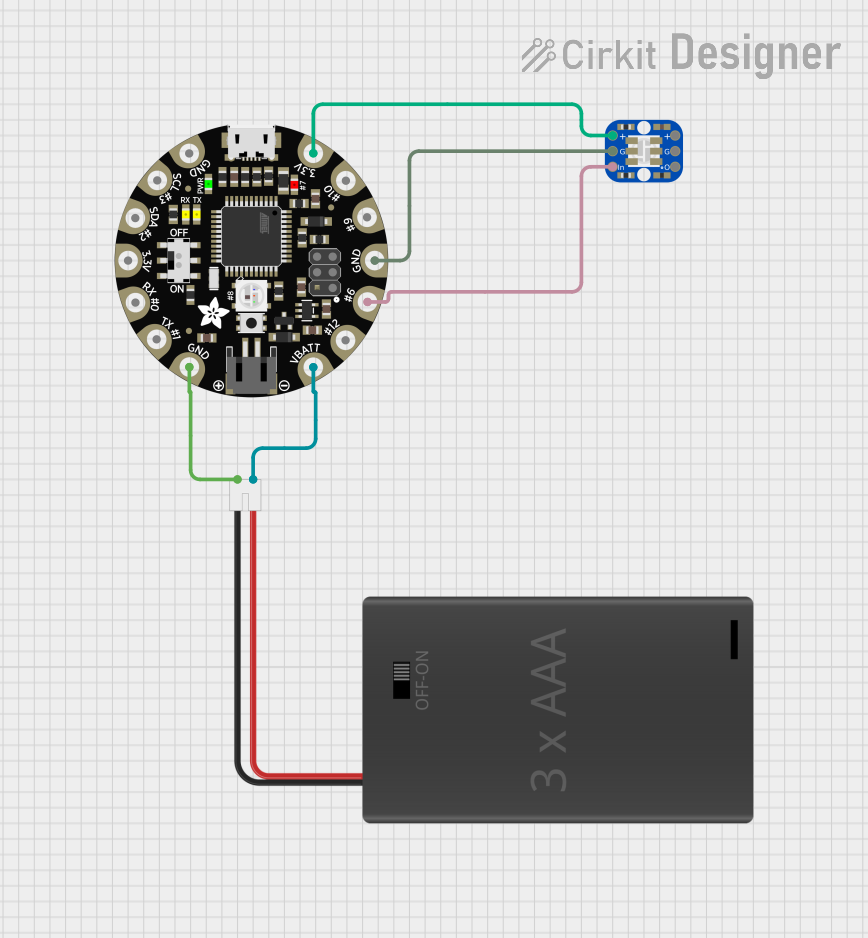
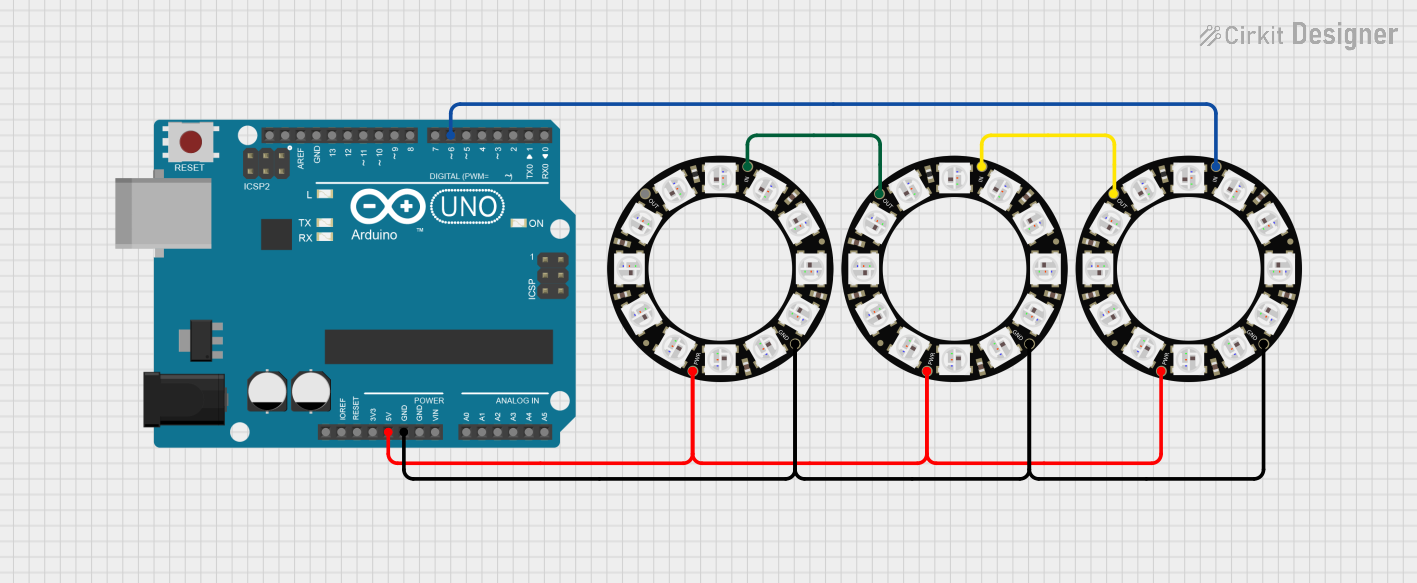
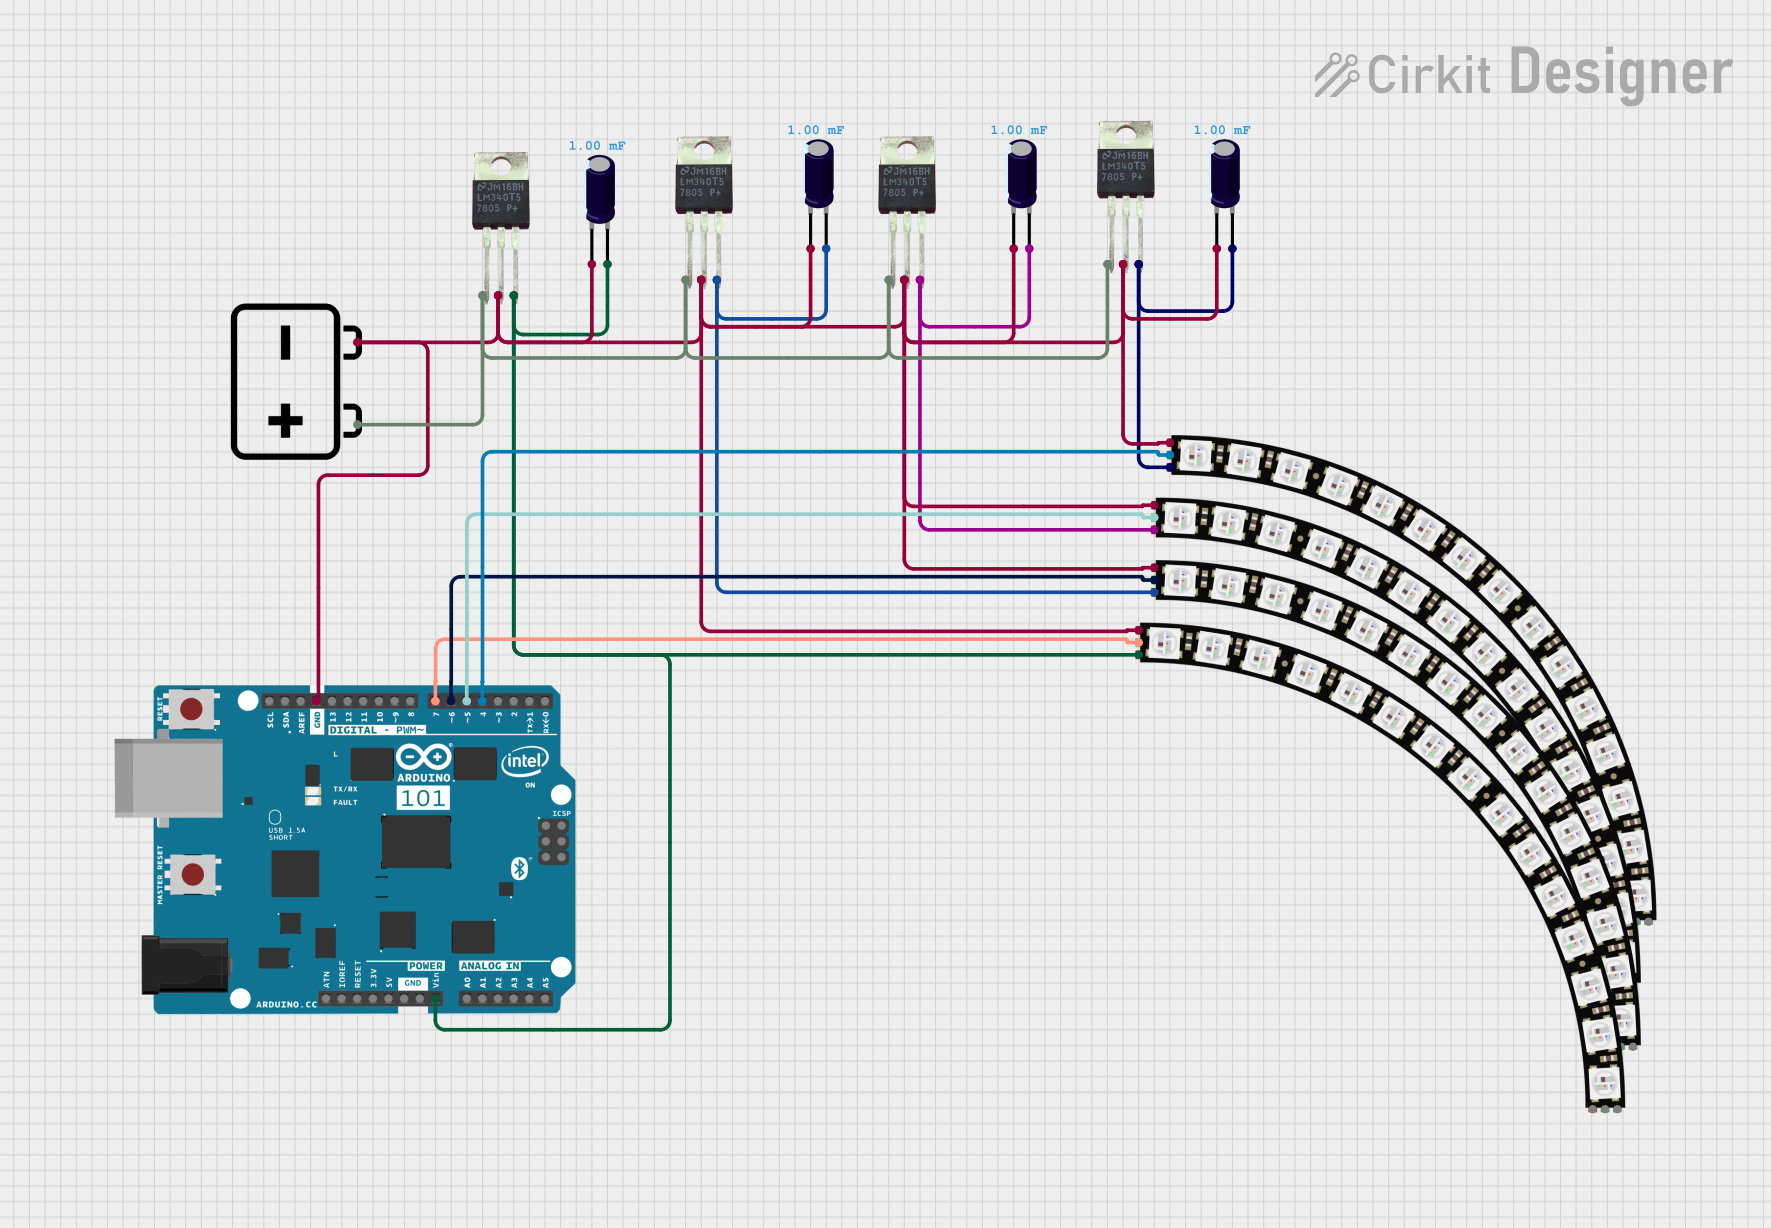
Explore Projects Built with Adafruit Neopixel
Common Applications and Use Cases
- Decorative lighting for homes, events, and installations
- Wearable electronics and costumes
- Interactive art projects
- Robotics and model lighting
- Custom displays and signage
- Gaming setups and PC case lighting
Technical Specifications
Below are the key technical details for Adafruit Neopixel LEDs:
| Parameter | Specification |
|---|---|
| Operating Voltage | 5V DC (some models support 3.3V logic input) |
| Current Consumption | ~60mA per LED at full brightness (all colors on) |
| Communication Protocol | One-wire (single data line) |
| LED Type | RGB (Red, Green, Blue) |
| Color Depth | 24-bit (8 bits per color channel) |
| Data Speed | ~800 kHz |
| Operating Temperature | -40°C to +80°C |
Pin Configuration and Descriptions
The Adafruit Neopixel typically has three pins for connection:
| Pin Name | Description |
|---|---|
| VCC | Power supply input (5V DC) |
| GND | Ground connection |
| DIN | Data input for controlling the LEDs |
For strips or chains, there is also a DOUT pin on each LED, which connects to the DIN of the next LED in the chain.
Usage Instructions
How to Use the Component in a Circuit
- Power Supply: Connect the VCC pin to a 5V power source and the GND pin to ground. Ensure the power supply can handle the total current draw of all LEDs (e.g., 60mA per LED at full brightness).
- Data Line: Connect the DIN pin to a digital output pin of your microcontroller (e.g., Arduino). Use a resistor (330–470 ohms) in series with the data line to protect the LEDs.
- Capacitor: Place a 1000 µF capacitor across the VCC and GND pins to stabilize the power supply.
- Chaining LEDs: For multiple LEDs, connect the DOUT pin of one LED to the DIN pin of the next.
Important Considerations and Best Practices
- Voltage Matching: If using a 3.3V microcontroller, use a logic level shifter to step up the data signal to 5V.
- Power Supply: Use a dedicated power supply for large LED arrays to avoid overloading the microcontroller.
- Heat Management: Avoid running LEDs at full brightness for extended periods to prevent overheating.
- Data Line Length: Keep the data line as short as possible to avoid signal degradation. For longer distances, consider using a buffer.
Example Code for Arduino UNO
Below is an example of how to control a Neopixel strip using the Adafruit Neopixel library:
#include <Adafruit_NeoPixel.h>

// Define the pin connected to the Neopixel data line
#define PIN 6

// Define the number of LEDs in the strip
#define NUM_LEDS 16

// Create a Neopixel object
Adafruit_NeoPixel strip = Adafruit_NeoPixel(NUM_LEDS, PIN, NEO_GRB + NEO_KHZ800);

void setup() {
  strip.begin();  // Initialize the Neopixel strip
  strip.show();   // Turn off all LEDs initially
}

void loop() {
  // Example: Set all LEDs to red
  for (int i = 0; i < NUM_LEDS; i++) {
    strip.setPixelColor(i, strip.Color(255, 0, 0)); // Red color
  }
  strip.show();  // Update the strip to display the colors
  delay(1000);   // Wait for 1 second

  // Example: Turn off all LEDs
  for (int i = 0; i < NUM_LEDS; i++) {
    strip.setPixelColor(i, strip.Color(0, 0, 0)); // Turn off
  }
  strip.show();  // Update the strip
  delay(1000);   // Wait for 1 second
}
Troubleshooting and FAQs
Common Issues and Solutions
LEDs Not Lighting Up:
- Check the power supply voltage and current rating.
- Verify the data line connection and ensure the correct pin is used.
- Ensure the Neopixel library is installed and properly included in your code.
Flickering or Incorrect Colors:
- Add a resistor (330–470 ohms) in series with the data line to reduce noise.
- Use a capacitor (1000 µF) across the power supply to stabilize voltage.
- Ensure the data signal is at the correct voltage level (5V for most Neopixels).
Only the First LED Works:
- Check the connection between the DOUT of one LED and the DIN of the next.
- Ensure the data signal timing matches the Neopixel protocol.
Overheating:
- Reduce the brightness of the LEDs in your code.
- Avoid running all LEDs at full brightness for extended periods.
FAQs
Can I cut the Neopixel strip? Yes, Neopixel strips can be cut at the marked cut points. Ensure proper reconnection of the VCC, GND, and DIN/DOUT lines.
How many LEDs can I control with one microcontroller? The number of LEDs is limited by the microcontroller's memory. For example, an Arduino UNO can typically handle up to ~500 LEDs.
Can I power Neopixels with a battery? Yes, but ensure the battery can provide sufficient current. For large arrays, use a high-capacity LiPo or similar battery.
Do I need a heatsink for Neopixels? Not usually, but for high-density strips running at full brightness, consider adding cooling or reducing brightness.
This documentation provides a comprehensive guide to using Adafruit Neopixels effectively in your projects.