
How to Use Display 7 inch: Examples, Pinouts, and Specs
 Design with Display 7 inch in Cirkit Designer
Introduction
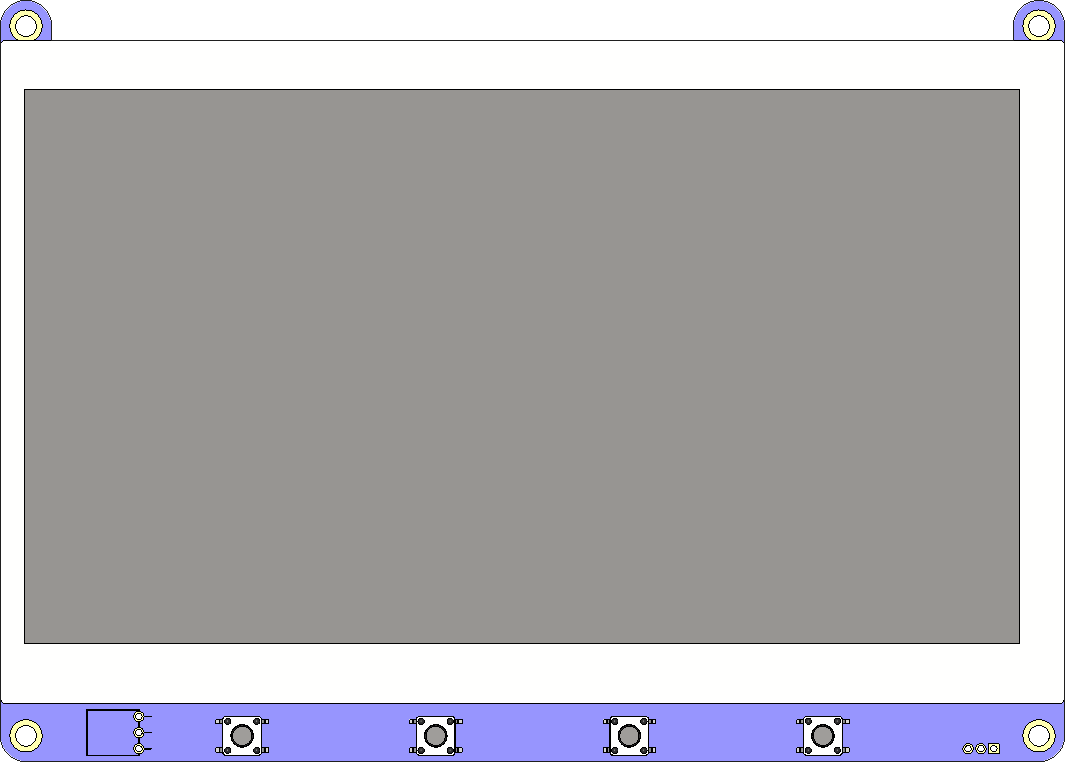
A 7-inch display module is a medium-sized screen commonly utilized in a variety of electronic devices such as tablets, portable gaming consoles, small monitors, and DIY projects. It serves as a visual interface for the user to interact with the device's content and applications. These displays are popular in the maker community for their balance between size and portability, making them ideal for embedded systems and interactive projects.
Explore Projects Built with Display 7 inch
 Open Project in Cirkit Designer
 Open Project in Cirkit Designer
 Open Project in Cirkit Designer
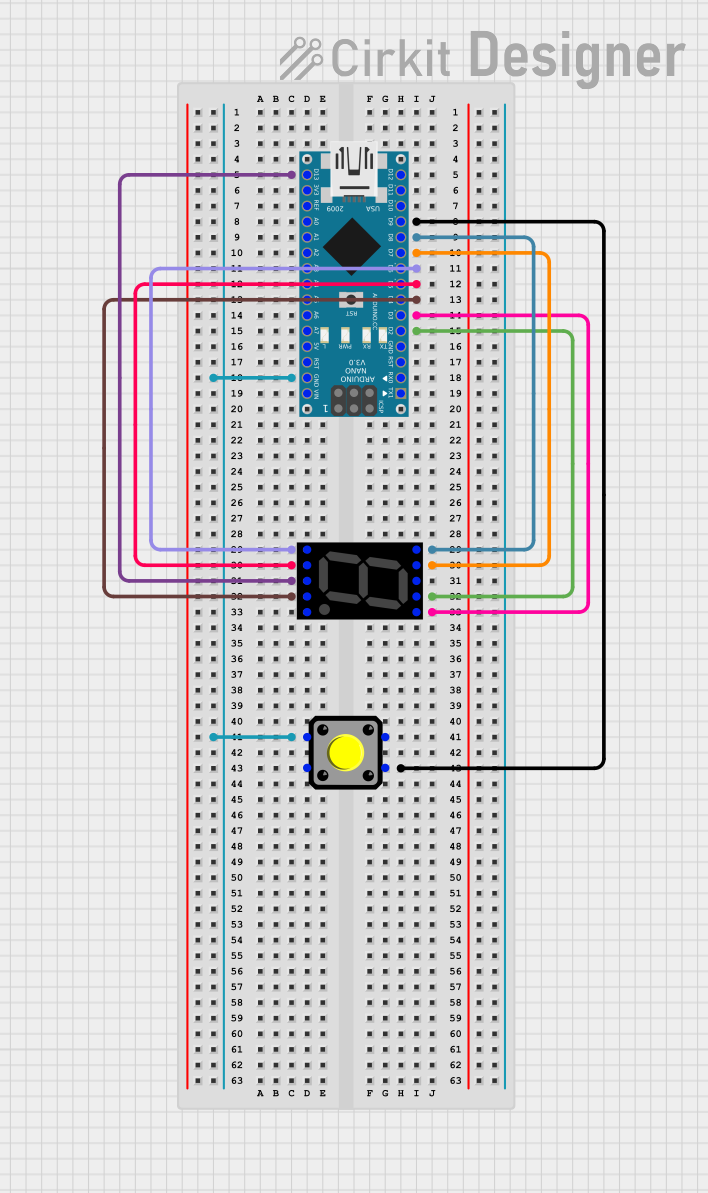
 Open Project in Cirkit Designer
Explore Projects Built with Display 7 inch

 Open Project in Cirkit Designer
 Open Project in Cirkit Designer
 Open Project in Cirkit Designer
 Open Project in Cirkit Designer
Common Applications and Use Cases
- Multimedia displays for Raspberry Pi or other single-board computers
- User interfaces for home automation systems
- Portable gaming devices
- Secondary monitors for computing tasks
- Information kiosks and digital signage
- DIY electronics projects with Arduino or similar microcontrollers
Technical Specifications
Key Technical Details
- Screen Size: 7 inches (measured diagonally)
- Resolution: Typically 800x480 to 1024x600 pixels
- Display Technology: TFT LCD, IPS, or similar
- Touchscreen: Capacitive or Resistive (optional)
- Brightness: Varies, often around 200-300 cd/m²
- Contrast Ratio: Varies, typically around 500:1 to 800:1
- Aspect Ratio: Commonly 16:9 or 16:10
- Interface: HDMI, VGA, Composite, or LVDS
- Power Supply: 5V-12V DC (model-specific)
Pin Configuration and Descriptions
| Pin Number | Description | Voltage/Signal |
|---|---|---|
| 1 | VCC (Power Supply) | 5V-12V DC |
| 2 | GND (Ground) | 0V |
| 3 | HDMI/DVI/VGA (Data) | Digital Signal |
| 4 | Touch (Data) | USB/I2C |
| 5 | Backlight (Control) | PWM/Analog |
Note: The actual pin configuration may vary based on the specific model and interface type of the 7-inch display. Always refer to the manufacturer's datasheet for exact details.
Usage Instructions
How to Use the Component in a Circuit
- Power Connection: Connect the VCC pin to a suitable power supply, ensuring it matches the voltage requirements of the display.
- Ground Connection: Connect the GND pin to the ground of your power supply and signal source.
- Signal Connection: Connect the data pins (HDMI/DVI/VGA) to your signal source, such as a Raspberry Pi or an Arduino with an appropriate shield or adapter.
- Touchscreen (if applicable): Connect the touch interface to a USB port or I2C pins if your display supports touch functionality.
- Backlight Control (if applicable): Connect the backlight control pin to a PWM output if you wish to adjust the screen brightness.
Important Considerations and Best Practices
- Always check the voltage compatibility before powering the display to prevent damage.
- Use a screen protector if the display is resistive touch to avoid scratches.
- For capacitive touch displays, ensure that the touch interface is properly calibrated.
- When using PWM for backlight control, use a frequency that avoids flickering visible to the human eye.
- Ensure that the display is properly supported and mounted to prevent stress on the connectors.
Troubleshooting and FAQs
Common Issues Users Might Face
- Display not powering on: Check the power supply and connections.
- No signal or image: Verify that the signal source is correctly connected and configured.
- Touchscreen not responsive: Ensure that the touch interface is connected and drivers are installed.
Solutions and Tips for Troubleshooting
- Double-check all connections and ensure that cables are not damaged.
- If using with a Raspberry Pi, ensure that the config.txt file is properly set up for the display.
- For touchscreen issues, recalibrate the touch interface or reinstall touch drivers.
- Adjust the contrast and brightness settings if the display image appears washed out or too dark.
FAQs
Q: Can I use this display with an Arduino UNO? A: Yes, but you will need an additional shield or module that allows the Arduino to interface with the display, as the UNO does not natively support high-resolution video output.
Q: Is it possible to control the display's backlight? A: Yes, many 7-inch displays come with a PWM-controllable backlight. You can adjust the brightness by sending a PWM signal to the appropriate pin.
Q: Does the display support touch input out of the box? A: This depends on the model. Some displays come with integrated touch capabilities, while others may require additional setup or drivers.
For any further assistance or detailed information, please refer to the manufacturer's datasheet and user manual specific to your 7-inch display model.