How to Use Atlas Scientific pH Board: Examples, Pinouts, and Specs
Introduction
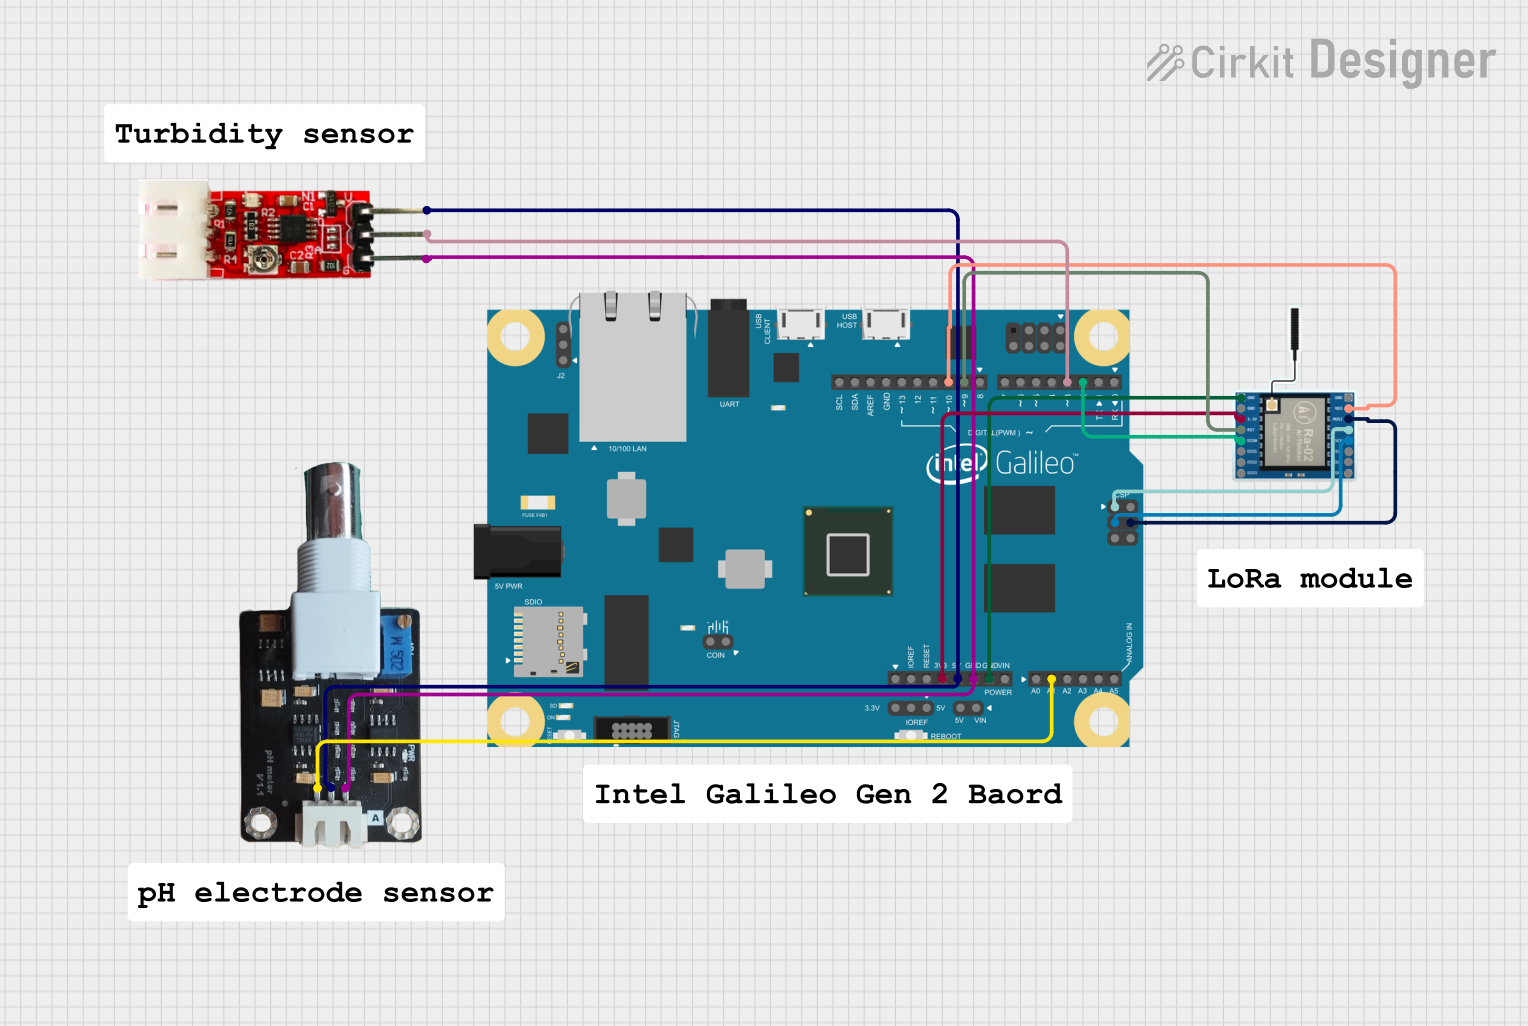
The Atlas Scientific pH Board (KIT-103P) is a high-quality, reliable sensor designed for measuring the pH levels in liquids. This sensor is widely used in applications such as hydroponics, aquariums, water quality monitoring, and laboratory experiments. The board's precision and ease of use make it an ideal choice for both hobbyists and professionals seeking to monitor acidity or alkalinity in various environments.
Explore Projects Built with Atlas Scientific pH Board
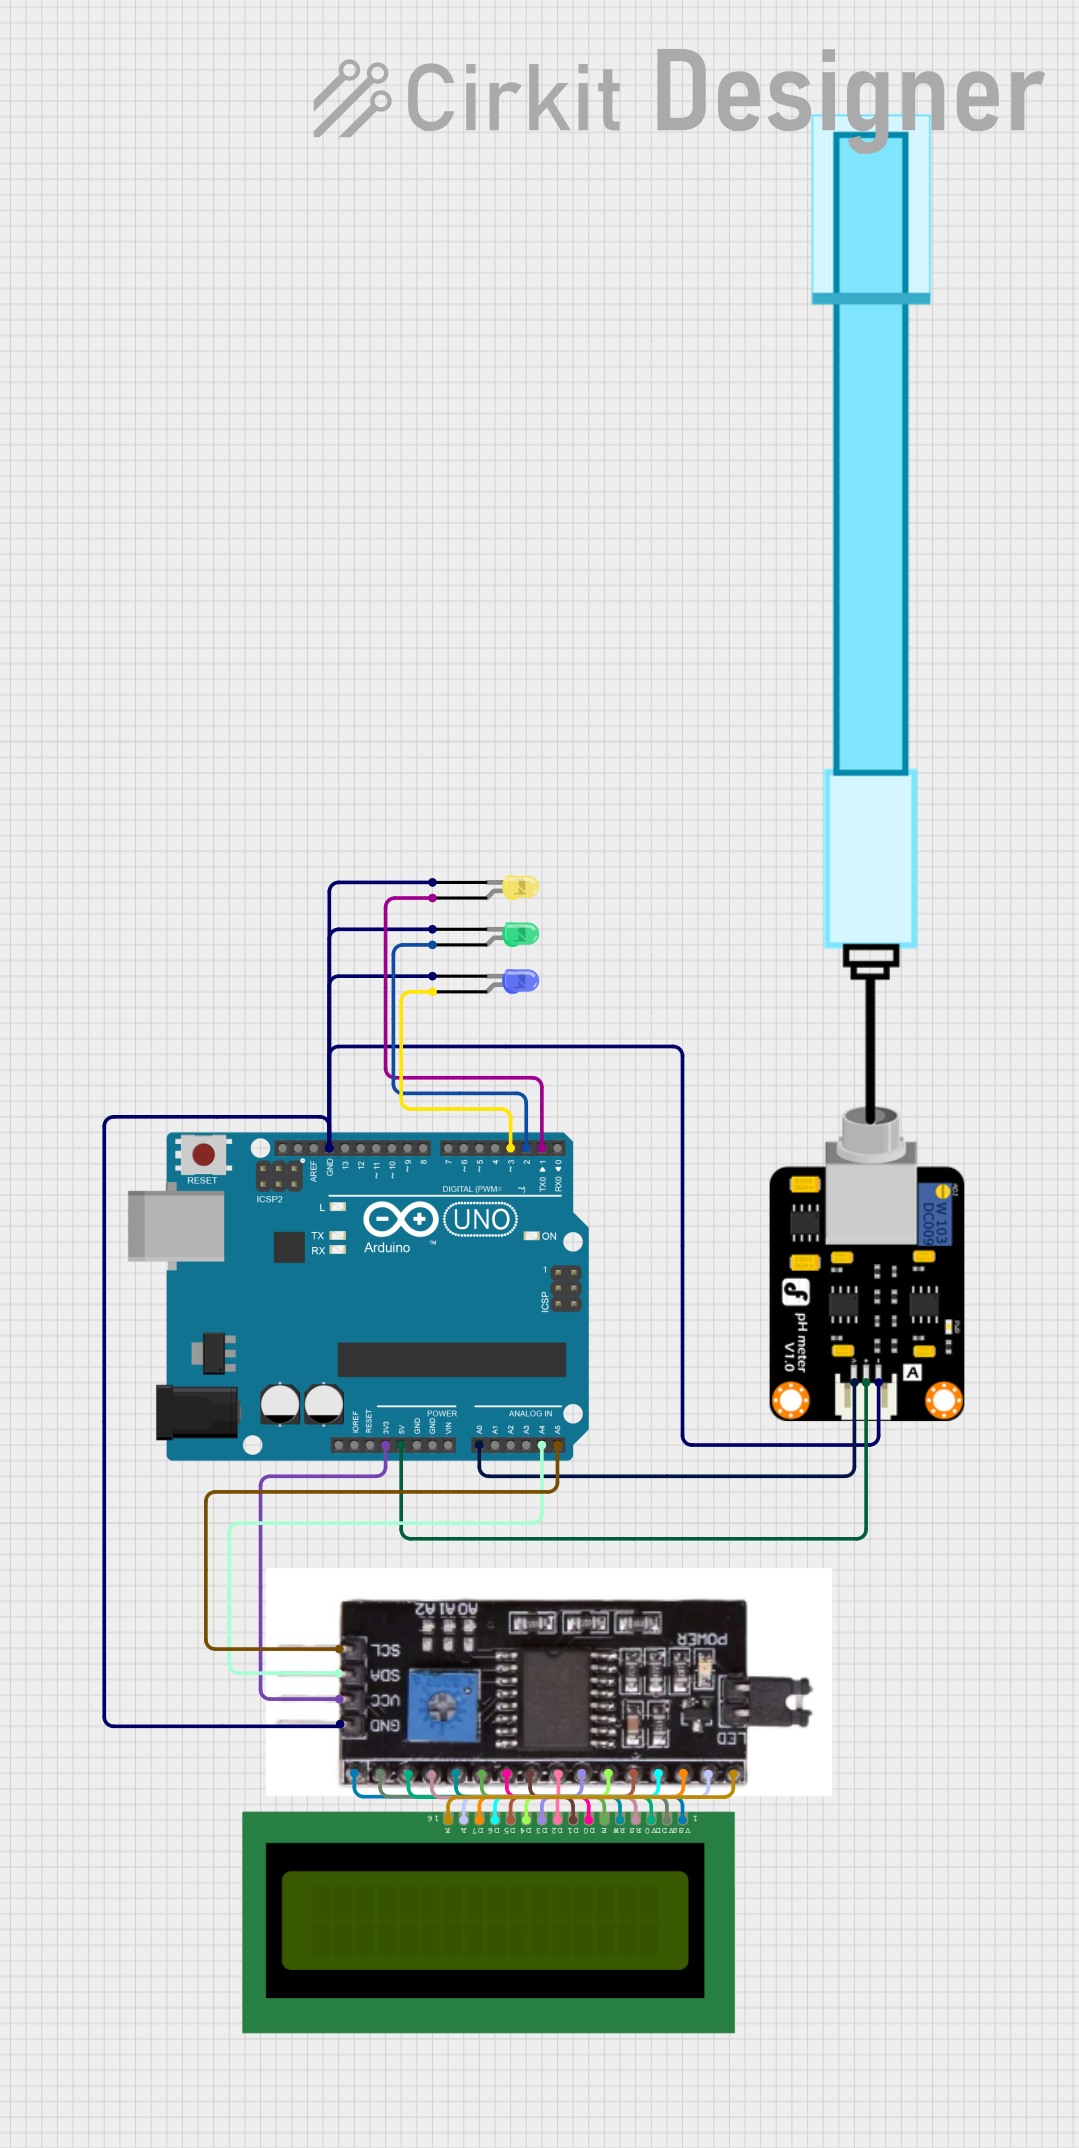
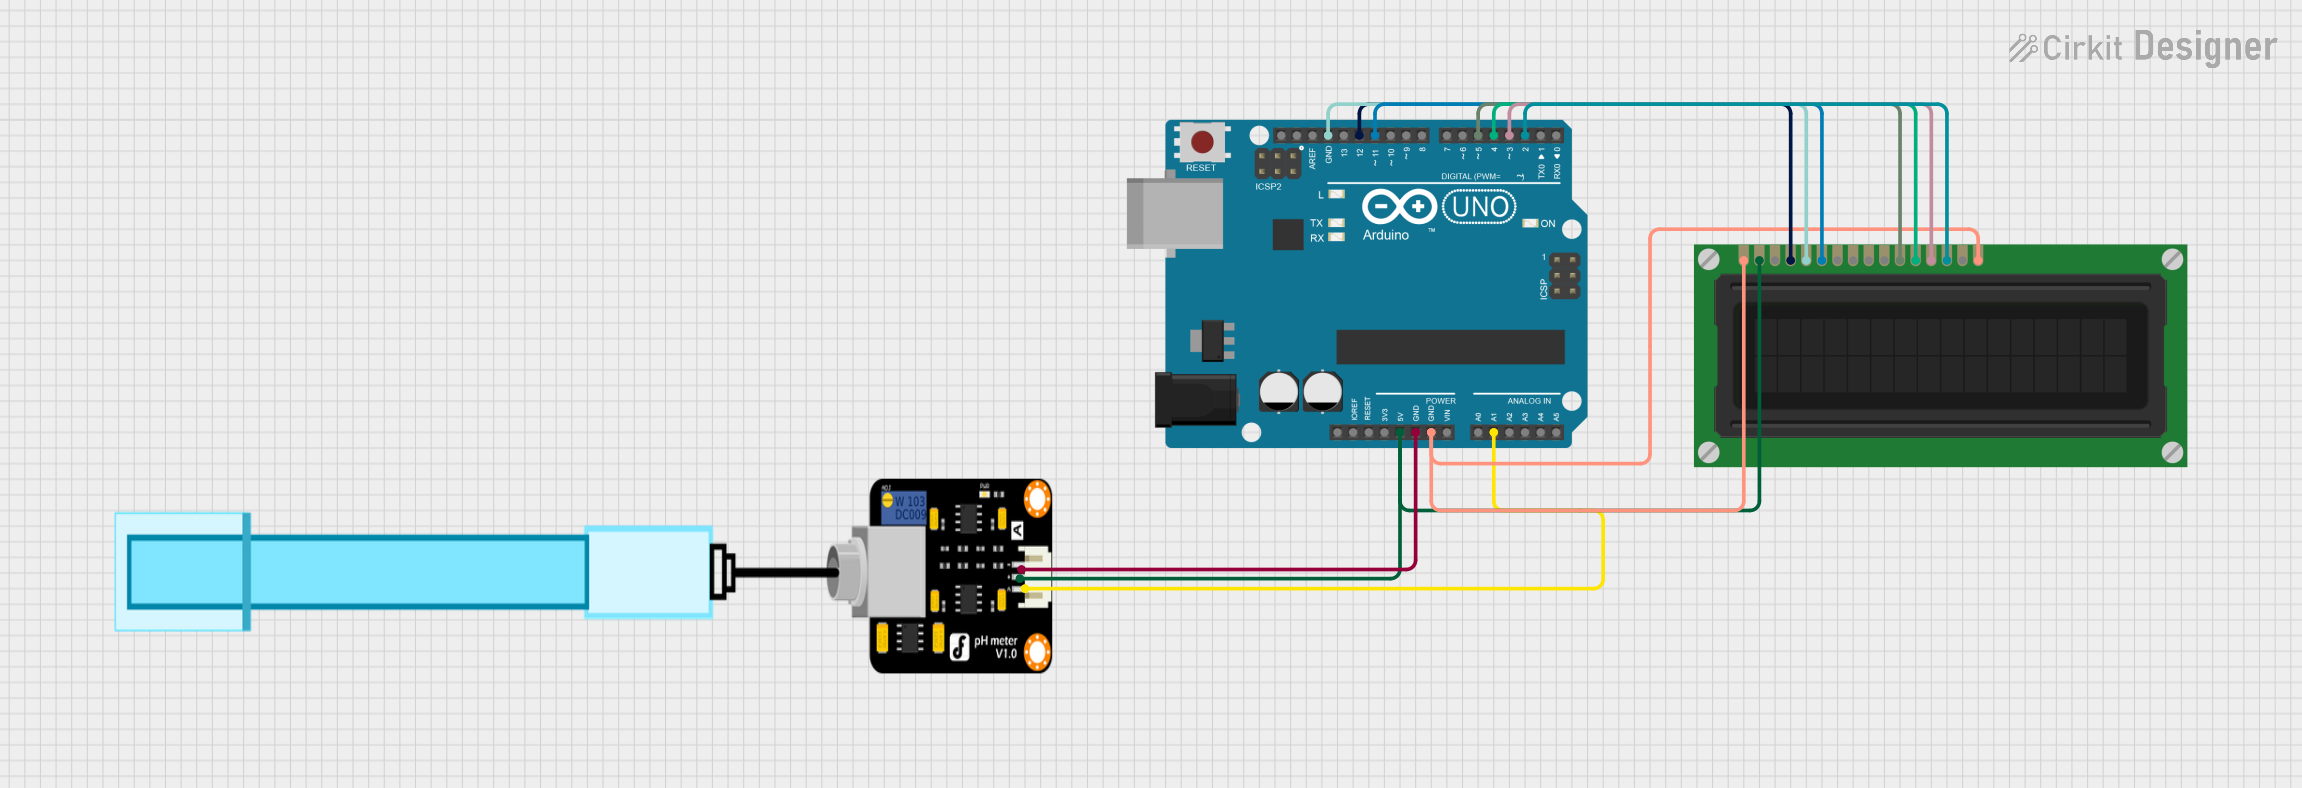
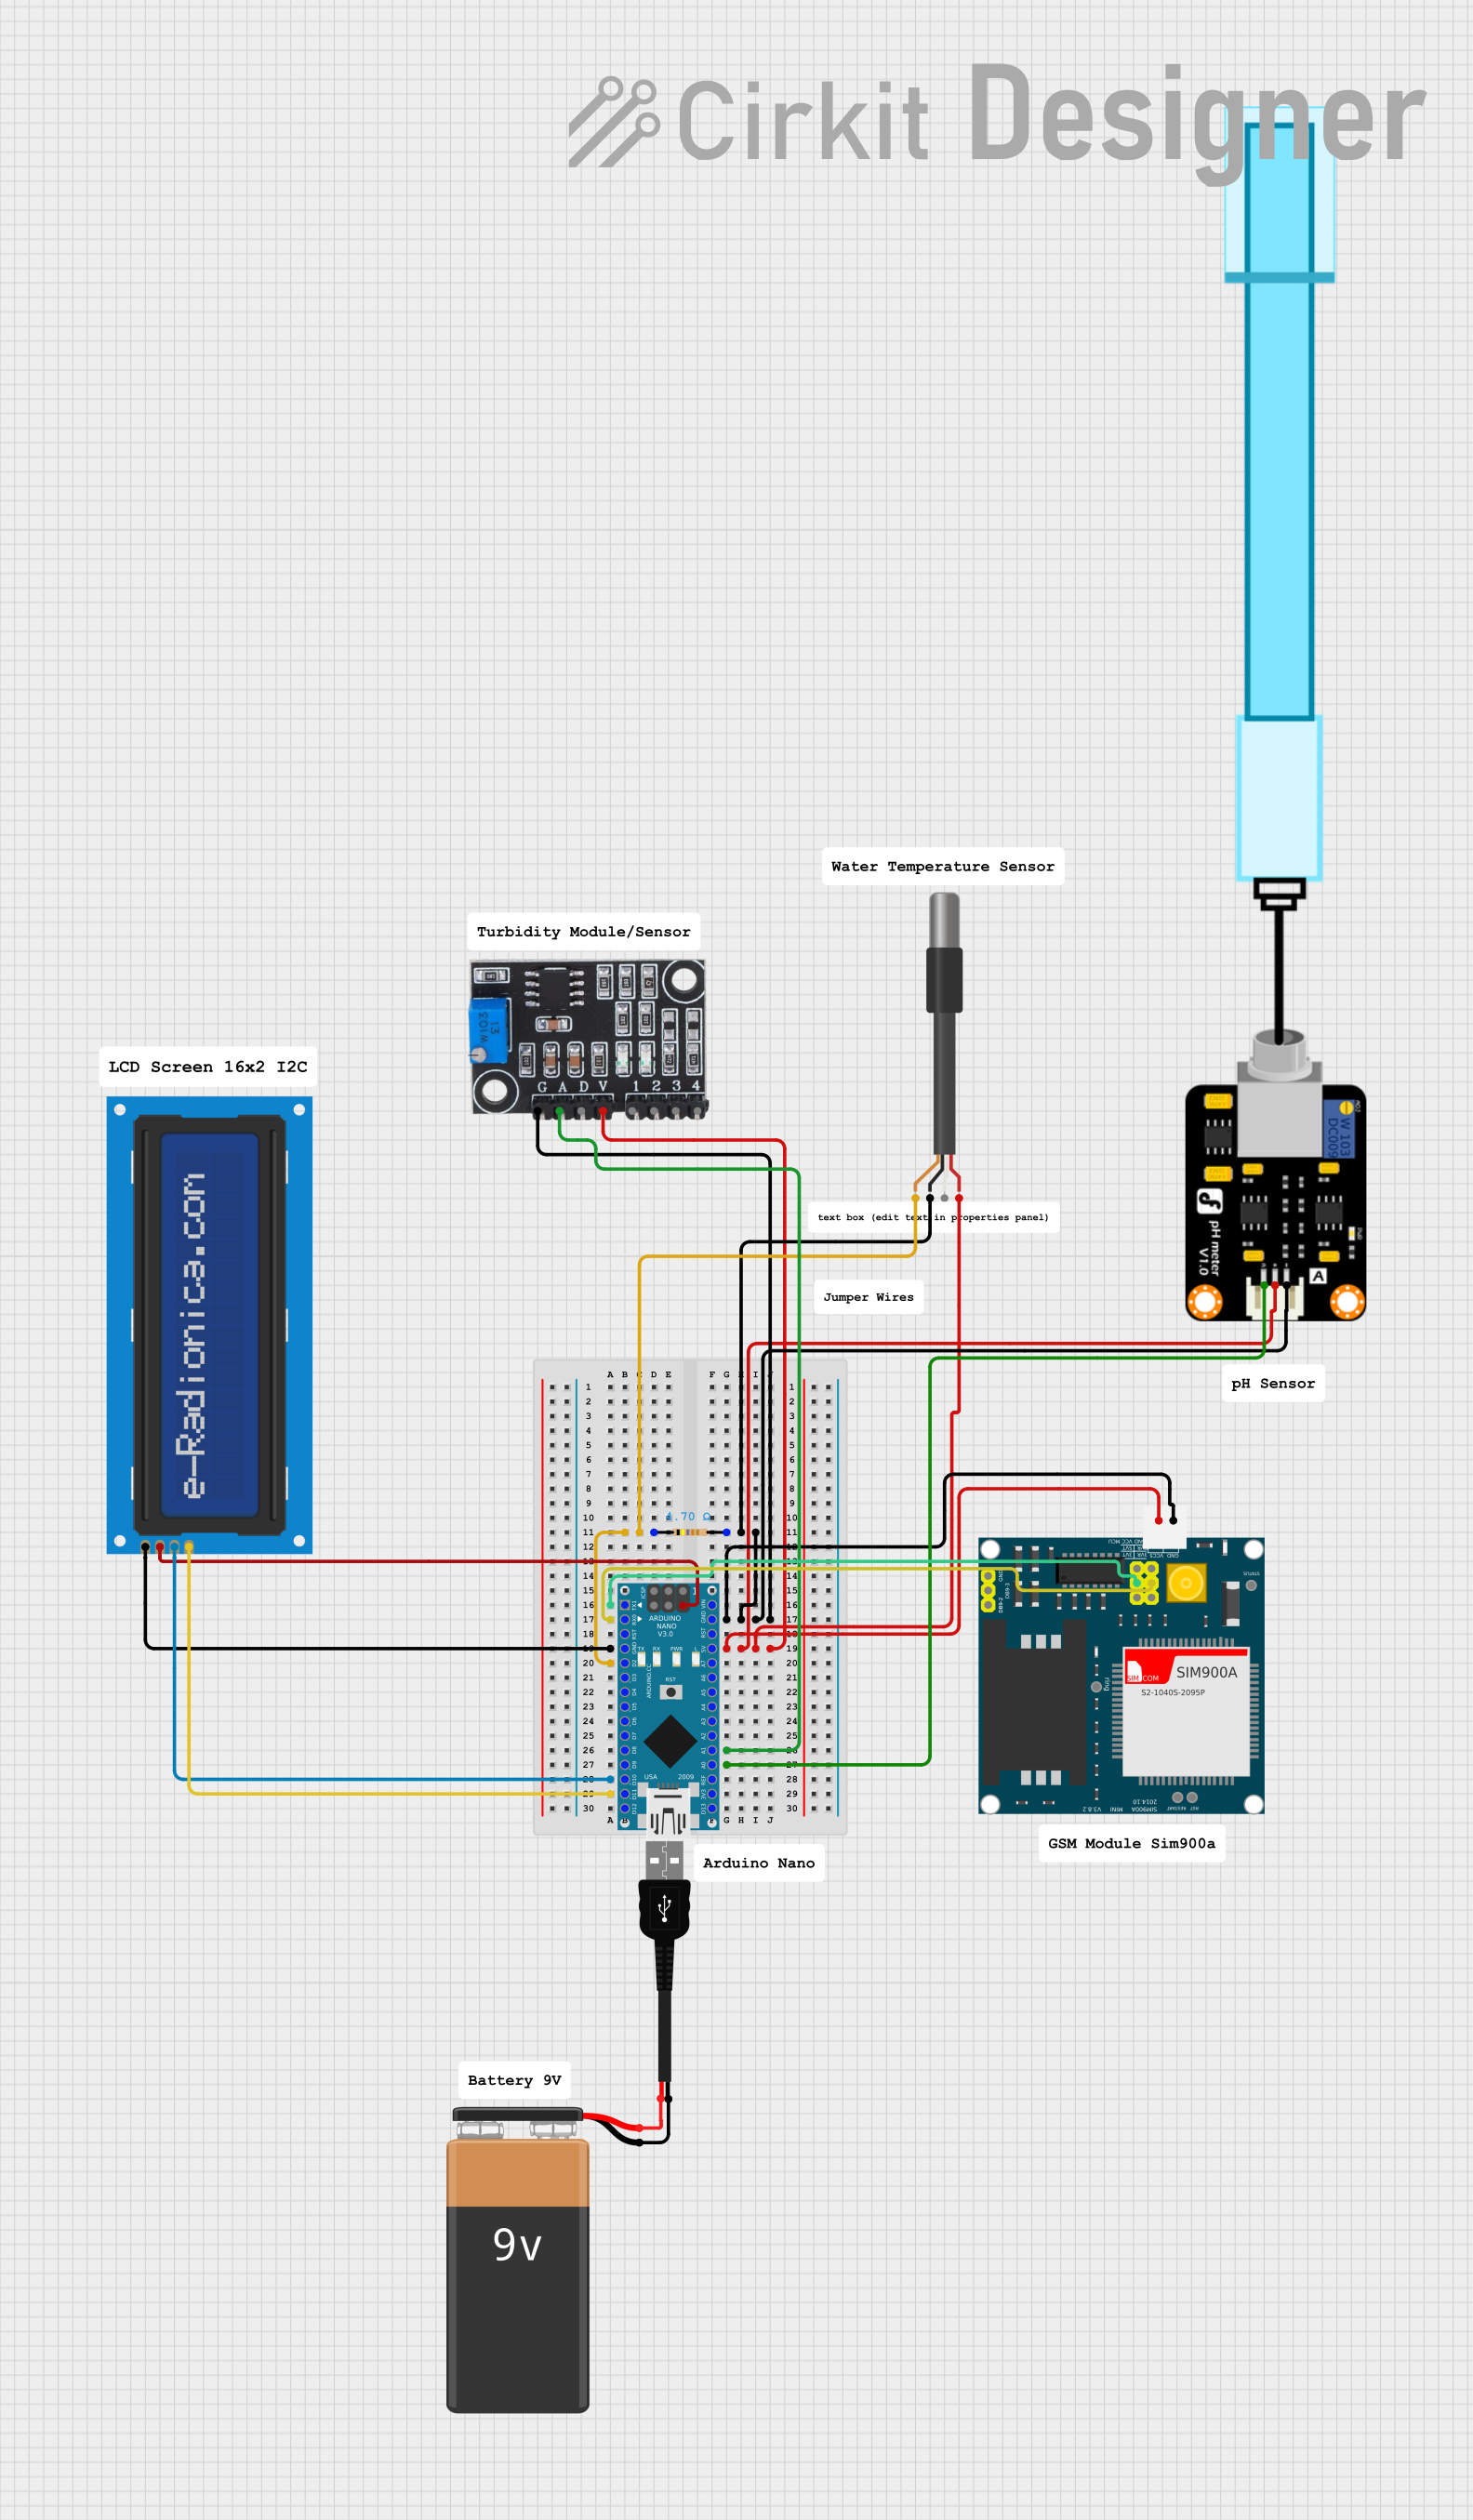
Explore Projects Built with Atlas Scientific pH Board
Technical Specifications
Key Technical Details
- Measurement Range: 0.001 - 14.000 pH
- Resolution: 0.001 pH
- Accuracy: ± 0.002 pH
- Response Time: 1 reading per second
- Minimum Sample Size: 30 µL
- Operating Temperature: 1°C - 99°C
- Data Protocol: UART & I2C
- Default I2C Address: 0x63 (99 in decimal)
- Supply Voltage: 3.3V - 5V
Pin Configuration and Descriptions
| Pin Number | Name | Description |
|---|---|---|
| 1 | VCC | Supply voltage (3.3V - 5V) |
| 2 | GND | Ground connection |
| 3 | TX | Transmit pin for UART communication |
| 4 | RX | Receive pin for UART communication |
| 5 | SCL | Serial Clock for I2C communication |
| 6 | SDA | Serial Data for I2C communication |
| 7 | PGND | Probe Ground (connect to the solution ground) |
Usage Instructions
Connecting to a Circuit
- Power Supply: Connect the VCC pin to a 3.3V or 5V power supply and the GND pin to the ground.
- Communication: Choose between UART or I2C for data communication:
- For UART, connect the TX and RX pins to the corresponding RX and TX pins on your microcontroller.
- For I2C, connect the SCL and SDA pins to the I2C clock and data lines on your microcontroller.
- Probe Connection: Connect your pH probe to the BNC connector on the board. Ensure the probe's ground is connected to the PGND pin.
Important Considerations and Best Practices
- Calibration: Calibrate the sensor with pH 4, pH 7, and pH 10 buffer solutions for accurate measurements.
- Temperature Compensation: For best results, use a temperature sensor for automatic temperature compensation.
- Isolation: To prevent noise and interference, use an electrically isolated power supply.
Example Code for Arduino UNO
#include <Wire.h> // Include the I2C library (required)

const int pHBoardAddress = 99; // Default I2C address of the pH board

void setup() {
  Wire.begin(); // Join the I2C bus as master
  Serial.begin(9600); // Start serial communication at 9600 baud
}

void loop() {
  Wire.beginTransmission(pHBoardAddress); // Start I2C transmission
  Wire.write("R"); // Send the command to take a reading
  Wire.endTransmission(); // End transmission

  delay(1000); // Wait for the reading to be taken

  Wire.requestFrom(pHBoardAddress, 7); // Request 7 bytes from the pH board
  while (Wire.available()) { // While receiving data
    char c = Wire.read(); // Read a byte
    Serial.print(c); // Print the byte to the serial monitor
  }
  Serial.println(); // Newline for readability

  delay(1000); // Wait before taking the next reading
}
Troubleshooting and FAQs
Common Issues
- Inaccurate Readings: Ensure the sensor is properly calibrated with buffer solutions. Check that the probe is clean and not worn out.
- No Data on Serial: Verify that the TX and RX pins are correctly connected and that the correct baud rate is set.
- I2C Communication Failure: Check the SCL and SDA connections, and ensure pull-up resistors are in place if required.
Solutions and Tips for Troubleshooting
- Calibration: Perform a two-point or three-point calibration using standard buffer solutions.
- Cleaning the Probe: Regularly clean the probe with distilled water and store it in a proper storage solution.
- Check Connections: Ensure all connections are secure and free from corrosion.
FAQs
Q: Can the pH board operate in extreme temperatures? A: The board is designed to operate between 1°C and 99°C. For extreme temperatures, additional considerations for thermal management may be necessary.
Q: How often should I calibrate the sensor? A: Calibration frequency depends on the usage and required accuracy. It is recommended to calibrate before any critical measurements or after a significant change in the measurement environment.
Q: What should I do if the readings are unstable? A: Unstable readings can be caused by electrical interference or air bubbles on the probe's sensor. Ensure the probe is fully submerged and that the environment is free from electrical noise.