Cirkit Designer Logo
Cirkit Designer
Your all-in-one circuit design IDE
Home / 
Component Documentation

How to Use Qwiic D-Pad Button Breakout with I2C Interface: Examples, Pinouts, and Specs

Image of Qwiic D-Pad Button Breakout with I2C Interface
Cirkit Designer LogoDesign with Qwiic D-Pad Button Breakout with I2C Interface in Cirkit Designer

Introduction

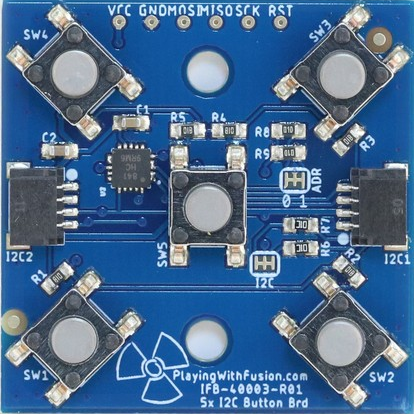
The Qwiic D-Pad Button Breakout (Manufacturer Part ID: IFB-40003) by Playing With Fusion is a compact and versatile breakout board designed for directional input. It features a D-Pad button interface that communicates via the I2C protocol, making it easy to integrate into microcontroller-based projects. This component is ideal for applications requiring simple directional control, such as menu navigation, gaming interfaces, or robotic control systems.

Explore Projects Built with Qwiic D-Pad Button Breakout with I2C Interface

Use Cirkit Designer to design, explore, and prototype these projects online. Some projects support real-time simulation. Click "Open Project" to start designing instantly!
Arduino UNO Controlled Joystick Interface with LCD Feedback and Audio Alert
Image of 우주게임: A project utilizing Qwiic D-Pad Button Breakout with I2C Interface in a practical application
This circuit features an Arduino UNO microcontroller connected to a KY-023 Dual Axis Joystick Module, an I2C LCD 16x2 Screen, a Piezo Speaker, and a Pushbutton. The joystick provides two analog inputs to the Arduino for X and Y axis control, while the pushbutton is connected to a digital input for user interaction. The LCD screen displays information via I2C communication, and the Piezo Speaker is driven by a digital output from the Arduino for audio feedback.
Cirkit Designer LogoOpen Project in Cirkit Designer
Battery-Powered Smart Sensor Hub with Adafruit QT Py RP2040
Image of wearable final: A project utilizing Qwiic D-Pad Button Breakout with I2C Interface in a practical application
This circuit features an Adafruit QT Py RP2040 microcontroller interfaced with an APDS9960 proximity sensor, an MPU6050 accelerometer and gyroscope, and an OLED display via I2C communication. It also includes a buzzer controlled by the microcontroller and is powered by a 3.7V LiPo battery with a toggle switch for power control.
Cirkit Designer LogoOpen Project in Cirkit Designer
I2C-Controlled OLED Display with External EEPROM and Interactive Pushbuttons
Image of godmode: A project utilizing Qwiic D-Pad Button Breakout with I2C Interface in a practical application
This is a microcontroller-based interactive device featuring a Wemos D1 Mini, an OLED display, external EEPROM, and an I/O expander. It includes user input buttons and status LEDs, with potential MIDI interface capabilities.
Cirkit Designer LogoOpen Project in Cirkit Designer
ESP32-Based Interactive Display with Pushbutton Inputs
Image of Intensity: A project utilizing Qwiic D-Pad Button Breakout with I2C Interface in a practical application
This circuit features an ESP32 microcontroller connected to three pushbuttons and a 16x2 I2C LCD display. The pushbuttons are interfaced with GPIO pins 26, 27, and 14 of the ESP32 for input, and all buttons share a common ground connection. The LCD display is powered by a Vcc source and communicates with the ESP32 via I2C protocol using GPIO pins 21 (SDA) and 22 (SCL).
Cirkit Designer LogoOpen Project in Cirkit Designer

Explore Projects Built with Qwiic D-Pad Button Breakout with I2C Interface

Use Cirkit Designer to design, explore, and prototype these projects online. Some projects support real-time simulation. Click "Open Project" to start designing instantly!
Image of 우주게임: A project utilizing Qwiic D-Pad Button Breakout with I2C Interface in a practical application
Arduino UNO Controlled Joystick Interface with LCD Feedback and Audio Alert
This circuit features an Arduino UNO microcontroller connected to a KY-023 Dual Axis Joystick Module, an I2C LCD 16x2 Screen, a Piezo Speaker, and a Pushbutton. The joystick provides two analog inputs to the Arduino for X and Y axis control, while the pushbutton is connected to a digital input for user interaction. The LCD screen displays information via I2C communication, and the Piezo Speaker is driven by a digital output from the Arduino for audio feedback.
Cirkit Designer LogoOpen Project in Cirkit Designer
Image of wearable final: A project utilizing Qwiic D-Pad Button Breakout with I2C Interface in a practical application
Battery-Powered Smart Sensor Hub with Adafruit QT Py RP2040
This circuit features an Adafruit QT Py RP2040 microcontroller interfaced with an APDS9960 proximity sensor, an MPU6050 accelerometer and gyroscope, and an OLED display via I2C communication. It also includes a buzzer controlled by the microcontroller and is powered by a 3.7V LiPo battery with a toggle switch for power control.
Cirkit Designer LogoOpen Project in Cirkit Designer
Image of godmode: A project utilizing Qwiic D-Pad Button Breakout with I2C Interface in a practical application
I2C-Controlled OLED Display with External EEPROM and Interactive Pushbuttons
This is a microcontroller-based interactive device featuring a Wemos D1 Mini, an OLED display, external EEPROM, and an I/O expander. It includes user input buttons and status LEDs, with potential MIDI interface capabilities.
Cirkit Designer LogoOpen Project in Cirkit Designer
Image of Intensity: A project utilizing Qwiic D-Pad Button Breakout with I2C Interface in a practical application
ESP32-Based Interactive Display with Pushbutton Inputs
This circuit features an ESP32 microcontroller connected to three pushbuttons and a 16x2 I2C LCD display. The pushbuttons are interfaced with GPIO pins 26, 27, and 14 of the ESP32 for input, and all buttons share a common ground connection. The LCD display is powered by a Vcc source and communicates with the ESP32 via I2C protocol using GPIO pins 21 (SDA) and 22 (SCL).
Cirkit Designer LogoOpen Project in Cirkit Designer

Common Applications

  • User interface navigation for embedded systems
  • Gaming controllers and retro gaming projects
  • Robotics control panels
  • Menu selection for IoT devices
  • Educational projects and prototyping

Technical Specifications

The Qwiic D-Pad Button Breakout is designed for simplicity and ease of use. Below are its key technical details:

General Specifications

Parameter Value
Operating Voltage 3.3V
Communication Protocol I2C
Default I2C Address 0x20
Button Configuration 5 buttons (Up, Down, Left,
Right, Center)
Dimensions 1.0" x 1.0" (25.4mm x 25.4mm)
Connector Type Qwiic (4-pin JST)

Pin Configuration

The Qwiic D-Pad Button Breakout uses a 4-pin Qwiic connector for I2C communication. Below is the pinout:

Pin Name Description
GND Ground
3.3V Power supply (3.3V)
SDA I2C data line
SCL I2C clock line

Usage Instructions

Connecting the Qwiic D-Pad Button Breakout

  1. Power Supply: Connect the breakout board to a 3.3V power source using the Qwiic connector.
  2. I2C Communication: Ensure the SDA and SCL lines are connected to the corresponding pins on your microcontroller (e.g., Arduino UNO).
  3. Address Configuration: The default I2C address is 0x20. If multiple devices are used, ensure there are no address conflicts.

Example Circuit

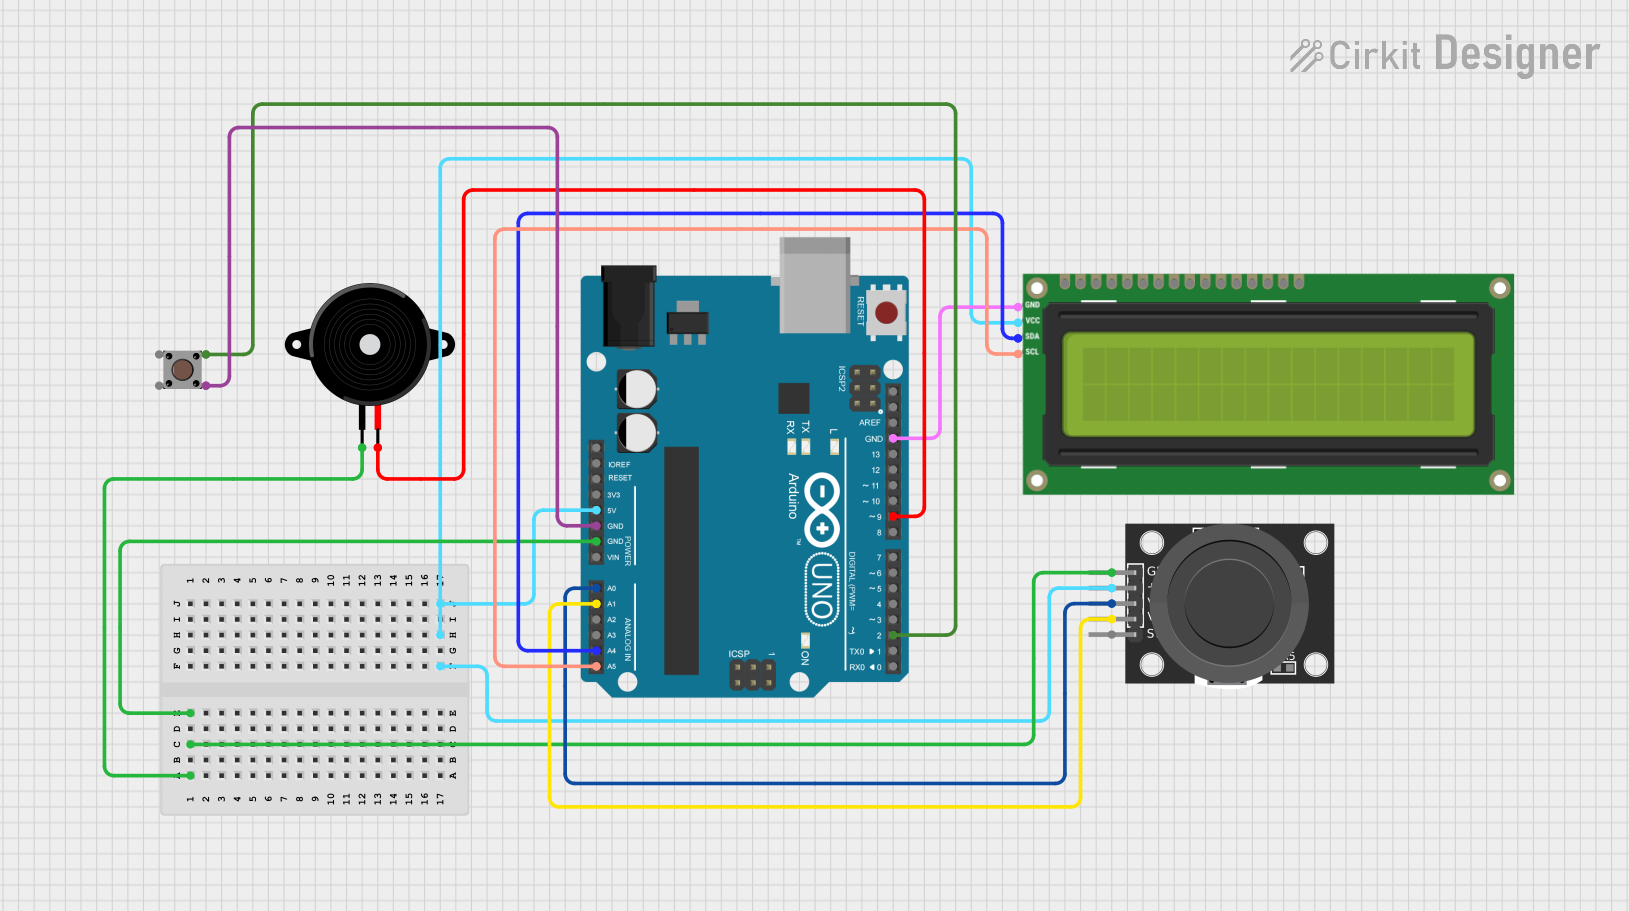
To connect the Qwiic D-Pad Button Breakout to an Arduino UNO:

  • Use a Qwiic cable to connect the breakout board to a Qwiic Shield attached to the Arduino UNO.
  • Alternatively, use jumper wires to connect:
    • GND to GND
    • 3.3V to 3.3V
    • SDA to A4 (on Arduino UNO)
    • SCL to A5 (on Arduino UNO)

Example Arduino Code

Below is an example Arduino sketch to read button presses from the Qwiic D-Pad Button Breakout:

#include <Wire.h>

// Define the I2C address of the Qwiic D-Pad Button Breakout
#define DPAD_I2C_ADDRESS 0x20

void setup() {
  Wire.begin(); // Initialize I2C communication
  Serial.begin(9600); // Start serial communication for debugging
  Serial.println("Qwiic D-Pad Button Breakout Test");
}

void loop() {
  Wire.requestFrom(DPAD_I2C_ADDRESS, 1); // Request 1 byte from the D-Pad
  if (Wire.available()) {
    uint8_t buttonState = Wire.read(); // Read the button state

    // Decode the button state
    if (buttonState & 0x01) Serial.println("Up button pressed");
    if (buttonState & 0x02) Serial.println("Down button pressed");
    if (buttonState & 0x04) Serial.println("Left button pressed");
    if (buttonState & 0x08) Serial.println("Right button pressed");
    if (buttonState & 0x10) Serial.println("Center button pressed");
  }
  delay(100); // Small delay to avoid spamming the serial monitor
}

Important Considerations

  • Voltage Compatibility: The breakout board operates at 3.3V. If using a 5V microcontroller, ensure proper level shifting for the I2C lines.
  • Pull-Up Resistors: The Qwiic D-Pad includes onboard pull-up resistors for the I2C lines. Avoid adding additional pull-ups unless necessary.
  • Debouncing: The onboard firmware handles basic debouncing, but additional software debouncing may be required for specific applications.

Troubleshooting and FAQs

Common Issues

  1. No Response from the Breakout Board

    • Ensure the board is powered with 3.3V.
    • Verify the I2C connections (SDA and SCL).
    • Check for address conflicts on the I2C bus.
  2. Incorrect Button Readings

    • Ensure the I2C address in your code matches the breakout board's address.
    • Verify that the Qwiic cable or jumper wires are securely connected.
  3. I2C Communication Errors

    • Check for proper pull-up resistors on the I2C lines.
    • Ensure the microcontroller supports 3.3V logic levels or use level shifters.

FAQs

Q: Can I change the I2C address of the breakout board?
A: No, the Qwiic D-Pad Button Breakout has a fixed I2C address of 0x20.

Q: Does the breakout board support 5V operation?
A: No, the board is designed for 3.3V operation. Use a level shifter if connecting to a 5V microcontroller.

Q: How do I detect multiple button presses?
A: The button state byte returned via I2C is a bitmask. Multiple bits can be set simultaneously to indicate multiple button presses.

Q: Can I use this breakout board with Raspberry Pi?
A: Yes, the Qwiic D-Pad Button Breakout is compatible with any device that supports I2C communication, including Raspberry Pi.

By following this documentation, you can easily integrate the Qwiic D-Pad Button Breakout into your projects for reliable and intuitive directional input.