
How to Use Adafruit Motor Bonnet: Examples, Pinouts, and Specs
 Design with Adafruit Motor Bonnet in Cirkit Designer
Introduction
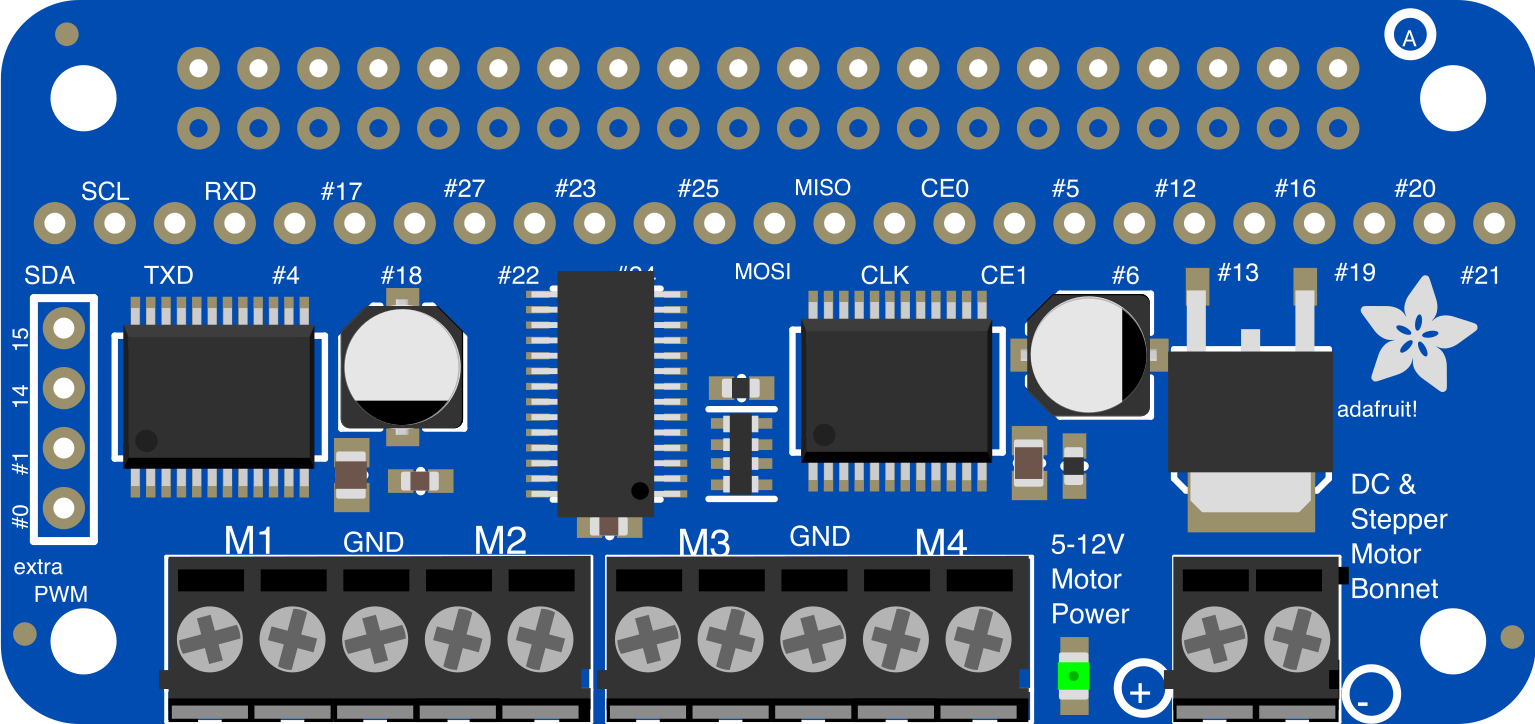
The Adafruit Motor Bonnet (Part ID: 4280) is a versatile add-on board designed to simplify the control of DC motors and stepper motors. It features built-in motor drivers, efficient power management, and seamless compatibility with microcontrollers like the Raspberry Pi. This compact and powerful board is ideal for robotics, automation, and other motor control applications.
Explore Projects Built with Adafruit Motor Bonnet
 Open Project in Cirkit Designer
 Open Project in Cirkit Designer
 Open Project in Cirkit Designer
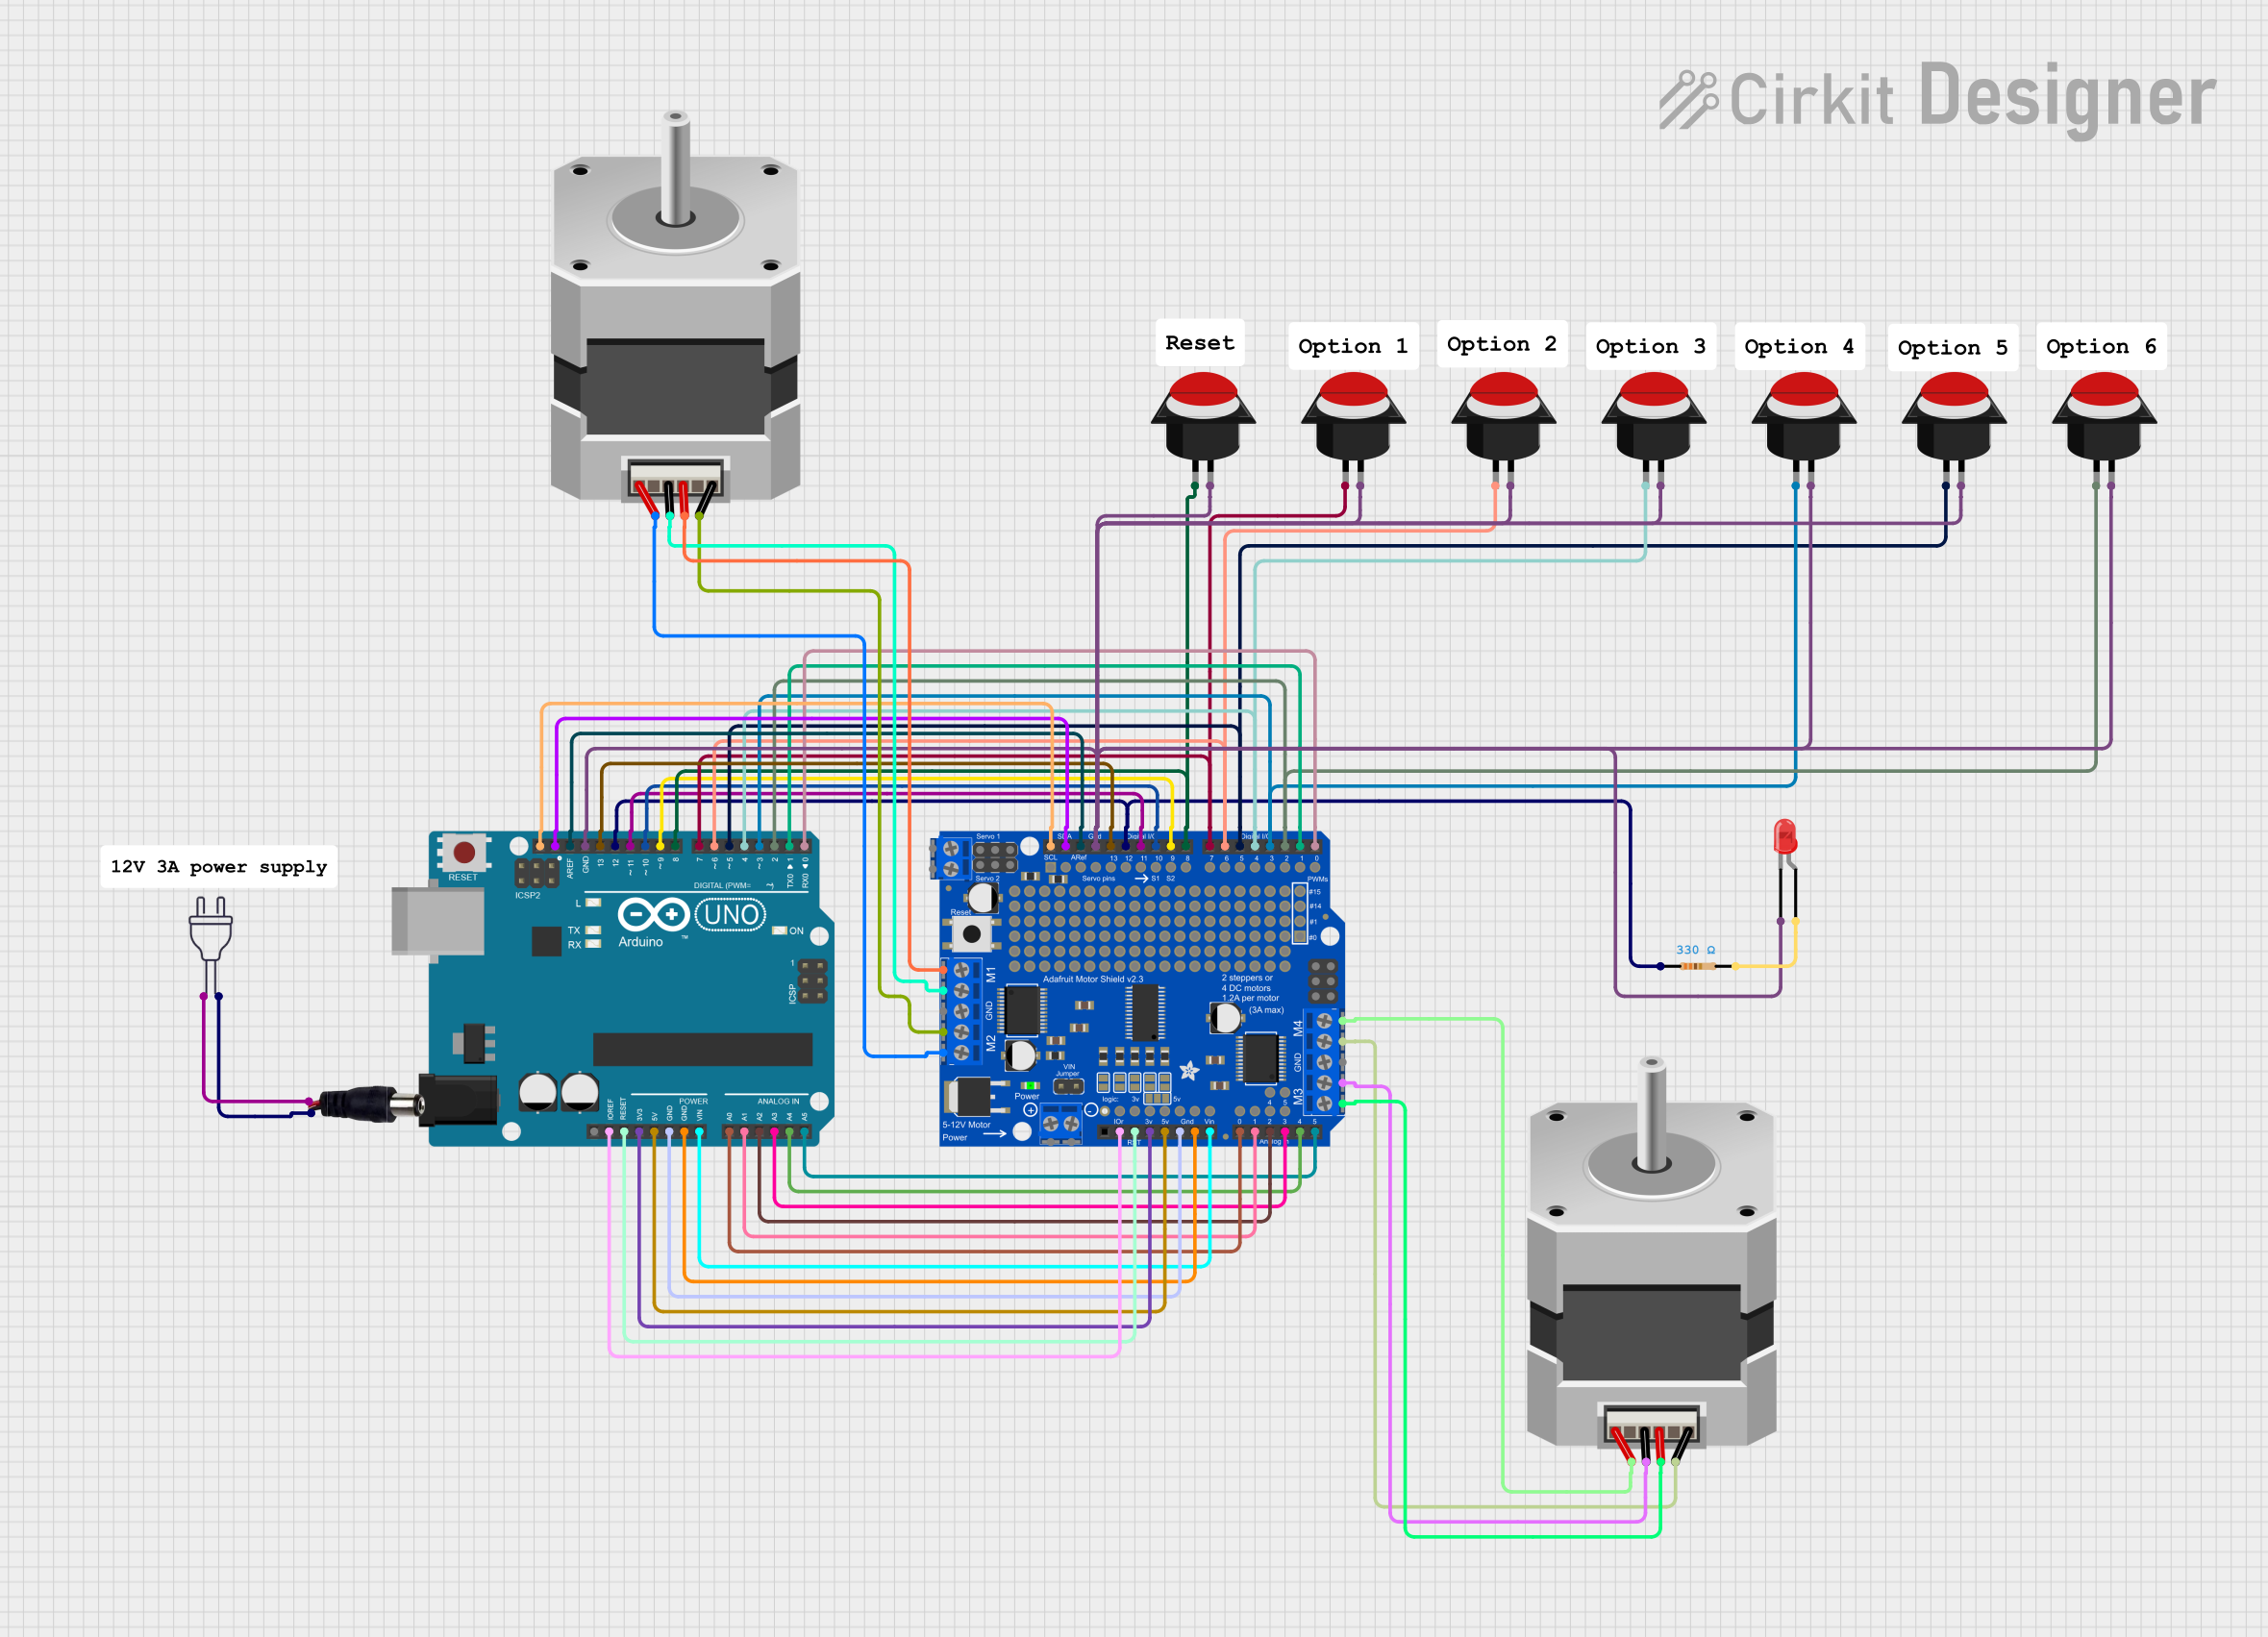 Open Project in Cirkit Designer
Explore Projects Built with Adafruit Motor Bonnet
Open Project in Cirkit DesignerOpen Project in Cirkit DesignerOpen Project in Cirkit DesignerOpen Project in Cirkit DesignerCommon Applications and Use Cases
- Robotics projects requiring precise motor control
- Automated systems such as conveyor belts or robotic arms
- DIY projects involving DC or stepper motors
- Educational purposes for learning motor control and programming
Technical Specifications
The Adafruit Motor Bonnet is built with robust features to ensure reliable motor control. Below are its key technical specifications:
General Specifications
| Parameter | Value |
|---|---|
| Manufacturer | Adafruit |
| Part ID | 4280 |
| Motor Driver Chip | DRV8833 |
| Input Voltage Range | 4.5V to 13.5V |
| Maximum Continuous Current | 1.2A per motor channel |
| Peak Current | 2A per motor channel |
| Communication Protocol | I2C |
| Dimensions | 65mm x 30mm x 10mm |
Pin Configuration and Descriptions
The Adafruit Motor Bonnet uses a standard I2C interface and includes motor output terminals for connecting motors. Below is the pin configuration:
I2C Header Pins
| Pin Name | Description |
|---|---|
| SDA | I2C Data Line |
| SCL | I2C Clock Line |
| 3V | 3.3V Power Supply |
| GND | Ground |
Motor Output Terminals
| Terminal Label | Description |
|---|---|
| M1+ / M1- | Motor 1 positive and negative terminals |
| M2+ / M2- | Motor 2 positive and negative terminals |
| M3+ / M3- | Motor 3 positive and negative terminals |
| M4+ / M4- | Motor 4 positive and negative terminals |
Power Input
| Pin Name | Description |
|---|---|
| VIN | External power supply for motors (4.5V to 13.5V) |
| GND | Ground |
Usage Instructions
The Adafruit Motor Bonnet is easy to set up and use with microcontrollers like the Raspberry Pi. Follow the steps below to integrate it into your project:
Step 1: Hardware Setup
- Attach the Bonnet: Securely connect the Motor Bonnet to the GPIO header of your Raspberry Pi.
- Connect Motors: Attach the DC or stepper motors to the appropriate motor output terminals (M1, M2, M3, or M4).
- Power the Motors: Provide an external power supply (4.5V to 13.5V) to the VIN and GND terminals.
- Check Connections: Ensure all connections are secure and polarity is correct.
Step 2: Software Setup
- Install Required Libraries:
- Install the Adafruit CircuitPython MotorKit library using the following command:
pip3 install adafruit-circuitpython-motorkit
- Install the Adafruit CircuitPython MotorKit library using the following command:
- Enable I2C on Raspberry Pi:
- Use
raspi-configto enable I2C communication.
- Use
Step 3: Example Code
Below is an example Python script to control a DC motor using the Adafruit Motor Bonnet:
Import necessary libraries
from adafruit_motorkit import MotorKit import time
Initialize the MotorKit object
kit = MotorKit()
Run Motor 1 forward at 50% speed
kit.motor1.throttle = 0.5 # Set throttle between -1.0 (reverse) and 1.0 (forward) time.sleep(2) # Run for 2 seconds
Stop Motor 1
kit.motor1.throttle = 0 time.sleep(1)
Run Motor 1 in reverse at full speed
kit.motor1.throttle = -1.0 time.sleep(2)
Stop Motor 1
kit.motor1.throttle = 0
Best Practices
- Always double-check the motor voltage and current ratings to ensure compatibility with the Motor Bonnet.
- Use a separate power supply for motors if they require higher current than the Raspberry Pi can provide.
- Avoid reversing motor polarity while the system is powered to prevent damage.
Troubleshooting and FAQs
Common Issues and Solutions
Motors Not Running:
- Ensure the Motor Bonnet is properly seated on the Raspberry Pi GPIO header.
- Verify that the I2C interface is enabled on the Raspberry Pi.
- Check motor connections and ensure the external power supply is connected.
Erratic Motor Behavior:
- Confirm that the motor's voltage and current ratings are within the supported range.
- Inspect wiring for loose connections or shorts.
I2C Communication Errors:
- Use the
i2cdetectcommand to verify that the Motor Bonnet is detected on the I2C bus. - Ensure no other devices on the I2C bus have conflicting addresses.
- Use the
FAQs
Q: Can I control more than four motors with the Motor Bonnet?
A: No, the Motor Bonnet supports up to four motors. For additional motors, consider using multiple bonnets with unique I2C addresses.
Q: What types of motors are supported?
A: The Motor Bonnet supports DC motors and stepper motors.
Q: Can I use the Motor Bonnet with an Arduino?
A: The Motor Bonnet is primarily designed for Raspberry Pi, but it can be used with other microcontrollers that support I2C communication.
Q: How do I change the I2C address of the Motor Bonnet?
A: The I2C address can be changed by soldering the address jumpers on the back of the board. Refer to the Adafruit documentation for details.
By following this guide, you can effectively integrate the Adafruit Motor Bonnet into your projects and achieve precise motor control.