Cirkit Designer Logo
Cirkit Designer
Your all-in-one circuit design IDE
Home / 
Component Documentation

How to Use ultrasonic sensor: Examples, Pinouts, and Specs
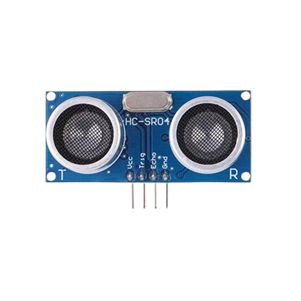

Image of ultrasonic sensor
Cirkit Designer LogoDesign with ultrasonic sensor in Cirkit Designer

Introduction

An ultrasonic sensor is a device that uses ultrasonic waves to measure distance or detect objects. It emits a sound wave at a frequency above the audible range and measures the time it takes for the echo to return, allowing it to calculate the distance to the object.

Ultrasonic sensors are widely used in various applications, including:

  • Obstacle detection in robotics
  • Distance measurement in industrial automation
  • Parking assistance systems in vehicles
  • Liquid level sensing in tanks
  • Proximity detection in security systems

Explore Projects Built with ultrasonic sensor
Use Cirkit Designer to design, explore, and prototype these projects online. Some projects support real-time simulation. Click "Open Project" to start designing instantly!
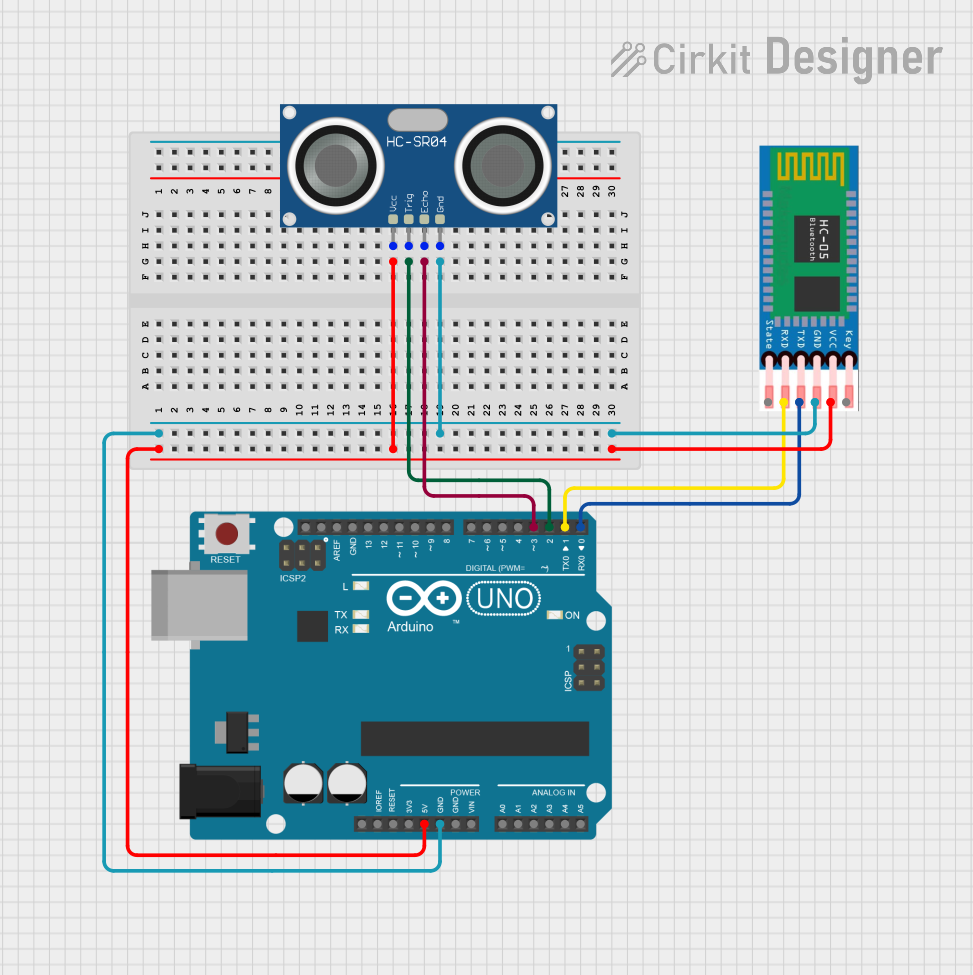
Arduino UNO Based Ultrasonic Distance Measurement with HC-SR04 and Bluetooth Communication via HC-05
Image of hc sr`: A project utilizing ultrasonic sensor in a practical application
This circuit features an Arduino UNO microcontroller interfaced with an HC-SR04 Ultrasonic Sensor and an HC-05 Bluetooth module. The Arduino is configured to trigger the ultrasonic sensor to measure distance and communicate the data wirelessly via the HC-05 module. Power is supplied to both the sensor and the Bluetooth module from the Arduino's 5V output, and ground connections are shared among all components.
Cirkit Designer LogoOpen Project in Cirkit Designer
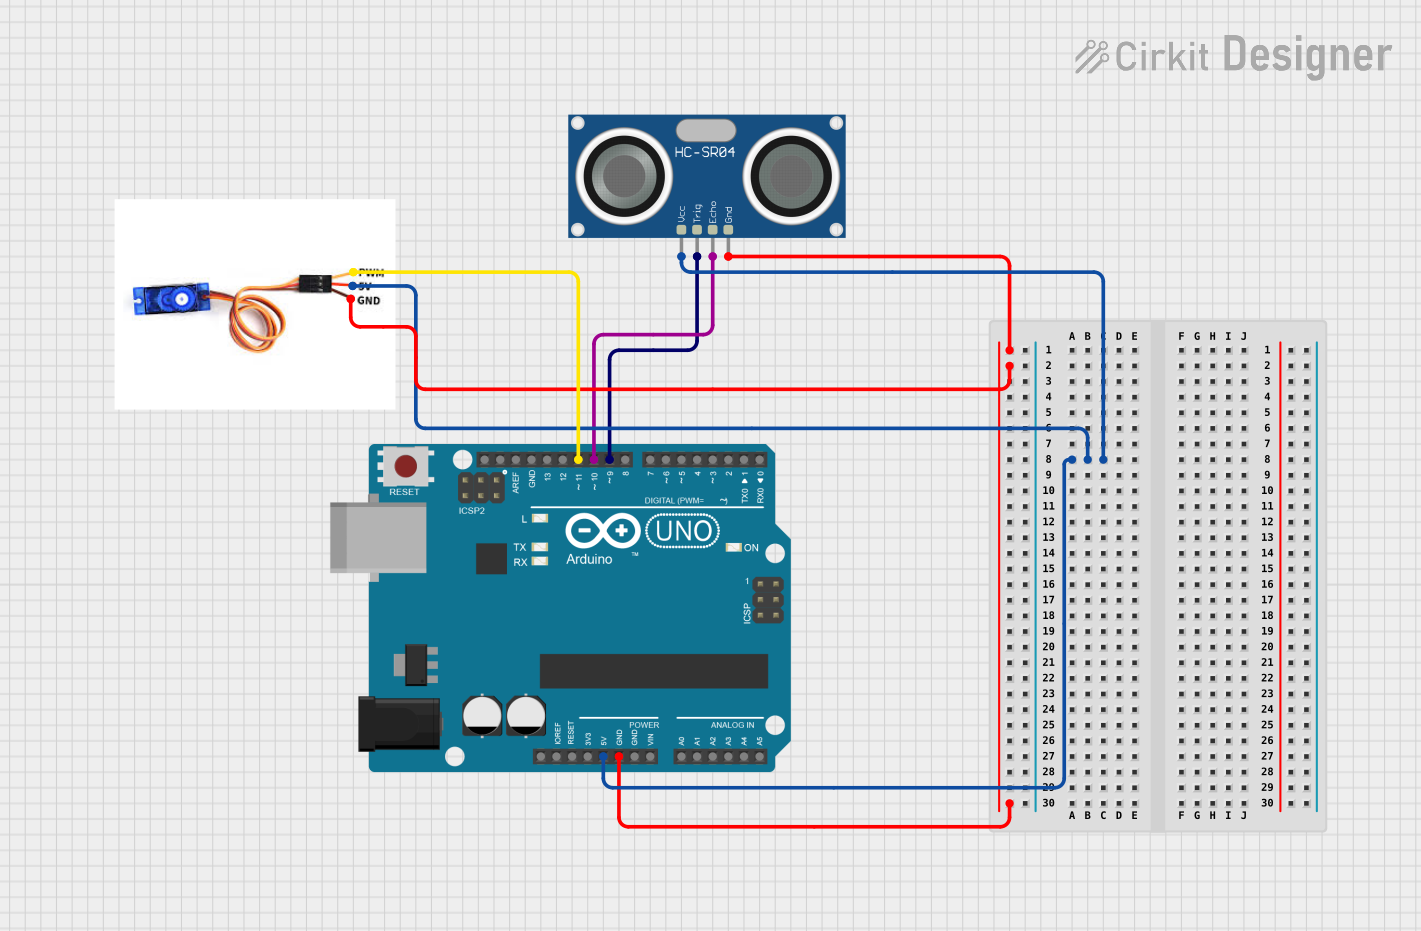
Arduino UNO Based Ultrasonic Radar System with Servo Motor
Image of ultrasonic radar: A project utilizing ultrasonic sensor in a practical application
This circuit is designed to function as an ultrasonic radar system, utilizing an Arduino UNO microcontroller, an HC-SR04 ultrasonic sensor, and an SG90 servo motor. The Arduino controls the servo to sweep the ultrasonic sensor through a range of angles, while the sensor measures the distance to any objects in its path. The system outputs the angle and distance measurements to the serial monitor and provides an indication when an obstacle is detected within 20 cm.
Cirkit Designer LogoOpen Project in Cirkit Designer
Arduino UNO-Based Ultrasonic Distance Measurement with Bluetooth Interface and Visual Feedback
Image of BMO: A project utilizing ultrasonic sensor in a practical application
This circuit features an Arduino UNO microcontroller interfaced with an HC-SR04 ultrasonic sensor, a red LED with a series resistor, a buzzer, an I2C LCD 16x2 screen, and an HC-05 Bluetooth module. The ultrasonic sensor is likely used for distance measurement, with the Arduino controlling the LED and buzzer as indicators, displaying information on the LCD screen, and potentially communicating data wirelessly via the HC-05 Bluetooth module. The provided code skeleton suggests that the specific functionalities are yet to be implemented.
Cirkit Designer LogoOpen Project in Cirkit Designer
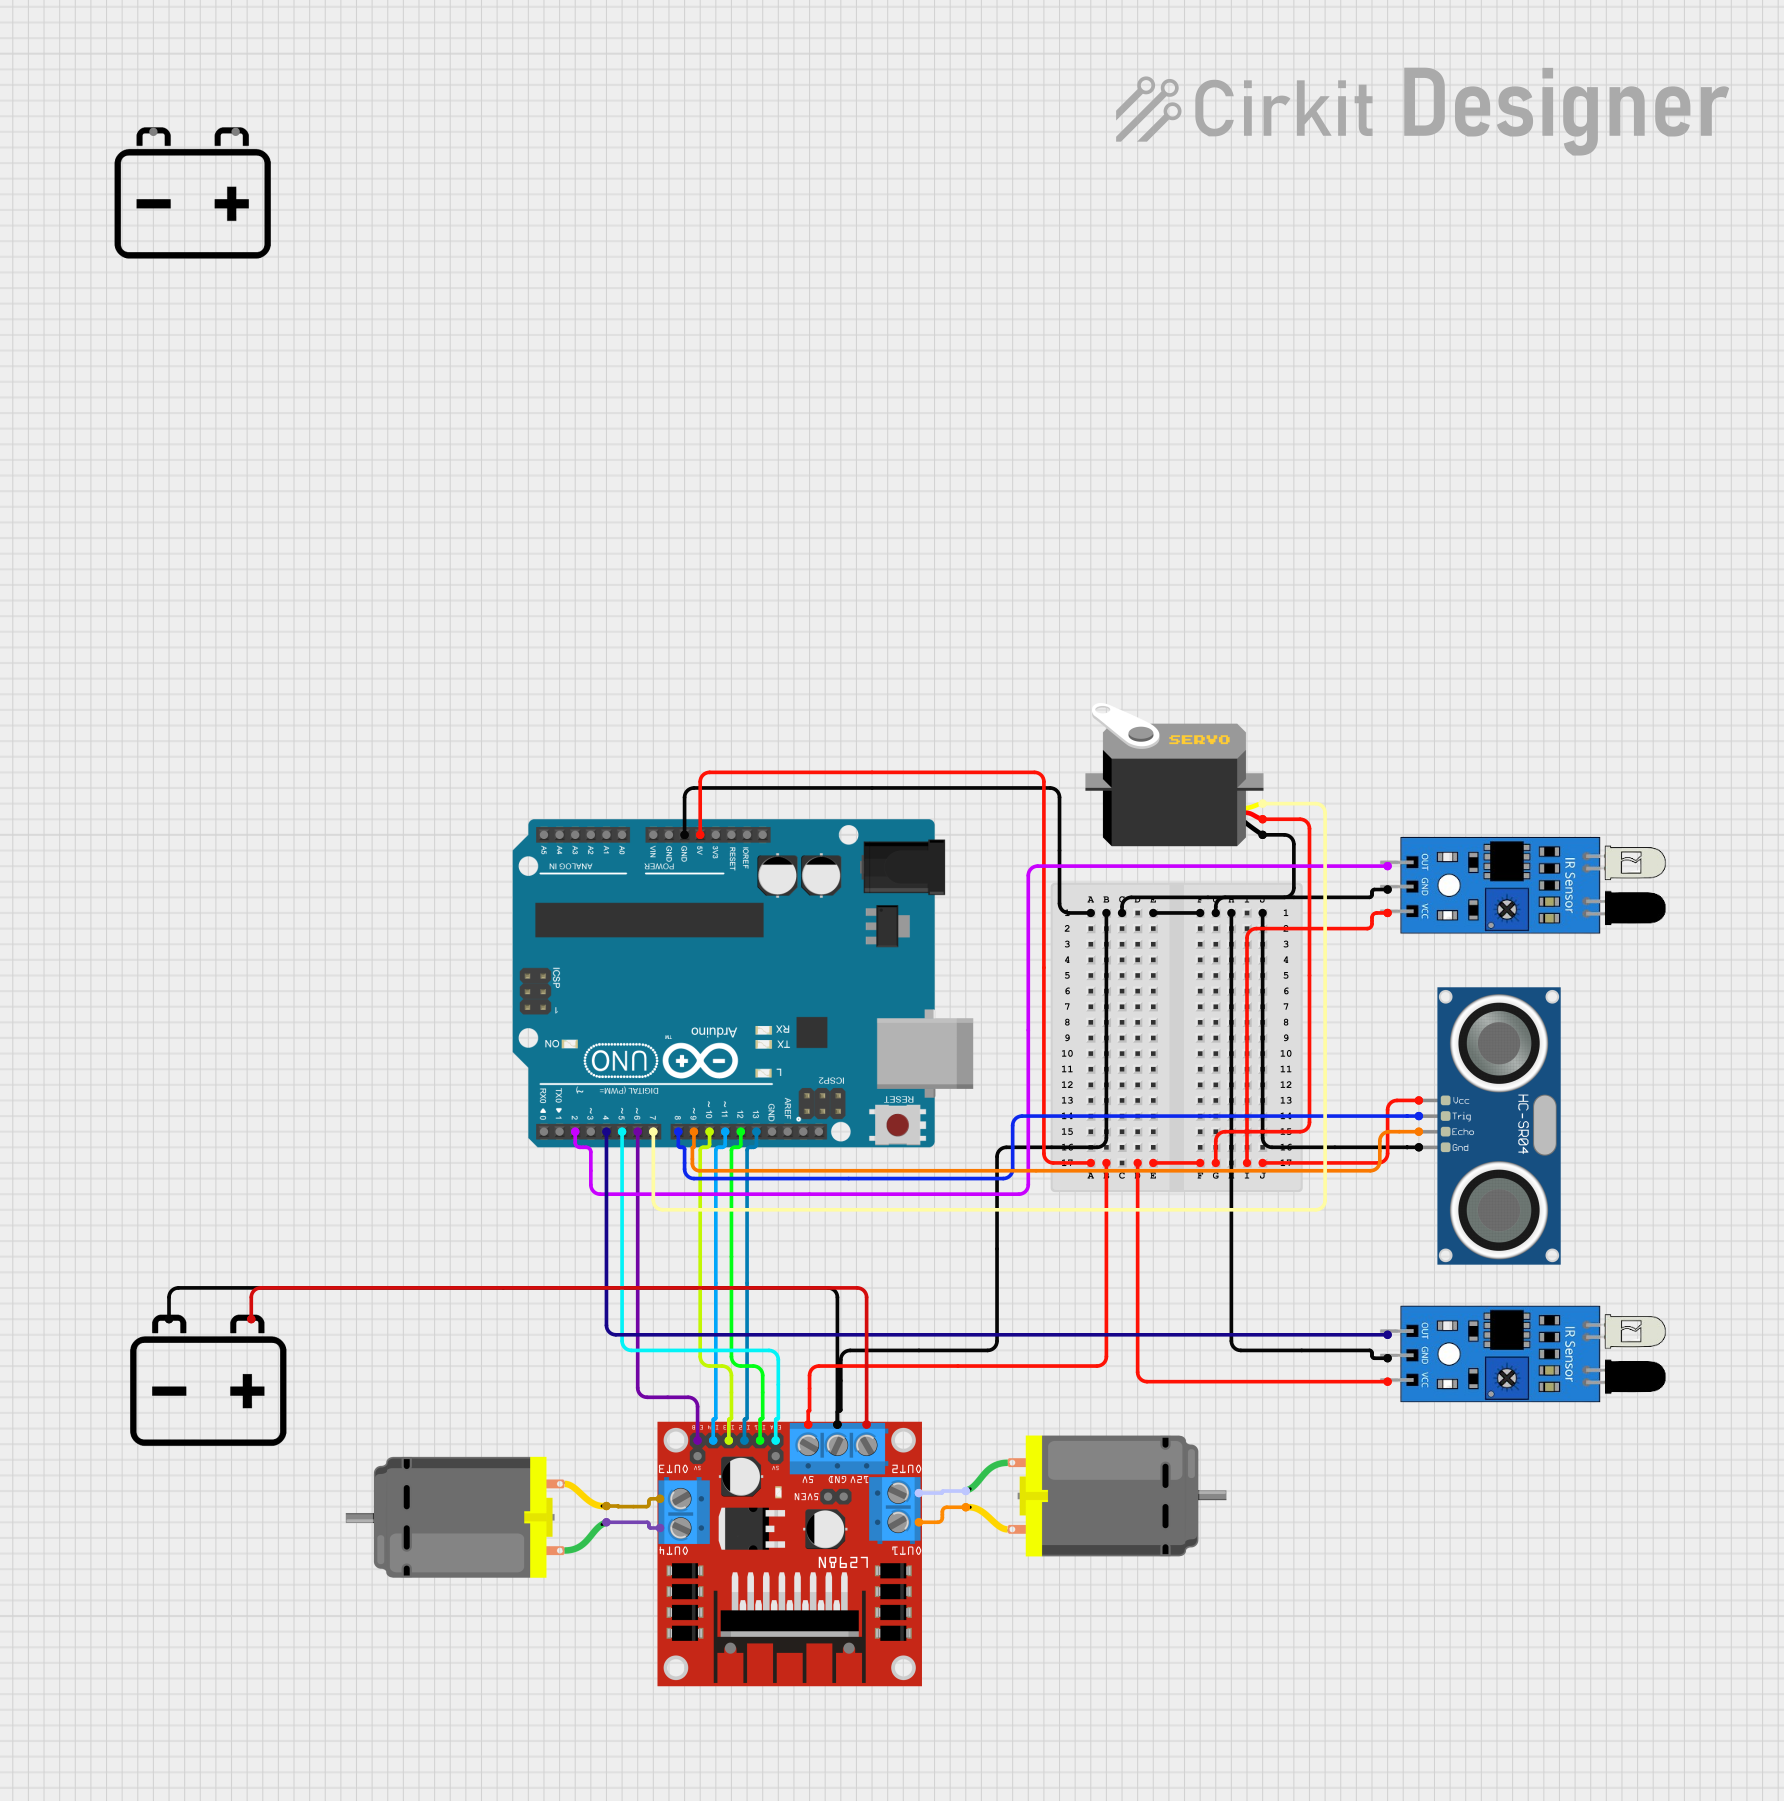
Arduino-Controlled Robotic Vehicle with Ultrasonic and IR Sensors
Image of Copy of Circuit Diagram: A project utilizing ultrasonic sensor in a practical application
This circuit features an Arduino UNO microcontroller interfaced with an HC-SR04 Ultrasonic Sensor, two IR sensors, a servo motor, two DC motors, and an L298N motor driver. The Arduino controls the motors using the L298N driver, with the ability to move them forward or backward at variable speeds as defined in the embedded code. The ultrasonic sensor is used for distance measurement, the IR sensors likely for obstacle detection, and the servo for precise angular movement, all powered by 12V batteries.
Cirkit Designer LogoOpen Project in Cirkit Designer

Explore Projects Built with ultrasonic sensor

Use Cirkit Designer to design, explore, and prototype these projects online. Some projects support real-time simulation. Click "Open Project" to start designing instantly!
Image of hc sr`: A project utilizing ultrasonic sensor in a practical application
Arduino UNO Based Ultrasonic Distance Measurement with HC-SR04 and Bluetooth Communication via HC-05
This circuit features an Arduino UNO microcontroller interfaced with an HC-SR04 Ultrasonic Sensor and an HC-05 Bluetooth module. The Arduino is configured to trigger the ultrasonic sensor to measure distance and communicate the data wirelessly via the HC-05 module. Power is supplied to both the sensor and the Bluetooth module from the Arduino's 5V output, and ground connections are shared among all components.
Cirkit Designer LogoOpen Project in Cirkit Designer
Image of ultrasonic radar: A project utilizing ultrasonic sensor in a practical application
Arduino UNO Based Ultrasonic Radar System with Servo Motor
This circuit is designed to function as an ultrasonic radar system, utilizing an Arduino UNO microcontroller, an HC-SR04 ultrasonic sensor, and an SG90 servo motor. The Arduino controls the servo to sweep the ultrasonic sensor through a range of angles, while the sensor measures the distance to any objects in its path. The system outputs the angle and distance measurements to the serial monitor and provides an indication when an obstacle is detected within 20 cm.
Cirkit Designer LogoOpen Project in Cirkit Designer
Image of BMO: A project utilizing ultrasonic sensor in a practical application
Arduino UNO-Based Ultrasonic Distance Measurement with Bluetooth Interface and Visual Feedback
This circuit features an Arduino UNO microcontroller interfaced with an HC-SR04 ultrasonic sensor, a red LED with a series resistor, a buzzer, an I2C LCD 16x2 screen, and an HC-05 Bluetooth module. The ultrasonic sensor is likely used for distance measurement, with the Arduino controlling the LED and buzzer as indicators, displaying information on the LCD screen, and potentially communicating data wirelessly via the HC-05 Bluetooth module. The provided code skeleton suggests that the specific functionalities are yet to be implemented.
Cirkit Designer LogoOpen Project in Cirkit Designer
Image of Copy of Circuit Diagram: A project utilizing ultrasonic sensor in a practical application
Arduino-Controlled Robotic Vehicle with Ultrasonic and IR Sensors
This circuit features an Arduino UNO microcontroller interfaced with an HC-SR04 Ultrasonic Sensor, two IR sensors, a servo motor, two DC motors, and an L298N motor driver. The Arduino controls the motors using the L298N driver, with the ability to move them forward or backward at variable speeds as defined in the embedded code. The ultrasonic sensor is used for distance measurement, the IR sensors likely for obstacle detection, and the servo for precise angular movement, all powered by 12V batteries.
Cirkit Designer LogoOpen Project in Cirkit Designer

Technical Specifications

Below are the key technical details for a typical ultrasonic sensor, such as the HC-SR04:

Parameter Value
Operating Voltage 5V DC
Operating Current 15 mA
Operating Frequency 40 kHz
Measuring Range 2 cm to 400 cm
Accuracy ±3 mm
Trigger Input Signal 10 µs TTL pulse
Echo Output Signal TTL pulse proportional to distance
Dimensions 45 mm x 20 mm x 15 mm

Pin Configuration

The ultrasonic sensor typically has four pins, as described below:

Pin Name Description
1 VCC Power supply pin. Connect to 5V DC.
2 Trig Trigger pin. Sends a 10 µs pulse to initiate distance measurement.
3 Echo Echo pin. Outputs a pulse whose duration corresponds to the measured distance.
4 GND Ground pin. Connect to the ground of the circuit.

Usage Instructions

How to Use the Ultrasonic Sensor in a Circuit

  1. Power the Sensor: Connect the VCC pin to a 5V power source and the GND pin to the ground.
  2. Trigger the Sensor: Send a 10 µs HIGH pulse to the Trig pin to initiate a measurement.
  3. Read the Echo: Measure the duration of the HIGH pulse on the Echo pin. The duration is proportional to the distance of the object.
  4. Calculate Distance: Use the formula below to calculate the distance: [ \text{Distance (cm)} = \frac{\text{Pulse Duration (µs)} \times 0.034}{2} ] The factor 0.034 accounts for the speed of sound (343 m/s) in air.

Important Considerations and Best Practices

  • Ensure the sensor is mounted securely and aligned properly for accurate measurements.
  • Avoid placing the sensor near ultrasonic noise sources, as they may interfere with readings.
  • Use a capacitor (e.g., 10 µF) across the VCC and GND pins to stabilize the power supply.
  • For best results, ensure the target object has a flat surface perpendicular to the sensor.

Example Code for Arduino UNO

Below is an example of how to use the HC-SR04 ultrasonic sensor with an Arduino UNO:

// Define pins for the ultrasonic sensor
const int trigPin = 9; // Trigger pin connected to digital pin 9
const int echoPin = 10; // Echo pin connected to digital pin 10

void setup() {
  // Initialize serial communication for debugging
  Serial.begin(9600);
  
  // Set pin modes
  pinMode(trigPin, OUTPUT); // Trig pin as output
  pinMode(echoPin, INPUT);  // Echo pin as input
}

void loop() {
  // Send a 10 µs pulse to the Trig pin
  digitalWrite(trigPin, LOW);
  delayMicroseconds(2);
  digitalWrite(trigPin, HIGH);
  delayMicroseconds(10);
  digitalWrite(trigPin, LOW);

  // Measure the duration of the pulse on the Echo pin
  long duration = pulseIn(echoPin, HIGH);

  // Calculate the distance in cm
  float distance = (duration * 0.034) / 2;

  // Print the distance to the Serial Monitor
  Serial.print("Distance: ");
  Serial.print(distance);
  Serial.println(" cm");

  // Wait before the next measurement
  delay(500);
}

Troubleshooting and FAQs

Common Issues and Solutions

  1. No Output or Incorrect Readings:

    • Ensure the sensor is powered with 5V and properly grounded.
    • Verify the connections to the Trig and Echo pins.
    • Check for loose wires or poor solder joints.
  2. Unstable or Fluctuating Measurements:

    • Add a capacitor (e.g., 10 µF) across the VCC and GND pins to filter noise.
    • Ensure there are no obstructions or reflective surfaces near the sensor.
  3. Sensor Not Detecting Objects:

    • Ensure the object is within the sensor's range (2 cm to 400 cm).
    • Verify that the object has a surface that can reflect ultrasonic waves.

FAQs

Q: Can the ultrasonic sensor detect transparent objects?
A: Ultrasonic sensors may struggle to detect transparent objects like glass, as they may not reflect ultrasonic waves effectively.

Q: What is the maximum angle of detection for the sensor?
A: The HC-SR04 has a detection angle of approximately 15 degrees. Ensure objects are within this cone for accurate readings.

Q: Can I use the sensor with a 3.3V microcontroller?
A: The HC-SR04 is designed for 5V operation. Use a logic level shifter to safely interface it with a 3.3V microcontroller.

By following this documentation, you can effectively integrate and troubleshoot an ultrasonic sensor in your projects.