
How to Use Resonator: Examples, Pinouts, and Specs

 Design with Resonator in Cirkit Designer
Introduction
A resonator is a passive electronic component designed to oscillate at a specific frequency. It is commonly used to stabilize and filter signals in electronic circuits. Resonators are integral to oscillators, frequency-selective circuits, and timing applications. They are often found in devices such as microcontrollers, communication systems, and clock circuits, where precise frequency control is essential.
Resonators are available in various types, including ceramic resonators and quartz crystal resonators, each offering different levels of accuracy and stability. Their compact size, reliability, and cost-effectiveness make them a popular choice in modern electronics.
Explore Projects Built with Resonator
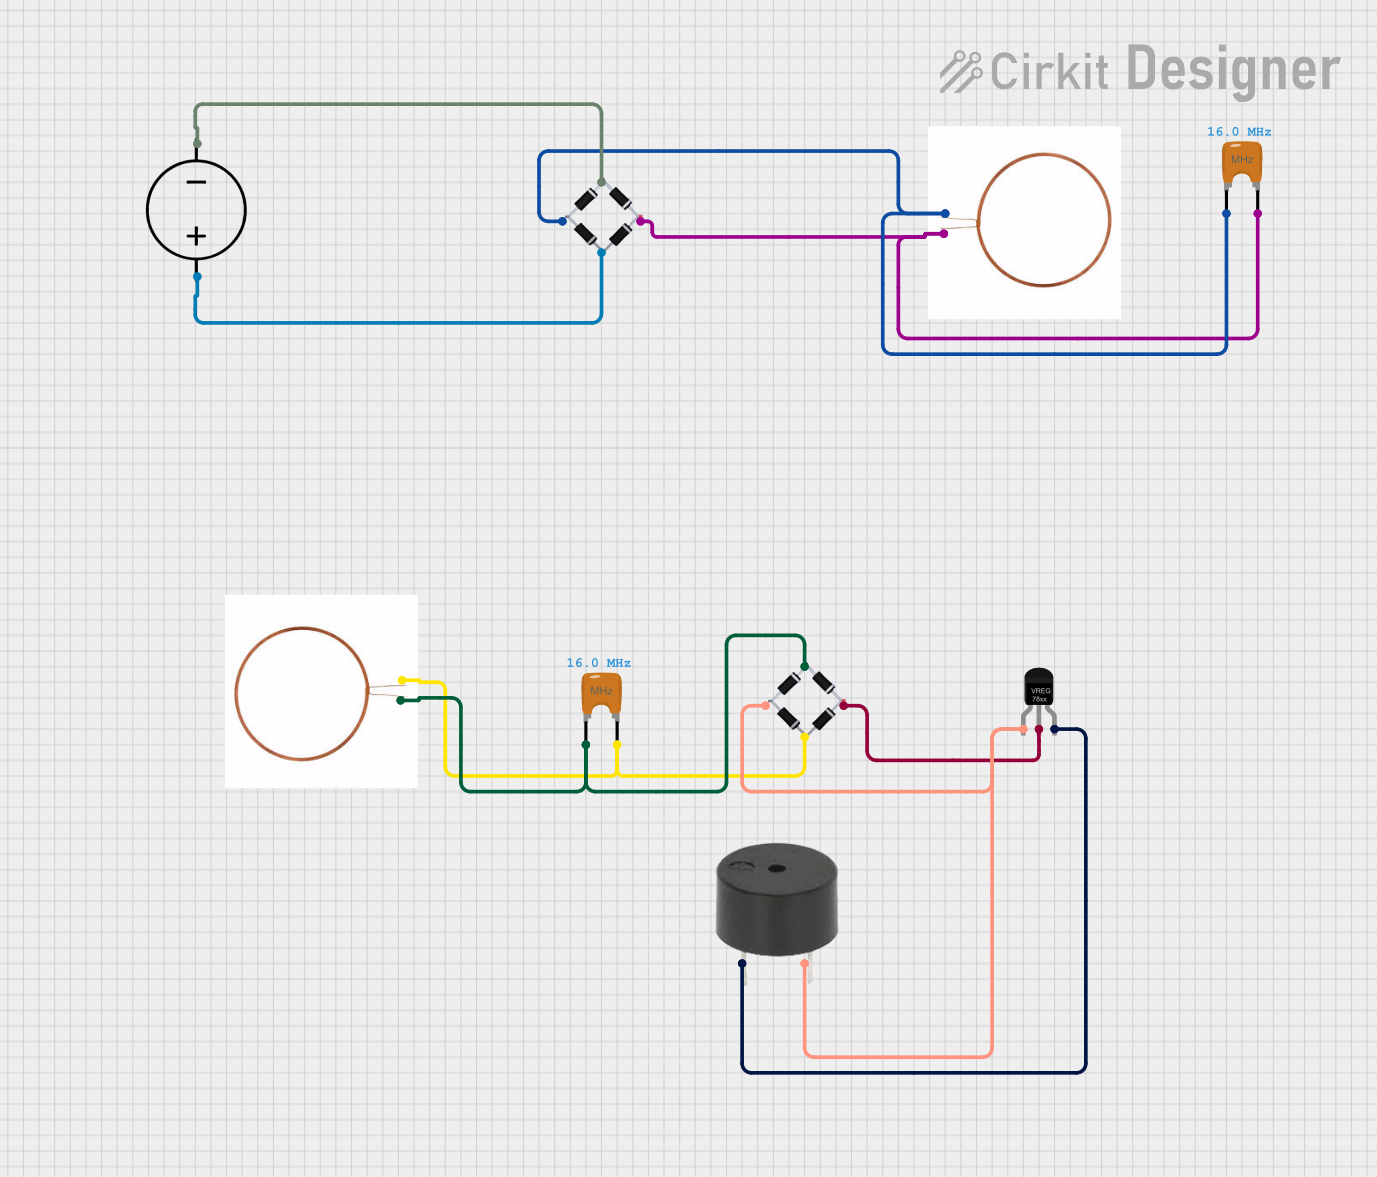 Open Project in Cirkit Designer
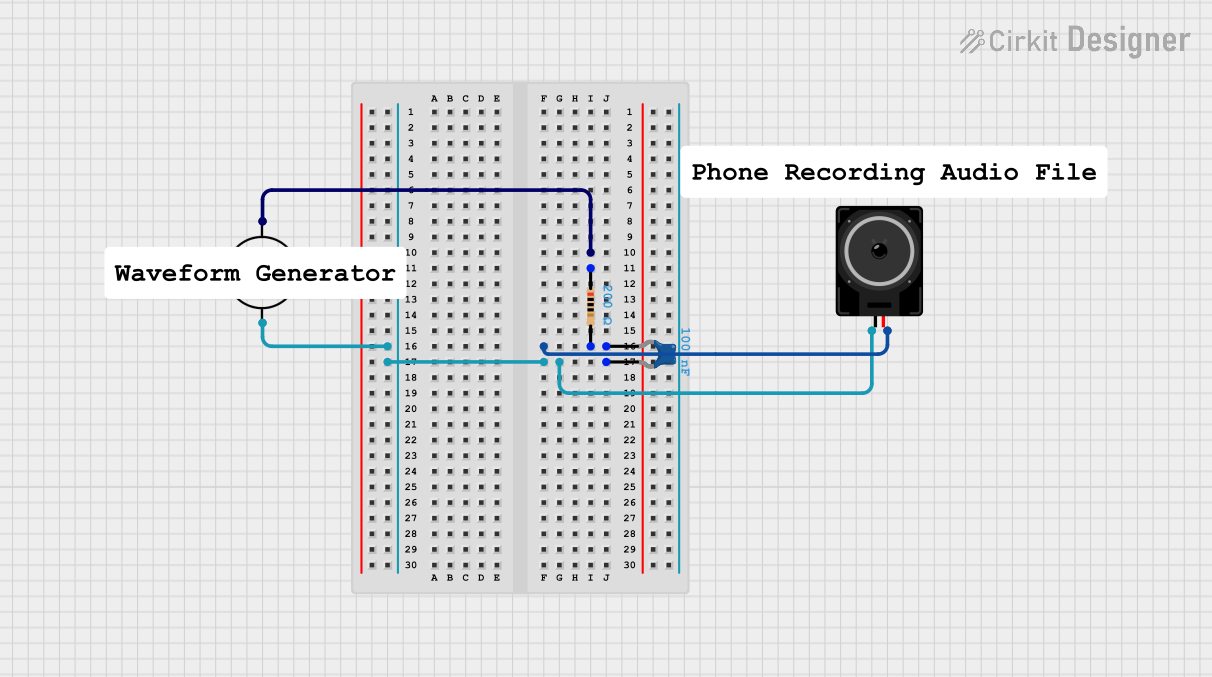 Open Project in Cirkit Designer
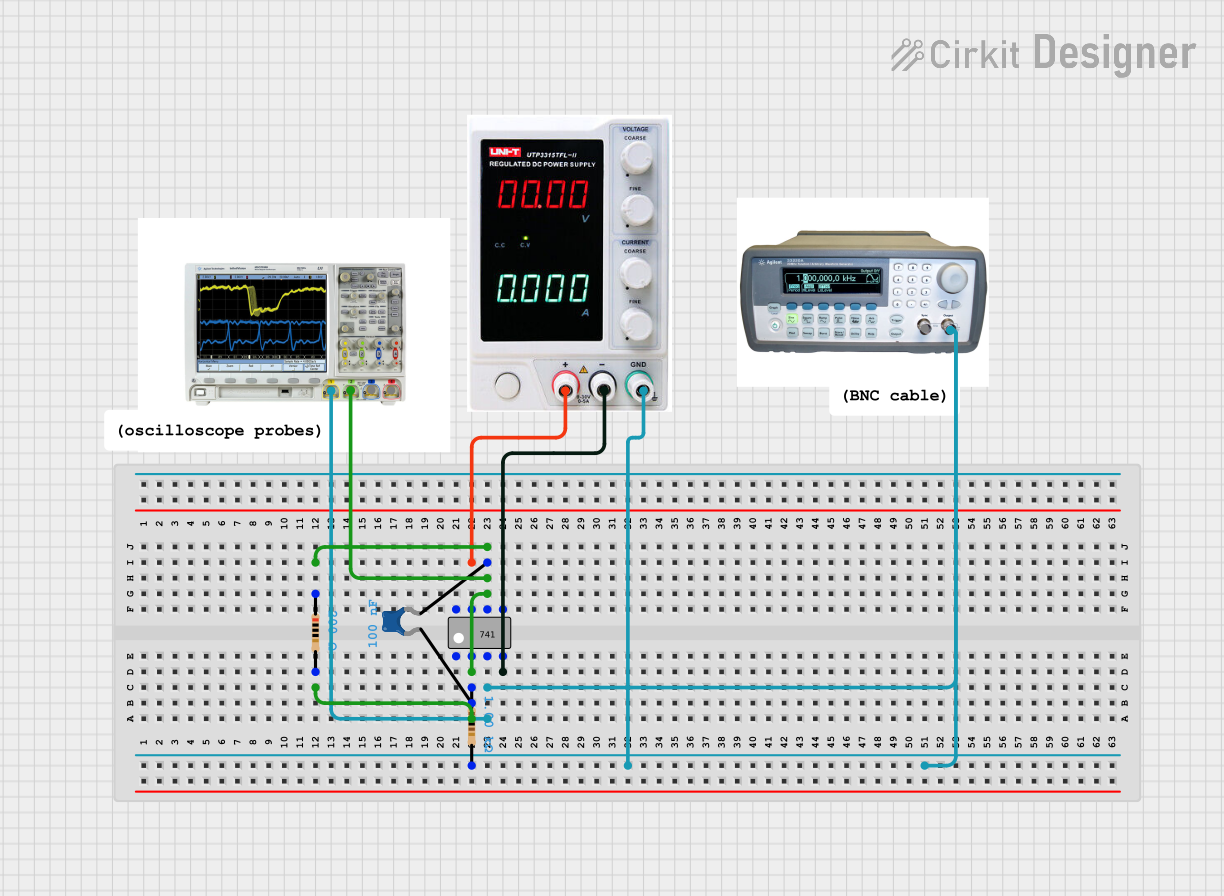 Open Project in Cirkit Designer
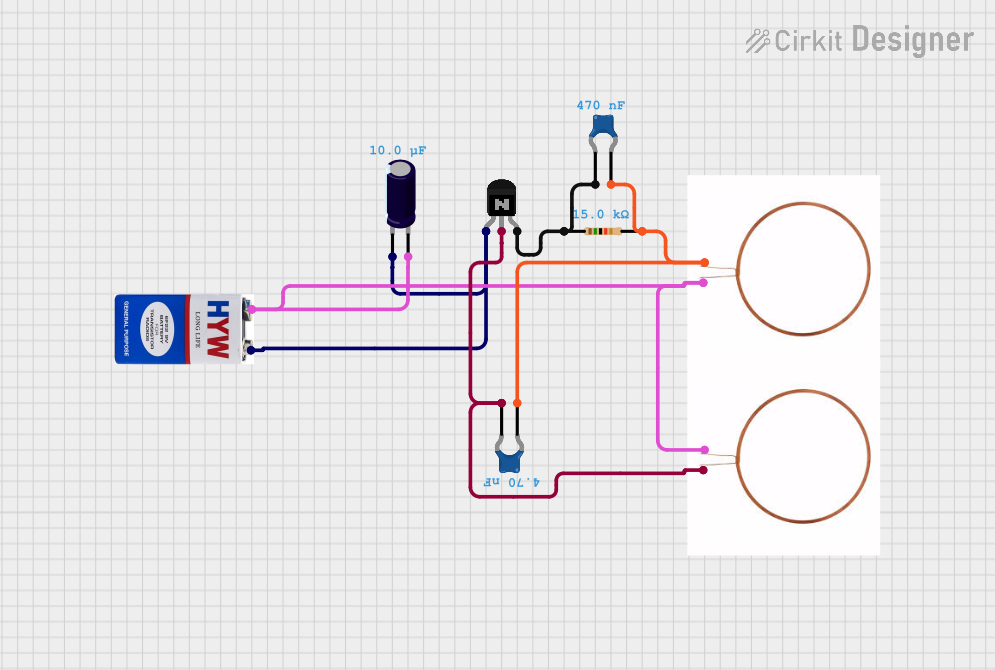 Open Project in Cirkit Designer
Explore Projects Built with Resonator
Open Project in Cirkit DesignerOpen Project in Cirkit DesignerOpen Project in Cirkit DesignerOpen Project in Cirkit DesignerTechnical Specifications
Below are the general technical specifications for a ceramic resonator, one of the most commonly used types:
Key Specifications
- Frequency Range: 1 MHz to 50 MHz (varies by model)
- Frequency Tolerance: ±0.5% to ±0.1%
- Operating Voltage: 3.3V to 5V (typical)
- Operating Temperature: -20°C to +85°C
- Aging Rate: ±0.3% per year (typical for ceramic resonators)
- Load Capacitance: 15 pF to 30 pF (depending on the model)
Pin Configuration and Descriptions
The pin configuration of a typical 3-pin ceramic resonator is as follows:
| Pin Number | Pin Name | Description |
|---|---|---|
| 1 | Output | Oscillating signal output |
| 2 | Ground (GND) | Connected to the circuit ground |
| 3 | Input | Input signal or connection to the oscillator |
For 2-pin resonators, the pins are typically labeled as follows:
| Pin Number | Pin Name | Description |
|---|---|---|
| 1 | Terminal 1 | Connected to the oscillator circuit |
| 2 | Terminal 2 | Connected to the oscillator circuit or GND |
Usage Instructions
How to Use the Resonator in a Circuit
Placement in the Circuit:
- Connect the resonator's pins to the appropriate oscillator circuit or microcontroller pins as specified in the datasheet.
- For 3-pin resonators, the middle pin (GND) should be connected to the circuit ground.
Load Capacitors:
- Some resonators require external load capacitors to stabilize the oscillation frequency. Check the datasheet for the recommended capacitance values.
Power Supply:
- Ensure the resonator operates within its specified voltage range (e.g., 3.3V or 5V).
PCB Layout:
- Place the resonator as close as possible to the oscillator circuit or microcontroller to minimize noise and signal loss.
- Use short and direct traces for the connections.
Example: Using a Resonator with an Arduino UNO
The following example demonstrates how to use a ceramic resonator with an Arduino UNO for timing purposes:
// Example: Using a ceramic resonator with Arduino UNO
// Note: The Arduino UNO typically has a built-in crystal oscillator.
// This example assumes you are using an external resonator for a custom setup.

void setup() {
  // Initialize serial communication for debugging
  Serial.begin(9600);
  Serial.println("Resonator Test Initialized");

  // No additional code is required to use the resonator
  // as it is connected to the microcontroller's oscillator pins.
}

void loop() {
  // Example: Blink an LED to verify timing
  digitalWrite(LED_BUILTIN, HIGH); // Turn the LED on
  delay(1000);                     // Wait for 1 second
  digitalWrite(LED_BUILTIN, LOW);  // Turn the LED off
  delay(1000);                     // Wait for 1 second
}
Important Considerations
- Frequency Tolerance: Ensure the resonator's frequency tolerance meets the requirements of your application.
- Environmental Factors: Avoid exposing the resonator to extreme temperatures or mechanical stress, as this can affect its performance.
- Compatibility: Verify that the resonator is compatible with the microcontroller or oscillator circuit you are using.
Troubleshooting and FAQs
Common Issues and Solutions
Issue: The circuit does not oscillate.
- Solution: Check the connections and ensure the resonator is properly soldered. Verify that the load capacitors (if required) are of the correct value.
Issue: Frequency drift or instability.
- Solution: Ensure the resonator is operating within its specified voltage and temperature range. Minimize noise and interference by improving PCB layout.
Issue: Resonator not functioning with the microcontroller.
- Solution: Confirm that the resonator's frequency matches the microcontroller's requirements. Check the datasheet for compatibility.
FAQs
Q: Can I use a resonator instead of a crystal oscillator?
- A: Yes, but resonators are generally less accurate than crystal oscillators. Use a resonator for applications where high precision is not critical.
Q: Do I need external capacitors with a resonator?
- A: Some resonators have built-in capacitors, while others require external load capacitors. Check the datasheet for details.
Q: How do I choose the right resonator for my project?
- A: Consider the required frequency, tolerance, and environmental conditions. Ensure compatibility with your circuit.
By following this documentation, you can effectively integrate a resonator into your electronic projects and troubleshoot common issues.