
How to Use Adafruit eInk Breakout Friend: Examples, Pinouts, and Specs
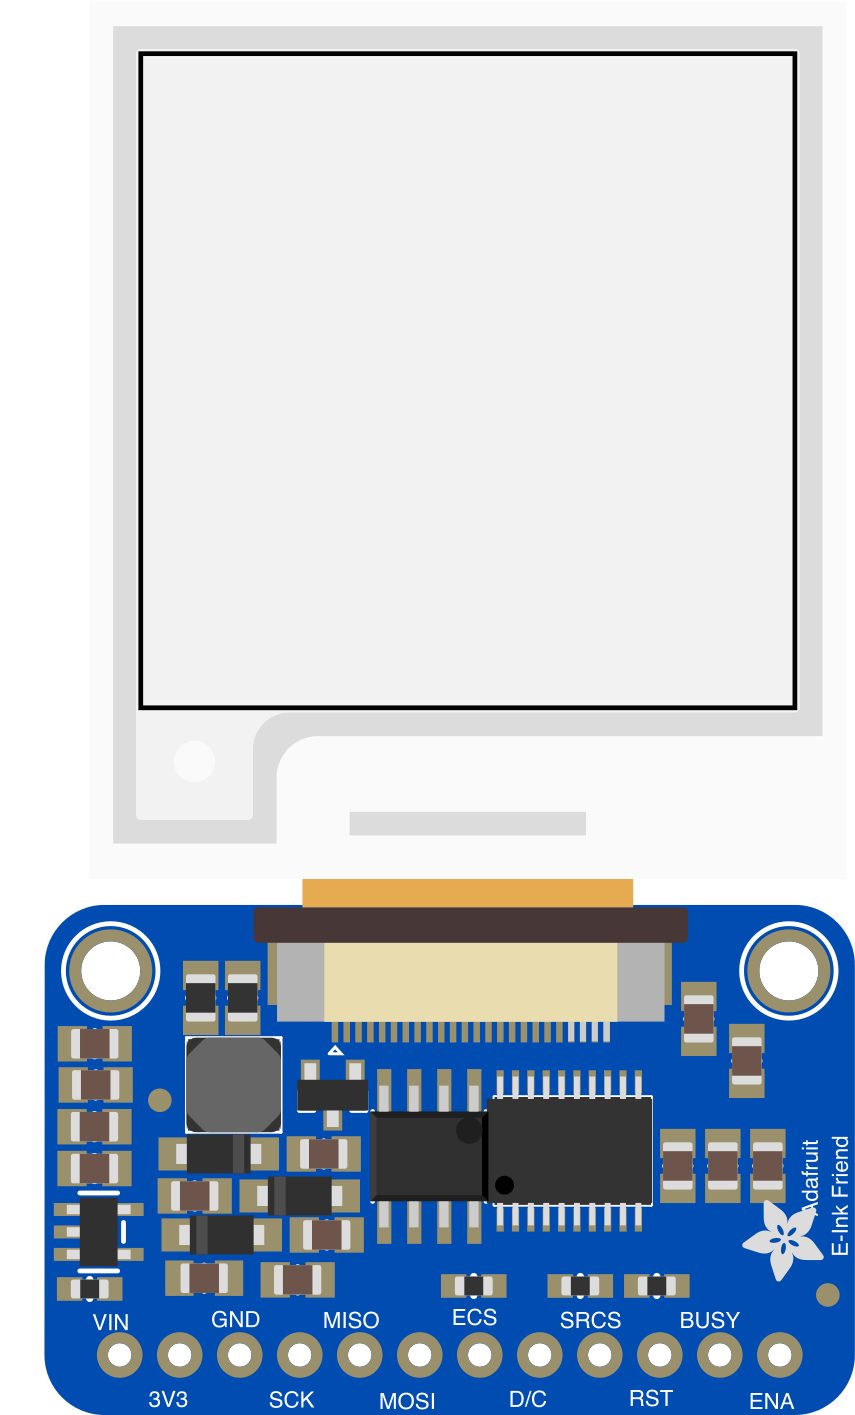
 Design with Adafruit eInk Breakout Friend in Cirkit Designer
Introduction
The Adafruit eInk Breakout Friend (Manufacturer Part ID: 4224) is a compact display module that leverages eInk (electronic ink) technology to deliver high-contrast, low-power visual output. This module is ideal for applications requiring static images or text, such as e-readers, dashboards, and battery-operated devices. Its low power consumption makes it particularly suitable for projects where energy efficiency is critical.
Common applications include:
- E-readers and digital signage
- IoT dashboards and status displays
- Battery-powered devices
- Wearable technology
- Low-power data visualization
Explore Projects Built with Adafruit eInk Breakout Friend
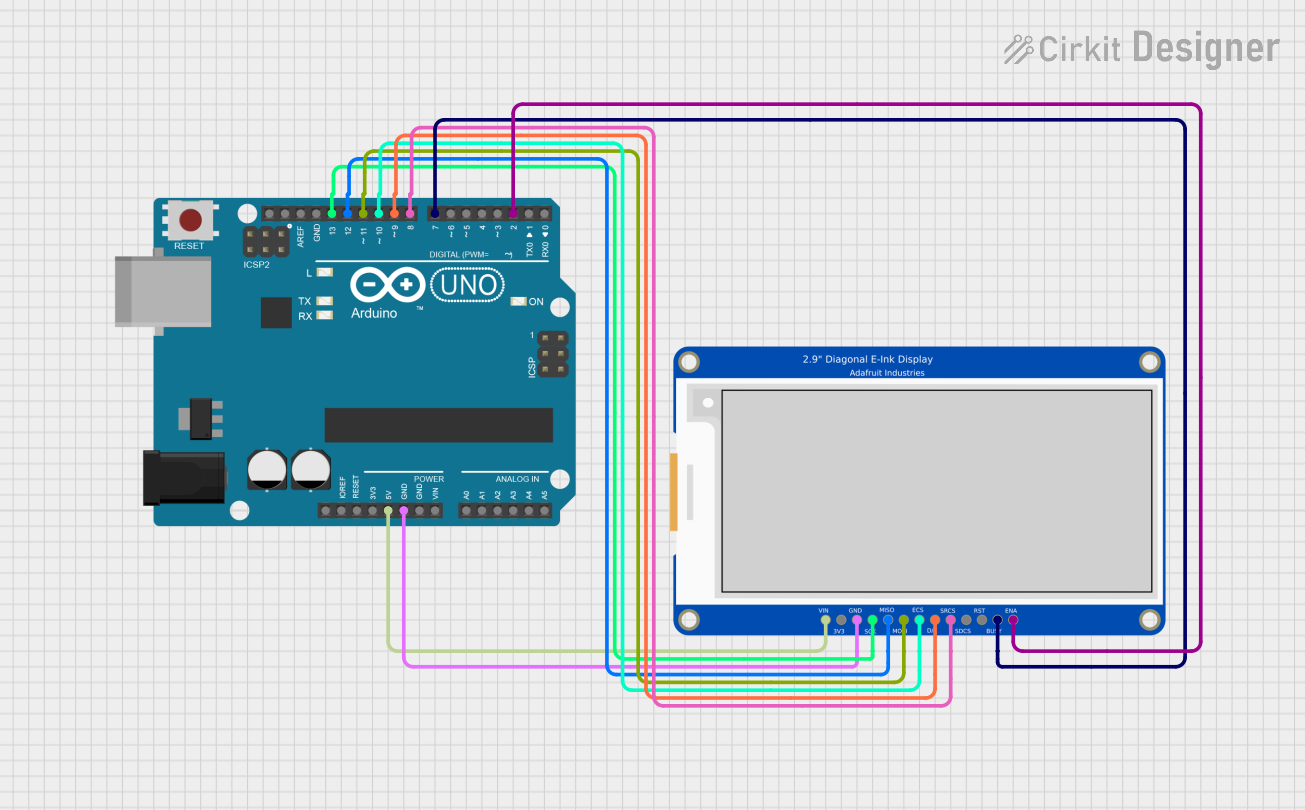 Open Project in Cirkit Designer
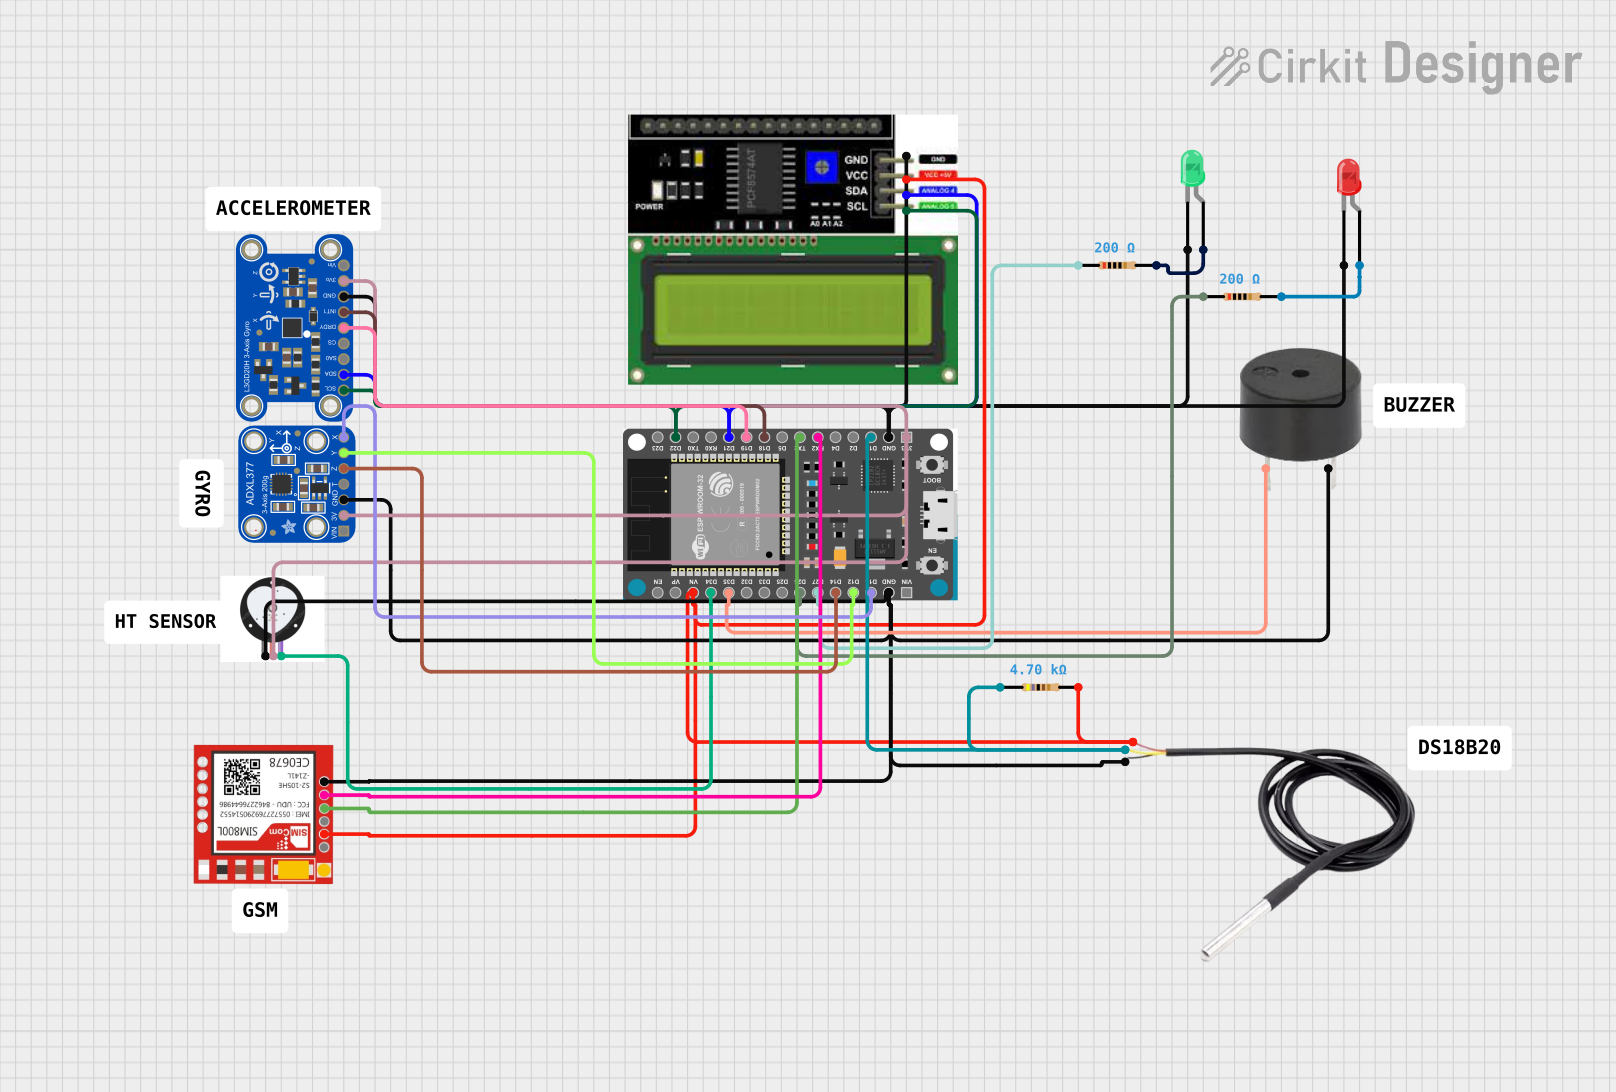 Open Project in Cirkit Designer
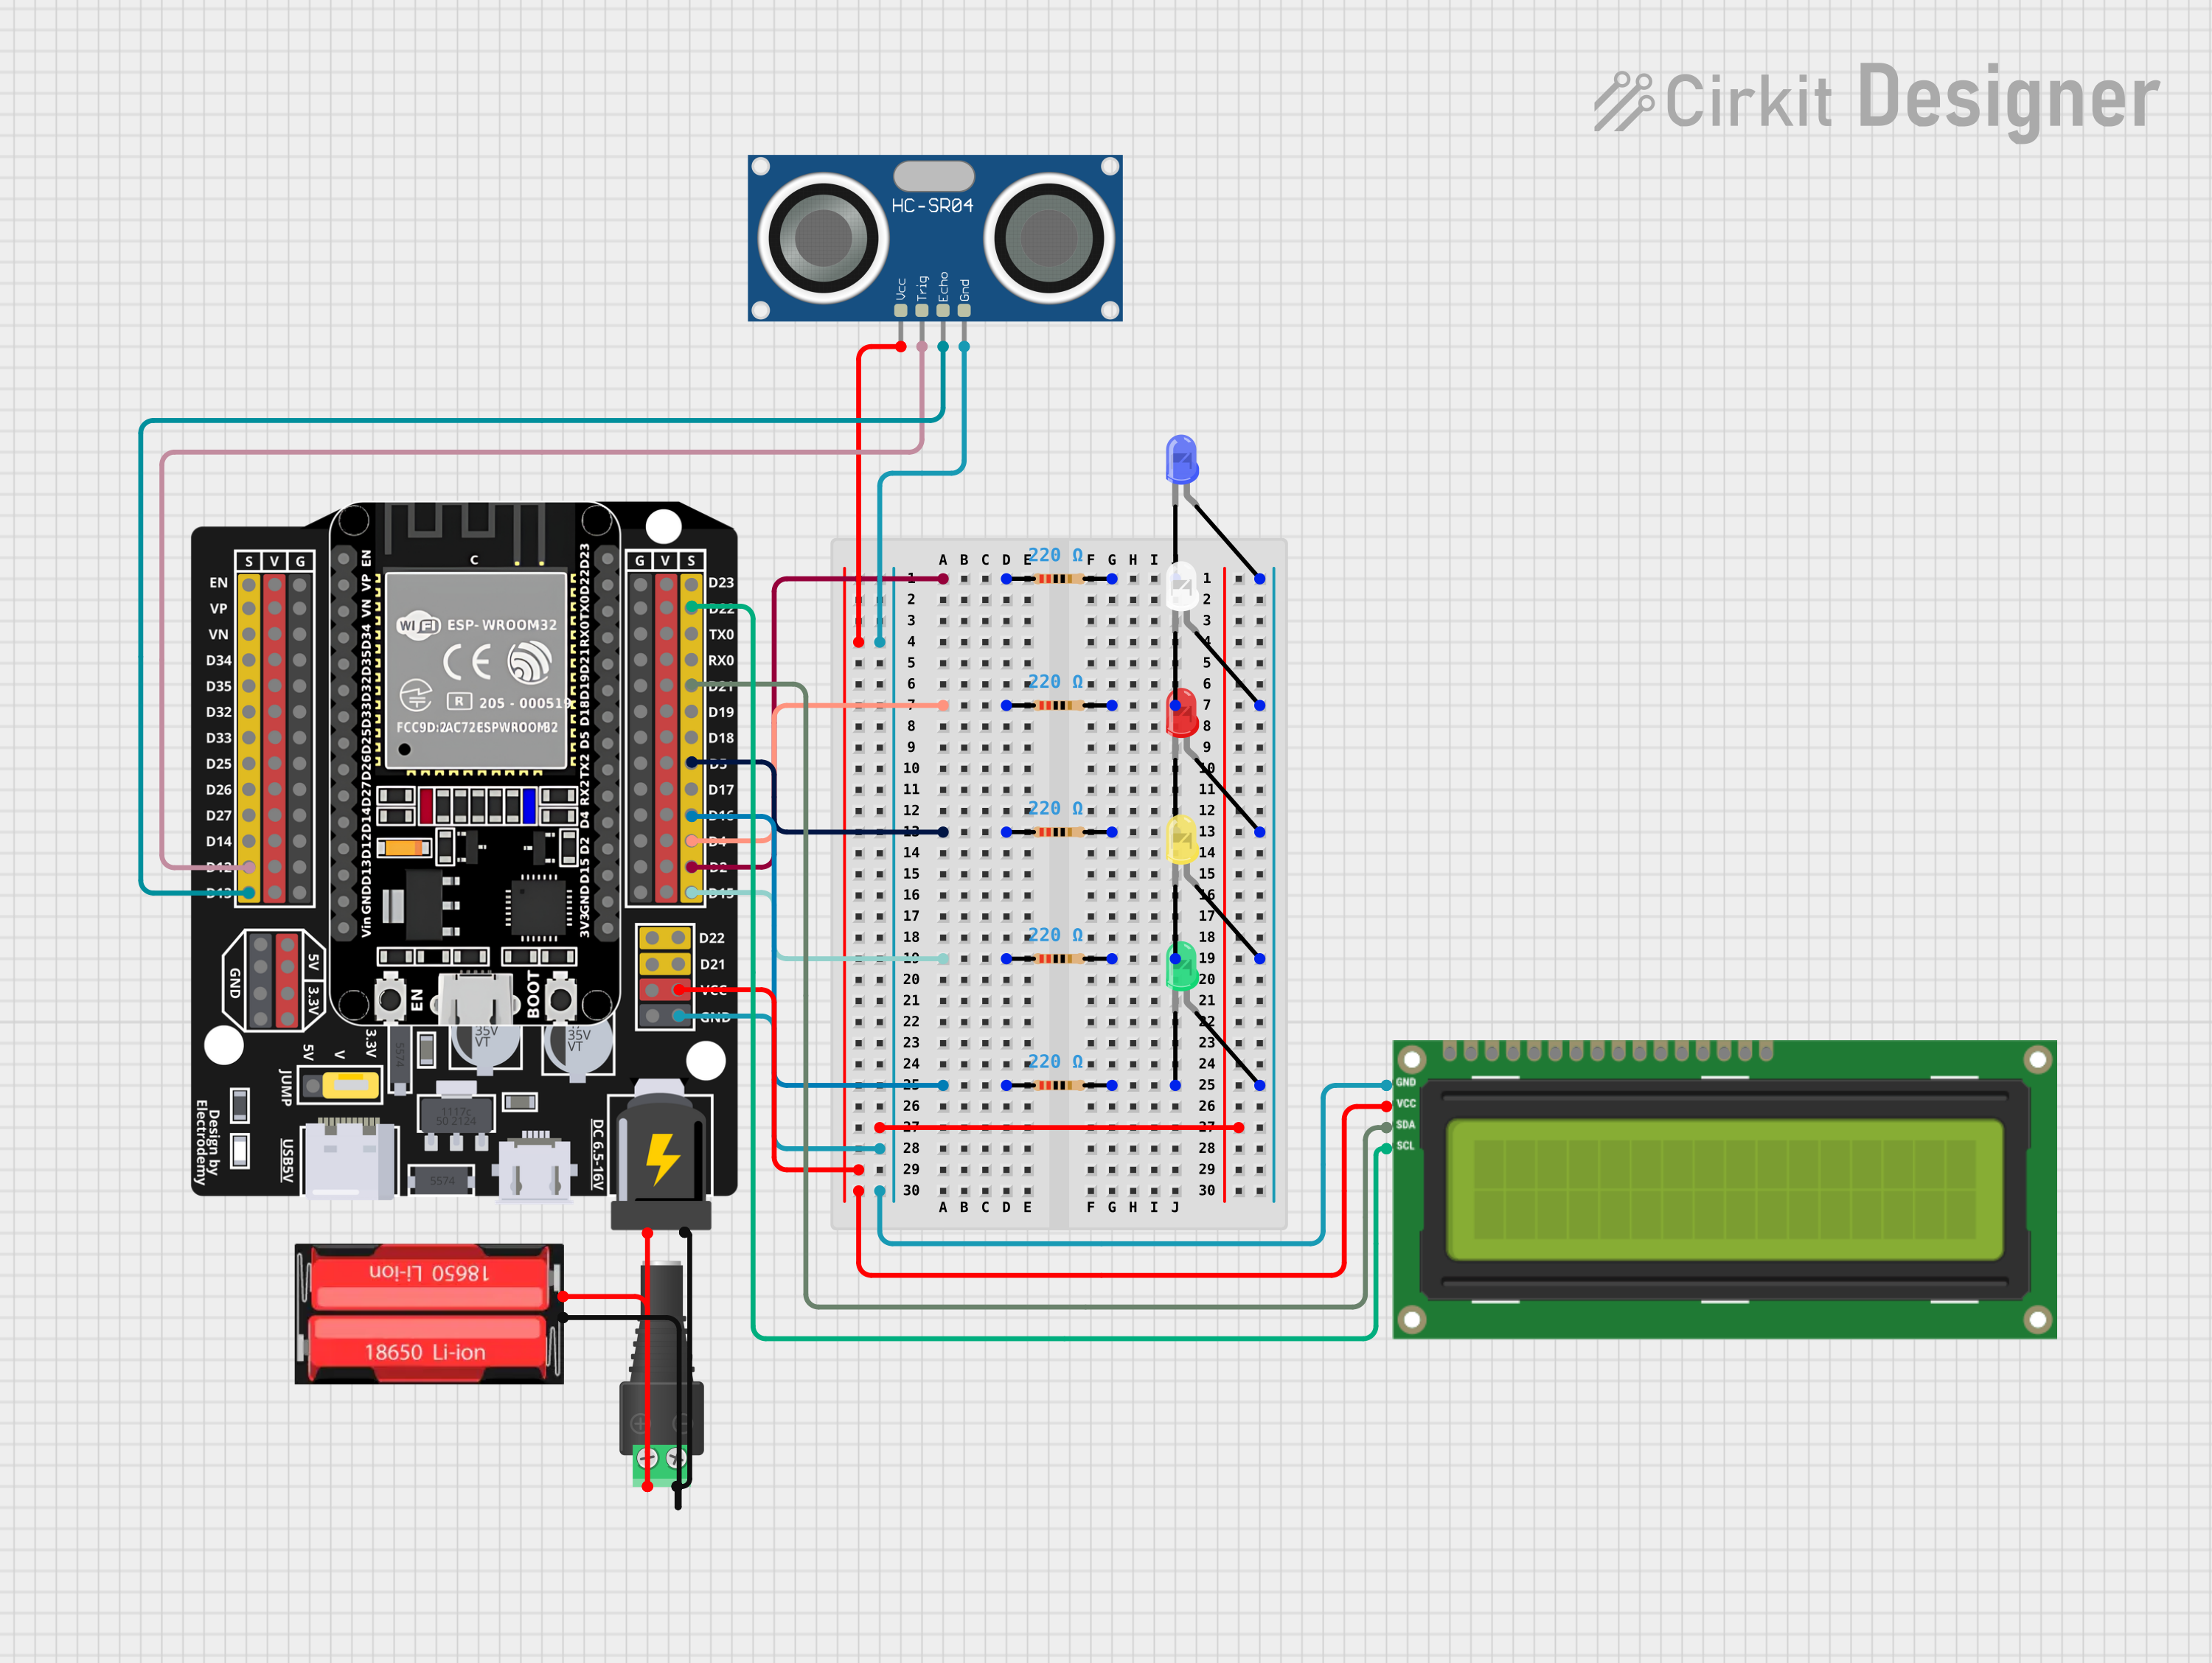 Open Project in Cirkit Designer
 Open Project in Cirkit Designer
Explore Projects Built with Adafruit eInk Breakout Friend
Open Project in Cirkit DesignerOpen Project in Cirkit DesignerOpen Project in Cirkit DesignerOpen Project in Cirkit DesignerTechnical Specifications
The Adafruit eInk Breakout Friend is designed to interface seamlessly with a variety of microcontrollers, including Arduino boards. Below are the key technical details:
General Specifications
| Parameter | Value |
|---|---|
| Manufacturer Part ID | 4224 |
| Display Technology | eInk (electronic ink) |
| Operating Voltage | 3.3V or 5V (logic level compatible) |
| Communication Protocol | SPI |
| Power Consumption | Extremely low (only during updates) |
| Dimensions | 40mm x 20mm x 5mm |
| Weight | 5g |
Pin Configuration and Descriptions
The Adafruit eInk Breakout Friend features the following pinout:
| Pin Name | Description |
|---|---|
| VIN | Power input (3.3V or 5V). Supplies power to the module. |
| GND | Ground. Connect to the ground of your circuit. |
| SCK | Serial Clock. SPI clock signal input. |
| MOSI | Master Out Slave In. SPI data input from the microcontroller. |
| MISO | Master In Slave Out. SPI data output to the microcontroller (optional). |
| CS | Chip Select. Used to select the eInk module during SPI communication. |
| DC | Data/Command. Determines whether data or a command is being sent. |
| RST | Reset. Resets the eInk module. |
| BUSY | Busy Indicator. Indicates when the display is busy updating. |
Usage Instructions
How to Use the Component in a Circuit
- Power the Module: Connect the VIN pin to a 3.3V or 5V power source and GND to ground.
- Connect SPI Pins: Connect the SCK, MOSI, and CS pins to the corresponding SPI pins on your microcontroller.
- Control Pins: Connect the DC, RST, and BUSY pins to GPIO pins on your microcontroller.
- Install Libraries: Use the Adafruit GFX and Adafruit EPD libraries to control the display. These libraries can be installed via the Arduino IDE Library Manager.
- Write Code: Use the provided libraries to initialize the display, send data, and update the screen.
Important Considerations and Best Practices
- Power Supply: Ensure the power supply is stable and within the specified voltage range.
- Update Frequency: eInk displays are not designed for rapid updates. Avoid frequent screen refreshes to prevent damage.
- Handling: Avoid touching the display surface to prevent smudges or damage.
- Busy Pin: Always check the BUSY pin before sending new data to ensure the display is ready.
Example Code for Arduino UNO
Below is an example of how to use the Adafruit eInk Breakout Friend with an Arduino UNO:
#include <Adafruit_GFX.h>    // Core graphics library
#include <Adafruit_EPD.h>    // eInk display library

// Pin definitions for the eInk module
#define EPD_CS   10  // Chip Select pin
#define EPD_DC    9  // Data/Command pin
#define SRAM_CS   -1 // Not used
#define EPD_RESET 8  // Reset pin
#define EPD_BUSY  7  // Busy pin

// Create an instance of the eInk display
Adafruit_IL0373 display(212, 104, EPD_DC, EPD_RESET, EPD_CS, SRAM_CS, EPD_BUSY);

void setup() {
  // Initialize serial communication for debugging
  Serial.begin(115200);
  Serial.println("Initializing eInk display...");

  // Initialize the display
  display.begin();
  display.setRotation(1); // Set display orientation
  display.setTextColor(EPD_BLACK); // Set text color

  // Clear the display
  display.clearBuffer();

  // Display a message
  display.setCursor(10, 10); // Set text position
  display.setTextSize(2);    // Set text size
  display.print("Hello, eInk!");

  // Update the display
  display.display();
  Serial.println("Display updated!");
}

void loop() {
  // No actions in the loop for this example
}
Troubleshooting and FAQs
Common Issues and Solutions
Display Not Updating:
- Ensure the BUSY pin is properly connected and monitored in your code.
- Verify that the power supply is stable and within the specified range.
- Check the SPI connections for loose or incorrect wiring.
Faint or No Display Output:
- Confirm that the display is initialized correctly in your code.
- Ensure the correct voltage level (3.3V or 5V) is supplied to the VIN pin.
Library Errors:
- Make sure the Adafruit GFX and Adafruit EPD libraries are installed and up to date.
- Verify that the correct display driver is selected in your code.
Slow Updates:
- eInk displays are inherently slow due to their technology. This is normal behavior.
FAQs
Q: Can I use this module with a 5V microcontroller?
A: Yes, the module is compatible with both 3.3V and 5V logic levels.
Q: How long does the display retain an image without power?
A: The display can retain an image for months without power, making it ideal for low-power applications.
Q: Can I update only part of the display?
A: Yes, partial updates are supported, but they may require additional configuration in the library.
Q: Is the display sunlight-readable?
A: Yes, eInk displays are highly readable in direct sunlight due to their reflective technology.