How to Use Resistive Touch Screen: Examples, Pinouts, and Specs
Introduction
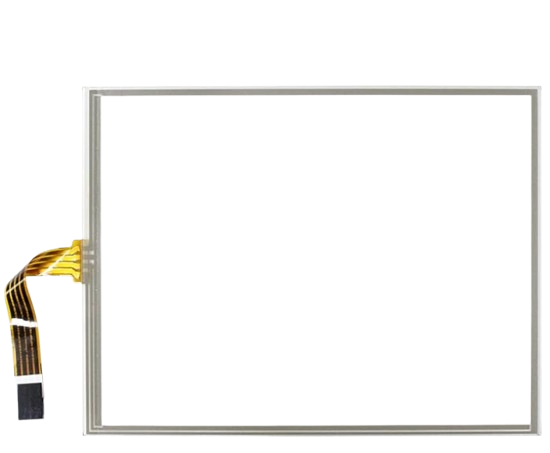
A resistive touch screen is a touch-sensitive display that detects input through the pressure applied to its surface. It consists of two flexible layers separated by a small gap. When pressure is applied, the layers make contact, and the screen registers the touch by measuring the change in resistance at the point of contact.
Explore Projects Built with Resistive Touch Screen

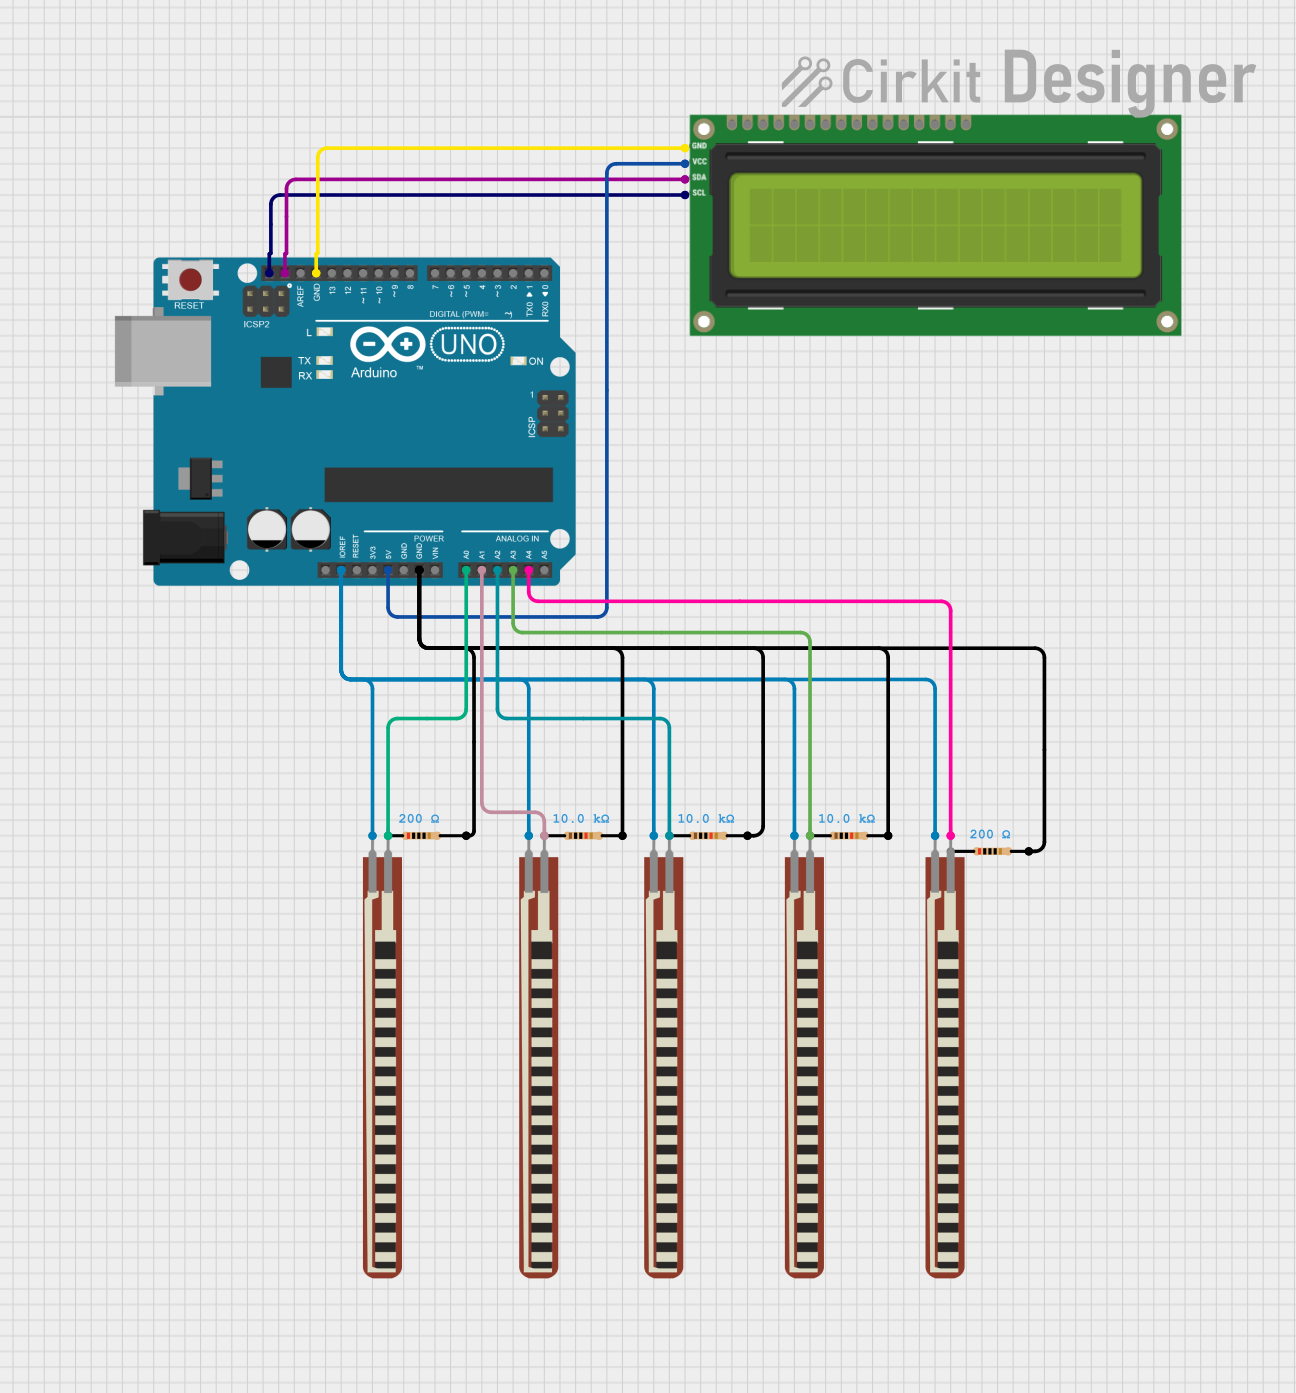
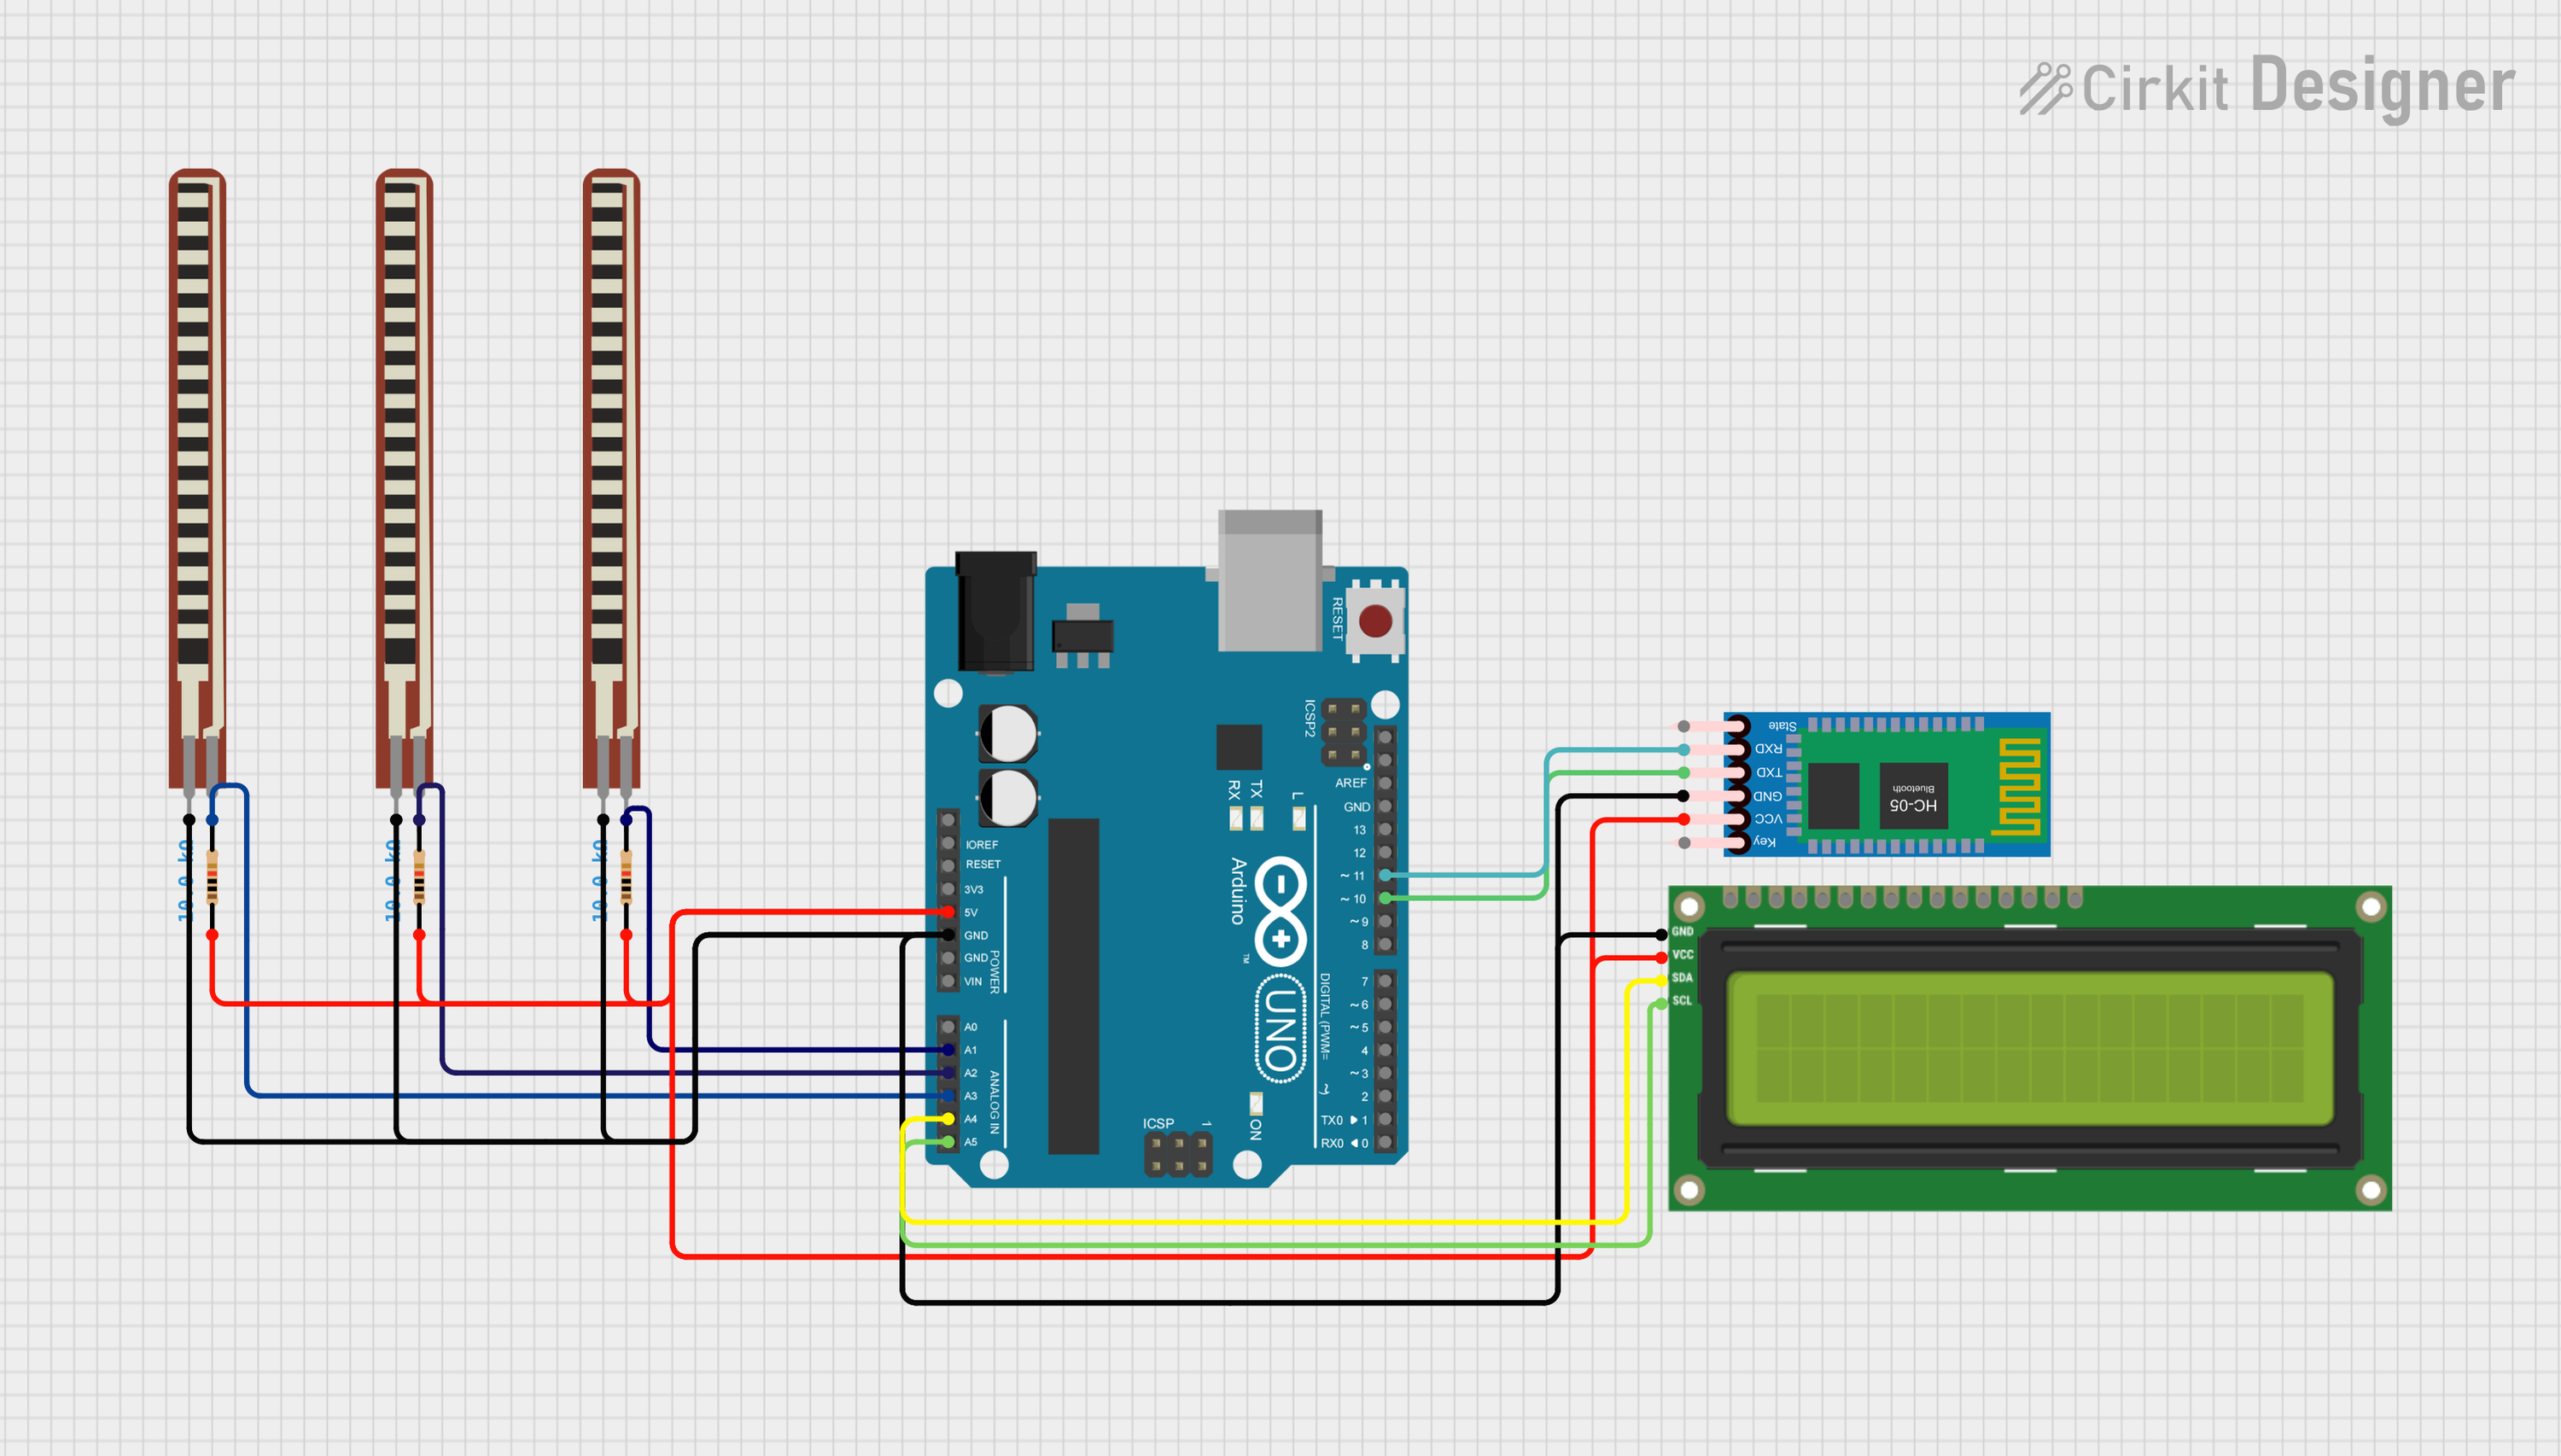

Explore Projects Built with Resistive Touch Screen
Common Applications and Use Cases
- Point-of-sale (POS) systems
- Industrial control panels
- Handheld devices such as PDAs
- Automotive navigation systems
- Medical equipment interfaces
- Consumer electronics like portable gaming devices
Technical Specifications
Key Technical Details
- Operating Voltage: 3.3V to 5V (typical for controller circuits)
- Touch Resolution: Depends on the controller, typically up to 4096x4096
- Input Method: Pressure-based (finger, stylus, or any object)
- Durability: ~1 million touches per point
- Operating Temperature: -10°C to 60°C
- Storage Temperature: -20°C to 70°C
- Response Time: ~10ms to 20ms
- Interface: Analog (requires an ADC for digital systems)
Pin Configuration and Descriptions
The resistive touch screen typically has four pins, corresponding to the X and Y axes.
| Pin Name | Description |
|---|---|
| X+ | Positive terminal for the X-axis. Used to measure horizontal touch coordinates. |
| X- | Negative terminal for the X-axis. Completes the X-axis circuit. |
| Y+ | Positive terminal for the Y-axis. Used to measure vertical touch coordinates. |
| Y- | Negative terminal for the Y-axis. Completes the Y-axis circuit. |
Usage Instructions
How to Use the Component in a Circuit
Connect the Pins:
- Connect the X+ and X- pins to the horizontal input of an ADC (Analog-to-Digital Converter).
- Connect the Y+ and Y- pins to the vertical input of the ADC.
- If using a microcontroller, such as an Arduino, connect the pins to the analog input pins.
Power Supply: Ensure the touch screen is powered within its operating voltage range (3.3V to 5V).
Controller IC: For easier integration, use a touch screen controller IC (e.g., XPT2046) to handle the analog signals and provide digital output.
Calibration: Calibrate the touch screen to map the raw ADC values to screen coordinates. This ensures accurate touch detection.
Mounting: Secure the touch screen to the display or device using adhesive or a frame to prevent movement during use.
Important Considerations and Best Practices
- Avoid applying excessive force to the screen, as it may damage the layers.
- Use a stylus with a rounded tip to prevent scratches.
- Ensure the screen is clean and free of debris for accurate touch detection.
- If using with an Arduino, ensure the analog pins are configured correctly in the code.
Example: Connecting to an Arduino UNO
Below is an example of how to interface a resistive touch screen with an Arduino UNO using the XPT2046 controller.
#include <SPI.h>
#include <XPT2046_Touchscreen.h>

// Define the CS (Chip Select) pin for the touch screen controller
#define CS_PIN 10

// Initialize the touch screen object
XPT2046_Touchscreen ts(CS_PIN);

void setup() {
  Serial.begin(9600); // Start serial communication for debugging
  if (!ts.begin()) {
    Serial.println("Touch screen initialization failed!");
    while (1); // Halt if initialization fails
  }
  Serial.println("Touch screen initialized successfully.");
}

void loop() {
  if (ts.touched()) {
    TS_Point p = ts.getPoint(); // Get the touch point coordinates
    Serial.print("X: ");
    Serial.print(p.x); // Print the X-coordinate
    Serial.print(", Y: ");
    Serial.println(p.y); // Print the Y-coordinate
  }
  delay(100); // Small delay to avoid overwhelming the serial monitor
}
Notes:
- The
XPT2046_Touchscreenlibrary must be installed in the Arduino IDE. - Replace
CS_PINwith the appropriate pin connected to the XPT2046 controller's CS pin.
Troubleshooting and FAQs
Common Issues and Solutions
No Touch Detected:
- Cause: Loose or incorrect wiring.
- Solution: Double-check all connections, especially the X+ and Y+ pins.
Inaccurate Touch Coordinates:
- Cause: Calibration not performed or incorrect.
- Solution: Perform a calibration routine to map raw ADC values to screen coordinates.
Screen Not Responding:
- Cause: Damaged touch screen or controller IC.
- Solution: Test the screen with a multimeter to check for continuity. Replace if necessary.
Interference or Noise in Readings:
- Cause: Electrical noise or improper grounding.
- Solution: Add decoupling capacitors near the power supply pins and ensure proper grounding.
FAQs
Q: Can I use a resistive touch screen with a Raspberry Pi?
A: Yes, you can use a resistive touch screen with a Raspberry Pi. You will need a compatible touch screen controller (e.g., XPT2046) and appropriate libraries to interface with the GPIO pins.
Q: How do I clean a resistive touch screen?
A: Use a soft, lint-free cloth slightly dampened with water or a mild cleaning solution. Avoid using abrasive materials or excessive moisture.
Q: Can a resistive touch screen detect multi-touch gestures?
A: No, resistive touch screens are designed for single-touch input only. For multi-touch functionality, consider using a capacitive touch screen.
Q: What type of stylus can I use with a resistive touch screen?
A: Any stylus with a rounded tip can be used, as resistive touch screens detect pressure rather than electrical conductivity.