
How to Use Thermostat KSD301 145C: Examples, Pinouts, and Specs

 Design with Thermostat KSD301 145C in Cirkit Designer
Introduction
The Thermostat KSD301 145C is a temperature-sensitive thermal switch manufactured by KSD301. It is designed to open or close an electrical circuit when the ambient temperature reaches a preset threshold of 145°C. This component is widely used in temperature control systems for appliances such as electric kettles, heaters, ovens, and other electronic devices requiring thermal regulation.
Explore Projects Built with Thermostat KSD301 145C
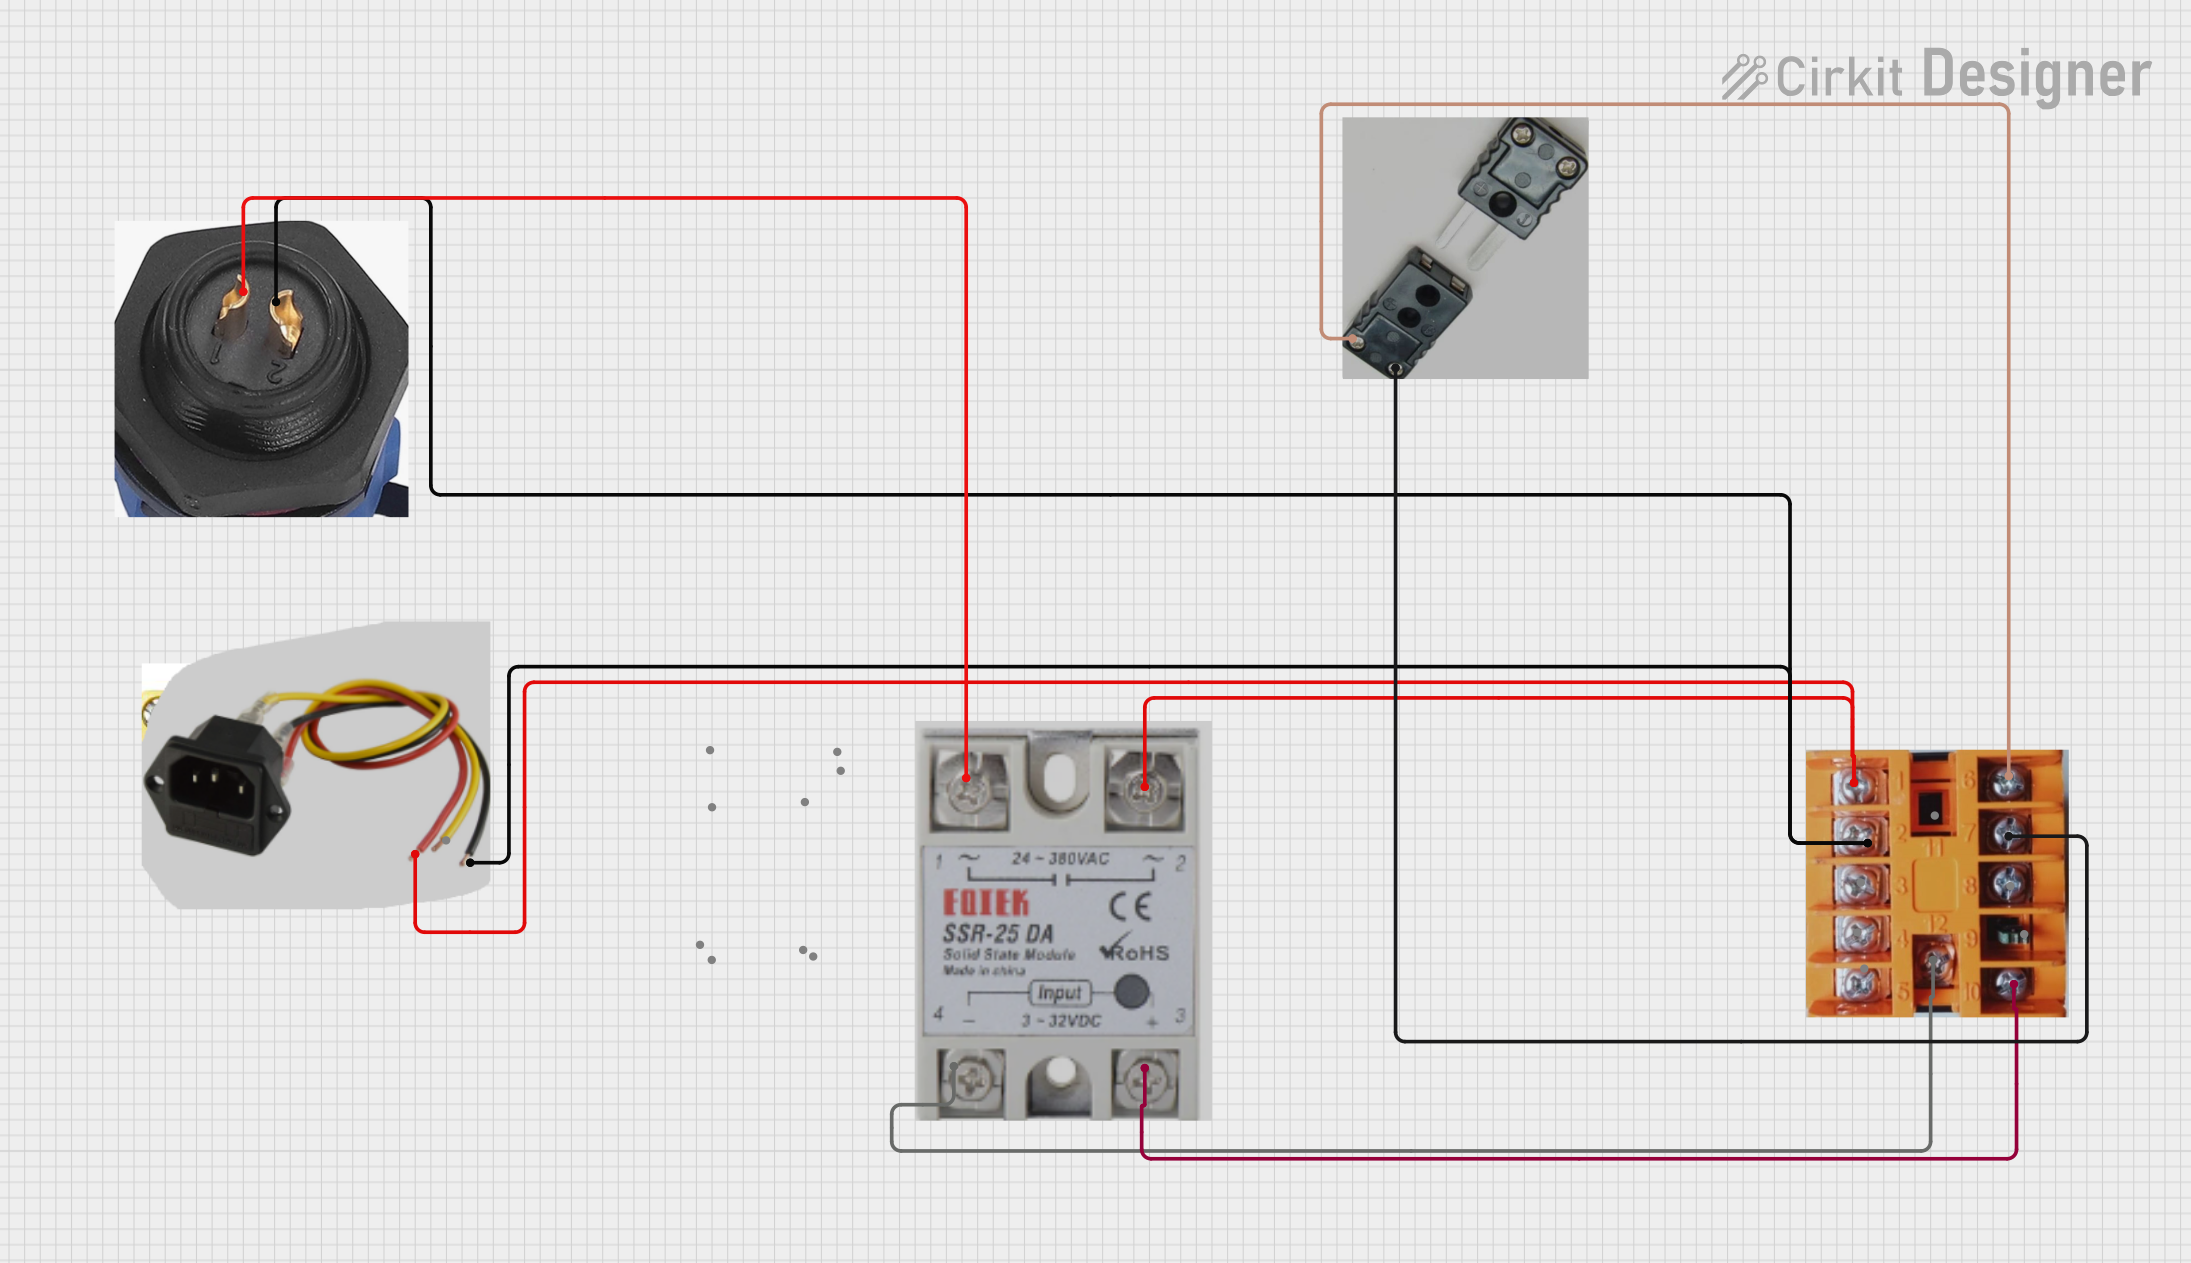 Open Project in Cirkit Designer
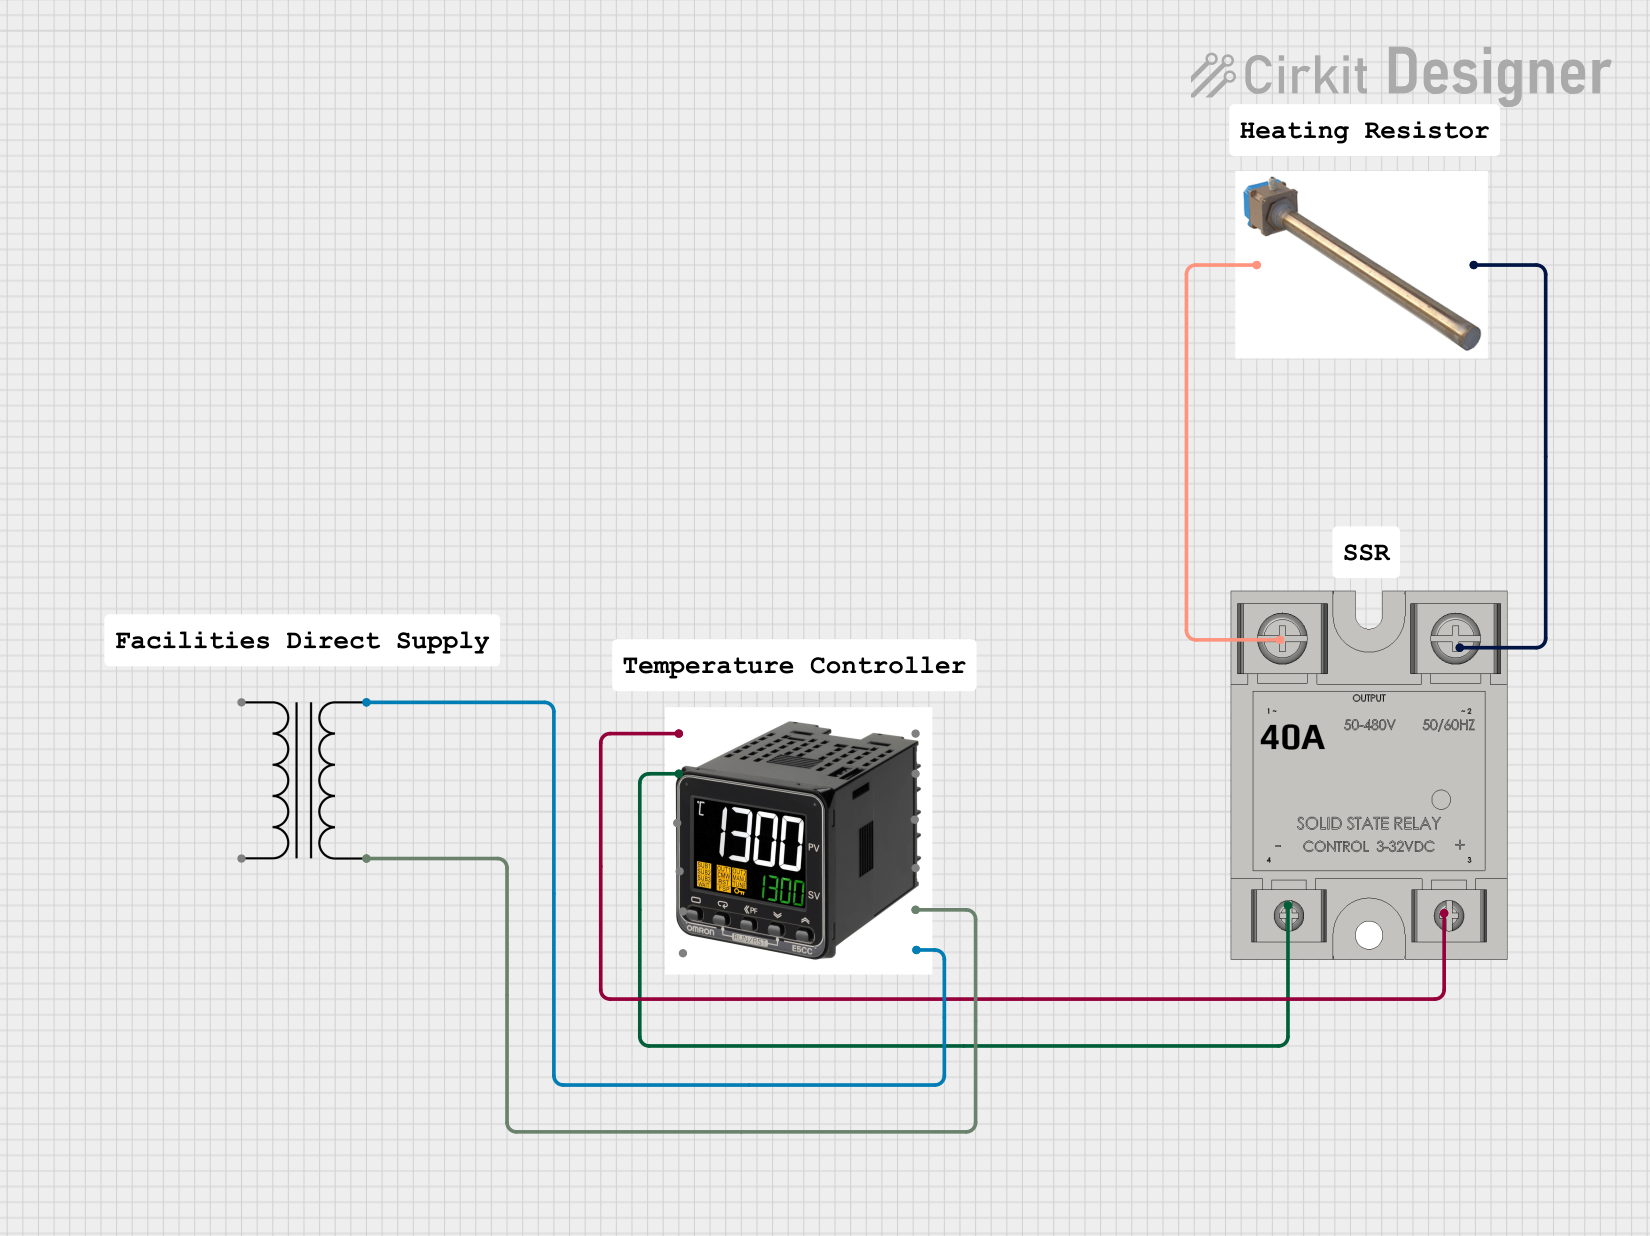 Open Project in Cirkit Designer
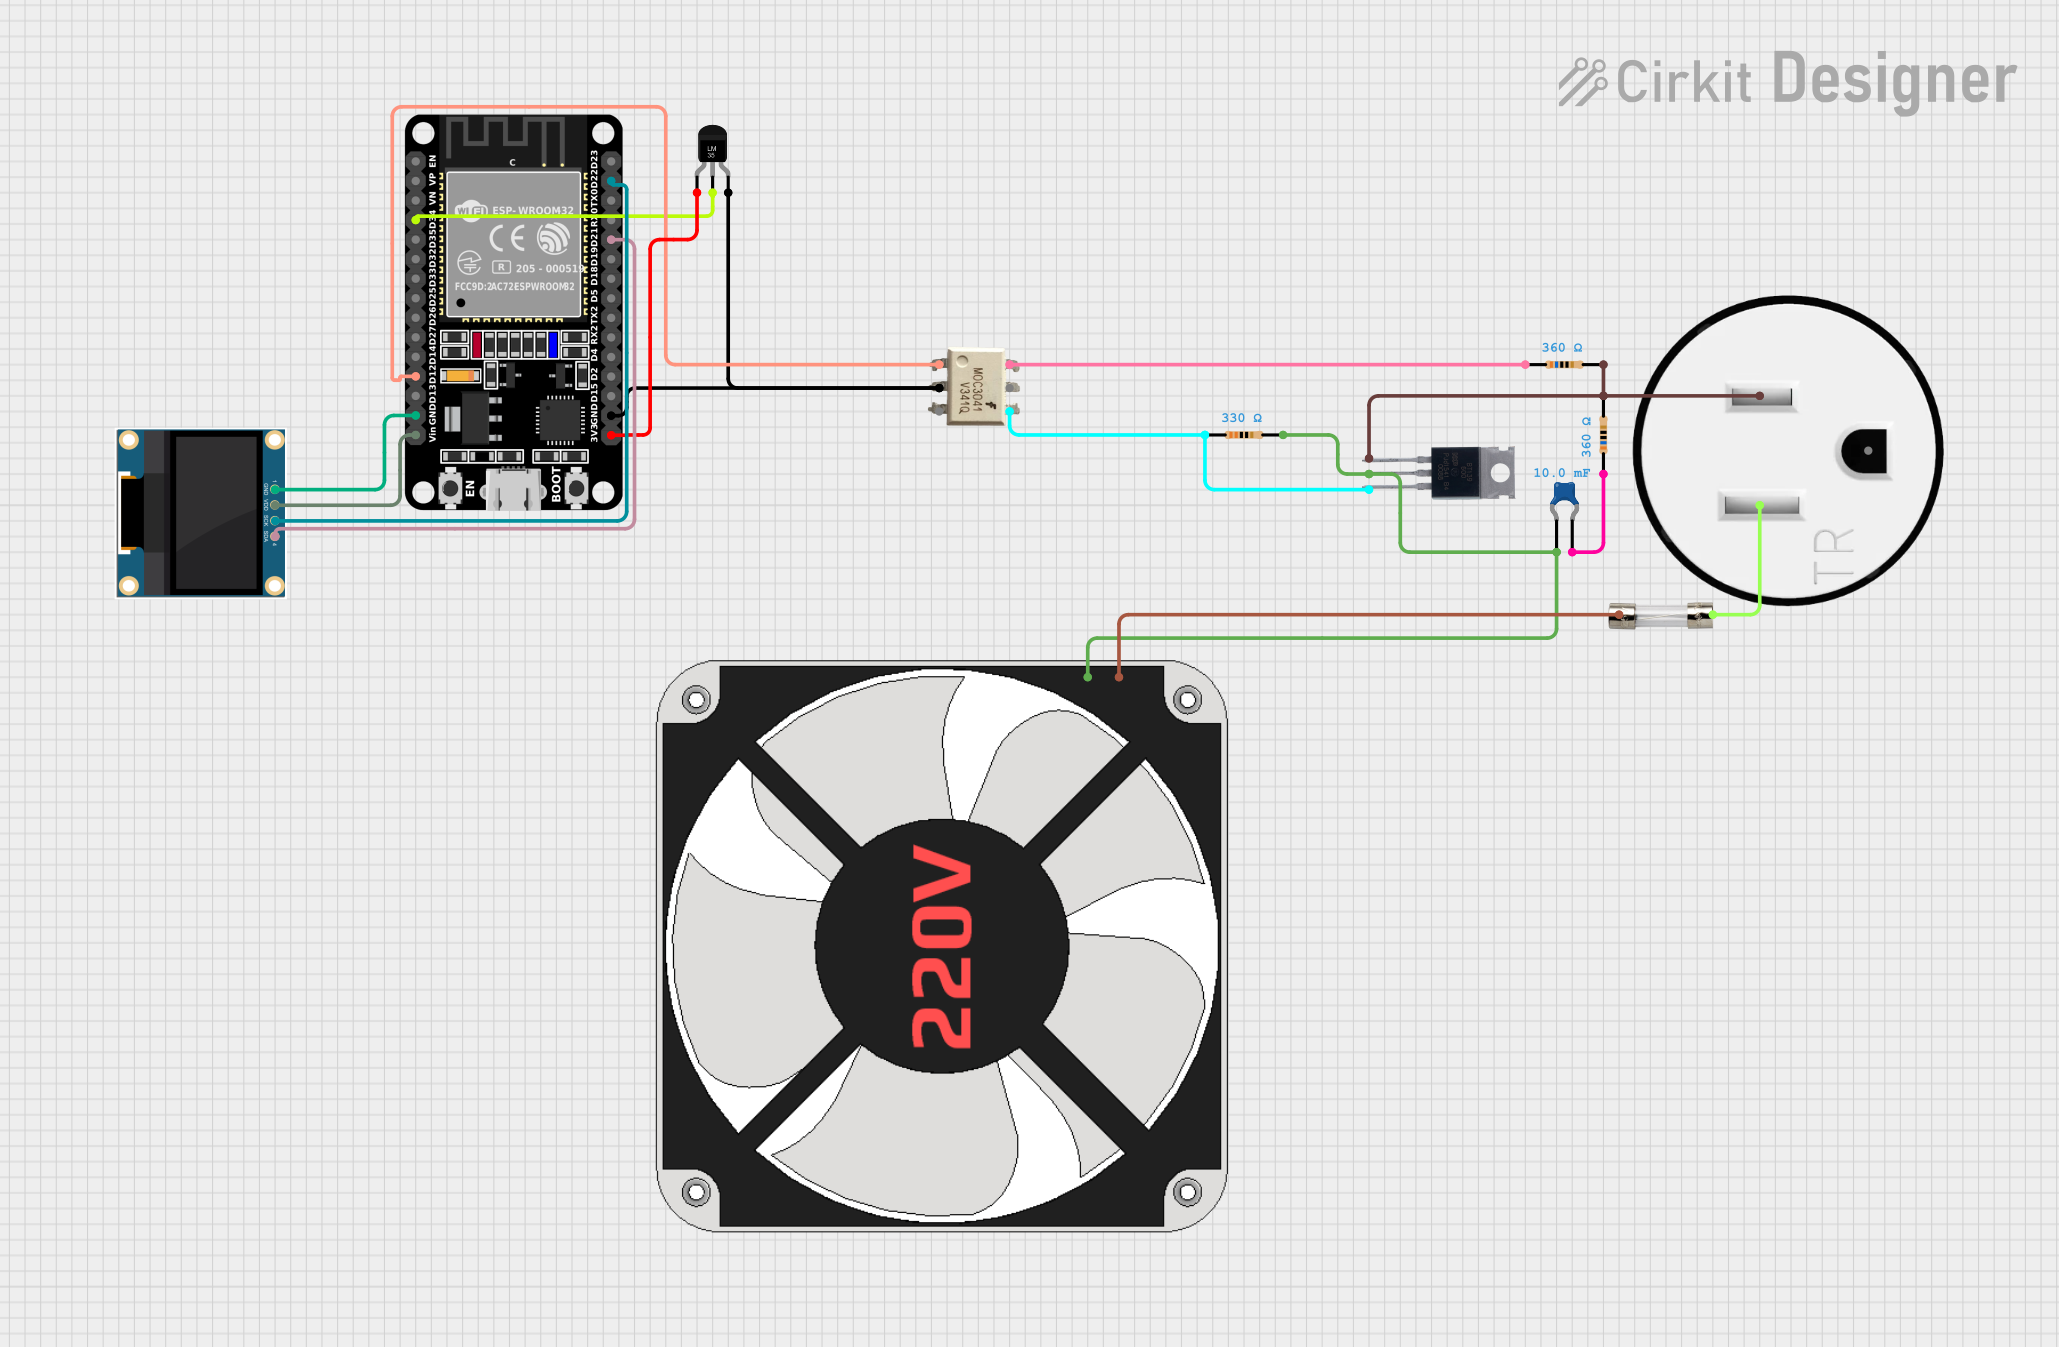 Open Project in Cirkit Designer
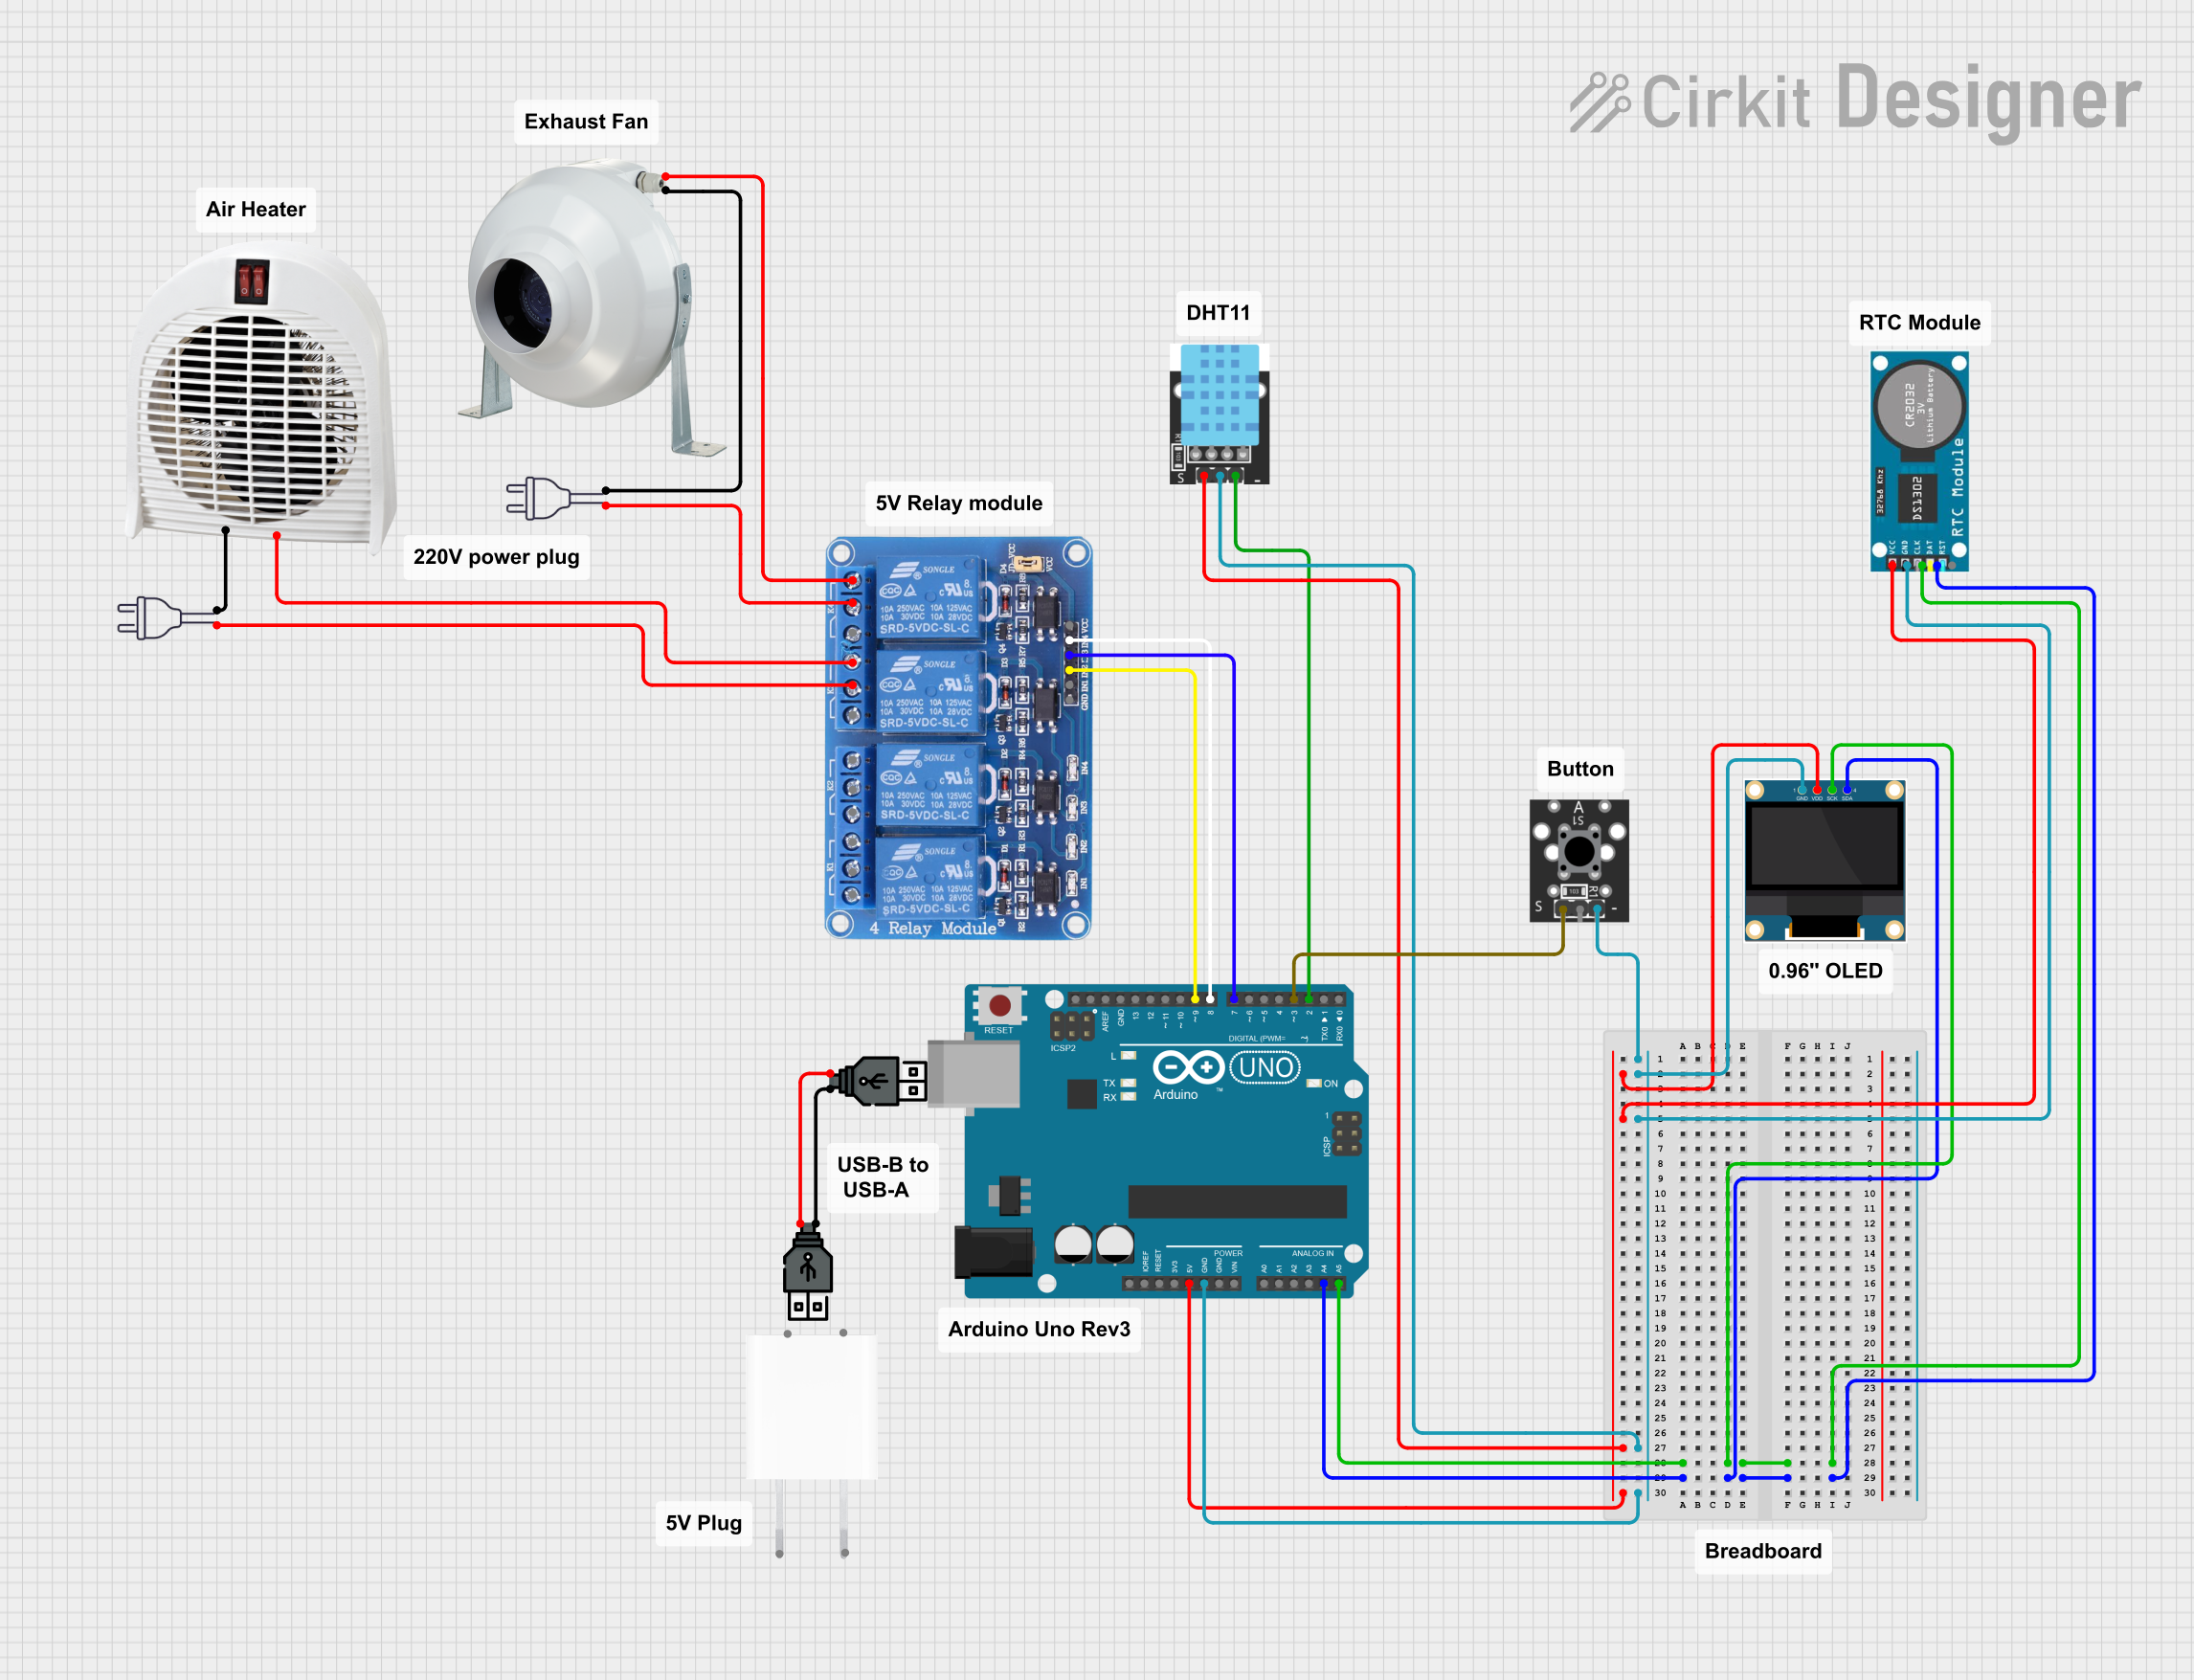 Open Project in Cirkit Designer
Explore Projects Built with Thermostat KSD301 145C
Open Project in Cirkit DesignerOpen Project in Cirkit DesignerOpen Project in Cirkit DesignerOpen Project in Cirkit DesignerCommon Applications
- Overheat protection in household appliances
- Temperature control in industrial equipment
- Safety mechanisms in heating systems
- Cooling fan activation in electronic devices
Technical Specifications
The following table outlines the key technical details of the Thermostat KSD301 145C:
| Parameter | Specification |
|---|---|
| Manufacturer | KSD301 |
| Part ID | Thermostat |
| Operating Temperature | 145°C ± 5°C |
| Reset Type | Automatic Reset |
| Contact Configuration | Normally Closed (NC) or Normally Open (NO) |
| Voltage Rating | 250V AC |
| Current Rating | 10A |
| Insulation Resistance | ≥100MΩ (at 500V DC) |
| Contact Resistance | ≤50mΩ |
| Body Material | Metal and high-temperature plastic |
| Mounting Style | Screw or rivet mounting |
| Dimensions | Approx. 20mm diameter |
Pin Configuration and Descriptions
The KSD301 thermostat has two terminals for electrical connections. The configuration depends on the contact type (NC or NO):
| Pin | Description |
|---|---|
| Pin 1 | Input terminal for the electrical circuit |
| Pin 2 | Output terminal for the electrical circuit |
- Normally Closed (NC): The circuit remains closed (conducting) until the temperature exceeds 145°C, at which point the circuit opens.
- Normally Open (NO): The circuit remains open (non-conducting) until the temperature exceeds 145°C, at which point the circuit closes.
Usage Instructions
How to Use the Thermostat KSD301 145C in a Circuit
- Determine the Contact Type: Verify whether the thermostat is NC or NO based on your application requirements.
- Mounting: Secure the thermostat to the desired surface using screws or rivets. Ensure proper thermal contact with the surface for accurate temperature sensing.
- Wiring:
- Connect Pin 1 to the power source or control circuit.
- Connect Pin 2 to the load or device being controlled.
- Use appropriate wire gauges to handle the rated current (10A).
- Testing:
- Gradually heat the thermostat to 145°C and observe the switching behavior (open or close).
- Ensure the thermostat resets automatically when the temperature drops below the threshold.
Important Considerations
- Thermal Contact: Ensure the thermostat is in direct contact with the surface to accurately sense temperature changes.
- Voltage and Current Ratings: Do not exceed the specified voltage (250V AC) or current (10A) ratings to avoid damage.
- Insulation: Verify proper insulation of wires to prevent short circuits.
- Environment: Avoid exposing the thermostat to moisture or corrosive environments, as this may degrade performance.
Example: Using the KSD301 with an Arduino UNO
The KSD301 can be used with an Arduino UNO to monitor its switching state. Below is an example circuit and code:
Circuit Setup
- Connect one terminal of the KSD301 to 5V on the Arduino.
- Connect the other terminal to a digital input pin (e.g., D2) on the Arduino.
- Use a pull-down resistor (10kΩ) between the input pin and ground to ensure stable readings.
Arduino Code
// Thermostat KSD301 Monitoring with Arduino UNO
// Pin Definitions
const int thermostatPin = 2; // Digital pin connected to KSD301

void setup() {
  pinMode(thermostatPin, INPUT); // Set thermostat pin as input
  Serial.begin(9600);           // Initialize serial communication
}

void loop() {
  int state = digitalRead(thermostatPin); // Read the thermostat state

  if (state == HIGH) {
    // Thermostat is open (temperature above 145°C for NC type)
    Serial.println("Thermostat is OPEN: Temperature above 145°C");
  } else {
    // Thermostat is closed (temperature below 145°C for NC type)
    Serial.println("Thermostat is CLOSED: Temperature below 145°C");
  }

  delay(1000); // Wait 1 second before reading again
}
Troubleshooting and FAQs
Common Issues
Thermostat Does Not Switch at 145°C:
- Cause: Incorrect mounting or poor thermal contact.
- Solution: Ensure the thermostat is securely mounted and in direct contact with the surface.
Circuit Does Not Reset Automatically:
- Cause: Faulty thermostat or incorrect wiring.
- Solution: Verify the wiring and replace the thermostat if necessary.
Overheating or Circuit Damage:
- Cause: Exceeding voltage or current ratings.
- Solution: Ensure the load does not exceed 250V AC or 10A.
FAQs
Q1: Can the KSD301 be used for DC circuits?
A1: While the KSD301 is rated for AC circuits, it can be used in low-voltage DC circuits. Ensure the current does not exceed 10A.
Q2: How do I identify NC or NO types?
A2: Use a multimeter to check continuity at room temperature. NC types will show continuity, while NO types will not.
Q3: Can the thermostat be adjusted to a different temperature?
A3: No, the KSD301 is factory-set to 145°C and cannot be adjusted.
Q4: Is the KSD301 waterproof?
A4: No, the KSD301 is not waterproof. Avoid exposing it to moisture or liquids.
By following this documentation, users can effectively integrate the Thermostat KSD301 145C into their projects for reliable temperature control and protection.