How to Use kY-026 Flame Sensor: Examples, Pinouts, and Specs

 Design with kY-026 Flame Sensor in Cirkit Designer
Introduction
The KY-026 Flame Sensor is a compact electronic device designed to detect infrared (IR) radiation emitted by flames. This sensor is widely used in fire alarm systems, fire-fighting robots, and other fire detection applications. It can also be utilized in projects that require flame or heat detection, such as automatic cookers or environmental monitoring systems.
Explore Projects Built with kY-026 Flame Sensor

 Open Project in Cirkit Designer
 Open Project in Cirkit Designer
 Open Project in Cirkit Designer
 Open Project in Cirkit Designer
Explore Projects Built with kY-026 Flame Sensor

 Open Project in Cirkit Designer
 Open Project in Cirkit Designer
 Open Project in Cirkit Designer
 Open Project in Cirkit Designer
Technical Specifications
Key Technical Details
- Operating Voltage: 3.3V to 5V DC
- Output Type: Digital and Analog
- Detection Wavelength: 760 nm to 1100 nm (Infrared spectrum)
- Detection Angle: Approximately 60 degrees
- Response Time: < 1 second
- Operating Temperature: -25°C to 85°C
Pin Configuration and Descriptions
| Pin | Description |
|---|---|
| VCC | Connects to the power supply (3.3V to 5V DC) |
| GND | Connects to the ground of the power supply |
| DO | Digital output pin, goes high when flame is detected |
| AO | Analog output pin, provides an analog voltage proportional to the flame intensity |
Usage Instructions
Connecting the KY-026 to a Circuit
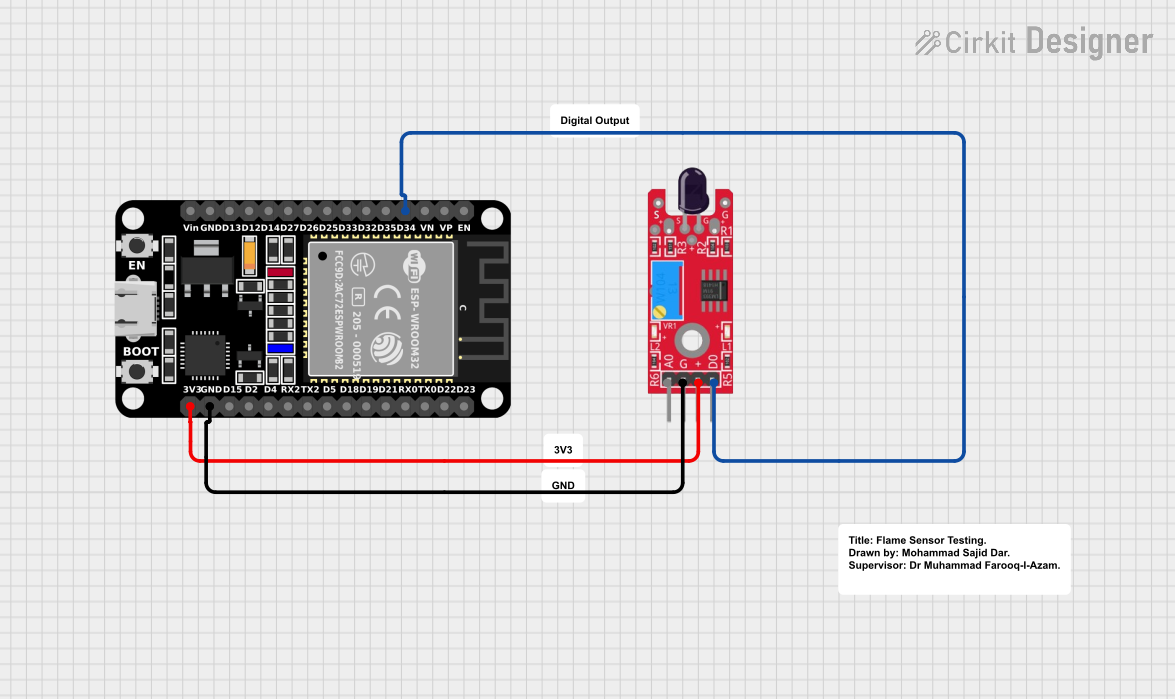
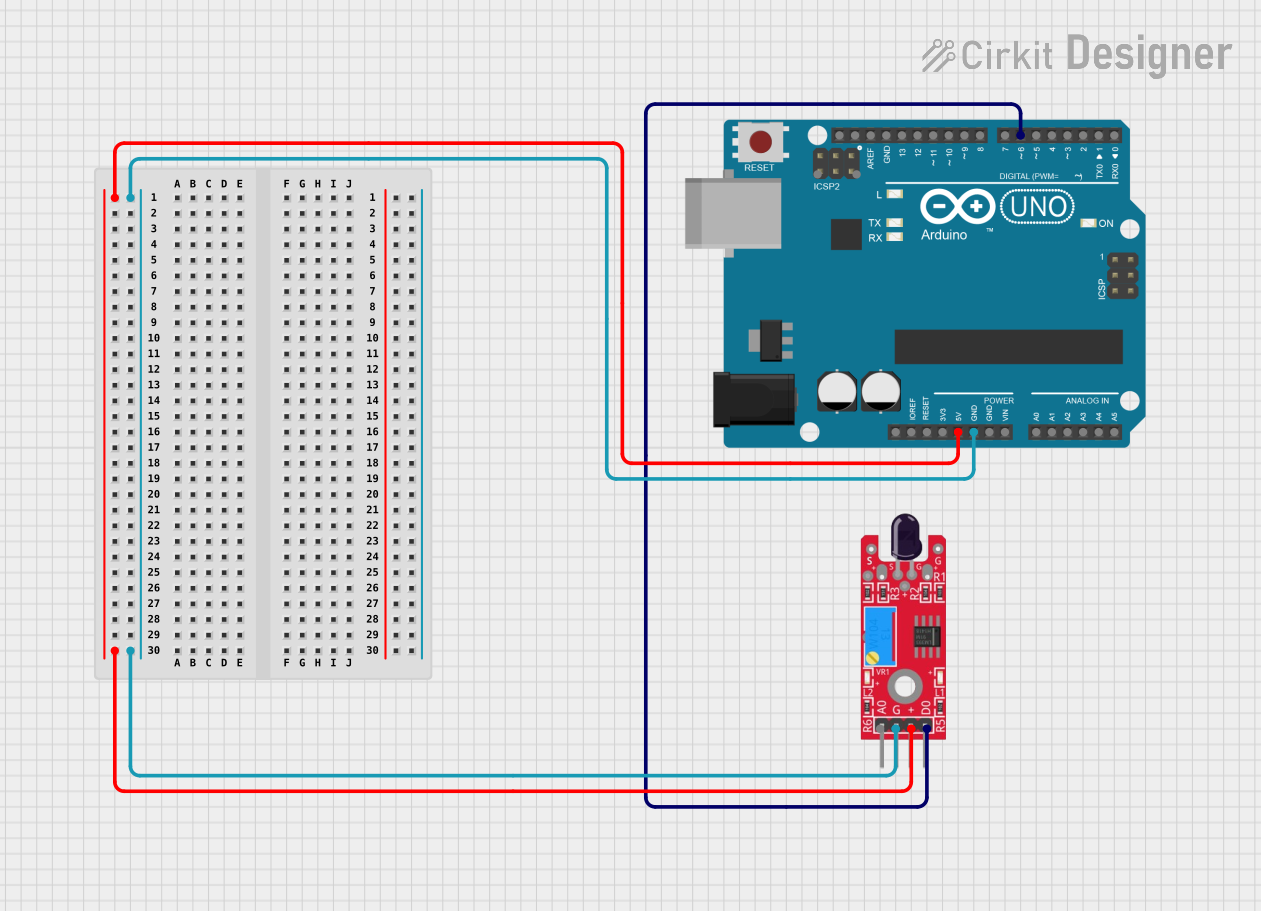
- Connect the VCC pin to the 5V output on the Arduino UNO or the power supply.
- Connect the GND pin to the ground on the Arduino UNO or the power supply.
- Connect the DO pin to a digital input pin on the Arduino UNO if you wish to use the digital output.
- Connect the AO pin to an analog input pin on the Arduino UNO if you wish to use the analog output.
Important Considerations and Best Practices
- Avoid exposing the sensor to direct sunlight or other strong IR sources, as this may cause false alarms.
- The sensor's sensitivity can be adjusted using the onboard potentiometer. Turn it clockwise to increase sensitivity and counterclockwise to decrease it.
- Ensure that the sensor is mounted away from heat sources that are not indicative of flames to prevent false readings.
- Use the digital output for simple flame detection (flame present or not) and the analog output for measuring the intensity of the flame.
Example Code for Arduino UNO
// KY-026 Flame Sensor Example Code
int flamePin = 2;    // Digital pin connected to the sensor's DO pin
int flameValue = 0;  // Variable to store the flame sensor status

void setup() {
  pinMode(flamePin, INPUT);  // Initialize the flamePin as an input
  Serial.begin(9600);        // Start serial communication at 9600 baud rate
}

void loop() {
  flameValue = digitalRead(flamePin);  // Read the digital value from the sensor
  if (flameValue == LOW) {             // If a flame is detected
    Serial.println("Flame detected!");
    // Implement additional actions such as activating an alarm or safety mechanism
  } else {
    Serial.println("No flame detected.");
  }
  delay(1000);  // Wait for 1 second before the next read
}
Troubleshooting and FAQs
Common Issues
- False Alarms: Adjust the sensitivity potentiometer on the sensor to reduce false positives.
- No Response: Ensure that the sensor is correctly powered and that all connections are secure.
- Inconsistent Readings: Avoid placing the sensor in environments with rapid temperature changes or near other IR sources.
Solutions and Tips for Troubleshooting
- If the sensor is not detecting flames consistently, try increasing the sensitivity by adjusting the potentiometer.
- Check the power supply voltage and connections if the sensor is unresponsive.
- Use shielded cables for longer connections to minimize electrical noise interference.
FAQs
Q: Can the KY-026 Flame Sensor detect smoke? A: No, the KY-026 is designed to detect infrared radiation from flames, not smoke particles.
Q: What is the range of the sensor? A: The sensor can typically detect flames up to a distance of 1 meter, depending on the size and intensity of the flame.
Q: Is the KY-026 Flame Sensor waterproof? A: No, the KY-026 is not waterproof. Protect it from moisture to ensure proper operation.
Q: Can I use the analog output to determine the size of the flame? A: The analog output provides a voltage proportional to the flame's intensity, which can be used as an approximate measure of the flame size. However, it is not a precise measurement tool for flame size.
This documentation provides a comprehensive guide to using the KY-026 Flame Sensor with an Arduino UNO. For further assistance or advanced applications, consult the sensor's datasheet or contact technical support.