How to Use 4000mah 12v Battery: Examples, Pinouts, and Specs
Introduction
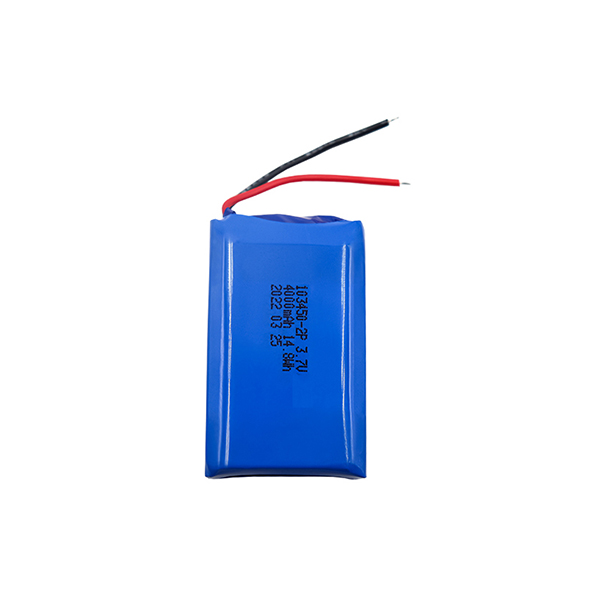
The 4000mAh 12V battery is a rechargeable power source with a nominal voltage of 12 volts and a capacity of 4000 milliamp-hours (mAh). This battery is widely used in applications requiring a reliable and portable energy supply, such as robotics, portable electronics, backup power systems, and DIY projects. Its compact size and high energy density make it an excellent choice for powering devices over extended periods.
Explore Projects Built with 4000mah 12v Battery

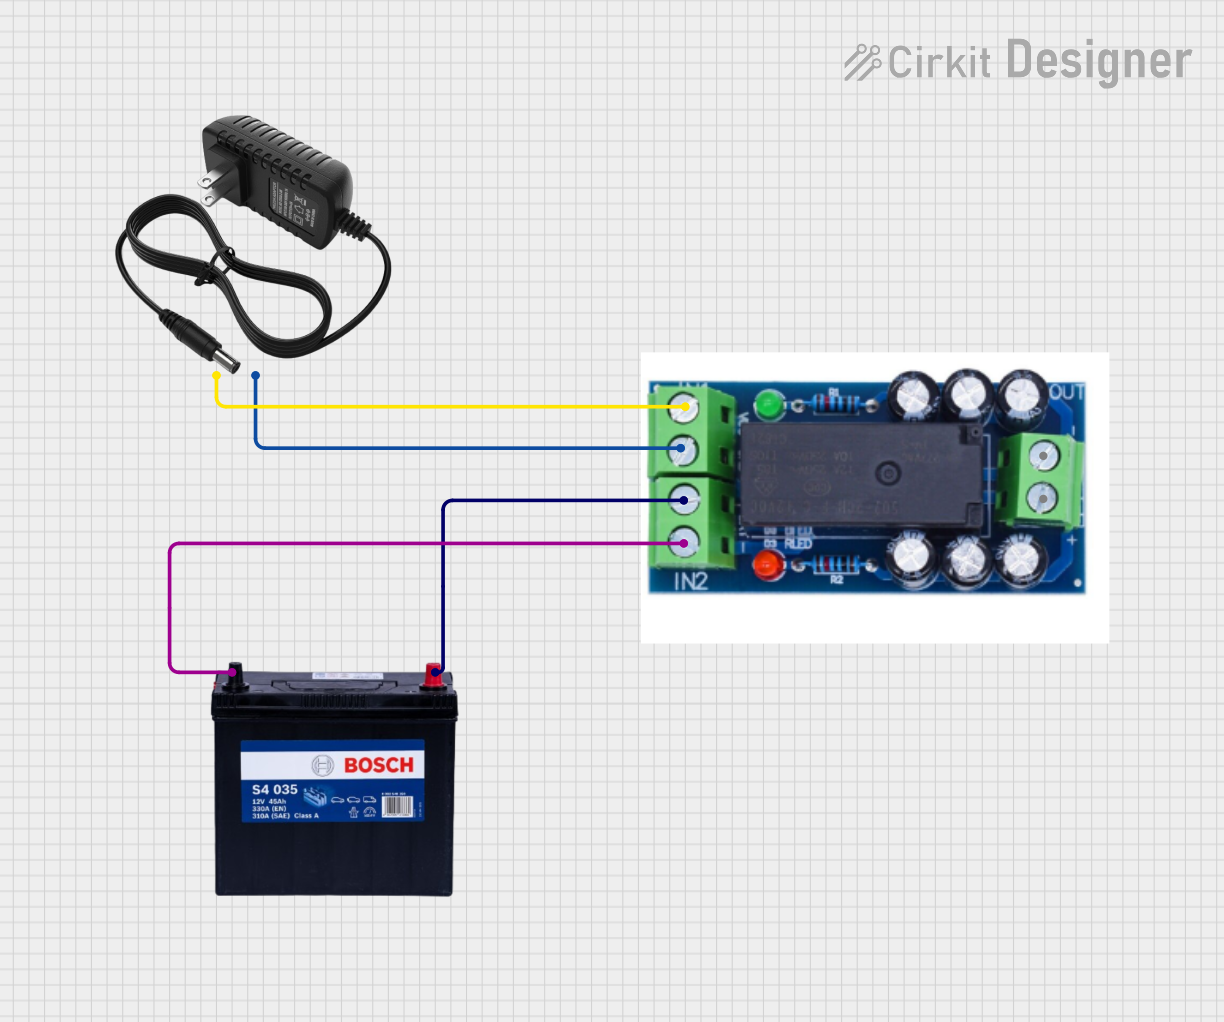


Explore Projects Built with 4000mah 12v Battery
Common Applications
- Robotics and automation systems
- Portable electronic devices
- Uninterruptible power supplies (UPS)
- DIY electronics and Arduino-based projects
- LED lighting systems
- RC vehicles and drones
Technical Specifications
The following table outlines the key technical details of the 4000mAh 12V battery:
| Parameter | Specification |
|---|---|
| Nominal Voltage | 12V |
| Capacity | 4000mAh (4Ah) |
| Chemistry | Lithium-ion or Lead-acid |
| Maximum Discharge Current | Typically 2C (8A) |
| Charging Voltage | 12.6V (for Li-ion) |
| Charging Current | Recommended: 0.5C (2A) |
| Dimensions | Varies by manufacturer |
| Weight | Varies by manufacturer |
| Operating Temperature | -20°C to 60°C |
| Cycle Life | 300-500 cycles (Li-ion) |
Pin Configuration and Descriptions
The battery typically has two terminals for connection:
| Pin | Label | Description |
|---|---|---|
| 1 | + (Positive) | Positive terminal for power output |
| 2 | - (Negative) | Negative terminal for power output |
Some batteries may include additional terminals for features like temperature sensing or battery management system (BMS) communication. Refer to the manufacturer's datasheet for specific details.
Usage Instructions
How to Use the Battery in a Circuit
- Connection: Connect the positive terminal (
+) of the battery to the positive rail of your circuit and the negative terminal (-) to the ground rail. - Charging: Use a compatible charger designed for 12V batteries. For lithium-ion batteries, ensure the charger supports a constant current/constant voltage (CC/CV) charging profile.
- Load Considerations: Ensure the connected load does not exceed the battery's maximum discharge current (typically 8A for a 2C-rated battery).
- Protection: Use a fuse or circuit breaker to protect the battery and circuit from overcurrent conditions.
Important Considerations and Best Practices
- Avoid Overcharging: Overcharging can damage the battery and reduce its lifespan. Use a charger with overcharge protection.
- Prevent Deep Discharge: Discharging the battery below its minimum voltage (e.g., 10.5V for a 12V Li-ion battery) can cause permanent damage.
- Temperature Monitoring: Avoid using or charging the battery in extreme temperatures to prevent overheating or reduced performance.
- Storage: Store the battery in a cool, dry place at around 50% charge for long-term storage.
- Polarity: Double-check the polarity of connections to avoid short circuits or damage to the battery and connected devices.
Example: Using the Battery with an Arduino UNO
To power an Arduino UNO with the 4000mAh 12V battery, connect the battery's positive terminal to the Arduino's VIN pin and the negative terminal to the GND pin. This allows the Arduino's onboard voltage regulator to step down the 12V to 5V.
Sample Code for Monitoring Battery Voltage
You can use a voltage divider circuit to measure the battery voltage with the Arduino's analog input. Here's an example:
// Define the analog pin for voltage measurement
const int voltagePin = A0;

// Voltage divider resistor values (in ohms)
const float R1 = 10000.0; // Resistor connected to battery positive
const float R2 = 10000.0; // Resistor connected to ground

void setup() {
  Serial.begin(9600); // Initialize serial communication
}

void loop() {
  int sensorValue = analogRead(voltagePin); // Read analog value
  float voltage = sensorValue * (5.0 / 1023.0); // Convert to voltage
  voltage = voltage * ((R1 + R2) / R2); // Adjust for voltage divider

  Serial.print("Battery Voltage: ");
  Serial.print(voltage);
  Serial.println(" V");

  delay(1000); // Wait 1 second before next reading
}
Note: Ensure the voltage divider reduces the battery voltage to within the Arduino's 5V input range.
Troubleshooting and FAQs
Common Issues and Solutions
Battery Not Charging
- Cause: Faulty charger or incorrect charging voltage.
- Solution: Verify the charger is compatible with the battery type and voltage.
Short Battery Life
- Cause: Overcharging, deep discharging, or high current loads.
- Solution: Follow best practices for charging and discharging. Avoid exceeding the maximum discharge current.
Battery Overheating
- Cause: High discharge current or charging in a hot environment.
- Solution: Reduce the load or charge the battery in a cooler environment.
No Output Voltage
- Cause: Internal protection circuit activated or battery fully discharged.
- Solution: Recharge the battery and check for proper connections.
FAQs
Q: Can I use this battery to power a 5V device?
A: Yes, but you will need a voltage regulator or DC-DC converter to step down the 12V to 5V.
Q: How long will the battery last on a 1A load?
A: The runtime can be estimated using the formula:
Runtime (hours) = Capacity (Ah) / Load Current (A)
For a 1A load, the runtime is approximately 4 hours.
Q: Is it safe to leave the battery connected to the charger?
A: Only if the charger has overcharge protection. Otherwise, disconnect the battery once fully charged.
Q: Can I connect multiple batteries in series or parallel?
A: Yes, but ensure proper balancing and use a battery management system (BMS) for safety.