How to Use MH-ET LIVE 1.54 E-Paper: Examples, Pinouts, and Specs
Introduction
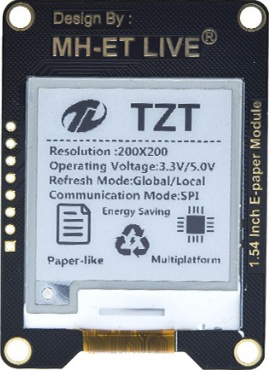
The MH-ET LIVE 1.54 E-Paper is a compact, low-power display module that uses electronic ink (e-ink) technology to render high-contrast, paper-like visuals. This 1.54-inch display is ideal for applications requiring static images or text with minimal power consumption, such as IoT devices, smart tags, electronic shelf labels, and portable devices. Its ability to retain an image without power makes it an excellent choice for energy-efficient designs.
Explore Projects Built with MH-ET LIVE 1.54 E-Paper
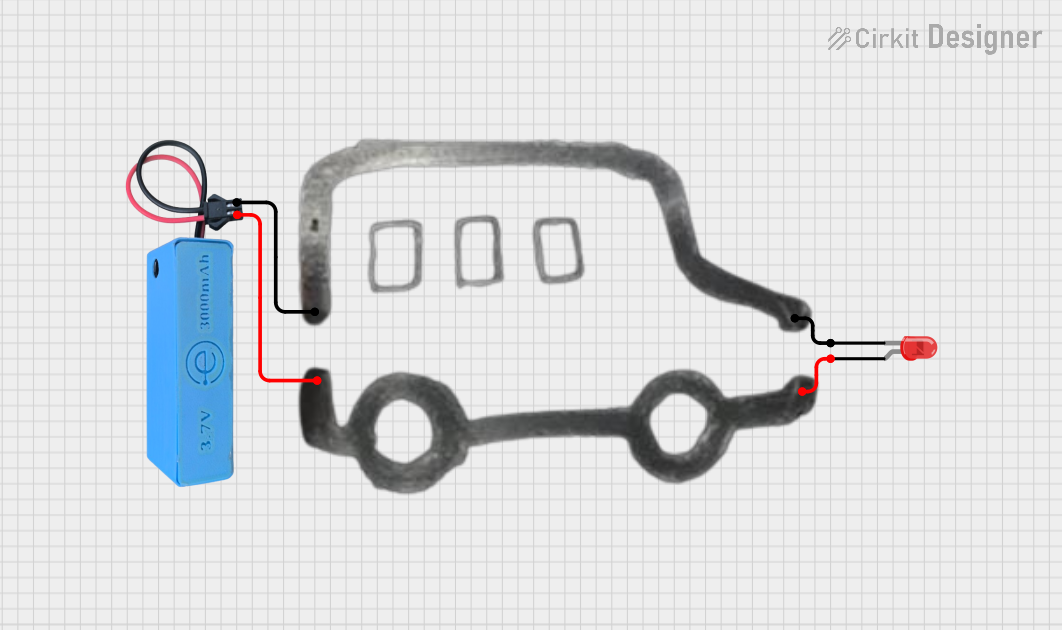
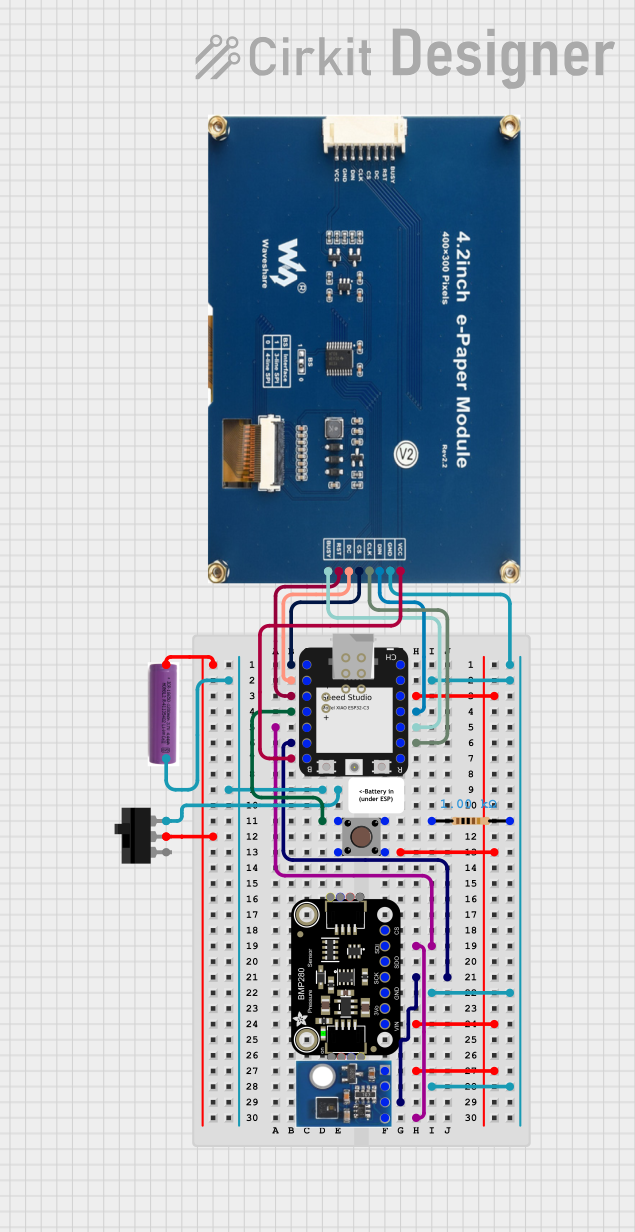
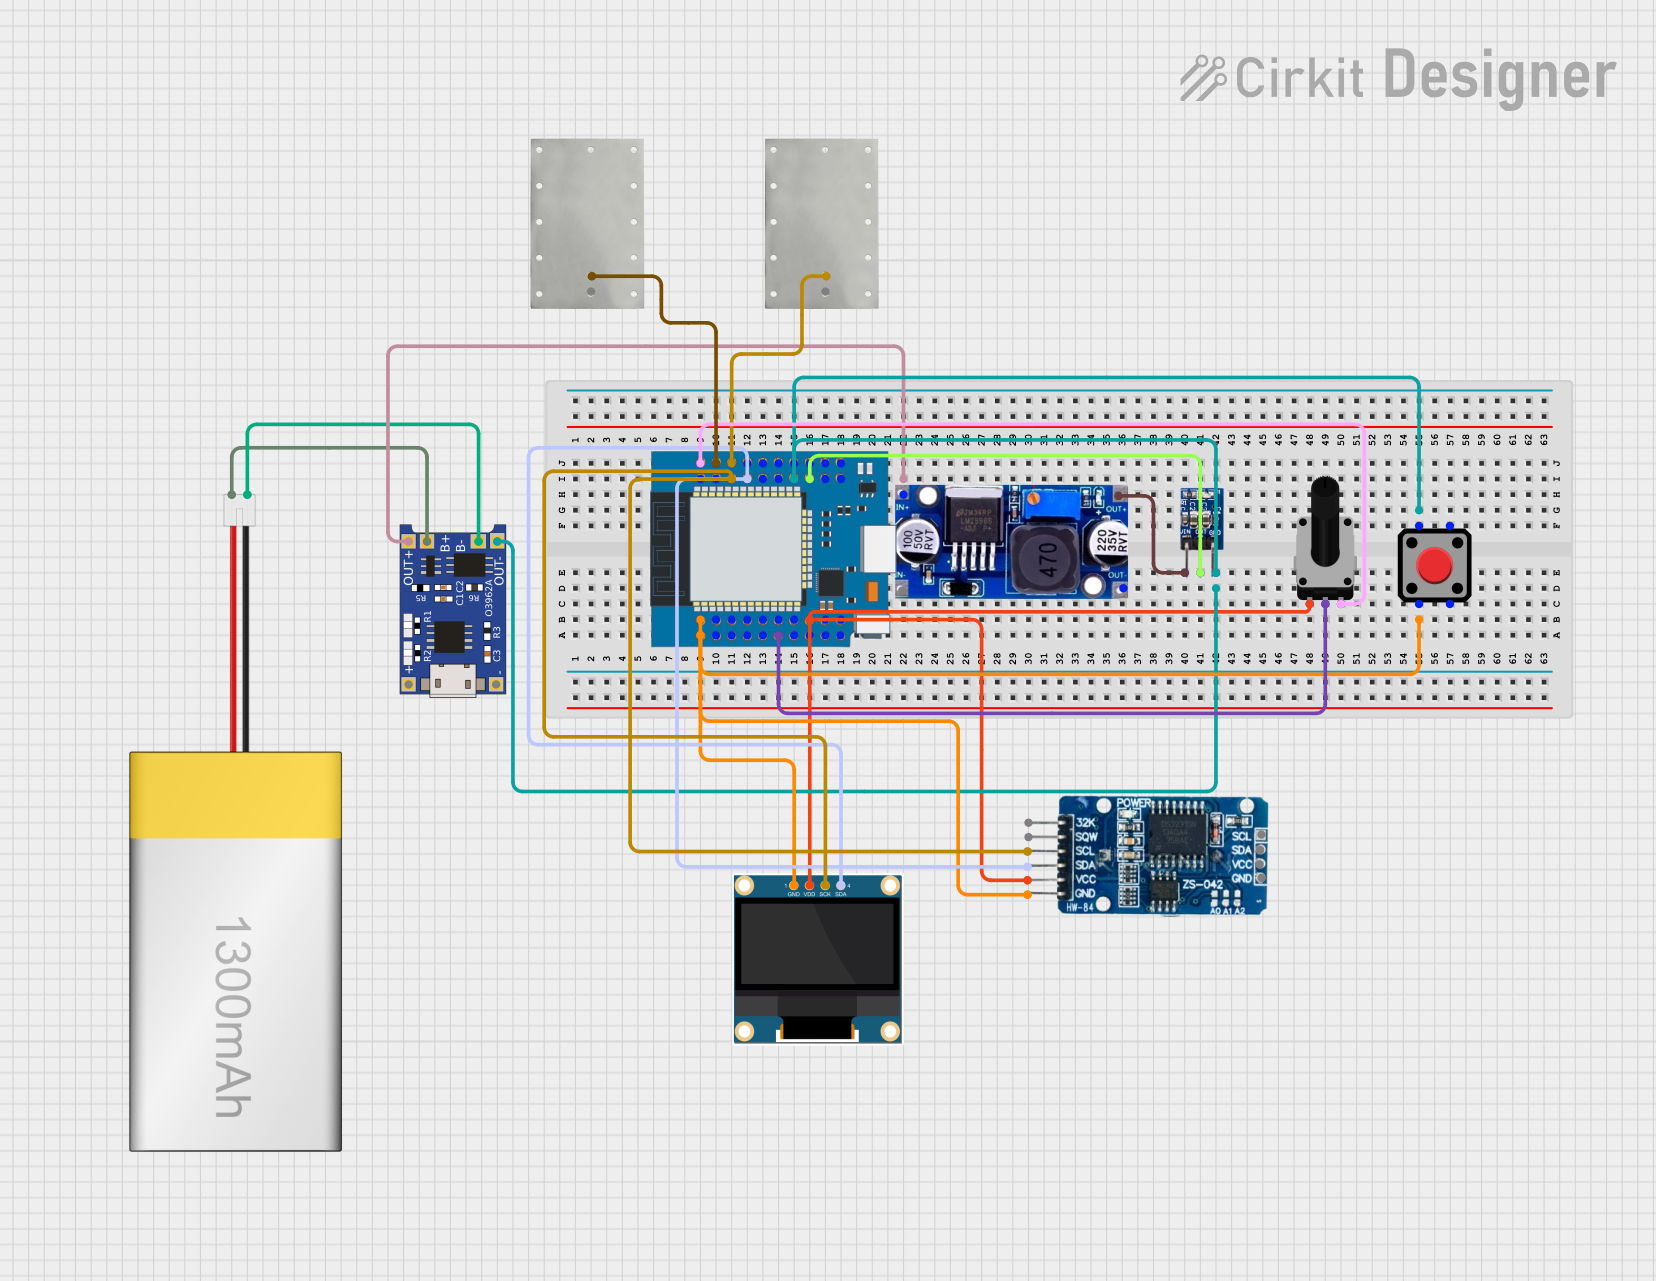

Explore Projects Built with MH-ET LIVE 1.54 E-Paper
Common Applications
- Smart home devices (e.g., thermostats, weather displays)
- Electronic shelf labels and price tags
- Wearable devices
- Portable e-readers or note-taking devices
- Low-power IoT projects
Technical Specifications
The following table outlines the key technical details of the MH-ET LIVE 1.54 E-Paper module:
| Parameter | Specification |
|---|---|
| Display Size | 1.54 inches |
| Resolution | 200 x 200 pixels |
| Display Colors | Black and White |
| Interface | SPI |
| Operating Voltage | 3.3V |
| Power Consumption | ~26mW (during refresh) |
| Standby Power | ~0.017mW (image retained without power) |
| Refresh Time | ~2 seconds |
| Viewing Angle | 180° |
| Operating Temperature | -20°C to 70°C |
| Module Dimensions | 48mm x 33mm |
Pin Configuration and Descriptions
The MH-ET LIVE 1.54 E-Paper module uses an SPI interface for communication. Below is the pinout description:
| Pin | Name | Description |
|---|---|---|
| 1 | VCC | Power supply (3.3V) |
| 2 | GND | Ground |
| 3 | DIN | SPI data input (MOSI) |
| 4 | CLK | SPI clock input (SCK) |
| 5 | CS | Chip select (active low) |
| 6 | DC | Data/Command control pin |
| 7 | RST | Reset pin (active low) |
| 8 | BUSY | Busy status output (high when refreshing) |
Usage Instructions
How to Use the Component in a Circuit
- Power Supply: Connect the VCC pin to a 3.3V power source and the GND pin to ground.
- SPI Communication: Connect the SPI pins (DIN, CLK, CS) to the corresponding SPI pins on your microcontroller.
- Control Pins:
- Connect the DC pin to a GPIO pin on your microcontroller to toggle between data and command modes.
- Connect the RST pin to a GPIO pin for resetting the display.
- Connect the BUSY pin to a GPIO pin to monitor the display's busy status.
- Software Library: Use an appropriate e-paper library (e.g., GxEPD for Arduino) to control the display.
Example Arduino UNO Code
Below is an example of how to use the MH-ET LIVE 1.54 E-Paper with an Arduino UNO:
#include <GxEPD.h>          // Include the GxEPD library for e-paper displays
#include <GxGDEH0154D67.h>  // Include the specific driver for the 1.54-inch display
#include <Adafruit_GFX.h>   // Include Adafruit GFX library for graphics support

// Pin definitions for the e-paper display
#define CS_PIN 10   // Chip select pin
#define DC_PIN 9    // Data/Command pin
#define RST_PIN 8   // Reset pin
#define BUSY_PIN 7  // Busy pin

// Initialize the display object
GxIO_Class io(SPI, CS_PIN, DC_PIN, RST_PIN);
GxEPD_Class display(io, RST_PIN, BUSY_PIN);

void setup() {
  // Initialize serial communication for debugging
  Serial.begin(9600);
  Serial.println("Initializing e-paper display...");

  // Initialize the e-paper display
  display.init();

  // Clear the display
  display.fillScreen(GxEPD_WHITE);
  display.update();

  // Display a message
  display.setTextColor(GxEPD_BLACK);
  display.setCursor(10, 50);  // Set cursor position
  display.setTextSize(2);     // Set text size
  display.print("Hello, E-Paper!");
  display.update();           // Refresh the display
}

void loop() {
  // The e-paper display retains the image without power, so no code is needed here
}
Important Considerations and Best Practices
- Power Supply: Ensure the module is powered with a stable 3.3V source. Using higher voltages may damage the display.
- Refresh Time: The display requires ~2 seconds to refresh. Avoid sending new data during this period.
- Busy Pin: Always check the BUSY pin before sending new commands to ensure the display is ready.
- Static Images: E-paper displays are best suited for static images or text. Avoid frequent updates to maximize lifespan.
- Library Compatibility: Use a compatible library (e.g., GxEPD) to simplify development and ensure proper functionality.
Troubleshooting and FAQs
Common Issues and Solutions
Display Not Turning On:
- Verify the power supply is 3.3V and properly connected to the VCC and GND pins.
- Check the connections for loose or incorrect wiring.
No Image or Text Displayed:
- Ensure the SPI pins (DIN, CLK, CS) are correctly connected to the microcontroller.
- Verify the DC and RST pins are properly configured in your code.
- Check if the BUSY pin is high, indicating the display is still refreshing.
Corrupted or Incomplete Display:
- Ensure the SPI clock speed is within the module's supported range.
- Verify the library and driver being used are compatible with the display.
Slow Refresh Rate:
- This is a characteristic of e-paper technology. Avoid frequent updates to improve performance.
FAQs
Q: Can the display retain an image without power?
A: Yes, the e-paper display retains the last image even when power is removed, making it highly energy-efficient.
Q: Can I use this module with a 5V microcontroller?
A: Yes, but you must use level shifters to convert the 5V logic signals to 3.3V to avoid damaging the module.
Q: How do I clear the display?
A: Use the fillScreen(GxEPD_WHITE) function followed by update() to clear the display.
Q: Can I display grayscale images?
A: No, this module supports only black and white images.
By following this documentation, you can effectively integrate the MH-ET LIVE 1.54 E-Paper into your projects and take advantage of its low-power, high-contrast display capabilities.