How to Use Fuse: Examples, Pinouts, and Specs
Introduction
A fuse is a safety device designed to protect electrical circuits from excessive current. It operates by breaking the circuit when the current exceeds a predefined threshold, thereby preventing damage to components and reducing the risk of fire. Fuses are widely used in various applications, including household appliances, automotive systems, industrial equipment, and electronic circuits.
Explore Projects Built with Fuse


Explore Projects Built with Fuse
Common Applications and Use Cases
- Household Appliances: Protecting devices like microwaves, refrigerators, and washing machines.
- Automotive Systems: Safeguarding electrical systems in cars, such as lighting and infotainment systems.
- Industrial Equipment: Ensuring the safety of heavy machinery and control systems.
- Electronic Circuits: Preventing damage to sensitive components in power supplies, amplifiers, and microcontroller-based systems.
Technical Specifications
Fuses come in various types, sizes, and ratings. Below are the key technical details to consider when selecting a fuse:
General Specifications
- Voltage Rating: Typically ranges from 12V to 600V, depending on the application.
- Current Rating: Commonly available from 0.1A to 100A or more.
- Breaking Capacity: The maximum current the fuse can safely interrupt without damage.
- Response Time: Can be fast-blow (quick response) or slow-blow (delayed response for inrush currents).
- Material: Fuse elements are often made of zinc, copper, or silver.
Pin Configuration and Descriptions
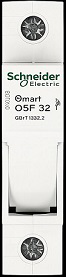
Fuses do not have traditional pins like ICs but are categorized based on their physical form factor and mounting style. Below is a table summarizing common types:
| Fuse Type | Description |
|---|---|
| Cartridge Fuse | Cylindrical body with metal caps on both ends; used in industrial and home applications. |
| Blade Fuse | Flat, plastic-encased fuse with two metal prongs; common in automotive systems. |
| Surface Mount Fuse | Small, rectangular fuses designed for PCB mounting in compact electronic devices. |
| Resettable Fuse | Polymer-based fuse that resets itself after the fault is cleared. |
Usage Instructions
How to Use a Fuse in a Circuit
- Determine the Fuse Rating:
- Calculate the required current rating based on the circuit's normal operating current.
- Choose a voltage rating higher than the circuit's operating voltage.
- Select the Fuse Type:
- Choose a fuse type suitable for the application (e.g., cartridge, blade, or surface mount).
- Install the Fuse:
- Insert the fuse into the fuse holder or solder it onto the PCB, ensuring proper contact.
- For blade fuses, push the prongs into the designated slots in the fuse box.
- Test the Circuit:
- Power on the circuit and verify that the fuse operates correctly under normal conditions.
Important Considerations and Best Practices
- Always use a fuse with the correct current and voltage ratings to avoid overloading or under-protecting the circuit.
- For circuits with high inrush currents (e.g., motors), use a slow-blow fuse to prevent nuisance tripping.
- Ensure the fuse holder or mounting mechanism is secure and provides good electrical contact.
- Replace blown fuses with identical ratings to maintain circuit protection.
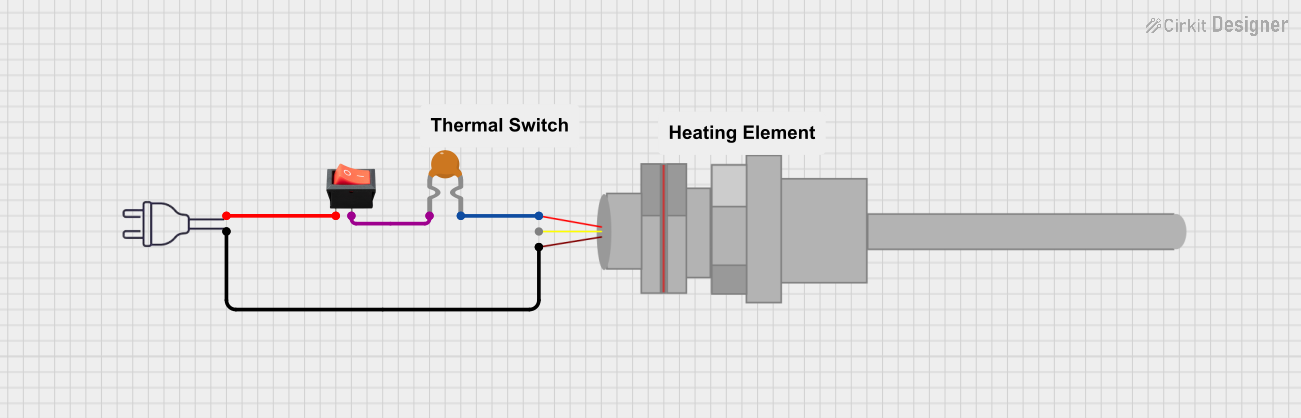
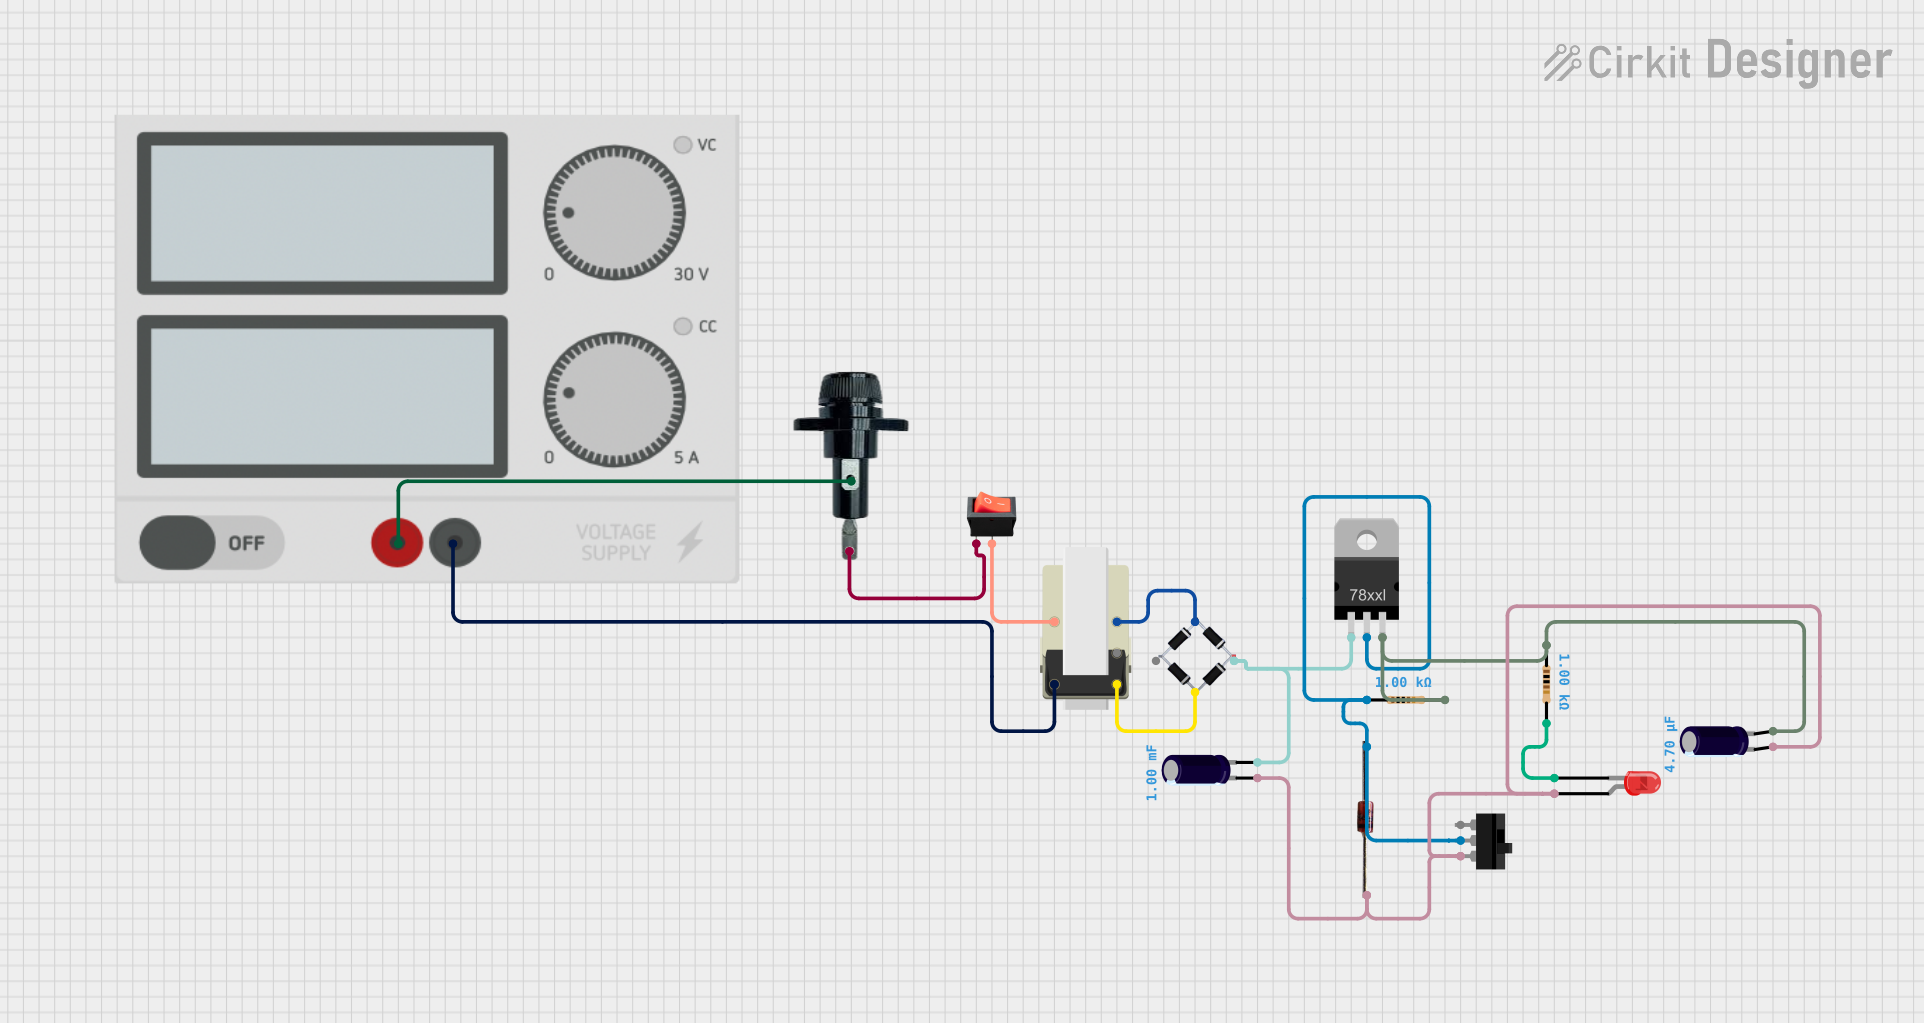
Example: Using a Fuse with an Arduino UNO
When connecting an Arduino UNO to external components, such as motors or LEDs, a fuse can protect the board from overcurrent. Below is an example circuit and code:
Circuit Setup
- Connect a 1A fast-blow fuse in series with the Arduino's 5V power supply line.
- Ensure the fuse is placed between the power source and the Arduino's VIN pin.
Sample Code
// Example code for Arduino UNO with a fuse-protected circuit
// This code blinks an LED connected to pin 13

void setup() {
  pinMode(13, OUTPUT); // Set pin 13 as an output
}

void loop() {
  digitalWrite(13, HIGH); // Turn the LED on
  delay(1000);            // Wait for 1 second
  digitalWrite(13, LOW);  // Turn the LED off
  delay(1000);            // Wait for 1 second
}

// Note: The fuse in the circuit protects the Arduino from overcurrent
// in case of a short circuit or excessive load on the 5V line.
Troubleshooting and FAQs
Common Issues
Fuse Blows Frequently:
- Cause: The fuse rating is too low for the circuit's normal operating current.
- Solution: Replace the fuse with one that has a higher current rating, but ensure it is still within safe limits.
Fuse Does Not Blow During Overcurrent:
- Cause: The fuse rating is too high or the fuse is defective.
- Solution: Verify the circuit's current requirements and replace the fuse with the correct rating.
Fuse Holder Overheats:
- Cause: Poor contact between the fuse and the holder.
- Solution: Ensure the fuse is securely installed and the holder is clean and undamaged.
FAQs
Q: Can I use a higher-rated fuse to prevent frequent blowing?
A: No, using a higher-rated fuse may compromise circuit protection and increase the risk of damage or fire.Q: How do I know if a fuse is blown?
A: Inspect the fuse element for a visible break or use a multimeter to check for continuity.Q: Can a resettable fuse replace a traditional fuse?
A: Yes, in some applications, a resettable fuse can be used, but it may not be suitable for high-current or high-voltage circuits.
By following this documentation, users can effectively select, install, and troubleshoot fuses in their circuits, ensuring safety and reliability.