Cirkit Designer Logo
Cirkit Designer
Your all-in-one circuit design IDE
Home / 
Component Documentation

How to Use Adafruit Quad AlphaNumeric Featherwing - Blue: Examples, Pinouts, and Specs

Image of Adafruit Quad AlphaNumeric Featherwing - Blue
Cirkit Designer LogoDesign with Adafruit Quad AlphaNumeric Featherwing - Blue in Cirkit Designer

Introduction

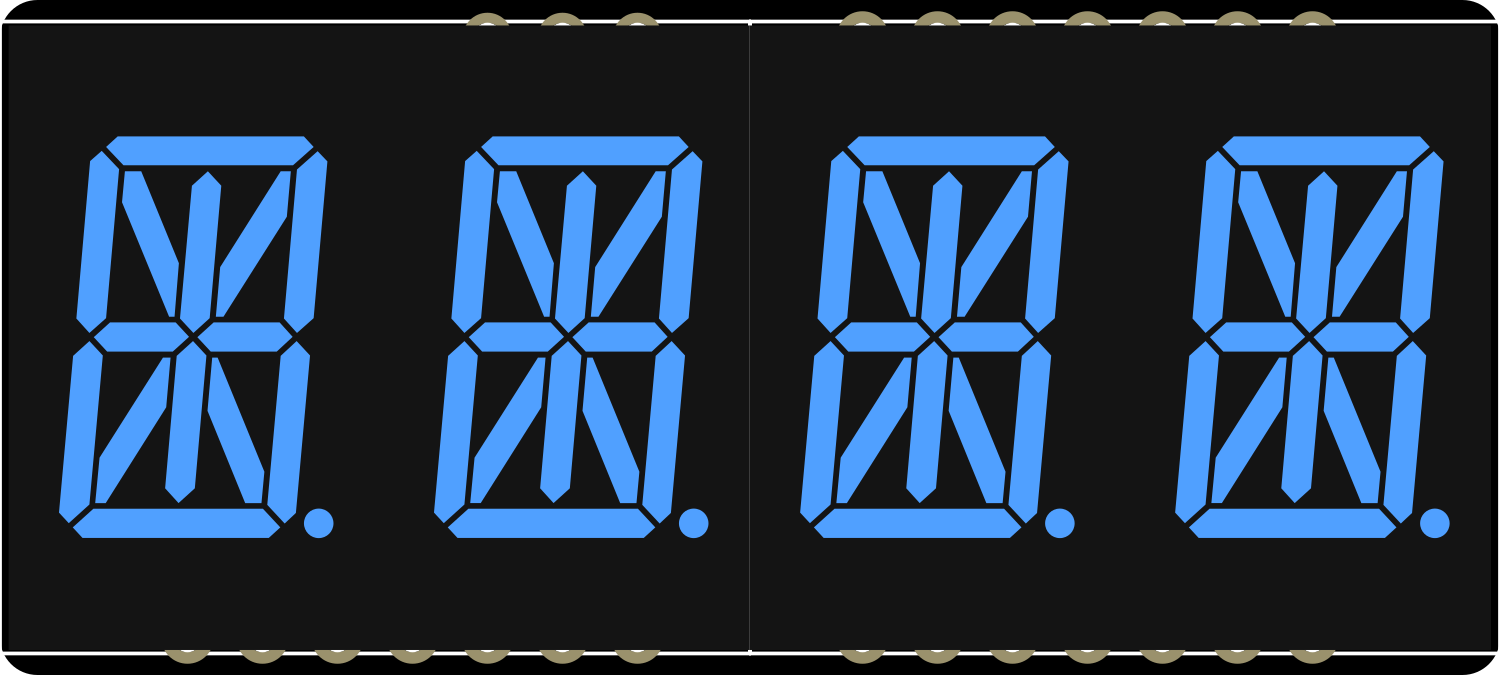
The Adafruit Quad AlphaNumeric FeatherWing - Blue is a versatile and compact display module designed for use with the Feather ecosystem of development boards. It features four high-contrast 14-segment blue LED alphanumeric displays which can show letters and numbers, providing a simple and effective way to add a user interface to your projects. This FeatherWing is ideal for creating readouts for clocks, counters, and other devices that require alphanumeric data to be displayed.

Explore Projects Built with Adafruit Quad AlphaNumeric Featherwing - Blue

Use Cirkit Designer to design, explore, and prototype these projects online. Some projects support real-time simulation. Click "Open Project" to start designing instantly!
ESP32-Based Vibration Feedback System with Quad Alphanumeric Display and ADXL343 Accelerometer
Image of EC444 - Quest 3: A project utilizing Adafruit Quad AlphaNumeric Featherwing - Blue in a practical application
This circuit features an Adafruit HUZZAH32 ESP32 Feather board as the central microcontroller, which is connected to an Adafruit Quad AlphaNumeric Featherwing display and an Adafruit ADXL343 accelerometer via I2C communication (SCL and SDA lines). The ESP32 controls a vibration motor connected to one of its GPIO pins (A5_IO4) and shares a common power supply (3.3V) and ground (GND) with the other components. The purpose of this circuit is likely to read acceleration data, display information on the alphanumeric display, and provide haptic feedback through the vibration motor.
Cirkit Designer LogoOpen Project in Cirkit Designer
Touch-Sensitive Interface with Adafruit MPR121 and Feather 32u4 Bluefruit
Image of MPR121: A project utilizing Adafruit Quad AlphaNumeric Featherwing - Blue in a practical application
This circuit integrates an Adafruit MPR121 capacitive touch sensor with an Adafruit Feather 32u4 Bluefruit microcontroller. The MPR121 is powered by the Feather and communicates via I2C (SCL and SDA) to detect touch inputs, which can be processed or transmitted wirelessly by the Feather.
Cirkit Designer LogoOpen Project in Cirkit Designer
Adafruit Feather 32u4 Bluefruit with MPR121 Capacitive Touch Sensor Interface
Image of ALi WTSE: A project utilizing Adafruit Quad AlphaNumeric Featherwing - Blue in a practical application
This circuit integrates an Adafruit MPR121 capacitive touch sensor with an Adafruit Feather 32u4 Bluefruit microcontroller. The MPR121 is powered by the 3.3V supply from the Feather and communicates with the microcontroller via I2C, with SCL connected to pin 3 and SDA connected to pin 2 of the Feather. This setup allows the Feather to detect touch inputs from the MPR121 for further processing or wireless communication.
Cirkit Designer LogoOpen Project in Cirkit Designer
Arduino UNO and OLED FeatherWing Display: Battery-Powered Hello World Project
Image of ARDUINO_SSD1306: A project utilizing Adafruit Quad AlphaNumeric Featherwing - Blue in a practical application
This circuit consists of an Arduino UNO connected to an Adafruit OLED FeatherWing display via I2C communication (SDA and SCL lines). The Arduino is powered through a Vcc source and provides 3.3V and GND connections to the OLED display. The Arduino runs a program to display 'Hello, World!' on the OLED screen.
Cirkit Designer LogoOpen Project in Cirkit Designer

Explore Projects Built with Adafruit Quad AlphaNumeric Featherwing - Blue

Use Cirkit Designer to design, explore, and prototype these projects online. Some projects support real-time simulation. Click "Open Project" to start designing instantly!
Image of EC444 - Quest 3: A project utilizing Adafruit Quad AlphaNumeric Featherwing - Blue in a practical application
ESP32-Based Vibration Feedback System with Quad Alphanumeric Display and ADXL343 Accelerometer
This circuit features an Adafruit HUZZAH32 ESP32 Feather board as the central microcontroller, which is connected to an Adafruit Quad AlphaNumeric Featherwing display and an Adafruit ADXL343 accelerometer via I2C communication (SCL and SDA lines). The ESP32 controls a vibration motor connected to one of its GPIO pins (A5_IO4) and shares a common power supply (3.3V) and ground (GND) with the other components. The purpose of this circuit is likely to read acceleration data, display information on the alphanumeric display, and provide haptic feedback through the vibration motor.
Cirkit Designer LogoOpen Project in Cirkit Designer
Image of MPR121: A project utilizing Adafruit Quad AlphaNumeric Featherwing - Blue in a practical application
Touch-Sensitive Interface with Adafruit MPR121 and Feather 32u4 Bluefruit
This circuit integrates an Adafruit MPR121 capacitive touch sensor with an Adafruit Feather 32u4 Bluefruit microcontroller. The MPR121 is powered by the Feather and communicates via I2C (SCL and SDA) to detect touch inputs, which can be processed or transmitted wirelessly by the Feather.
Cirkit Designer LogoOpen Project in Cirkit Designer
Image of ALi WTSE: A project utilizing Adafruit Quad AlphaNumeric Featherwing - Blue in a practical application
Adafruit Feather 32u4 Bluefruit with MPR121 Capacitive Touch Sensor Interface
This circuit integrates an Adafruit MPR121 capacitive touch sensor with an Adafruit Feather 32u4 Bluefruit microcontroller. The MPR121 is powered by the 3.3V supply from the Feather and communicates with the microcontroller via I2C, with SCL connected to pin 3 and SDA connected to pin 2 of the Feather. This setup allows the Feather to detect touch inputs from the MPR121 for further processing or wireless communication.
Cirkit Designer LogoOpen Project in Cirkit Designer
Image of ARDUINO_SSD1306: A project utilizing Adafruit Quad AlphaNumeric Featherwing - Blue in a practical application
Arduino UNO and OLED FeatherWing Display: Battery-Powered Hello World Project
This circuit consists of an Arduino UNO connected to an Adafruit OLED FeatherWing display via I2C communication (SDA and SCL lines). The Arduino is powered through a Vcc source and provides 3.3V and GND connections to the OLED display. The Arduino runs a program to display 'Hello, World!' on the OLED screen.
Cirkit Designer LogoOpen Project in Cirkit Designer

Common Applications and Use Cases

  • Digital clocks and timers
  • Counter displays
  • Readouts for sensors and measurements
  • User interfaces for settings and menus
  • Debugging information for development purposes

Technical Specifications

Key Technical Details

  • Operating Voltage: 3.3V to 5V
  • Display Color: Blue
  • Number of Characters: 4
  • Character Segments: 14-segment alphanumeric
  • Communication: I2C interface
  • I2C Addresses: 0x70 (default) - 0x77 (selectable with solder jumpers)

Pin Configuration and Descriptions

Pin Description
GND Ground connection
3V 3.3V power supply
SDA I2C data line
SCL I2C clock line
RST Reset pin (optional use)

Usage Instructions

Integration with a Circuit

  1. Power Connections: Connect the 3V pin to the 3.3V output on your Feather board and GND to ground.
  2. I2C Connections: Connect SDA and SCL to the corresponding I2C pins on your Feather board.
  3. Optional Reset: The RST pin can be connected to a digital pin on your Feather board if you wish to control the reset function programmatically.

Important Considerations and Best Practices

  • Ensure that the power supply is within the specified voltage range to prevent damage.
  • Use pull-up resistors on the I2C lines if your Feather board does not have them built-in.
  • To change the I2C address, solder the address jumpers on the back of the board.
  • When stacking multiple FeatherWings, ensure that the I2C addresses are unique.
  • Avoid exposing the display to direct sunlight for extended periods to prevent damage.

Example Code for Arduino UNO

#include <Wire.h>
#include "Adafruit_LEDBackpack.h"
#include "Adafruit_GFX.h"

Adafruit_AlphaNum4 alpha4 = Adafruit_AlphaNum4();

void setup() {
  alpha4.begin(0x70);  // Initialize the display with its I2C address
}

void loop() {
  alpha4.writeDigitAscii(0, 'A');  // Display 'A' on the first character
  alpha4.writeDigitAscii(1, 'd');  // Display 'd' on the second character
  alpha4.writeDigitAscii(2, 'a');  // Display 'a' on the third character
  alpha4.writeDigitAscii(3, 'F');  // Display 'F' on the fourth character
  alpha4.writeDisplay();            // Send data to the display
  delay(1000);                      // Wait for a second
}

Troubleshooting and FAQs

Common Issues

  • Display Not Lighting Up: Check the power connections and ensure the I2C lines are properly connected.
  • Garbled Characters: Ensure that there are no conflicting I2C addresses if using multiple I2C devices.
  • Dim Display: Verify that the power supply is adequate and within the specified voltage range.

Solutions and Tips for Troubleshooting

  • Double-check wiring, especially the I2C connections.
  • Use the I2C scanner sketch to confirm the display's address is detected by the microcontroller.
  • If using multiple FeatherWings, ensure that each has a unique I2C address.
  • Consult the Adafruit forums and guides for additional support and resources.

FAQs

Q: Can I use this display with a 5V system? A: Yes, the display can be used with a 5V system, but ensure that the I2C logic levels are compatible.

Q: How do I change the I2C address? A: Solder the address jumpers on the back of the board to configure the address between 0x70 to 0x77.

Q: Can I use this FeatherWing with other microcontrollers besides Feather boards? A: Yes, as long as the microcontroller supports I2C communication and operates within the voltage range, it can be used with this display.

Q: How do I display numbers and letters? A: Use the writeDigitAscii function to display characters on the display, as shown in the example code.

Q: Is it possible to display special characters? A: The 14-segment display can show a limited set of special characters. Refer to the Adafruit GFX library for supported characters.