
How to Use DC 5V: Examples, Pinouts, and Specs
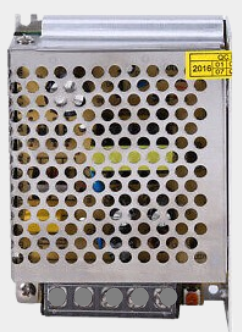
 Design with DC 5V in Cirkit Designer
Introduction
The DC 5V power supply, manufactured by DC (Part ID: DC), is a direct current power source that provides a constant output voltage of 5 volts. This component is widely used in powering electronic devices, microcontrollers, sensors, and other low-power circuits. Its stable voltage output makes it an essential component in prototyping, embedded systems, and consumer electronics.
Explore Projects Built with DC 5V
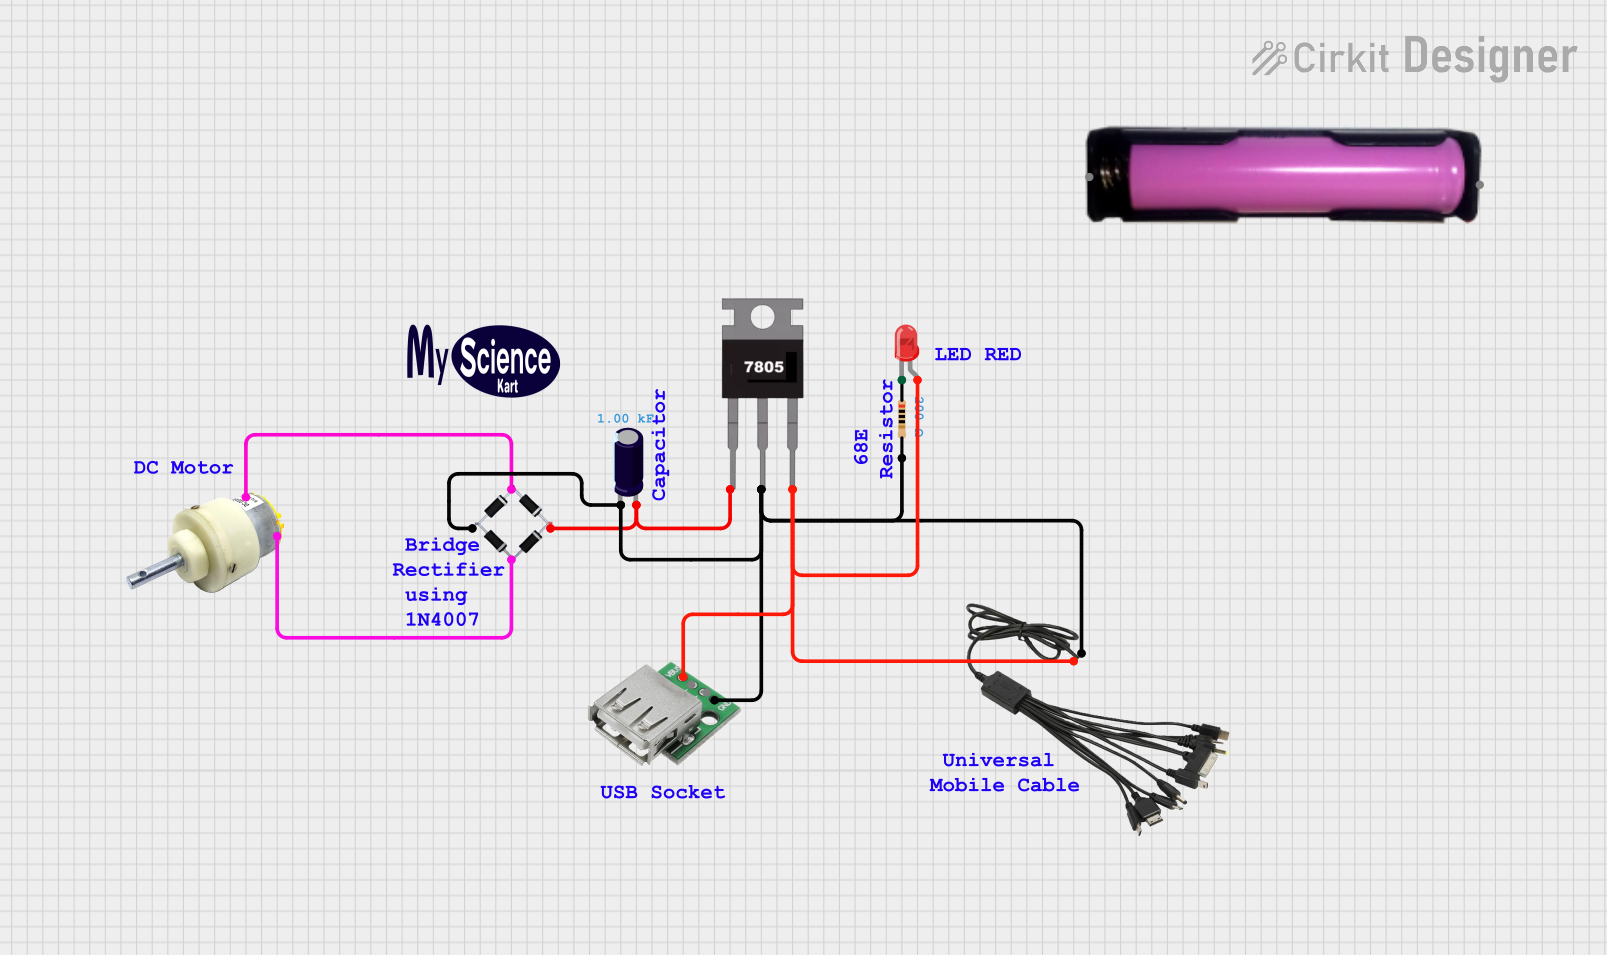 Open Project in Cirkit Designer
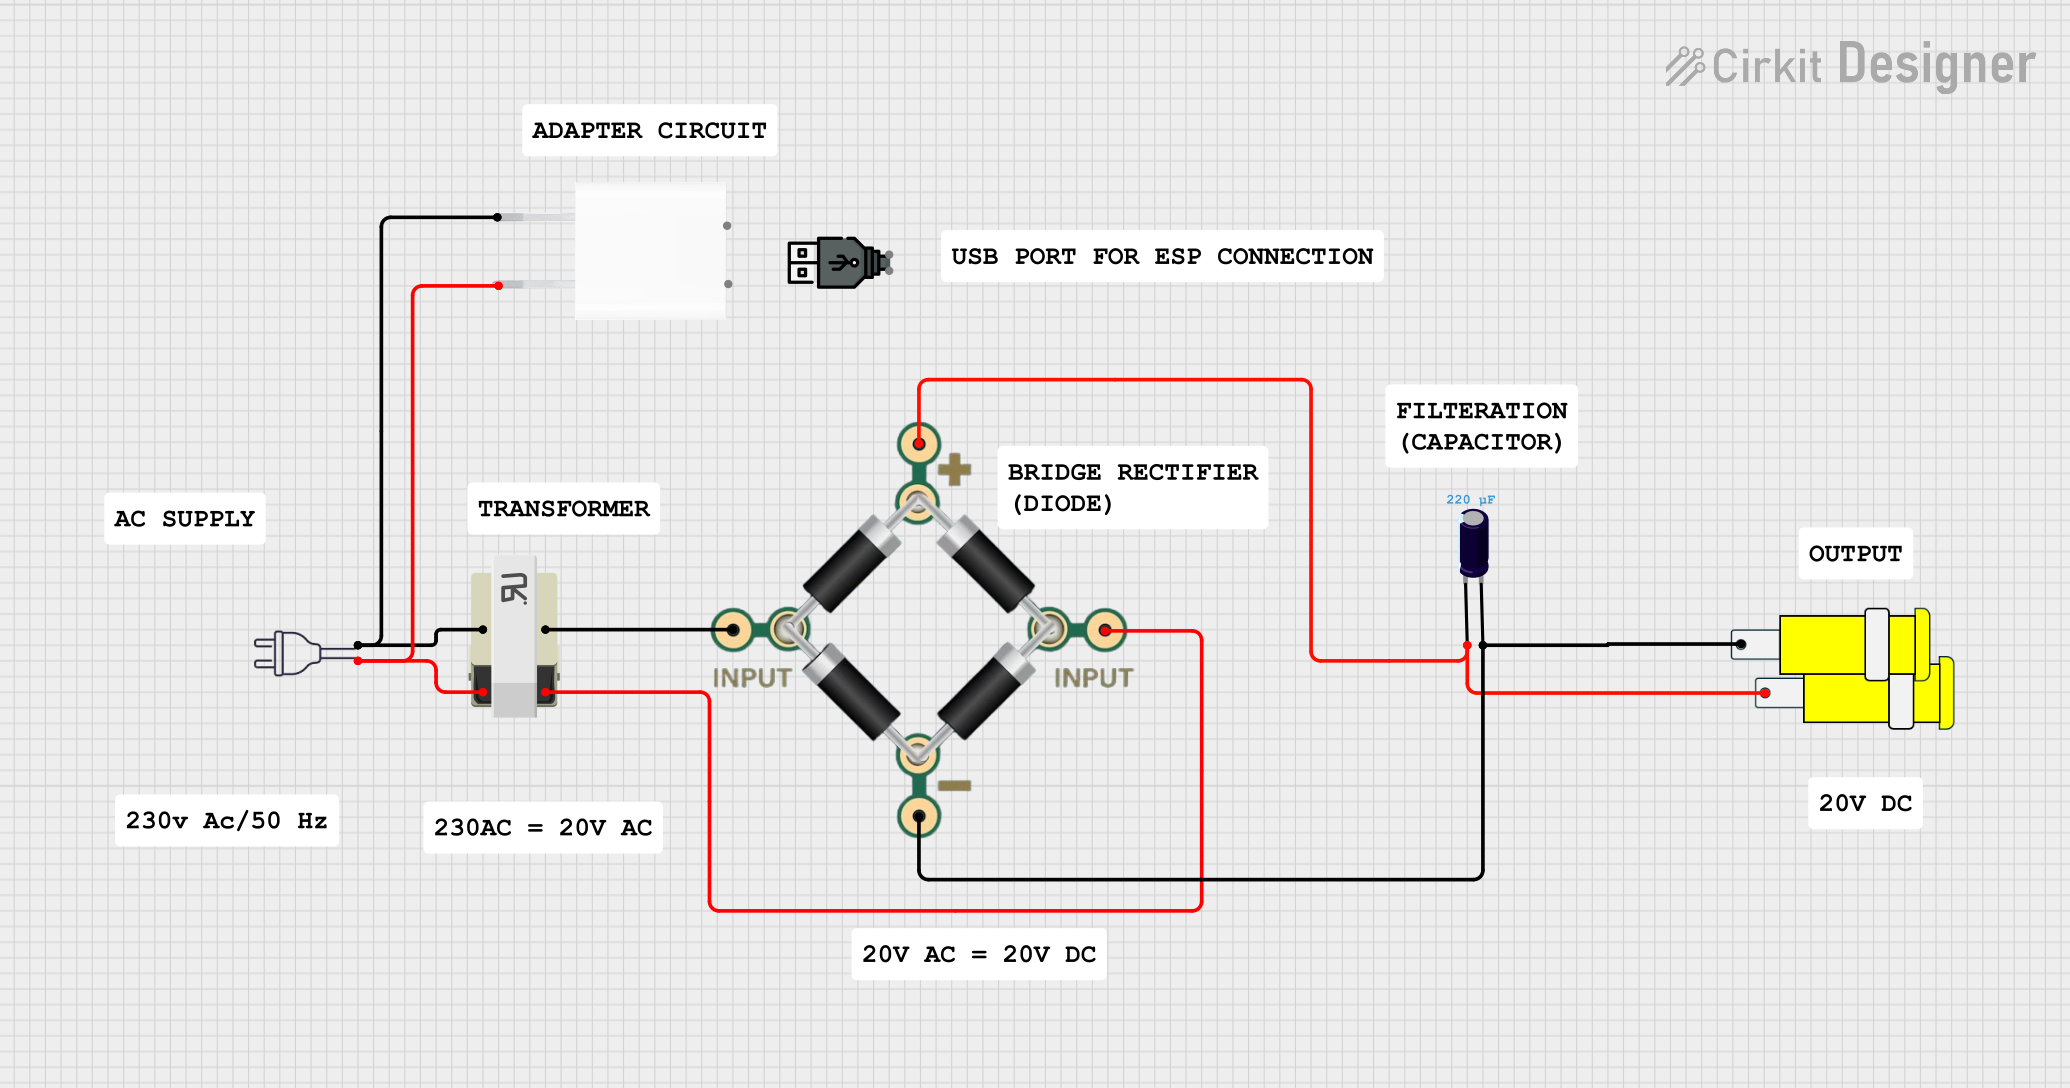 Open Project in Cirkit Designer
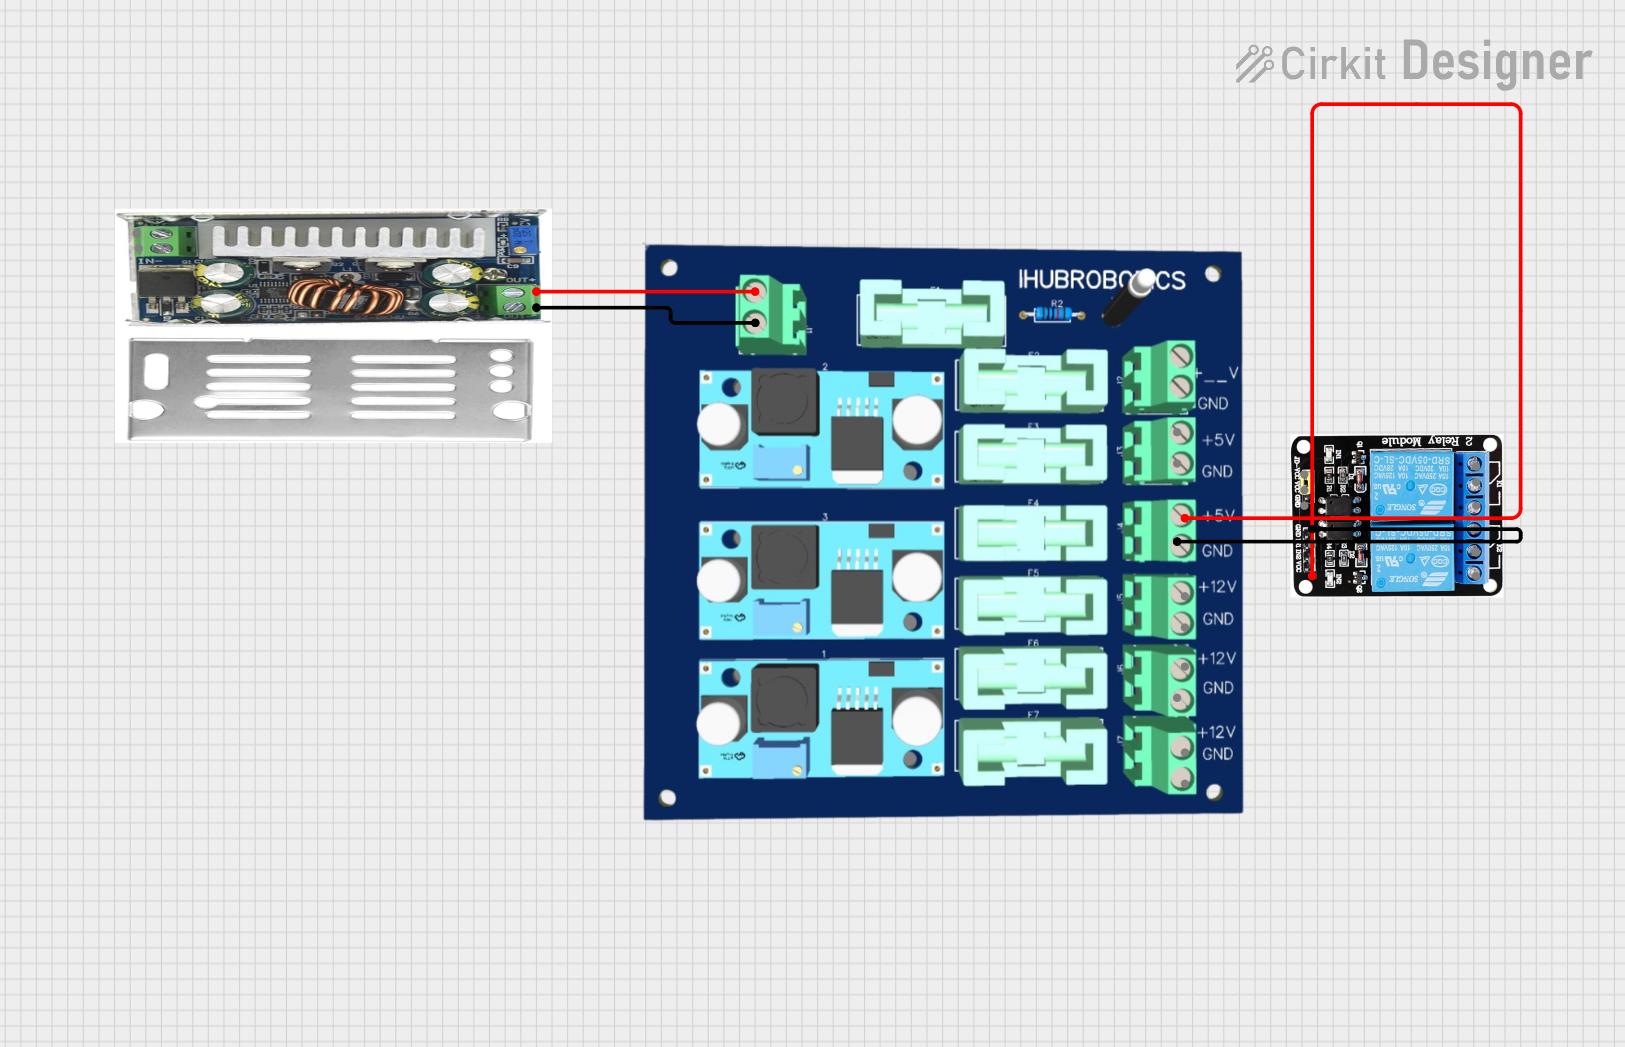 Open Project in Cirkit Designer
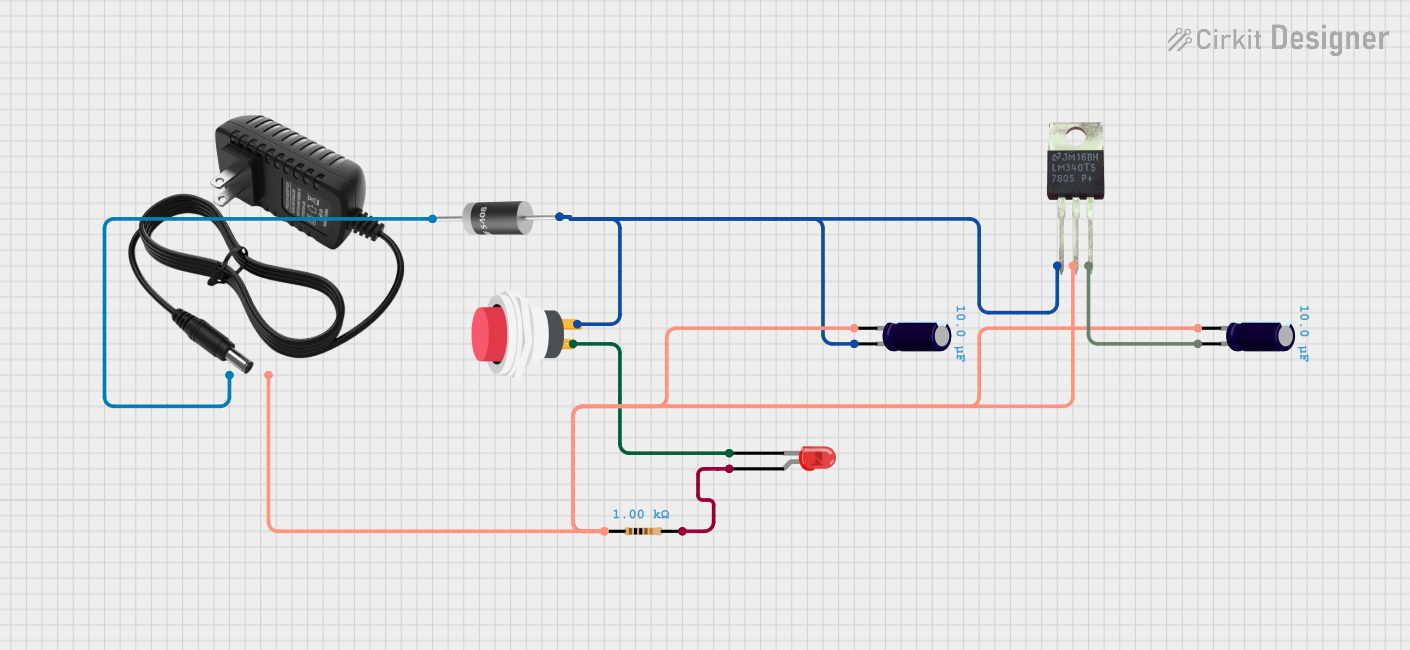 Open Project in Cirkit Designer
Explore Projects Built with DC 5V
Open Project in Cirkit DesignerOpen Project in Cirkit DesignerOpen Project in Cirkit DesignerOpen Project in Cirkit DesignerCommon Applications and Use Cases
- Powering microcontrollers such as Arduino, Raspberry Pi, and ESP32.
- Supplying power to sensors, modules, and small electronic devices.
- Charging USB-powered devices.
- Providing a stable voltage source for breadboard prototyping and testing circuits.
Technical Specifications
The following table outlines the key technical specifications of the DC 5V power supply:
| Parameter | Specification |
|---|---|
| Output Voltage | 5V DC |
| Input Voltage Range | 100V - 240V AC (for adapters) |
| Output Current | Typically 1A - 3A (varies by model) |
| Power Rating | 5W - 15W (depending on current) |
| Ripple Voltage | < 50mV |
| Efficiency | ≥ 85% |
| Operating Temperature | -10°C to 50°C |
| Connector Type | USB, barrel jack, or screw terminals |
Pin Configuration and Descriptions
The DC 5V power supply typically has two output terminals or pins:
| Pin Name | Description |
|---|---|
| V+ | Positive terminal (5V output) |
| V- | Negative terminal (Ground) |
For USB-powered DC 5V supplies, the pinout follows the USB standard:
- VCC (5V): Positive voltage output.
- GND: Ground connection.
Usage Instructions
How to Use the DC 5V Power Supply in a Circuit
- Connect the Output Terminals:
- Connect the V+ terminal to the positive power rail or the input pin of your device.
- Connect the V- terminal to the ground rail or the ground pin of your device.
- Verify Polarity:
- Ensure that the positive and negative terminals are connected correctly to avoid damage to your circuit.
- Power On:
- Plug in the power supply to an AC outlet (if using an adapter) or connect it to a USB port.
- Verify the output voltage using a multimeter before connecting sensitive components.
- Load Considerations:
- Ensure the total current draw of your circuit does not exceed the maximum current rating of the power supply.
Important Considerations and Best Practices
- Avoid Overloading: Do not connect devices that draw more current than the power supply's maximum rating.
- Heat Dissipation: If the power supply becomes warm during operation, ensure proper ventilation to prevent overheating.
- Voltage Regulation: Use additional voltage regulators if your circuit requires precise voltage levels or lower voltages.
- Short Circuit Protection: Some DC 5V supplies include built-in protection; however, always avoid shorting the output terminals.
Example: Using DC 5V with an Arduino UNO
The DC 5V power supply can be used to power an Arduino UNO via its barrel jack or the VIN pin. Below is an example of connecting a DC 5V supply to an Arduino UNO and controlling an LED:
Circuit Connections
- Connect the V+ terminal of the DC 5V supply to the Arduino's VIN pin.
- Connect the V- terminal to the Arduino's GND pin.
- Connect an LED to pin 13 of the Arduino with a 220-ohm resistor in series.
Arduino Code
// Simple LED Blink Example
// This code blinks an LED connected to pin 13 of the Arduino UNO.
// Ensure the DC 5V power supply is connected properly to the Arduino.

void setup() {
  pinMode(13, OUTPUT); // Set pin 13 as an output pin
}

void loop() {
  digitalWrite(13, HIGH); // Turn the LED on
  delay(1000);            // Wait for 1 second
  digitalWrite(13, LOW);  // Turn the LED off
  delay(1000);            // Wait for 1 second
}
Troubleshooting and FAQs
Common Issues and Solutions
No Output Voltage:
- Cause: The power supply is not connected to an AC source or the input voltage is insufficient.
- Solution: Verify the AC connection and ensure the input voltage is within the specified range.
Overheating:
- Cause: The power supply is overloaded or lacks proper ventilation.
- Solution: Reduce the load or ensure adequate airflow around the power supply.
Voltage Drop:
- Cause: Excessive current draw or long, thin wires causing resistance.
- Solution: Use thicker wires and ensure the load does not exceed the power supply's current rating.
Interference or Noise in Circuit:
- Cause: Ripple voltage or electromagnetic interference.
- Solution: Add capacitors (e.g., 100µF and 0.1µF) across the power supply output to filter noise.
FAQs
Q1: Can I use the DC 5V power supply to charge my smartphone?
A1: Yes, if the power supply has a USB output and the current rating matches your smartphone's charging requirements.
Q2: Is the DC 5V power supply compatible with all Arduino boards?
A2: Most Arduino boards, including the UNO, can be powered by a DC 5V supply. However, check the board's documentation for specific voltage and current requirements.
Q3: What happens if I reverse the polarity of the connections?
A3: Reversing the polarity can damage your circuit or the power supply. Always double-check connections before powering on.
Q4: Can I use this power supply for high-power devices?
A4: No, the DC 5V power supply is designed for low-power applications. For high-power devices, use a power supply with a higher current rating.
By following this documentation, you can safely and effectively use the DC 5V power supply in your electronic projects.