How to Use Esp32 on Baseboard: Examples, Pinouts, and Specs
Introduction
The ESP32 on Baseboard is a powerful microcontroller that combines the capabilities of the ESP32 chip with the convenience of a Baseboard for easy prototyping. The ESP32 is a low-cost, low-power system on a chip (SoC) series with Wi-Fi & dual-mode Bluetooth capabilities. The Baseboard typically extends the ESP32's accessibility, providing a platform for quick development and testing of IoT applications, smart home devices, and complex automation systems.
Explore Projects Built with Esp32 on Baseboard
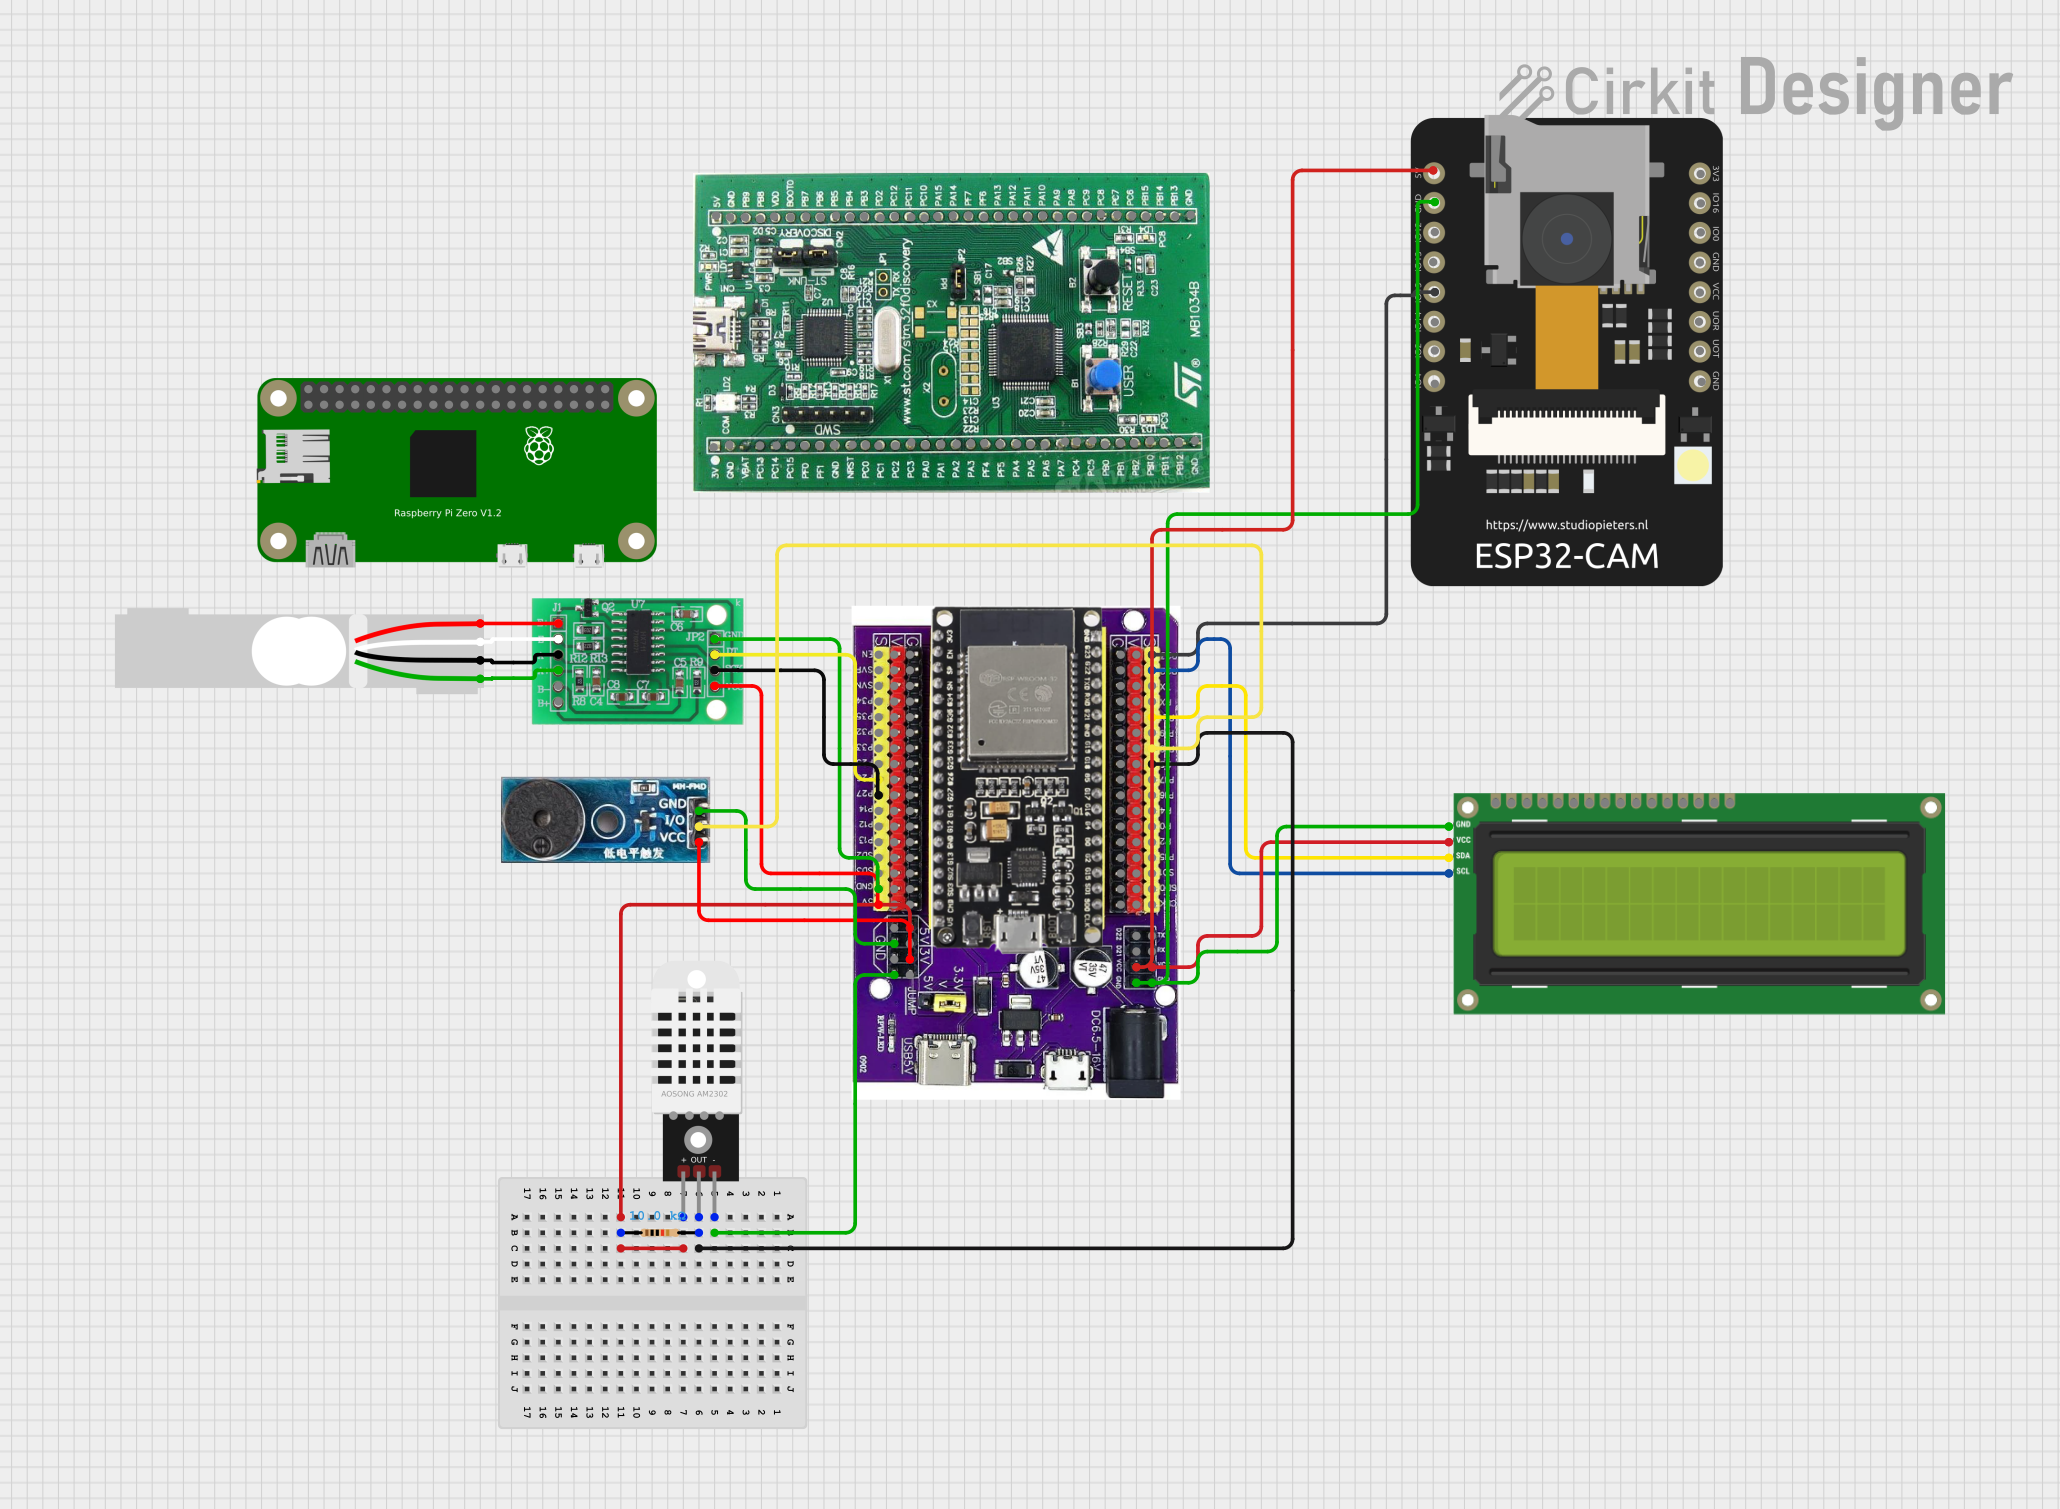
Explore Projects Built with Esp32 on Baseboard
Common Applications and Use Cases
- Internet of Things (IoT) devices
- Home automation
- Wearable electronics
- Wireless sensor networks
- Voice encoding, music streaming, and MP3 decoding
Technical Specifications
Key Technical Details
- Microcontroller: ESP32-D0WD
- Operating Voltage: 3.3V
- Input Voltage: 7-12V
- Digital I/O Pins: 22
- Analog Input Pins: 6 (ADC 12-bit)
- Analog Output Pins: 2 (DAC 8-bit)
- Flash Memory: 4MB
- SRAM: 520 KB
- Clock Speed: 240MHz
- Wi-Fi: 802.11 b/g/n
- Bluetooth: v4.2 BR/EDR and BLE
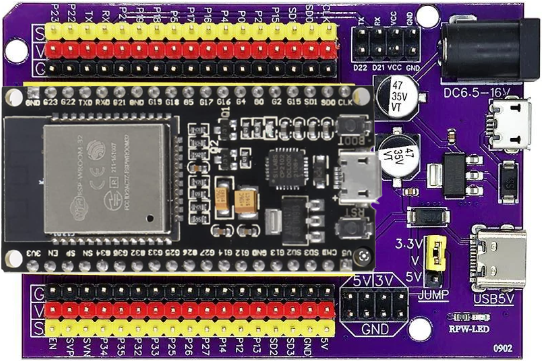
Pin Configuration and Descriptions
| Pin Number | Function | Description |
|---|---|---|
| 1 | 3V3 | 3.3V power supply |
| 2 | GND | Ground |
| 3 | EN | Reset pin, active low |
| 4 | VP | GPIO36, ADC1_CH0, Sensor VP |
| 5 | VN | GPIO39, ADC1_CH3, Sensor VN |
| ... | ... | ... |
| n | IOxx | General purpose IO, ADC/DAC, Touch, etc. |
Note: This is a simplified representation. The actual ESP32 on Baseboard may have more pins with multiple functions.
Usage Instructions
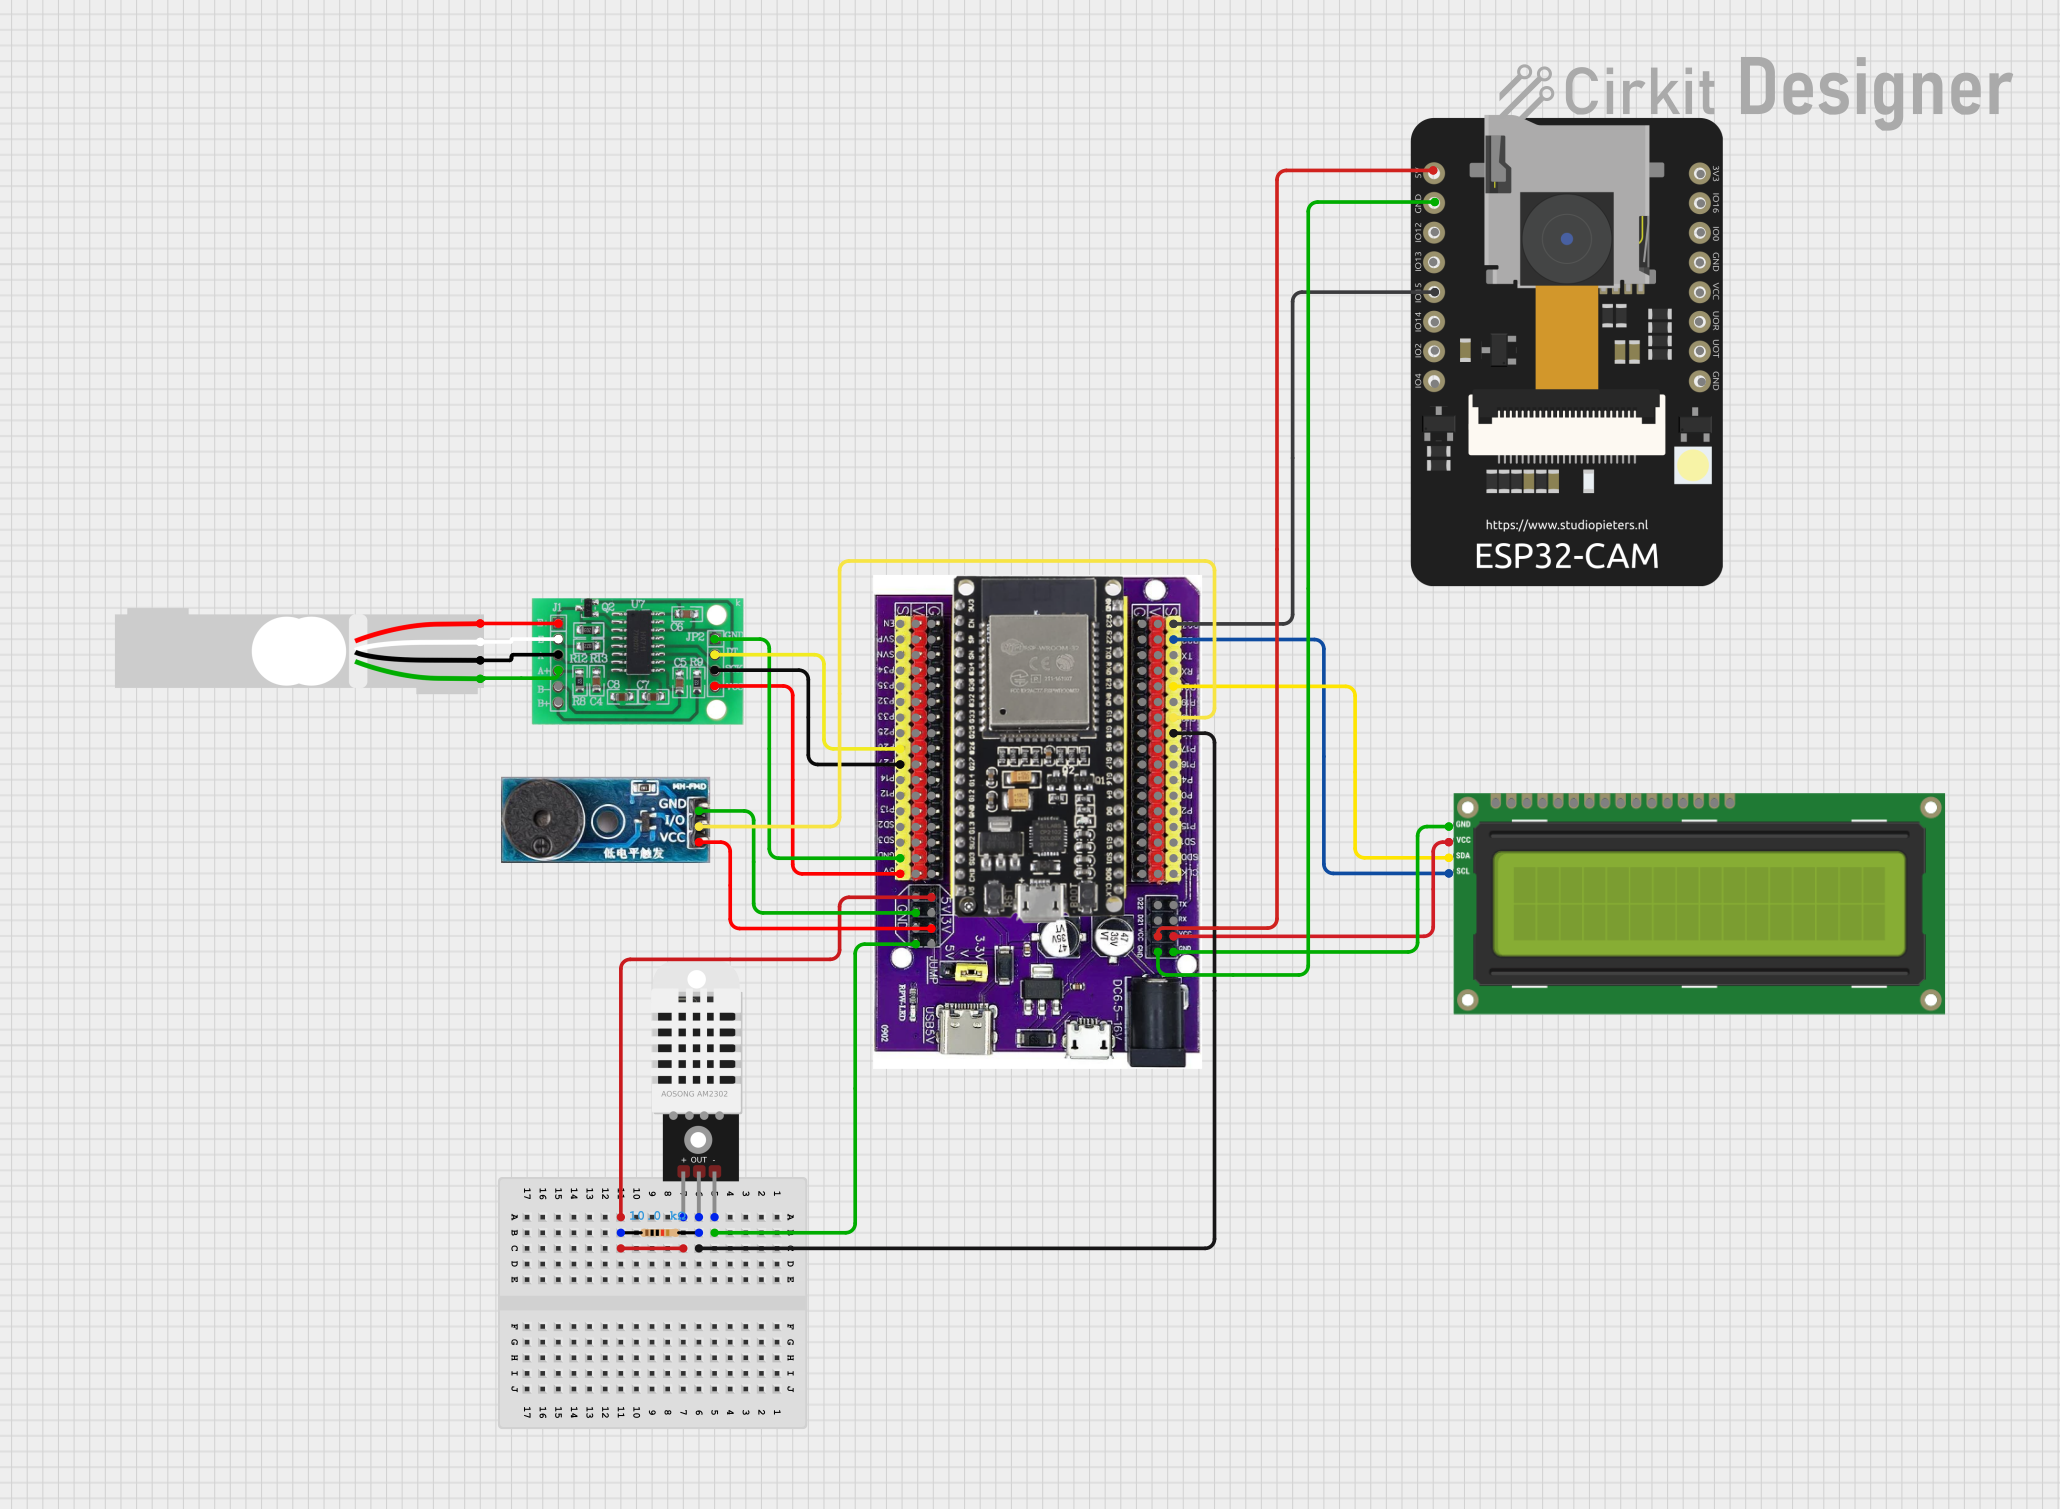
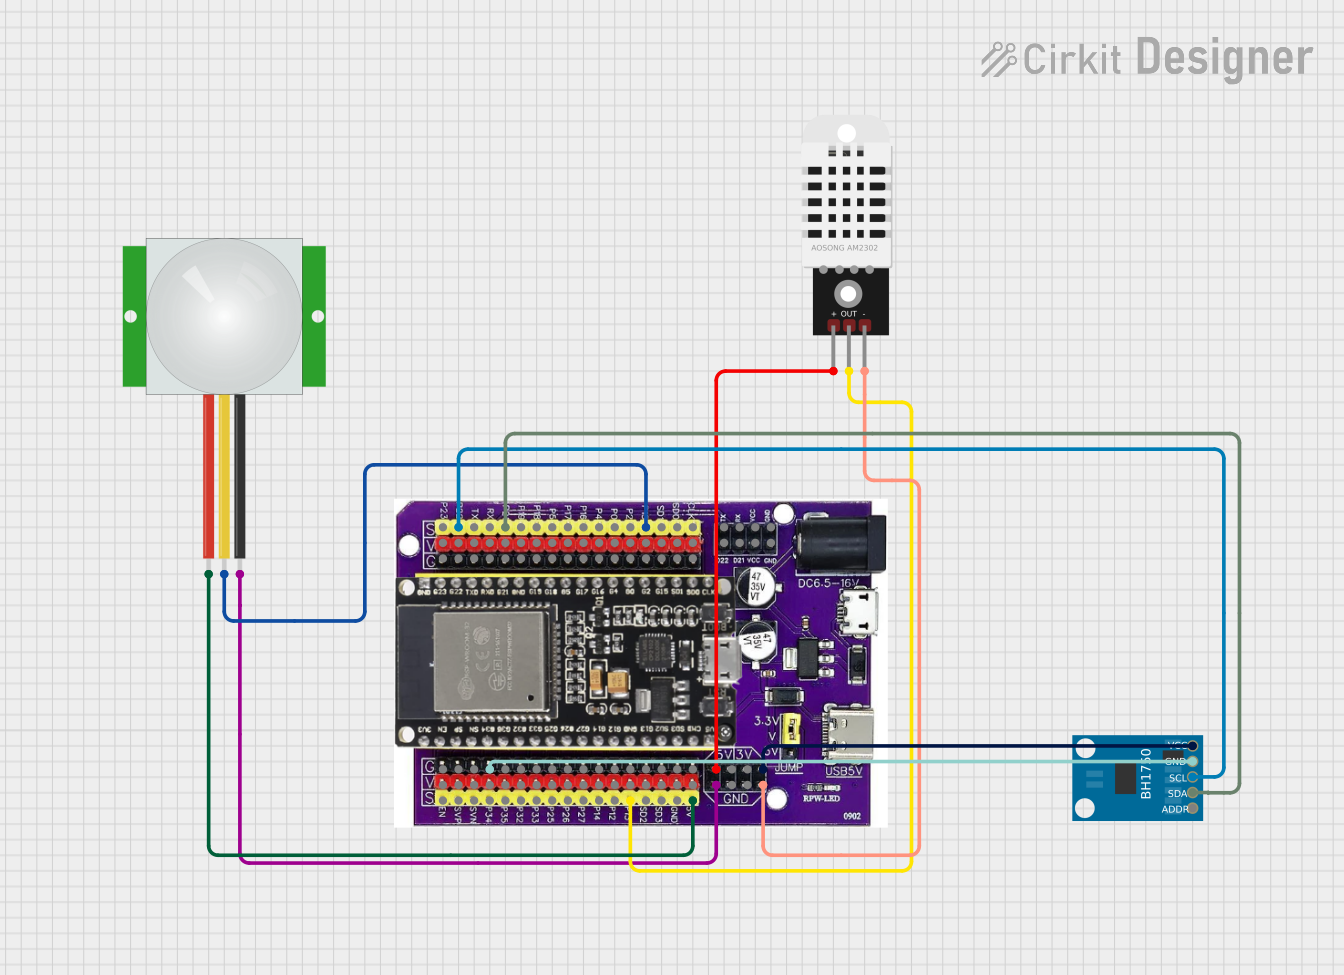
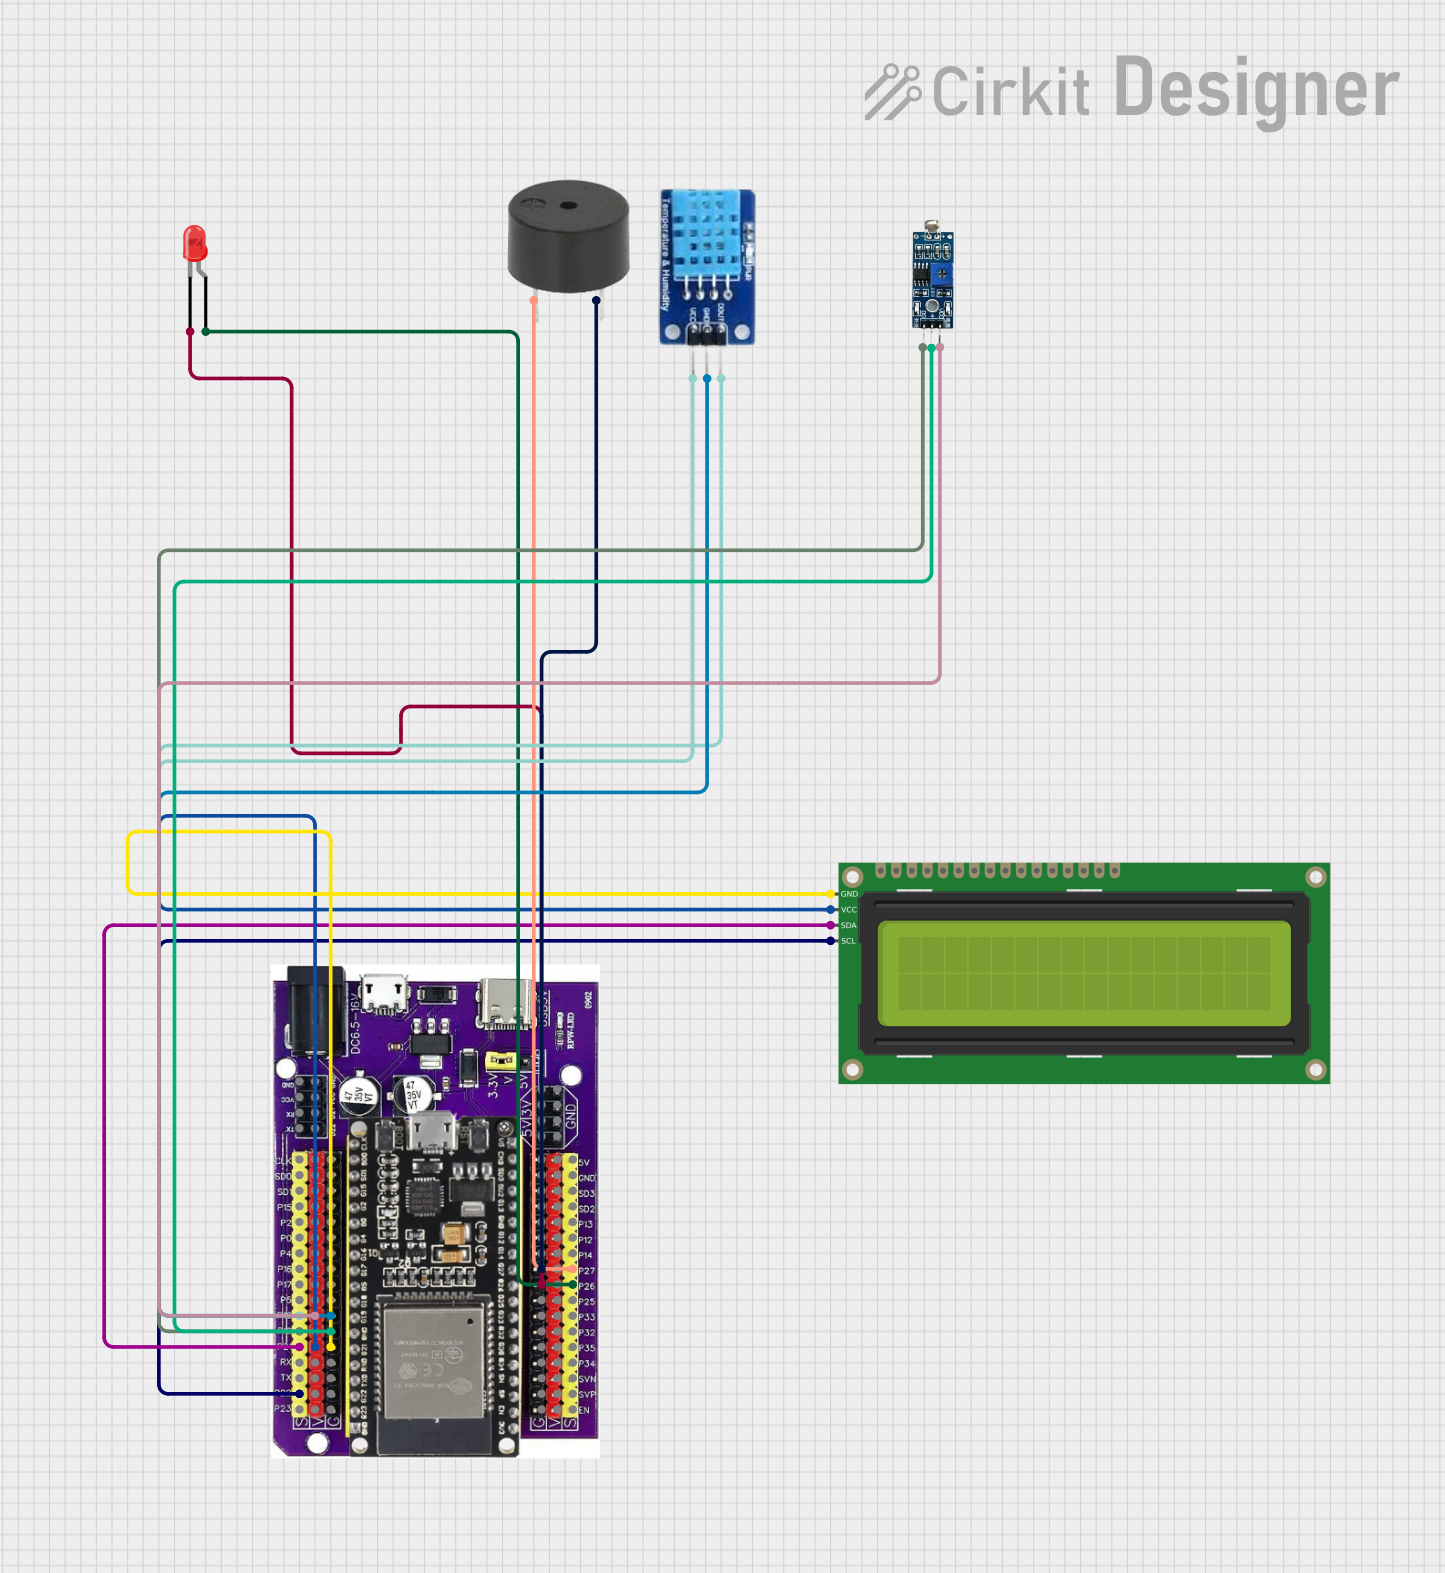
How to Use the Component in a Circuit
Powering the Board: Connect a power supply to the VIN and GND pins, ensuring that the voltage is within the specified range (7-12V).
Programming the Board: Use a micro USB cable to connect the ESP32 on Baseboard to your computer. Select the appropriate board and port in your IDE (e.g., Arduino IDE).
Connecting I/O: Attach sensors, actuators, or other peripherals to the GPIO pins, taking care to match the voltage levels and pin functions.
Important Considerations and Best Practices
- Always ensure that the power supply is within the recommended range to prevent damage.
- Use voltage dividers or level shifters when interfacing with components that operate at different voltage levels.
- Avoid drawing too much current from the I/O pins to prevent damage; refer to the ESP32 datasheet for maximum ratings.
- Utilize the deep sleep mode for battery-powered applications to conserve energy.
Example Code for Arduino UNO
#include <WiFi.h>

// Replace with your network credentials
const char* ssid = "your_SSID";
const char* password = "your_PASSWORD";

void setup() {
  Serial.begin(115200);

  // Connect to Wi-Fi
  WiFi.begin(ssid, password);
  while (WiFi.status() != WL_CONNECTED) {
    delay(500);
    Serial.println("Connecting to WiFi...");
  }
  Serial.println("Connected to WiFi");
}

void loop() {
  // Put your main code here, to run repeatedly:
}
Note: This example demonstrates how to connect the ESP32 to a Wi-Fi network. Make sure to replace your_SSID and your_PASSWORD with your actual Wi-Fi credentials.
Troubleshooting and FAQs
Common Issues
- Board not detected: Ensure the USB cable is properly connected and the correct drivers are installed.
- Failure to connect to Wi-Fi: Verify that the SSID and password are correct and that the ESP32 is within range of the router.
- Unexpected resets: Check for adequate power supply and stable voltage.
Solutions and Tips for Troubleshooting
- If the board is not recognized by the computer, try a different USB cable or port, and ensure that the ESP32 drivers are installed.
- For Wi-Fi connectivity issues, ensure that the router is working properly and that the credentials provided in the code are accurate.
- Use a multimeter to check the power supply voltage to ensure it's within the recommended range.
FAQs
Q: Can I use the ESP32 on Baseboard with a battery? A: Yes, you can power the board with a battery, but ensure that the voltage is within the recommended range.
Q: How many GPIO pins can be used for input/output? A: The ESP32 on Baseboard provides 22 digital I/O pins, but some may be used for specific functions like communication, so the actual number available for general use may vary.
Q: What is the maximum current that can be drawn from a GPIO pin? A: The maximum current per I/O pin should not exceed 12 mA.
Q: Can the ESP32 on Baseboard be used with the Arduino IDE? A: Yes, the ESP32 is supported by the Arduino IDE. You will need to install the ESP32 board package using the Boards Manager.
Note: This documentation is for informational purposes only. Always consult the official datasheet and technical references for comprehensive details and safety information.