How to Use DW3000_V1: Examples, Pinouts, and Specs
Introduction
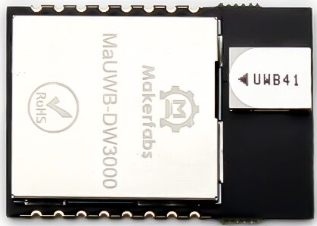
The DW3000_V1 is a high-precision ultra-wideband (UWB) transceiver developed by Myhome (Part ID: Home). This component is designed for accurate ranging and positioning applications, offering exceptional performance in terms of precision and reliability. With its support for low power consumption and high data rates, the DW3000_V1 is ideal for use in Internet of Things (IoT) devices, real-time location systems (RTLS), and other applications requiring precise distance measurement and communication.
Explore Projects Built with DW3000_V1


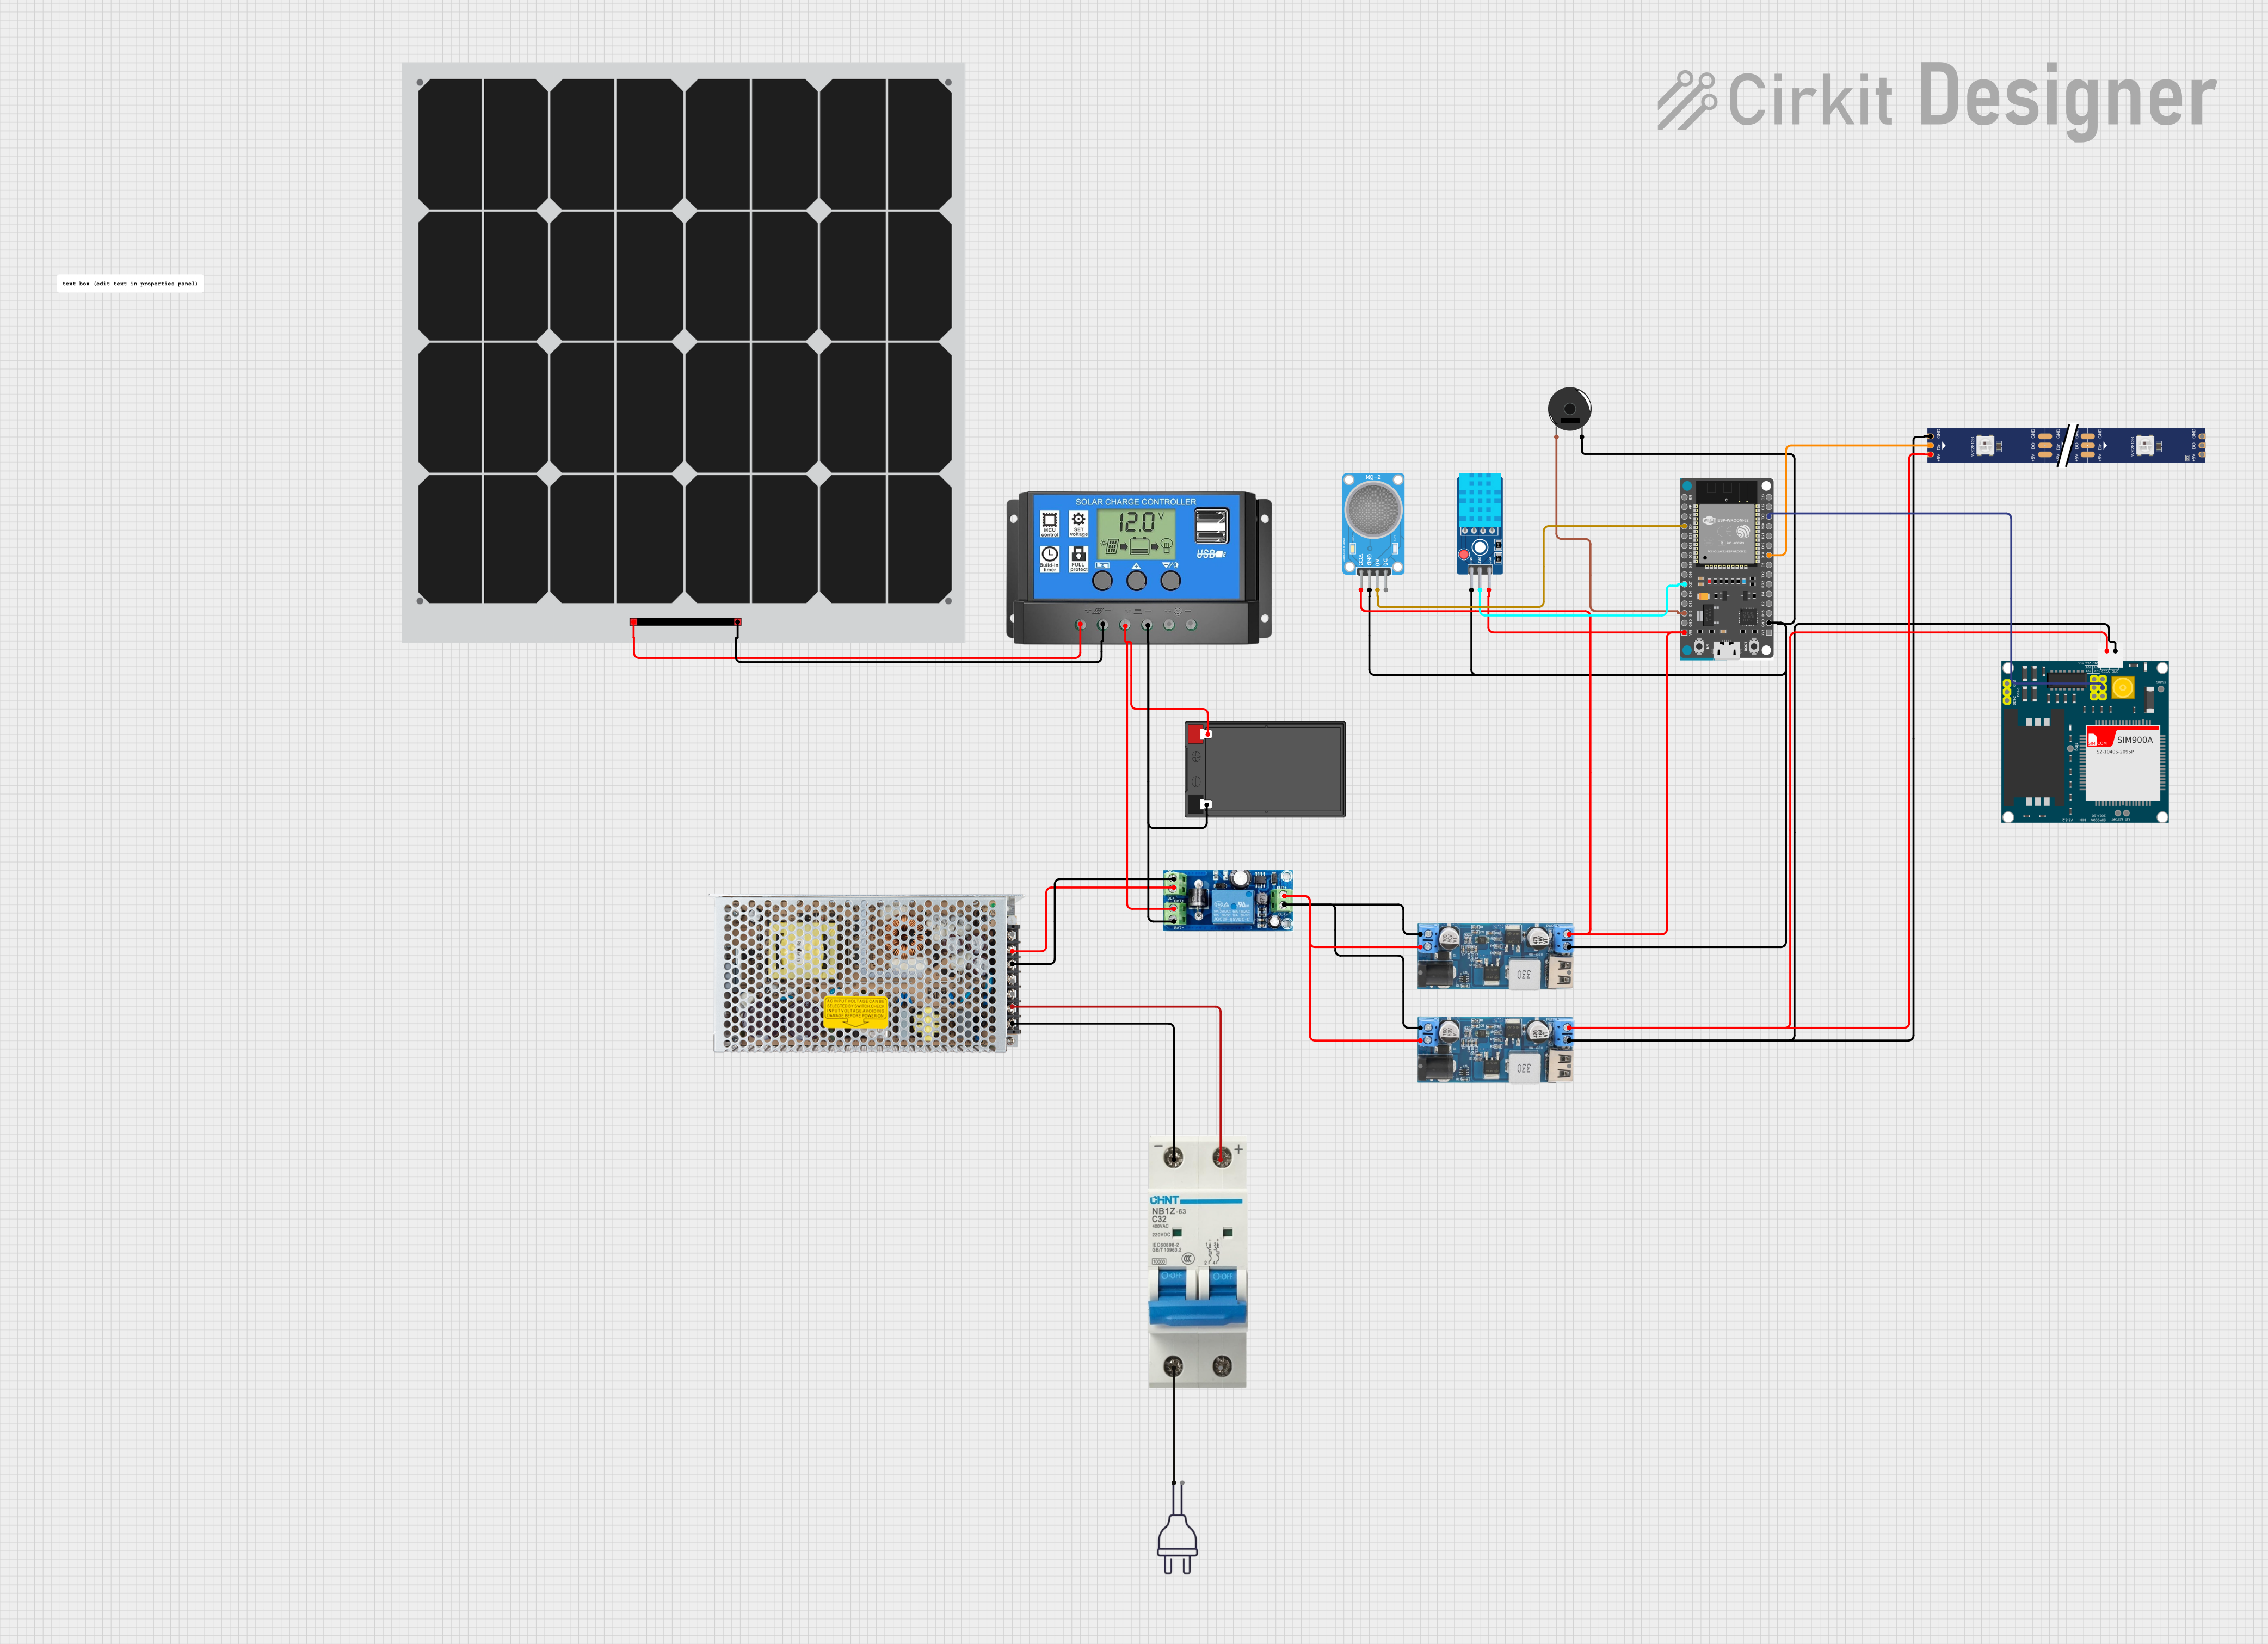

Explore Projects Built with DW3000_V1
Common Applications
- Real-Time Location Systems (RTLS)
- Indoor navigation and tracking
- Asset tracking and management
- IoT devices requiring precise positioning
- Proximity detection and secure access control
- Robotics and autonomous systems
Technical Specifications
Key Technical Details
| Parameter | Value |
|---|---|
| Operating Voltage | 2.8V to 3.6V |
| Operating Frequency Range | 3.5 GHz to 6.5 GHz (UWB spectrum) |
| Data Rate | Up to 6.8 Mbps |
| Power Consumption | Low power mode: < 50 mW |
| Ranging Accuracy | ±10 cm |
| Communication Range | Up to 100 meters (line of sight) |
| Modulation Scheme | BPSK and QPSK |
| Operating Temperature | -40°C to +85°C |
| Package Type | QFN-32 |
Pin Configuration and Descriptions
The DW3000_V1 comes in a QFN-32 package with the following pin configuration:
| Pin Number | Pin Name | Description |
|---|---|---|
| 1 | VDD | Power supply input (2.8V to 3.6V) |
| 2 | GND | Ground connection |
| 3 | TXD | Transmit data pin |
| 4 | RXD | Receive data pin |
| 5 | CLK | Clock input for synchronization |
| 6 | IRQ | Interrupt request output |
| 7 | RESET | Reset input (active low) |
| 8 | GPIO1 | General-purpose I/O pin 1 |
| 9 | GPIO2 | General-purpose I/O pin 2 |
| 10 | SPI_MOSI | SPI Master Out Slave In |
| 11 | SPI_MISO | SPI Master In Slave Out |
| 12 | SPI_CLK | SPI Clock |
| 13 | SPI_CS | SPI Chip Select (active low) |
| 14-32 | NC | Not connected |
Usage Instructions
How to Use the DW3000_V1 in a Circuit
- Power Supply: Connect the VDD pin to a regulated power supply (2.8V to 3.6V) and the GND pin to the ground.
- Communication Interface: Use the SPI interface (pins SPI_MOSI, SPI_MISO, SPI_CLK, and SPI_CS) to communicate with a microcontroller or processor.
- Antenna Connection: Attach an appropriate UWB antenna to the RF output for optimal performance.
- Interrupt Handling: Connect the IRQ pin to the microcontroller to handle interrupts for events like data reception or transmission completion.
- Reset: Use the RESET pin to initialize the device during startup or in case of a fault.
Important Considerations and Best Practices
- Power Supply Stability: Ensure a stable and noise-free power supply to avoid performance degradation.
- Antenna Placement: Place the antenna in a location free from obstructions and interference for maximum range and accuracy.
- SPI Communication: Configure the SPI clock speed and mode according to the DW3000_V1 datasheet for reliable communication.
- Thermal Management: Operate the device within the specified temperature range (-40°C to +85°C) to prevent damage.
Example: Connecting DW3000_V1 to an Arduino UNO
Below is an example of how to connect the DW3000_V1 to an Arduino UNO and use it for basic communication:
Wiring Diagram
| DW3000_V1 Pin | Arduino UNO Pin |
|---|---|
| VDD | 3.3V |
| GND | GND |
| SPI_MOSI | D11 (MOSI) |
| SPI_MISO | D12 (MISO) |
| SPI_CLK | D13 (SCK) |
| SPI_CS | D10 (SS) |
| IRQ | D2 |
| RESET | D3 |
Arduino Code Example
#include <SPI.h>

// Define DW3000_V1 pins
#define DW3000_CS 10  // Chip Select pin
#define DW3000_IRQ 2  // Interrupt pin
#define DW3000_RST 3  // Reset pin

void setup() {
  // Initialize Serial Monitor
  Serial.begin(9600);
  Serial.println("Initializing DW3000_V1...");

  // Initialize SPI
  SPI.begin();
  pinMode(DW3000_CS, OUTPUT);
  pinMode(DW3000_IRQ, INPUT);
  pinMode(DW3000_RST, OUTPUT);

  // Reset the DW3000_V1
  digitalWrite(DW3000_RST, LOW);
  delay(10);
  digitalWrite(DW3000_RST, HIGH);
  delay(10);

  Serial.println("DW3000_V1 Initialized.");
}

void loop() {
  // Example: Send a command to DW3000_V1
  digitalWrite(DW3000_CS, LOW);  // Select the DW3000_V1
  SPI.transfer(0x01);           // Example command
  digitalWrite(DW3000_CS, HIGH); // Deselect the DW3000_V1

  // Wait for an interrupt (example)
  if (digitalRead(DW3000_IRQ) == HIGH) {
    Serial.println("Interrupt received from DW3000_V1.");
  }

  delay(1000); // Wait 1 second
}
Troubleshooting and FAQs
Common Issues and Solutions
No Communication with the Device
- Solution: Verify the SPI connections and ensure the SPI clock speed is configured correctly.
- Tip: Check the Chip Select (CS) pin logic; it should be active low during communication.
Poor Ranging Accuracy
- Solution: Ensure the antenna is properly connected and placed in an interference-free environment.
- Tip: Avoid placing the device near metal objects or other RF sources.
Device Not Responding After Power-Up
- Solution: Check the power supply voltage and ensure it is within the specified range (2.8V to 3.6V).
- Tip: Use the RESET pin to reinitialize the device.
Interrupts Not Triggering
- Solution: Verify the connection of the IRQ pin to the microcontroller and ensure the interrupt is enabled in the firmware.
- Tip: Check the DW3000_V1 datasheet for the correct interrupt configuration.
FAQs
Q: Can the DW3000_V1 be used outdoors?
- A: Yes, the DW3000_V1 can be used outdoors, but ensure the antenna is suitable for outdoor conditions and the device is protected from environmental factors.
Q: What is the maximum communication range?
- A: The DW3000_V1 supports a maximum range of up to 100 meters in line-of-sight conditions.
Q: Is the DW3000_V1 compatible with 5V logic?
- A: No, the DW3000_V1 operates at 3.3V logic levels. Use a level shifter if interfacing with a 5V system.
Q: Can multiple DW3000_V1 devices operate in the same area?
- A: Yes, multiple devices can operate simultaneously, but ensure proper channel allocation to avoid interference.