
How to Use 12V Solenoid Valve: Examples, Pinouts, and Specs
 Design with 12V Solenoid Valve in Cirkit Designer
Introduction
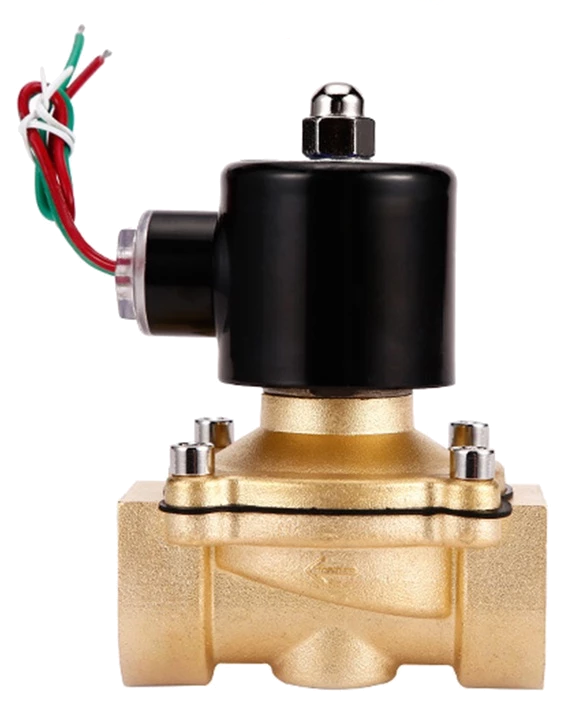
The 12V Solenoid Valve is an electromechanical device designed to control the flow of fluids or gases. It operates by using an electromagnetic coil to open or close a valve, allowing or restricting the passage of the medium. This component is widely used in automation systems, irrigation setups, fluid control systems, and pneumatic or hydraulic applications. Its ability to be controlled electronically makes it a versatile and essential component in many industries.
Explore Projects Built with 12V Solenoid Valve
 Open Project in Cirkit Designer
 Open Project in Cirkit Designer
 Open Project in Cirkit Designer
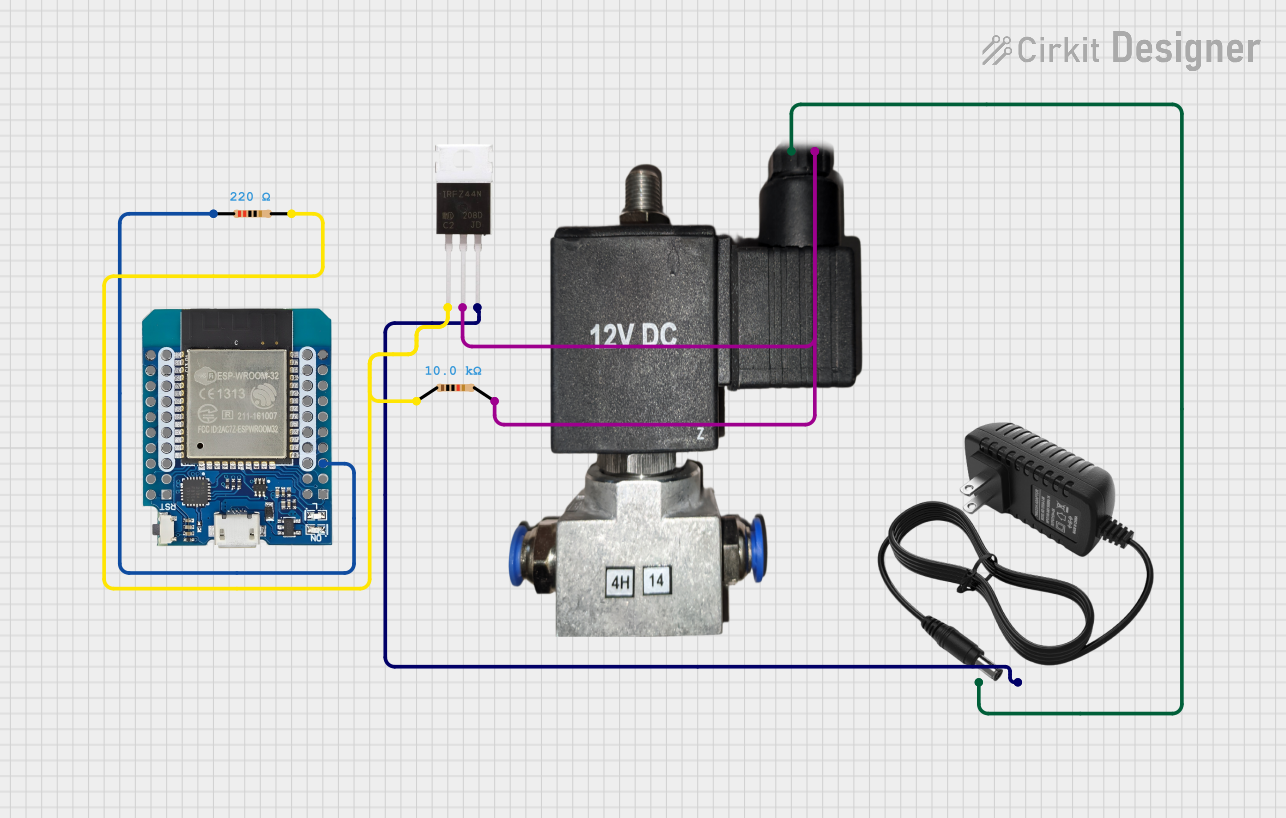 Open Project in Cirkit Designer
Explore Projects Built with 12V Solenoid Valve
Open Project in Cirkit DesignerOpen Project in Cirkit DesignerOpen Project in Cirkit DesignerOpen Project in Cirkit DesignerCommon Applications:
- Automated irrigation systems
- Water or gas flow control in industrial processes
- Home appliances like washing machines and dishwashers
- Pneumatic and hydraulic systems
- Medical equipment for fluid regulation
Technical Specifications
Below are the key technical details of the 12V Solenoid Valve:
| Parameter | Specification |
|---|---|
| Operating Voltage | 12V DC |
| Current Consumption | 0.2A to 0.5A (depending on model) |
| Power Consumption | 2.4W to 6W |
| Operating Pressure | 0.02 MPa to 0.8 MPa (varies by model) |
| Fluid Type | Water, air, or other compatible fluids |
| Valve Type | Normally Closed (NC) or Normally Open (NO) |
| Material | Brass, stainless steel, or plastic |
| Port Size | 1/4", 1/2", or 3/4" (varies by model) |
| Response Time | < 50 ms |
| Operating Temperature | 0°C to 80°C (depending on material) |
Pin Configuration and Descriptions
The 12V Solenoid Valve typically has two terminals for electrical connections:
| Pin | Description |
|---|---|
| Positive (+) | Connect to the positive terminal of the 12V DC power supply |
| Negative (-) | Connect to the ground (GND) of the power supply |
Note: Polarity is important for proper operation. Ensure correct wiring to avoid damage.
Usage Instructions
How to Use the 12V Solenoid Valve in a Circuit
- Power Supply: Connect the solenoid valve to a stable 12V DC power source. Ensure the power supply can provide sufficient current (typically 0.5A or more).
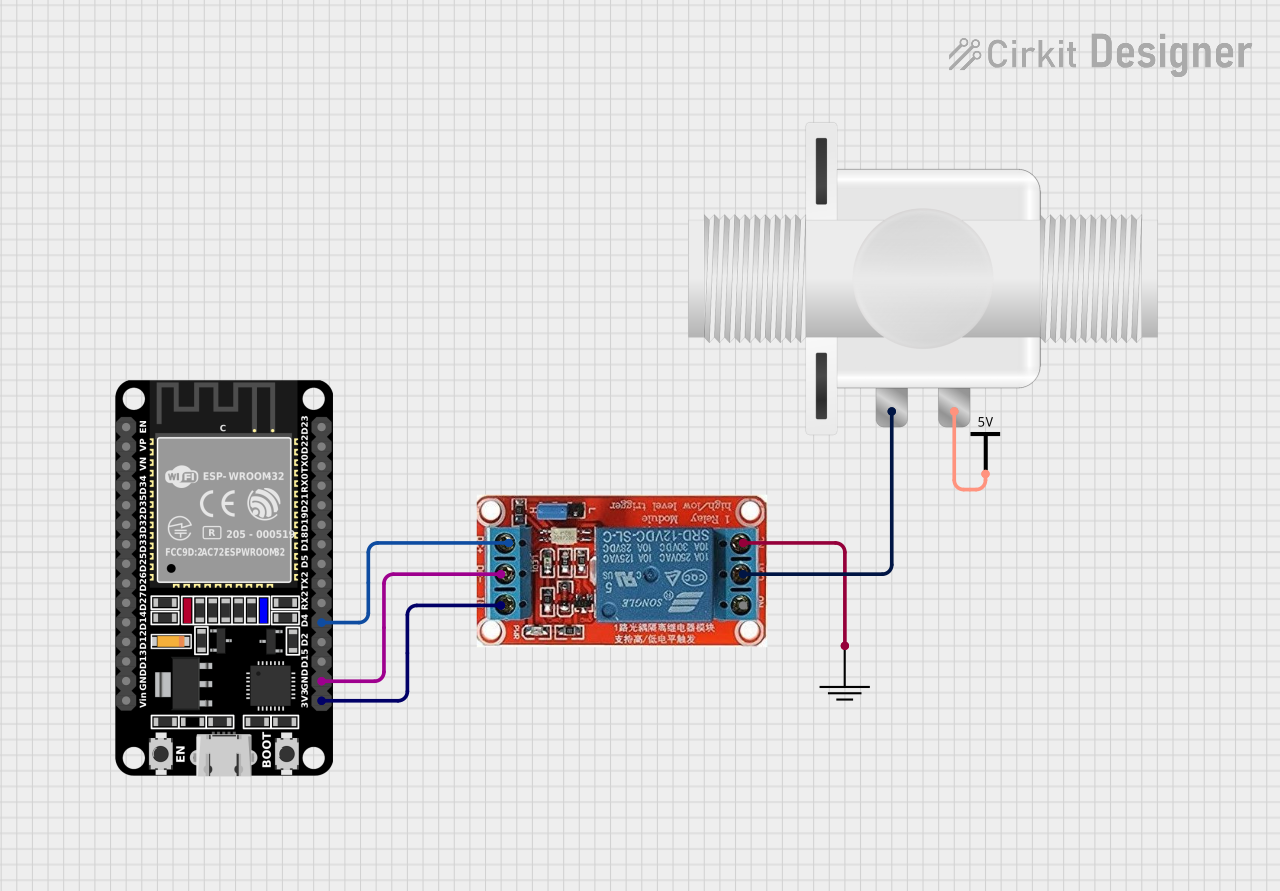
- Control Circuit: Use a relay module, transistor, or MOSFET to control the solenoid valve from a microcontroller or other control system. Directly connecting the valve to a microcontroller is not recommended due to high current requirements.
- Polarity: Ensure correct polarity when connecting the valve to the power supply. Reversing the polarity may damage the coil.
- Fluid Compatibility: Verify that the fluid or gas being controlled is compatible with the valve's material and pressure rating.
- Mounting: Install the valve in the correct orientation as specified by the manufacturer. Typically, the arrow on the valve body indicates the direction of flow.
Example Circuit with Arduino UNO
Below is an example of how to control a 12V Solenoid Valve using an Arduino UNO and a relay module:
Components Required:
- 12V Solenoid Valve
- Arduino UNO
- 1-Channel Relay Module
- 12V DC Power Supply
- Connecting wires
Circuit Diagram:
- Connect the solenoid valve's positive terminal to the relay's NO (Normally Open) terminal.
- Connect the solenoid valve's negative terminal to the power supply's GND.
- Connect the relay's COM (Common) terminal to the 12V power supply's positive terminal.
- Connect the relay's control pin to Arduino's digital pin (e.g., pin 7).
- Connect the relay module's VCC and GND to Arduino's 5V and GND, respectively.
Arduino Code:
// This code demonstrates how to control a 12V solenoid valve using a relay module
// connected to an Arduino UNO. The valve will open for 5 seconds and then close.

#define RELAY_PIN 7  // Define the digital pin connected to the relay module

void setup() {
  pinMode(RELAY_PIN, OUTPUT);  // Set the relay pin as an output
  digitalWrite(RELAY_PIN, LOW);  // Ensure the relay is off at startup
}

void loop() {
  digitalWrite(RELAY_PIN, HIGH);  // Activate the relay (open the valve)
  delay(5000);  // Keep the valve open for 5 seconds
  digitalWrite(RELAY_PIN, LOW);  // Deactivate the relay (close the valve)
  delay(5000);  // Wait for 5 seconds before repeating
}
Important Considerations:
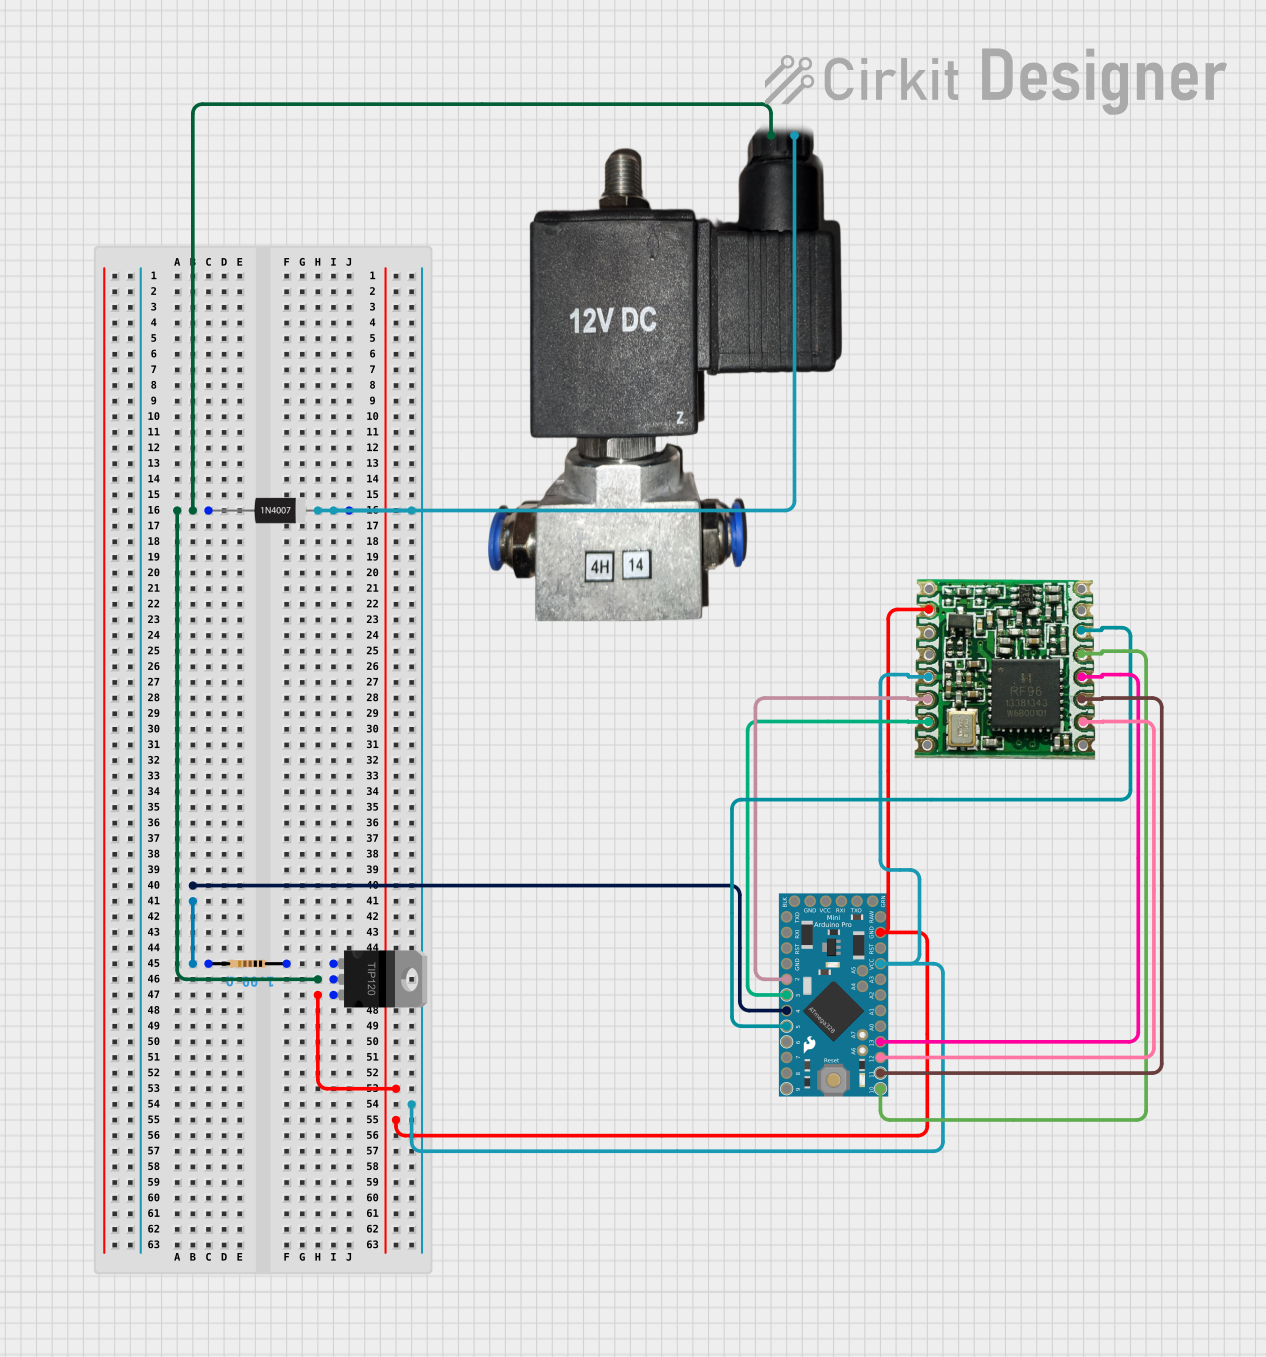
- Back-EMF Protection: Solenoid valves generate back-EMF when turned off. Use a flyback diode across the valve terminals to protect the circuit.
- Heat Dissipation: Prolonged operation may cause the valve to heat up. Ensure adequate ventilation.
- Pressure Rating: Do not exceed the valve's maximum pressure rating to avoid damage or leaks.
Troubleshooting and FAQs
Common Issues and Solutions:
Valve Not Opening or Closing:
- Check the power supply voltage and current. Ensure it meets the valve's requirements.
- Verify the relay or control circuit is functioning correctly.
- Inspect the valve for blockages or debris.
Excessive Heat:
- Ensure the valve is not powered continuously for extended periods.
- Check for proper ventilation around the valve.
Fluid Leaks:
- Verify that the valve is installed correctly and that all fittings are secure.
- Ensure the operating pressure does not exceed the valve's rating.
No Response from Valve:
- Check the wiring for loose connections or incorrect polarity.
- Test the solenoid coil with a multimeter to ensure it is not damaged.
FAQs:
Q: Can I use the 12V Solenoid Valve with an AC power supply?
A: No, this valve is designed for 12V DC operation. Using AC power may damage the coil.
Q: Is the valve waterproof?
A: The valve is typically water-resistant but not fully waterproof. Avoid submerging it in water.
Q: Can I control the valve directly with an Arduino?
A: No, the Arduino cannot supply enough current to drive the valve directly. Use a relay or transistor for control.
Q: How do I protect my circuit from back-EMF?
A: Place a flyback diode (e.g., 1N4007) across the solenoid valve terminals, with the cathode connected to the positive terminal.
By following this documentation, you can effectively integrate and troubleshoot the 12V Solenoid Valve in your projects.