How to Use TMP006 Thermopile Sensor: Examples, Pinouts, and Specs
Introduction
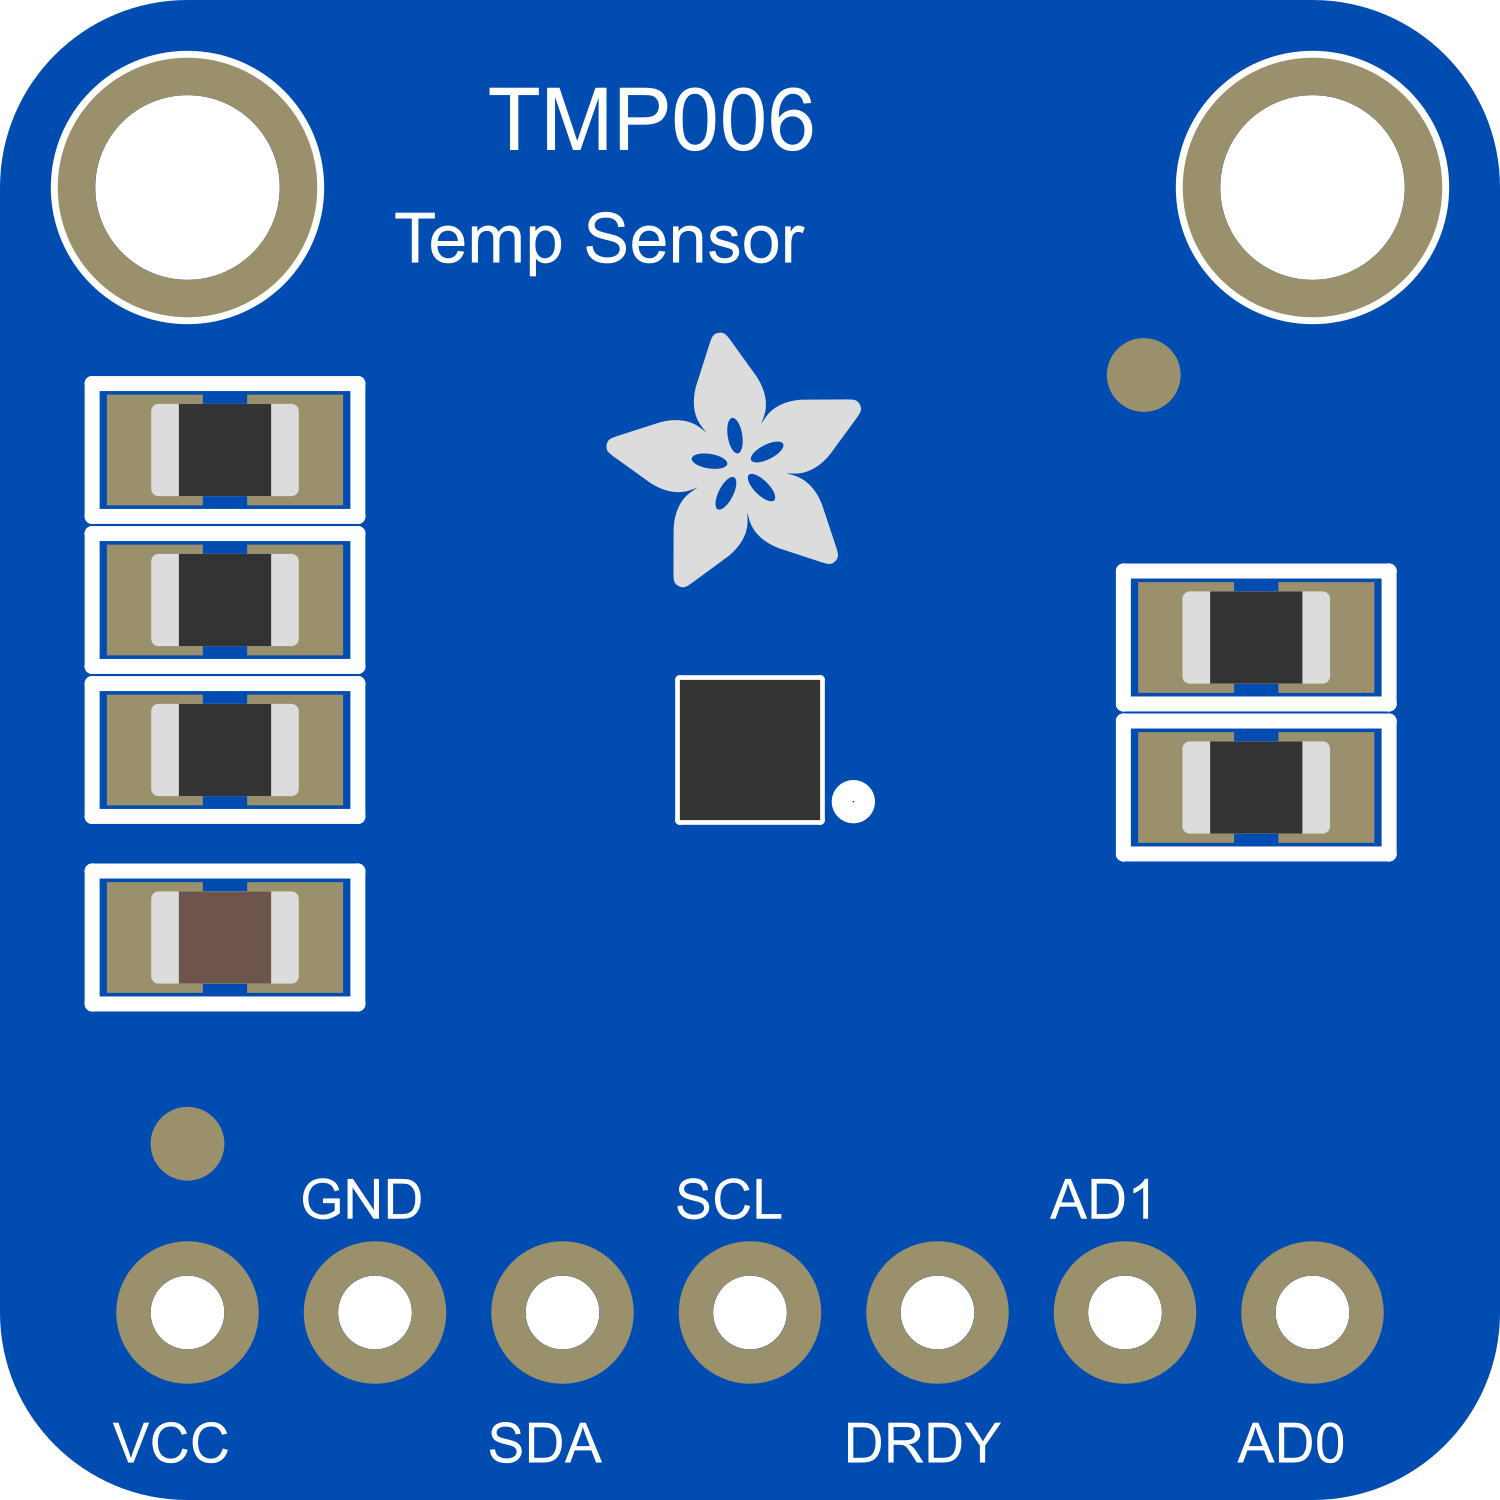
The TMP006 Thermopile Sensor is a state-of-the-art non-contact infrared temperature sensor that provides accurate temperature readings by measuring the infrared energy emitted from an object's surface. This sensor is ideal for a variety of applications, including consumer electronics, industrial control, and health monitoring, where measuring temperature without direct contact is advantageous.
Explore Projects Built with TMP006 Thermopile Sensor

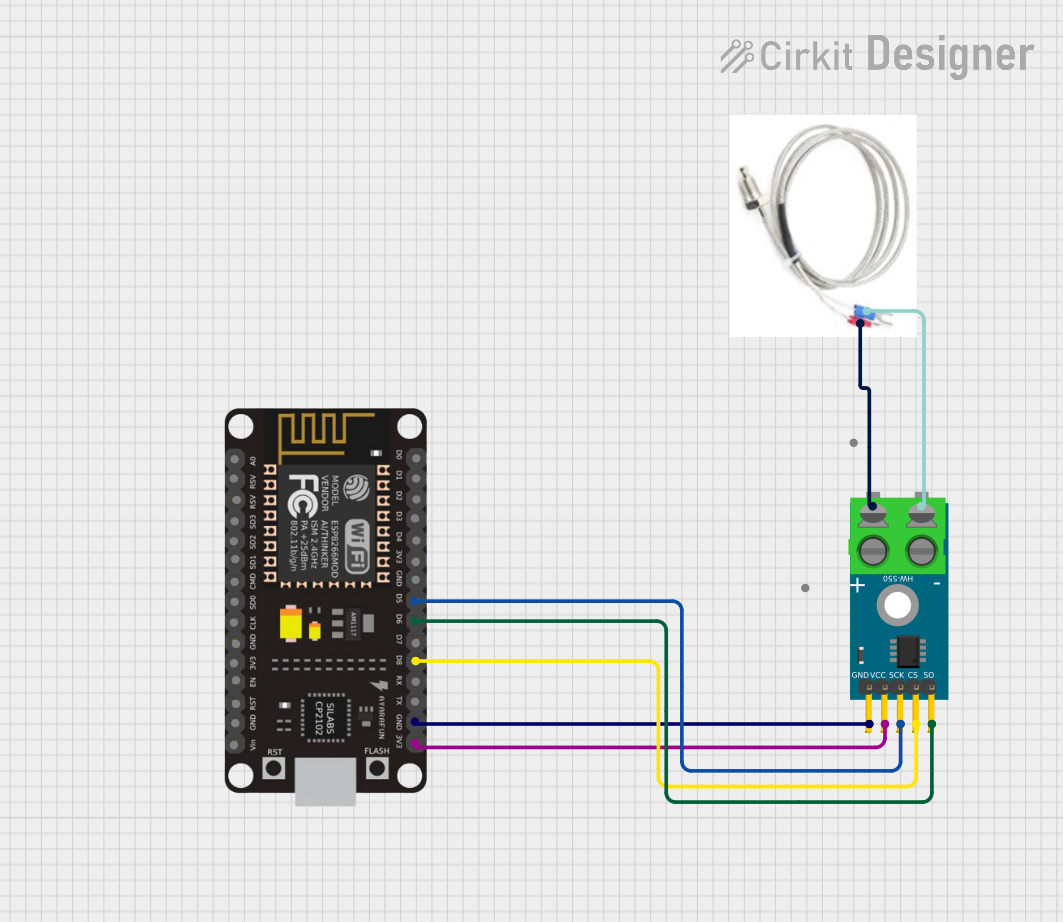
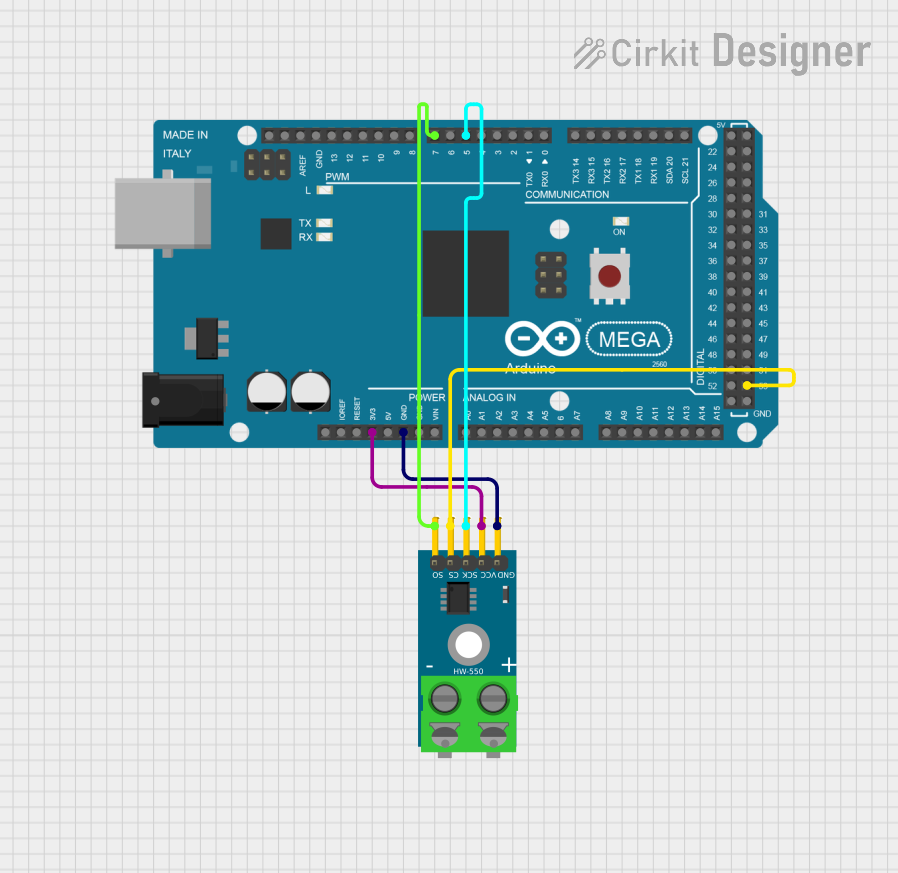
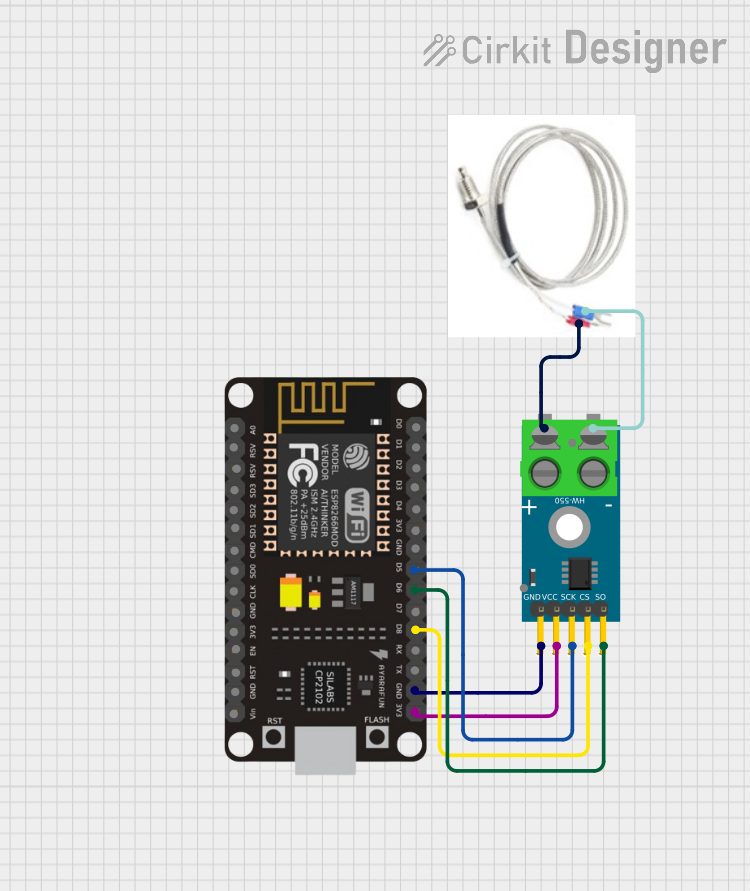
Explore Projects Built with TMP006 Thermopile Sensor
Common Applications and Use Cases
- Contactless temperature measurement in smartphones and tablets
- Industrial temperature monitoring systems
- Human presence detection
- Environmental temperature sensing
- HVAC system controls
Technical Specifications
Key Technical Details
- Supply Voltage: 2.2V to 5.5V
- Average Current Consumption: 1.3 µA (typical)
- Operating Temperature Range: -40°C to +125°C
- Measurement Range: -40°C to +125°C for object temperature
- Accuracy: ±1°C (typical) on object temperature
- Interface: I2C-compatible two-wire serial interface
Pin Configuration and Descriptions
| Pin Number | Name | Description |
|---|---|---|
| 1 | VDD | Power supply (2.2V to 5.5V) |
| 2 | GND | Ground reference for the power supply |
| 3 | SDA | Serial Data Line for I2C communication |
| 4 | SCL | Serial Clock Line for I2C communication |
| 5 | ADDR | Address select pin for I2C communication |
| 6 | DRDY | Data Ready. Goes low when conversion is complete |
Usage Instructions
How to Use the Component in a Circuit
- Connect the VDD pin to a 2.2V to 5.5V power supply.
- Connect the GND pin to the ground of the power supply.
- Connect the SDA and SCL pins to the I2C data and clock lines, respectively.
- Optionally, connect the ADDR pin to VDD or GND to set the I2C address.
- Optionally, connect the DRDY pin to an input on a microcontroller to detect when data is ready.
Important Considerations and Best Practices
- Ensure that the power supply is stable and within the specified voltage range.
- Use pull-up resistors on the SDA and SCL lines for proper I2C communication.
- Avoid placing the sensor near heat sources or objects that may affect its readings.
- Ensure that the sensor has a clear line of sight to the object being measured.
- Calibrate the sensor if precise temperature measurements are required.
Example Code for Arduino UNO
#include <Wire.h>
#include <Adafruit_TMP006.h>

// Create an instance of the TMP006 sensor
Adafruit_TMP006 tmp006;

void setup() {
  Serial.begin(9600);
  // Begin communication with the TMP006 sensor
  if (!tmp006.begin()) {
    Serial.println("No sensor found, check wiring!");
    while (1);
  }
}

void loop() {
  // Read the object temperature from the sensor
  float objectTemp = tmp006.readObjTempC();
  Serial.print("Object Temperature: ");
  Serial.print(objectTemp);
  Serial.println(" *C");

  delay(2000); // Wait for 2 seconds before reading again
}
Troubleshooting and FAQs
Common Issues Users Might Face
- Inaccurate Temperature Readings: Ensure that the sensor is not exposed to sudden temperature changes and that it has a clear line of sight to the object.
- No Data on I2C: Check the connections and pull-up resistors on the SDA and SCL lines. Also, verify that the correct I2C address is being used.
Solutions and Tips for Troubleshooting
- Sensor Not Detected: Confirm that the sensor is properly powered and that the I2C lines are correctly connected.
- Fluctuating Readings: Implement a software filter or averaging algorithm to stabilize the temperature readings.
FAQs
Q: Can the TMP006 sensor measure the temperature of liquids? A: The TMP006 is designed for non-contact temperature measurements, so it can measure the surface temperature of liquids if they are within its line of sight.
Q: How do I change the I2C address of the sensor? A: The I2C address can be changed by connecting the ADDR pin to either VDD or GND.
Q: What is the maximum distance from which the TMP006 can accurately measure temperature? A: The effective distance depends on the object size and the sensor's field of view. Consult the sensor's datasheet for detailed specifications.
Q: Is calibration required for the TMP006 sensor? A: The sensor comes factory-calibrated, but for critical applications, additional calibration may be necessary to achieve the desired accuracy.
This documentation provides a comprehensive guide to the TMP006 Thermopile Sensor, ensuring users can effectively integrate and utilize this component in their projects.